


Digital sculpting is a method of free-form 3D modeling, manipulating organic shapes to create models of various living things – plants, trees, animals, or humanoid beings, be it realistic or science fiction and fantasy.
It is something that is becoming extremely popular nowadays. There is a boom of high-quality, yet affordable SLA printers, that can really make the most out of detailed sculpts. Also, for many sculptors, this is more than just an art hobby, as there are many platforms where they can sell their work, either as downloadable STLs or printed products.
We already went through the very basics of sculpting in one of our older articles.
This time, we would like to go a little further and present you with a complete tutorial on how to create your first sculpt. We will use ZBrush Core Mini, sculpting software that is free to download and easy to learn. Also, all the work will be done with a regular mouse. This is far from an optimal tool (we will elaborate on that later), however, the idea was to show that the basics are pretty doable without any special gear. You can always commit and do some shopping later once you make sure that sculpting is something you would enjoy long-term. At the end of this article, you will find a short “shopping list” with some ideas.
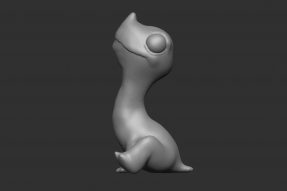
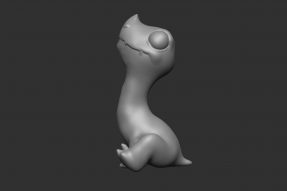
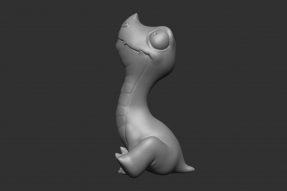
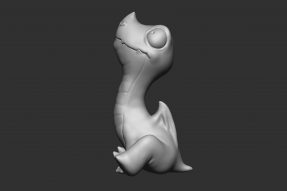
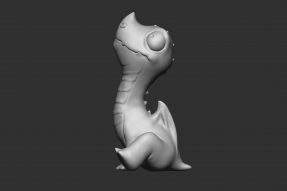
The baby dragon we are going to create is a cute simple figure, perfectly printable both on SLA and FDM printers without any supports.
Before you watch the video tutorial, please take your time and go through the article below, where we guide you through the initial setup, explain the basic controls, and some general sculpting tips and rules of thumb.
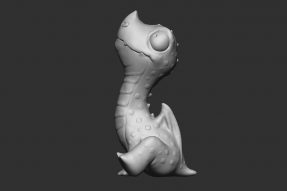
You can also download the finished baby dragon on Printables.com.
Choosing and installing the software
For most of us, the first free sculpting software that probably comes to mind is Blender. It is an extremely capable tool able to do much more than sculpting itself. However, that comes with a downside: the complexity of its interface resembles a NASA mission control center. 😀 Even though Blender has already gone a long way in becoming more comprehensible, it is still not exactly user-friendly software, which leads to many beginners folding before they even manage to make any advance in their first project.
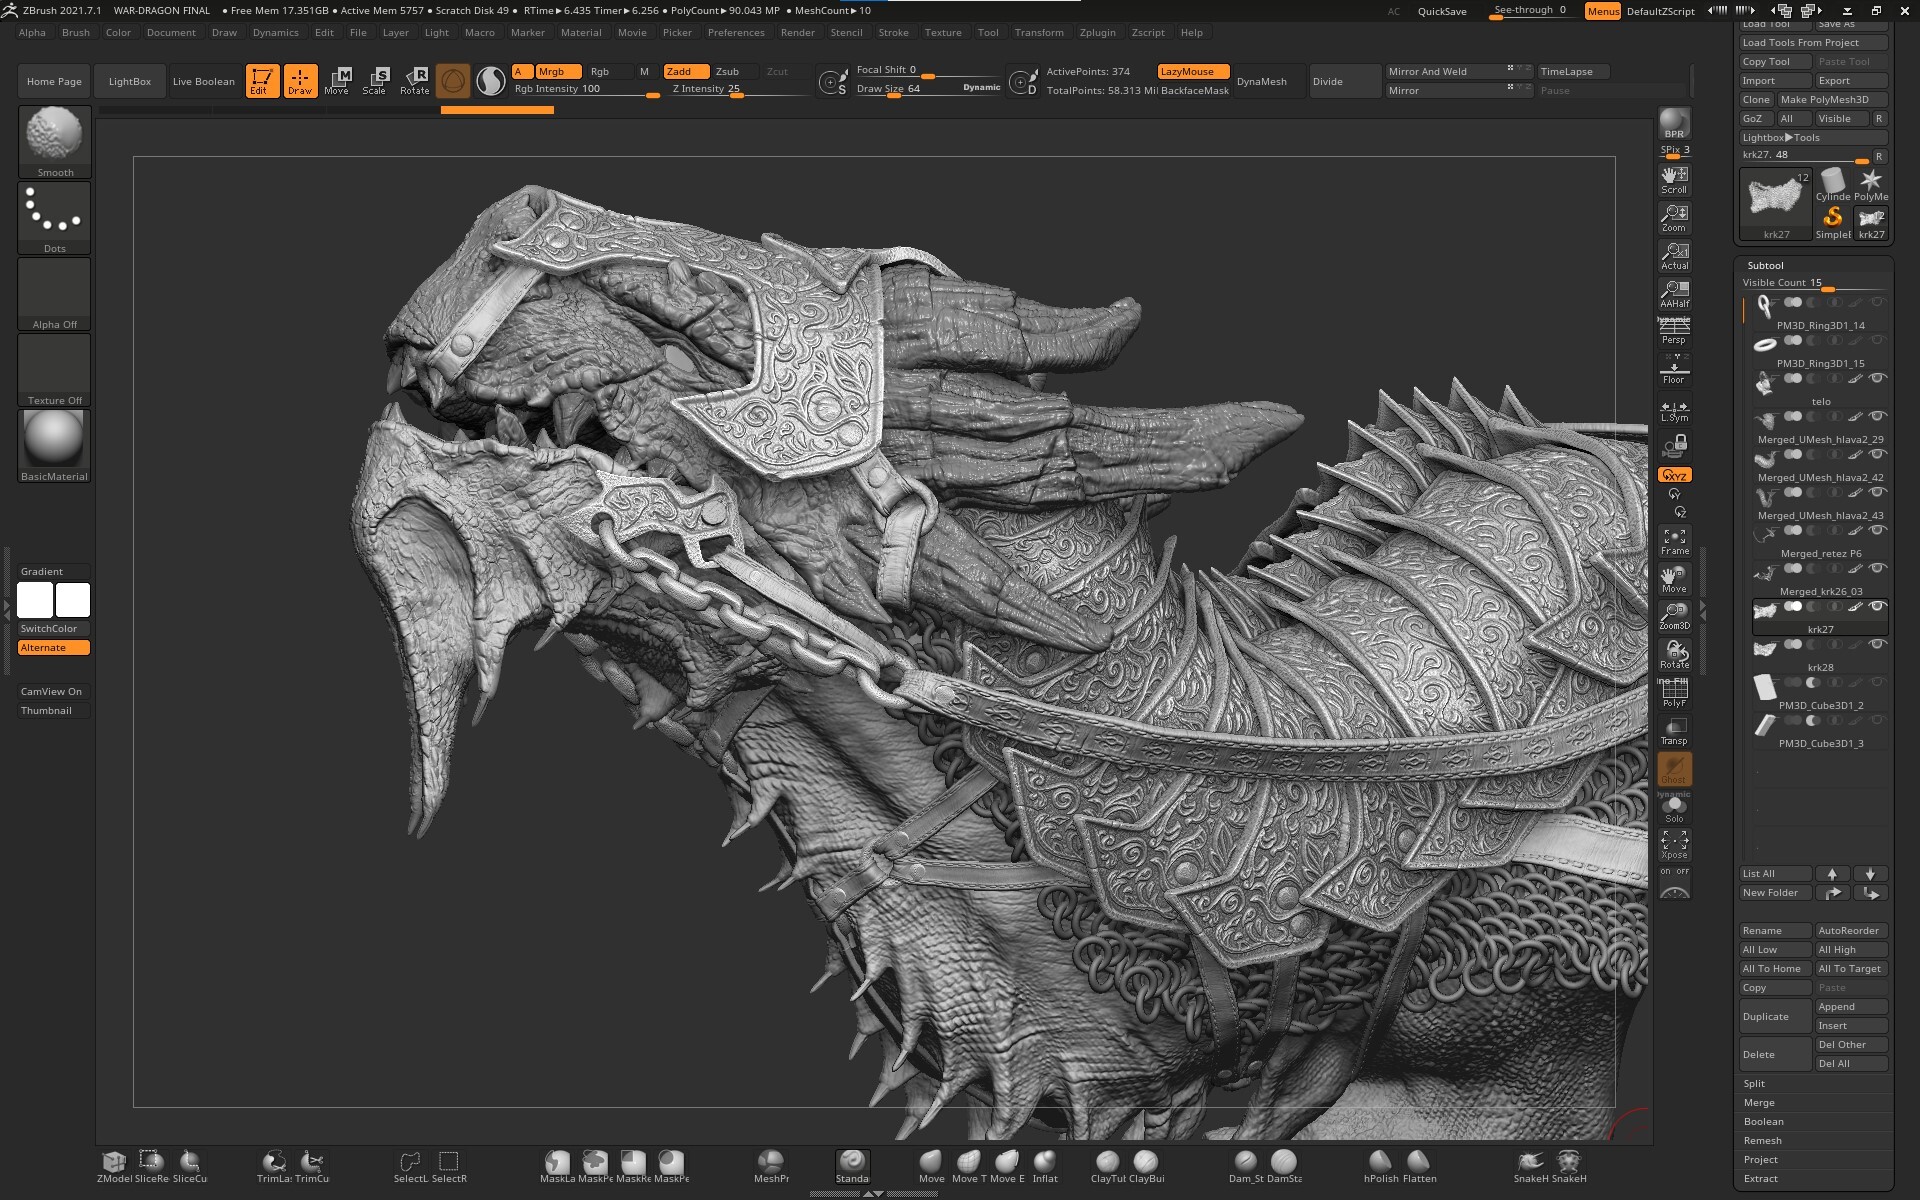
There is a long hard road between the baby dragon made in ZBrush Core Mini and this adult dragon made in the full ZBrush…but it’s a road well worth taking 😉
Then there is the ZBrush, software with similar complexity, and a hefty price tag to boot. Fortunately, Pixologic, the creators of ZBrush, also offer the ZBrush Core, a streamlined version of their flagship software, which is both easier and much more affordable. Further down the line is our choice for this tutorial: the ZBrush Core Mini, a completely free alternative, simplified to the core.
The installation is a wee bit convoluted: first, you have to register, fill in a few details about yourself, and then wait for an email telling you where to find the installation package. (Spoiler alert: it’s here. However, you have to register on their website first, anyway.). The subsequent installation process itself is straightforward, though.
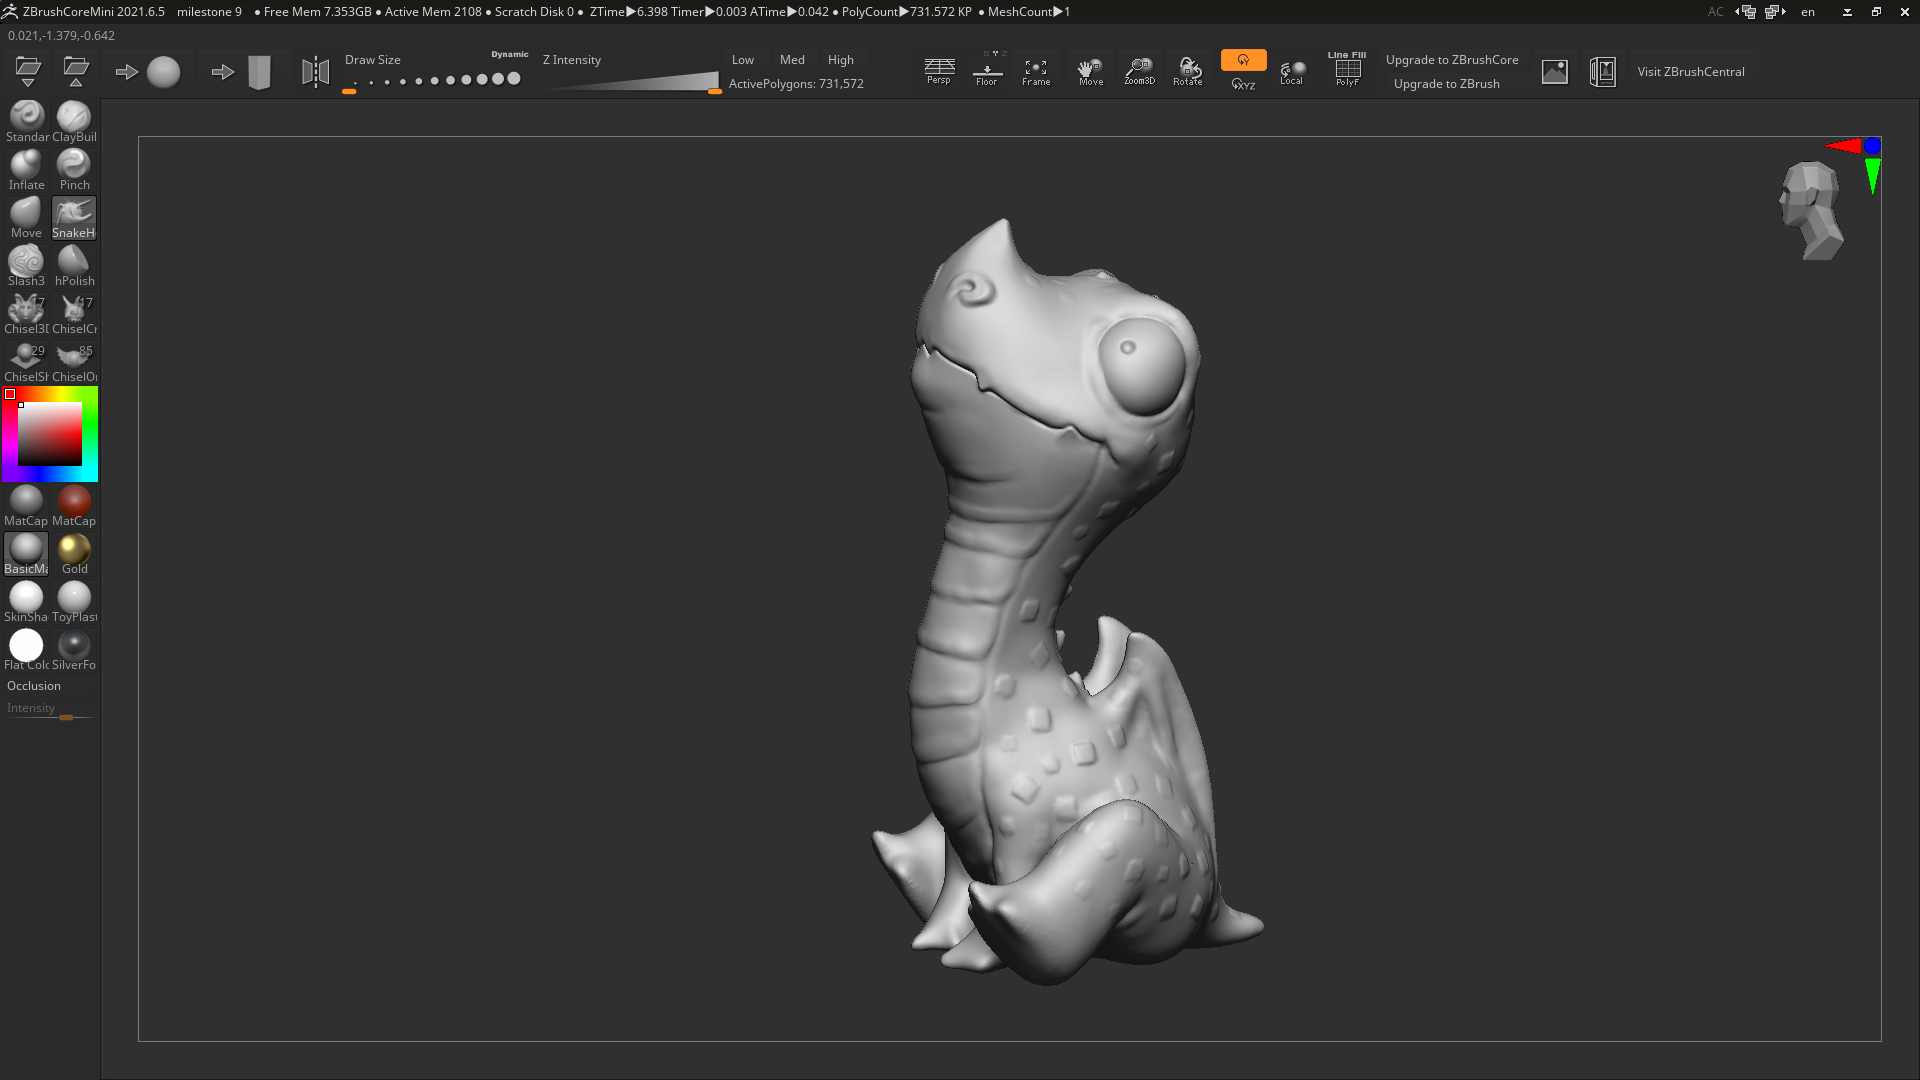
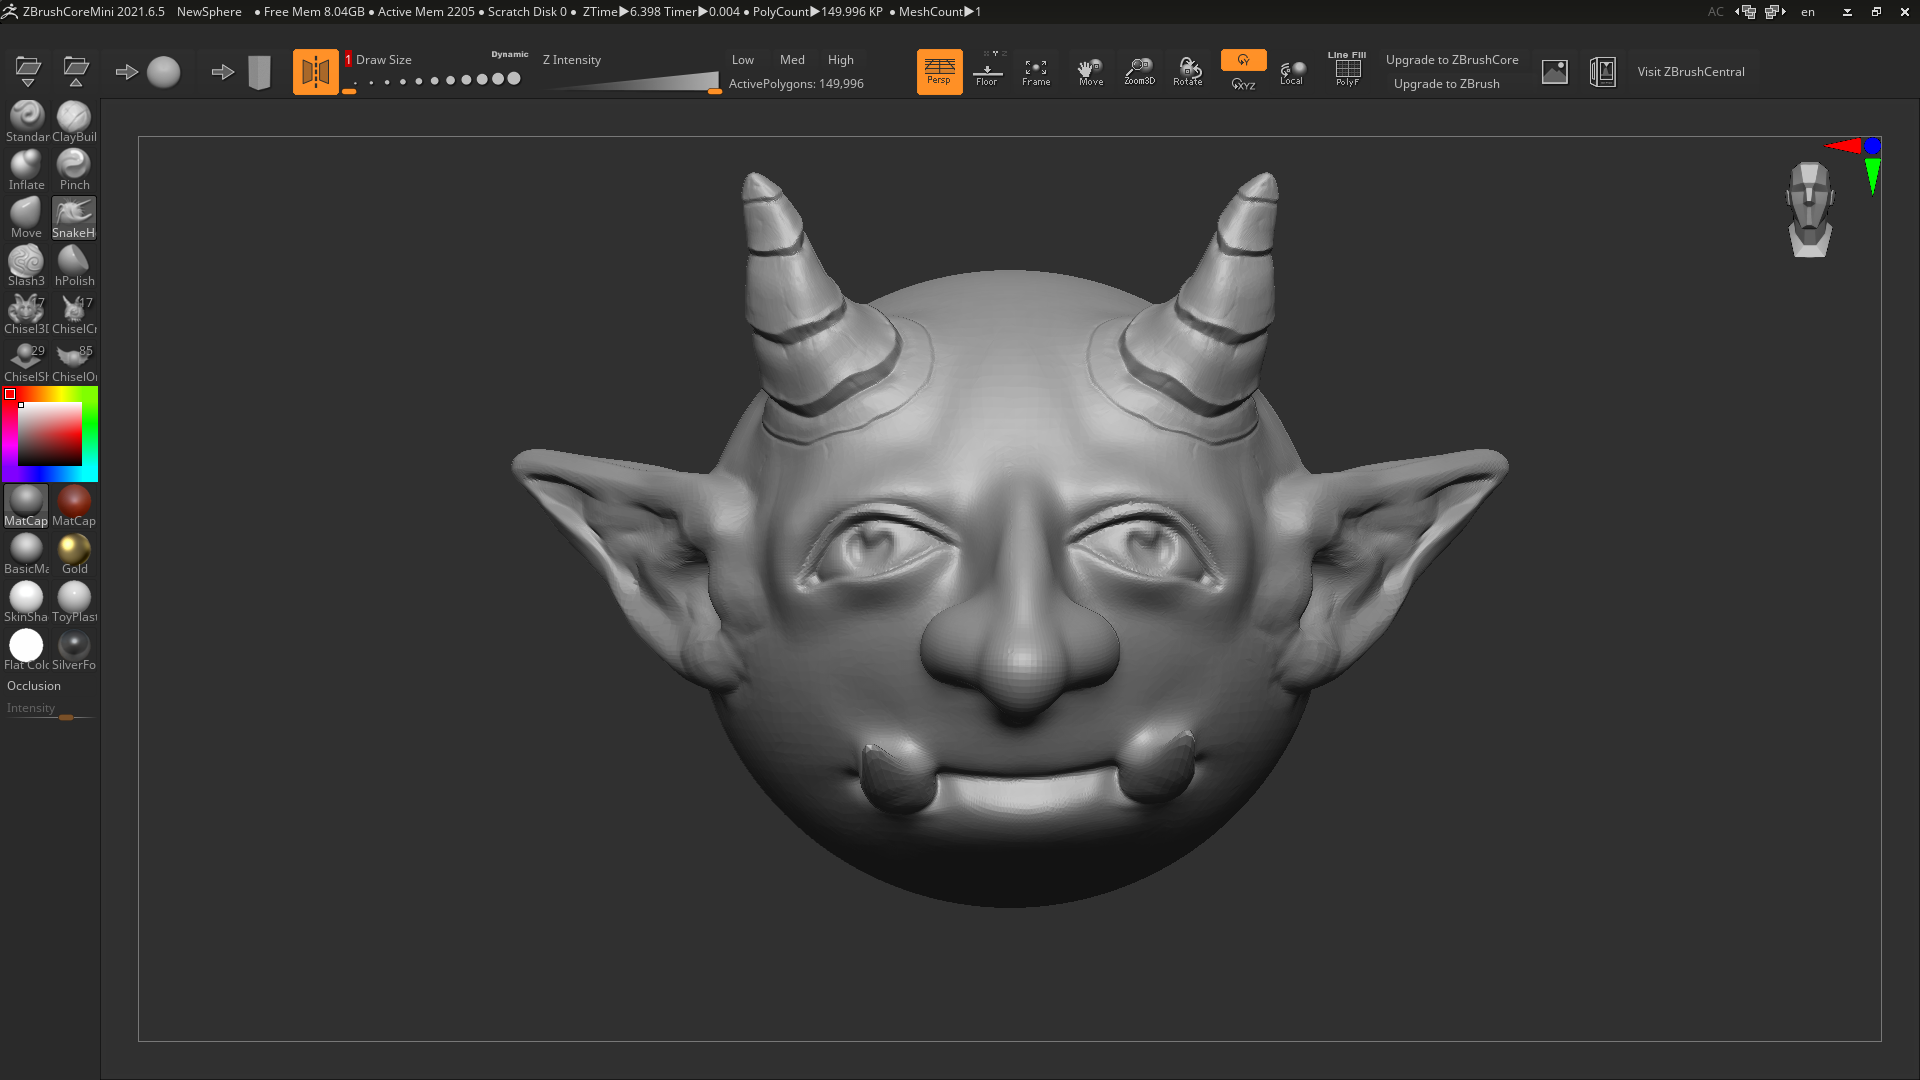
Working with the ZBrush Core Mini
Compared to the other options mentioned above, the interface of the Zbrush Core Mini is extremely simple – like, the Windows Paint app level of simple. 🙂
Before we make a quick tour through the menus, there is an important thing to say: some of the most basic controls are not even available as on-screen icons, they are accessible only with a keyboard:
When holding the Alt key, a sculpting brush does the exact opposite thing – makes a ridge instead of a crease, a socket instead of a bulge, etc.
When holding the Shift key, no matter what brush you have selected, it changes into a polishing tool, smoothing out the surface.
(Make sure you notice when these keys are pressed in the video tutorial! It is always indicated in the lower left corner.)
And of course, there are the Ctrl+Z and Ctrl+Shift+Z shortcuts for undoing/redoing the changes you have made.
Now let’s go through what is available on the screen.

In the top menu, the first four icons are pretty self-explanatory. Going from the left, there is load, save, and two options of starting from scratch (using either a sphere or a rectangular block as the starting object).

Next are the three very important options, the only ones that have any impact on the sculpted object itself: the Activate Symmetry icon (which lets you sculpt two exactly mirrored features at once) and the Draw Size and Z Intensity sliders, which, you guessed it, change the size and intensity of the effect of your sculpting brush. You can also turn the symmetry on and off with the X key, adjust the Draw Size with the mouse wheel, or by holding the S key, and change the Z Intensity by holding the U key.
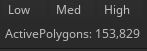
Next in the row are the Low-Med-High polygon settings – you can mostly ignore them, The ZBrush Core Mini will automatically reduce the polygons once they exceed a limit set for this free version, anyway.
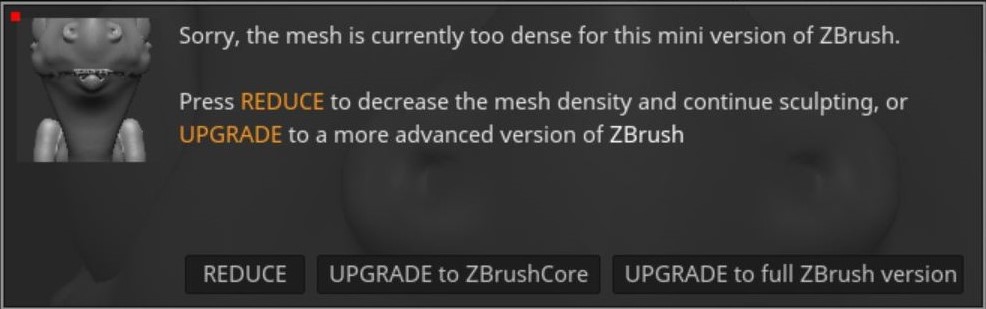
You don’t have to worry about that, it’s not like some of the details you make would disappear, actually, the change in the polygon count is hardly noticeable. It’s just a minor nuisance because the window suddenly pops up out of nowhere and then it takes a short while before the program computes the reduction.

Let’s go back to the menu. The following icons only manipulate the view, not the model itself. You can turn off/on the perspective, the floor grid, the triangular mesh (called Polyframe here), and zoom, move and rotate.
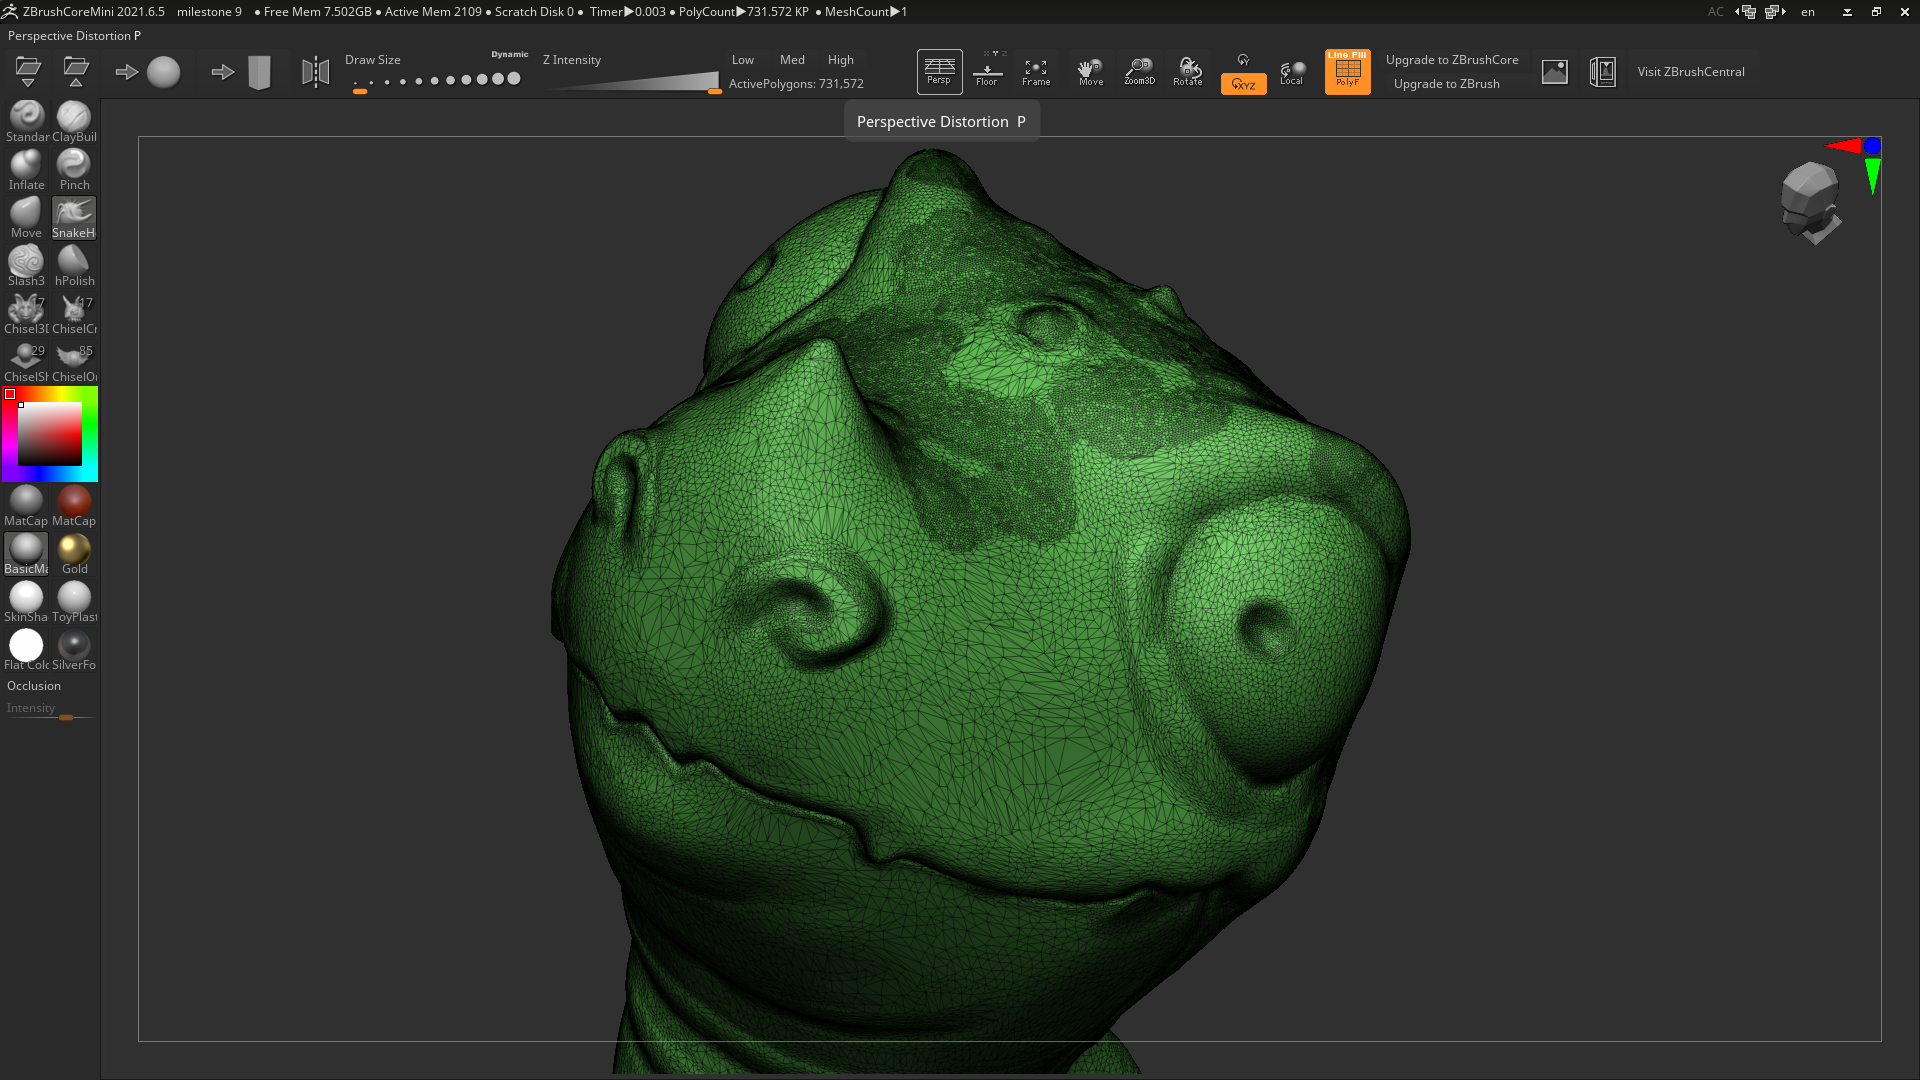
The visible Polyframe has probably very little practical use, but looks quite cool.
Then there are some links for upgrading the software version and options for exporting either a model image or a file for 3D printing.
The left side menu offers the actual sculpting tools.
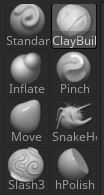
There are twelve “brushes” available, some with slightly weird names:
Standard Popup+T gives a neat rounded outline to an existing feature,
ClayBuildup adds thin stripes of material to build up new features,
Inflate adds bulk, literally inflates an existing feature,
Pinch makes ridges,
Move presses or pulls the existing material,
SnakeHook makes thin protrusions like spikes or tentacles,
Slash3 creates wrinkles, ridges and creases,
hPolish creates flat surfaces, removes material as if sanded off with a file.
Keep in mind that the effect of each brush is largely dependent on the chosen Draw Size and Z Intensity, and also, that you can reverse the effect of each brush with the Alt key.
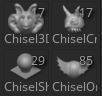
Then, there is the “Chisel” group (Chisel3D, ChiselCreature, ChiselShapes and ChiselOrganic) which are not really brushes, but tools for inserting some ready-made components, from basic geometrical shapes to facial features. There are human-like eyes, mouths and noses, and also various beaks, spikes and horns.
Experimenting with adding the ready-made chisel shapes can be a lot of fun, especially for kids.
While the selection of brushes might seem quite limited, you don’t really need that many. In fact, when modeling the baby dragon, we didn’t even use all of them (no Pinch at all, hPolish and Standard Popup+T just once or twice). About 90% of the work was done with the Move and ClayBuildup brushes. In many cases, the brushes can substitute each other to some extent: for example, a Move brush with a small Draw Size will do something similar to the SnakeHook brush, etc.
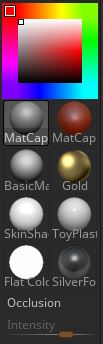
Anyway, let’s finish the menu tour. Beneath the brushes, there is a set of icons that change the material of the sculpt (both its color and the texture, gloss or matte). To some extent, It can help you imagine what the printed object will look like, but that’s it. The default material is probably already the best for showing details on screen.
That’s all regarding the ZBrush Core Mini controls. As you can see, it is actually very simple. However, working with such software is a typical case of the “easy to learn, hard to master” saying. To make your first sculpting attempts go smoother, please consider the advice below.
You can change the color and material of your sculpt.
General sculpting tips and tricks
- Be patient. Let’s not sugarcoat it: sculpting can be difficult and time-consuming. The original unedited timelapse video of the baby dragon sculpt was 2 hours long – and that was done by a skilled sculptor who had a clear idea in his mind.
- Also, don’t expect a linear process, most of the time you will be coming back, retouching, or completely deleting or changing what you have done before.
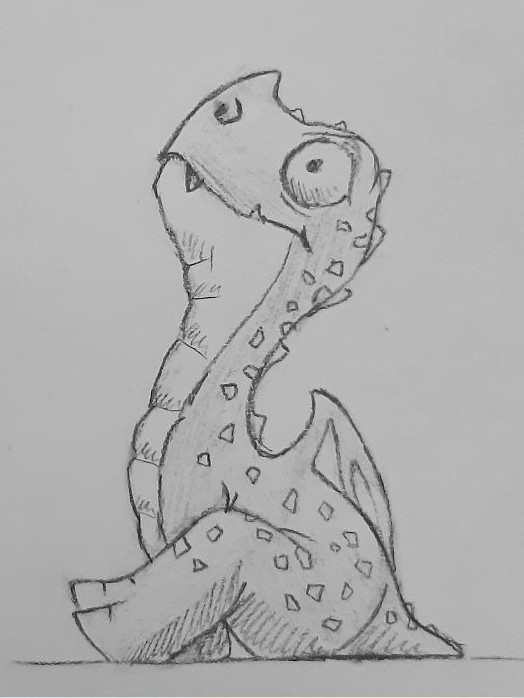
- It really helps to make some sketches on paper beforehand. It is OK to improvise a bit, just don’t go by a complete trial and error.
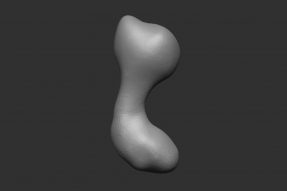
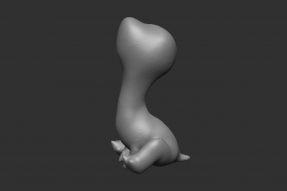
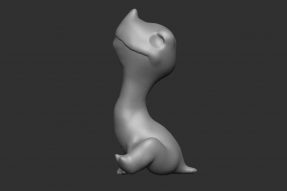
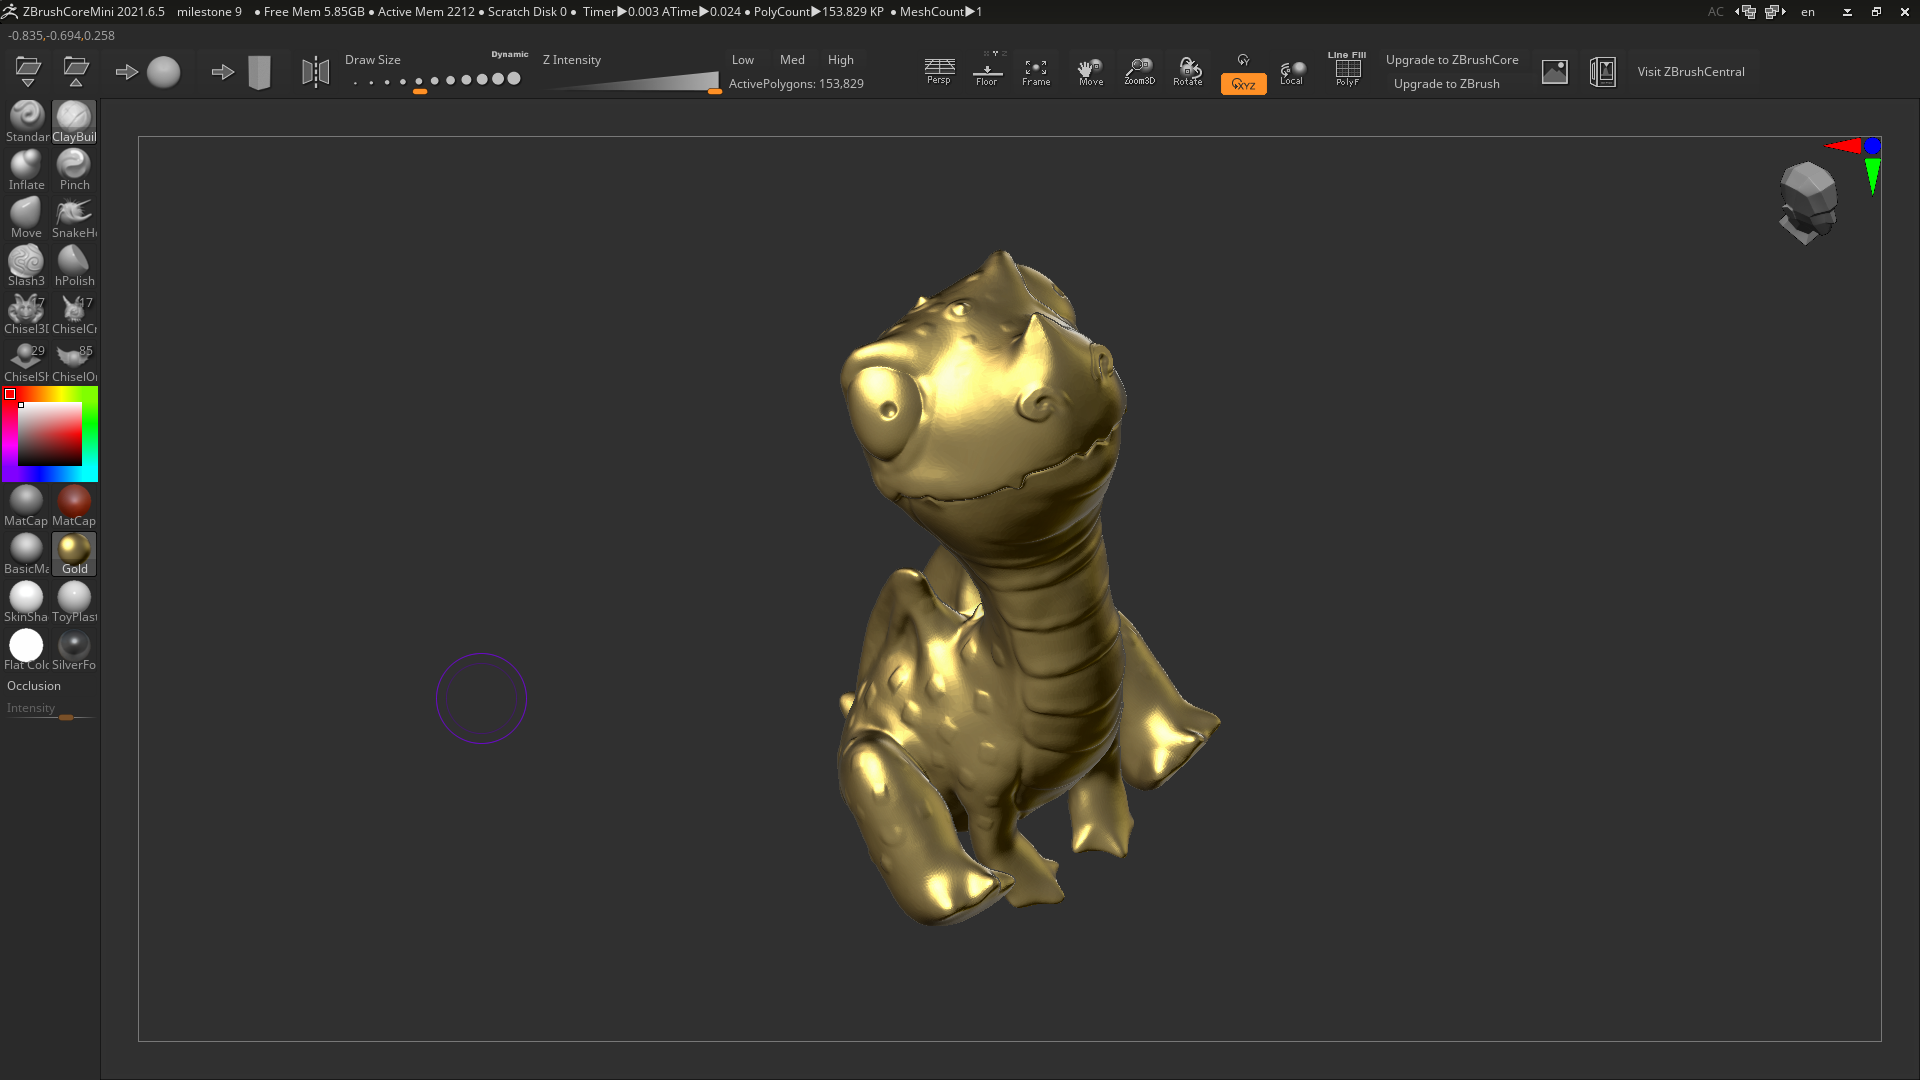
- Save often. Make multiple save files – like the milestones you can see above.
- When modeling, try to have 3D printing already in mind. Go for compact, stylized shapes, watch out for thin protruding details that would be brittle and/or below the printable size threshold, and also for steep angles possibly creating islands and overhangs that would be unprintable without supports. In this particular case, be careful around the baby dragon’s hind legs foot soles and knee pits, the wings, and the spikes on the back.
- To get more control, especially when working with the ClayBuildup brush or when polishing the surface, use a lower Draw Size and Z Intensity and add multiple small layers instead of a few larger ones.
Take your time to smooth out the surface (holding the Shift key) as you go along, any rough spots might be more difficult to fix once there is more detail. Decrease the size of your brush almost to a minimum and turn off symmetry to clean up small isolated blemishes. - Zoom in and out, rotate, and inspect your model from more perspectives all the time. Working for a longer period from just one single particular angle could be very deceptive. Use the Alt and Ctrl keys together with the right mouse button instead of the on-screen icons – having to travel with the mouse cursor back and forth all the time would soon drive you crazy.
Preparing the model for printing
As already mentioned above, you can export the finished sculpt simply by clicking the Export for 3D Printing Icon in the top menu. For some reason, the only available format is OBJ, which is fine, though – it can be opened in PrusaSlicer the same as the much more common STL format.
If you have done everything right, no supports should be needed.
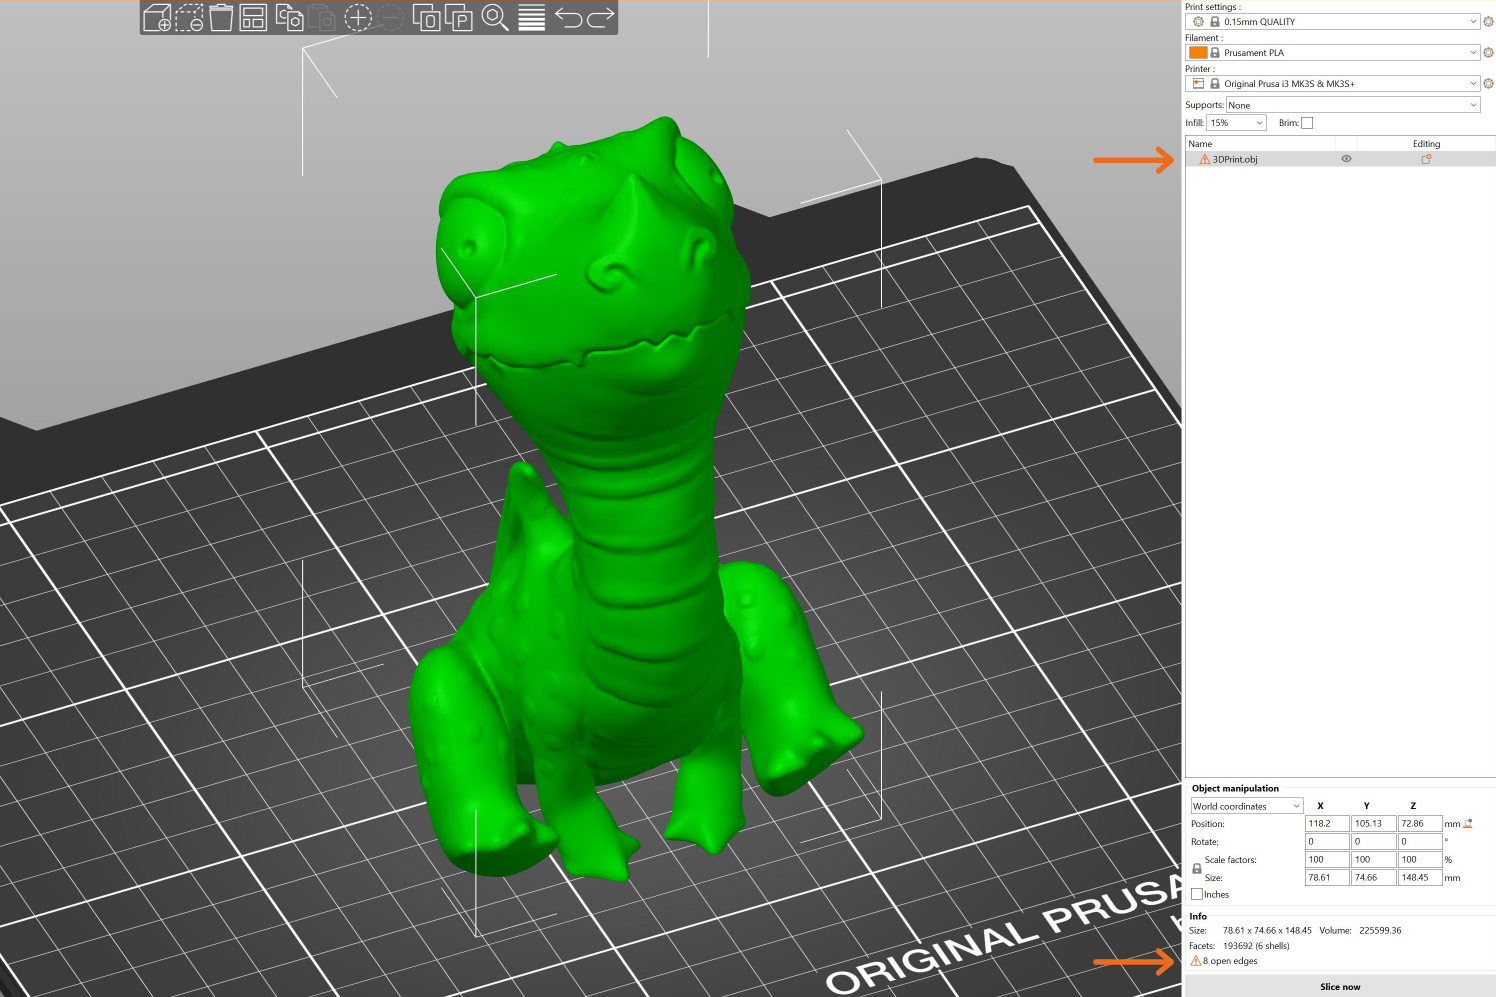
Note that sculpted models can often contain some errors in the triangular mesh that forms their surface. There could be some holes, stray vectors and nodes, walls with no thickness, etc. – in one word, we say the model is non-manifold. These errors are accidental and hard to prevent during the modeling process, however, they are easy to fix in PrusaSlicer afterwards. If you notice the triangular warning sign, just right-click the model name to fix it with Netfabb service.
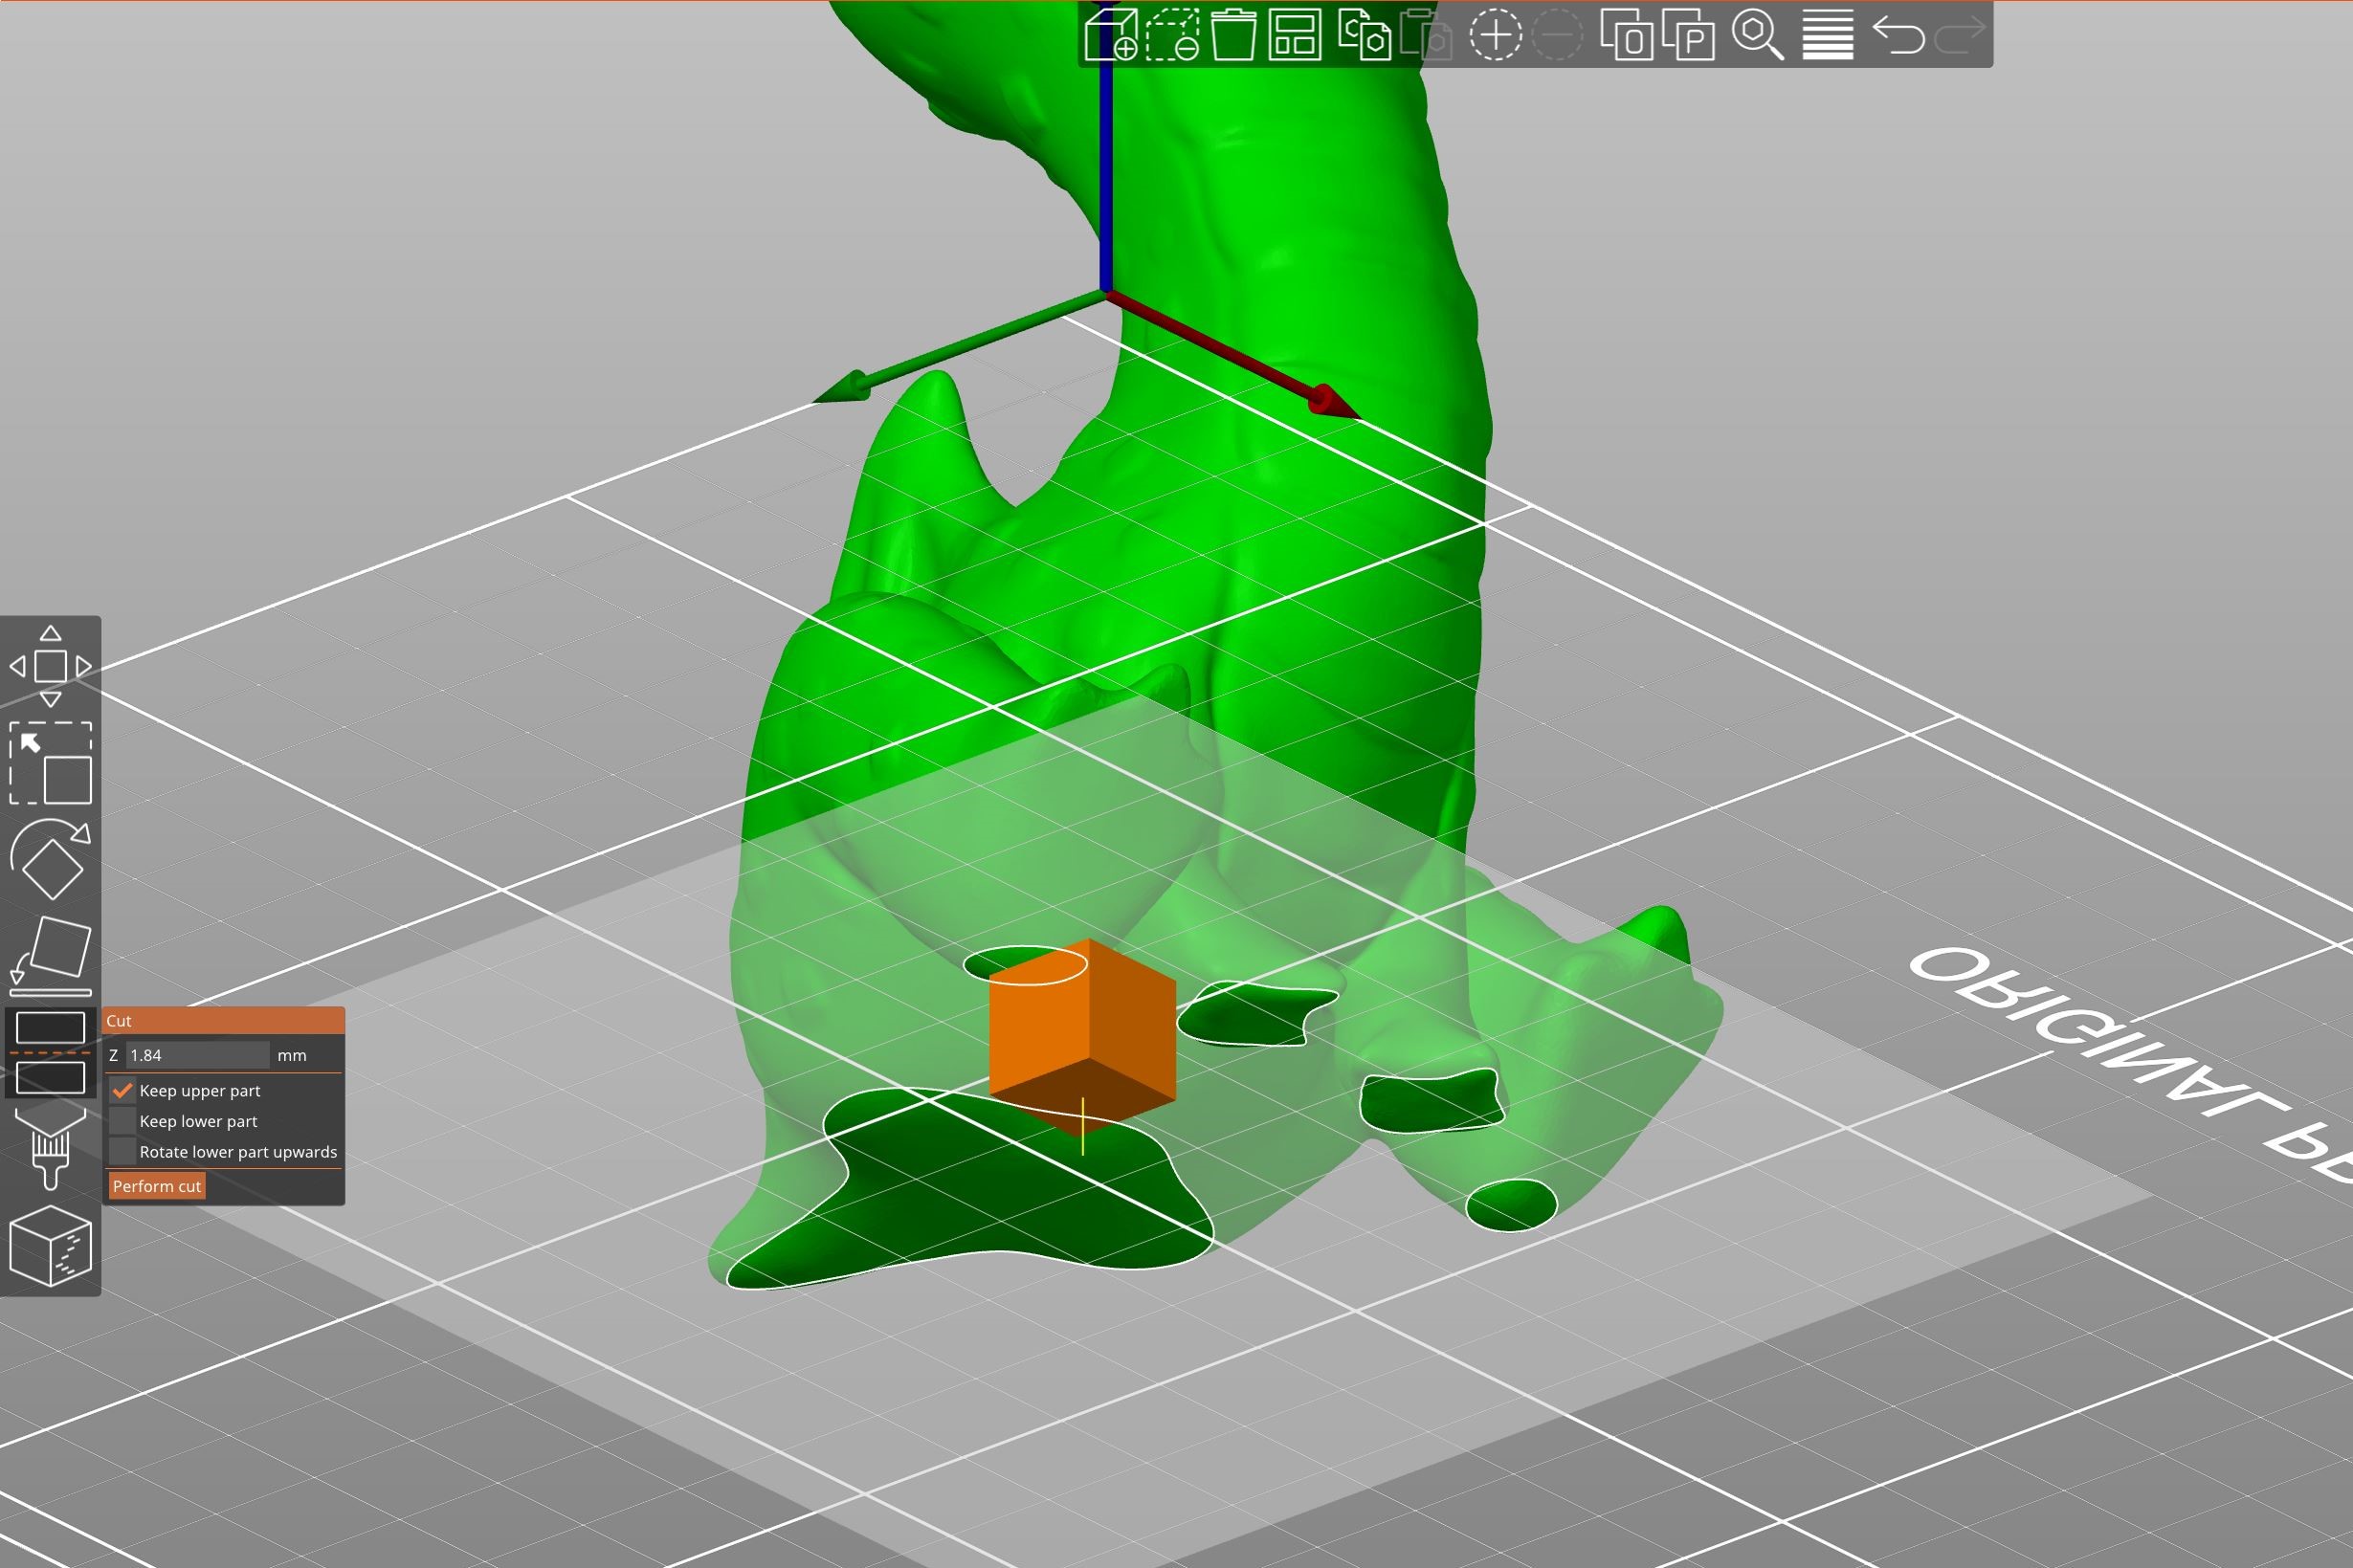
Use the Cut tool in PrusaSlicer to make sure your model has a nice flat bottom surface to sit nicely on the print bed.
If you intend to print a larger model on an SLA printer such as the Original Prusa SL1S, make sure you hollow it out first.
If you print on an FDM printer such as the Original Prusa MK3S+ or the MINI+ instead, it might be a good idea to use the variable layer height, to optimize the detail quality/printing time ratio.
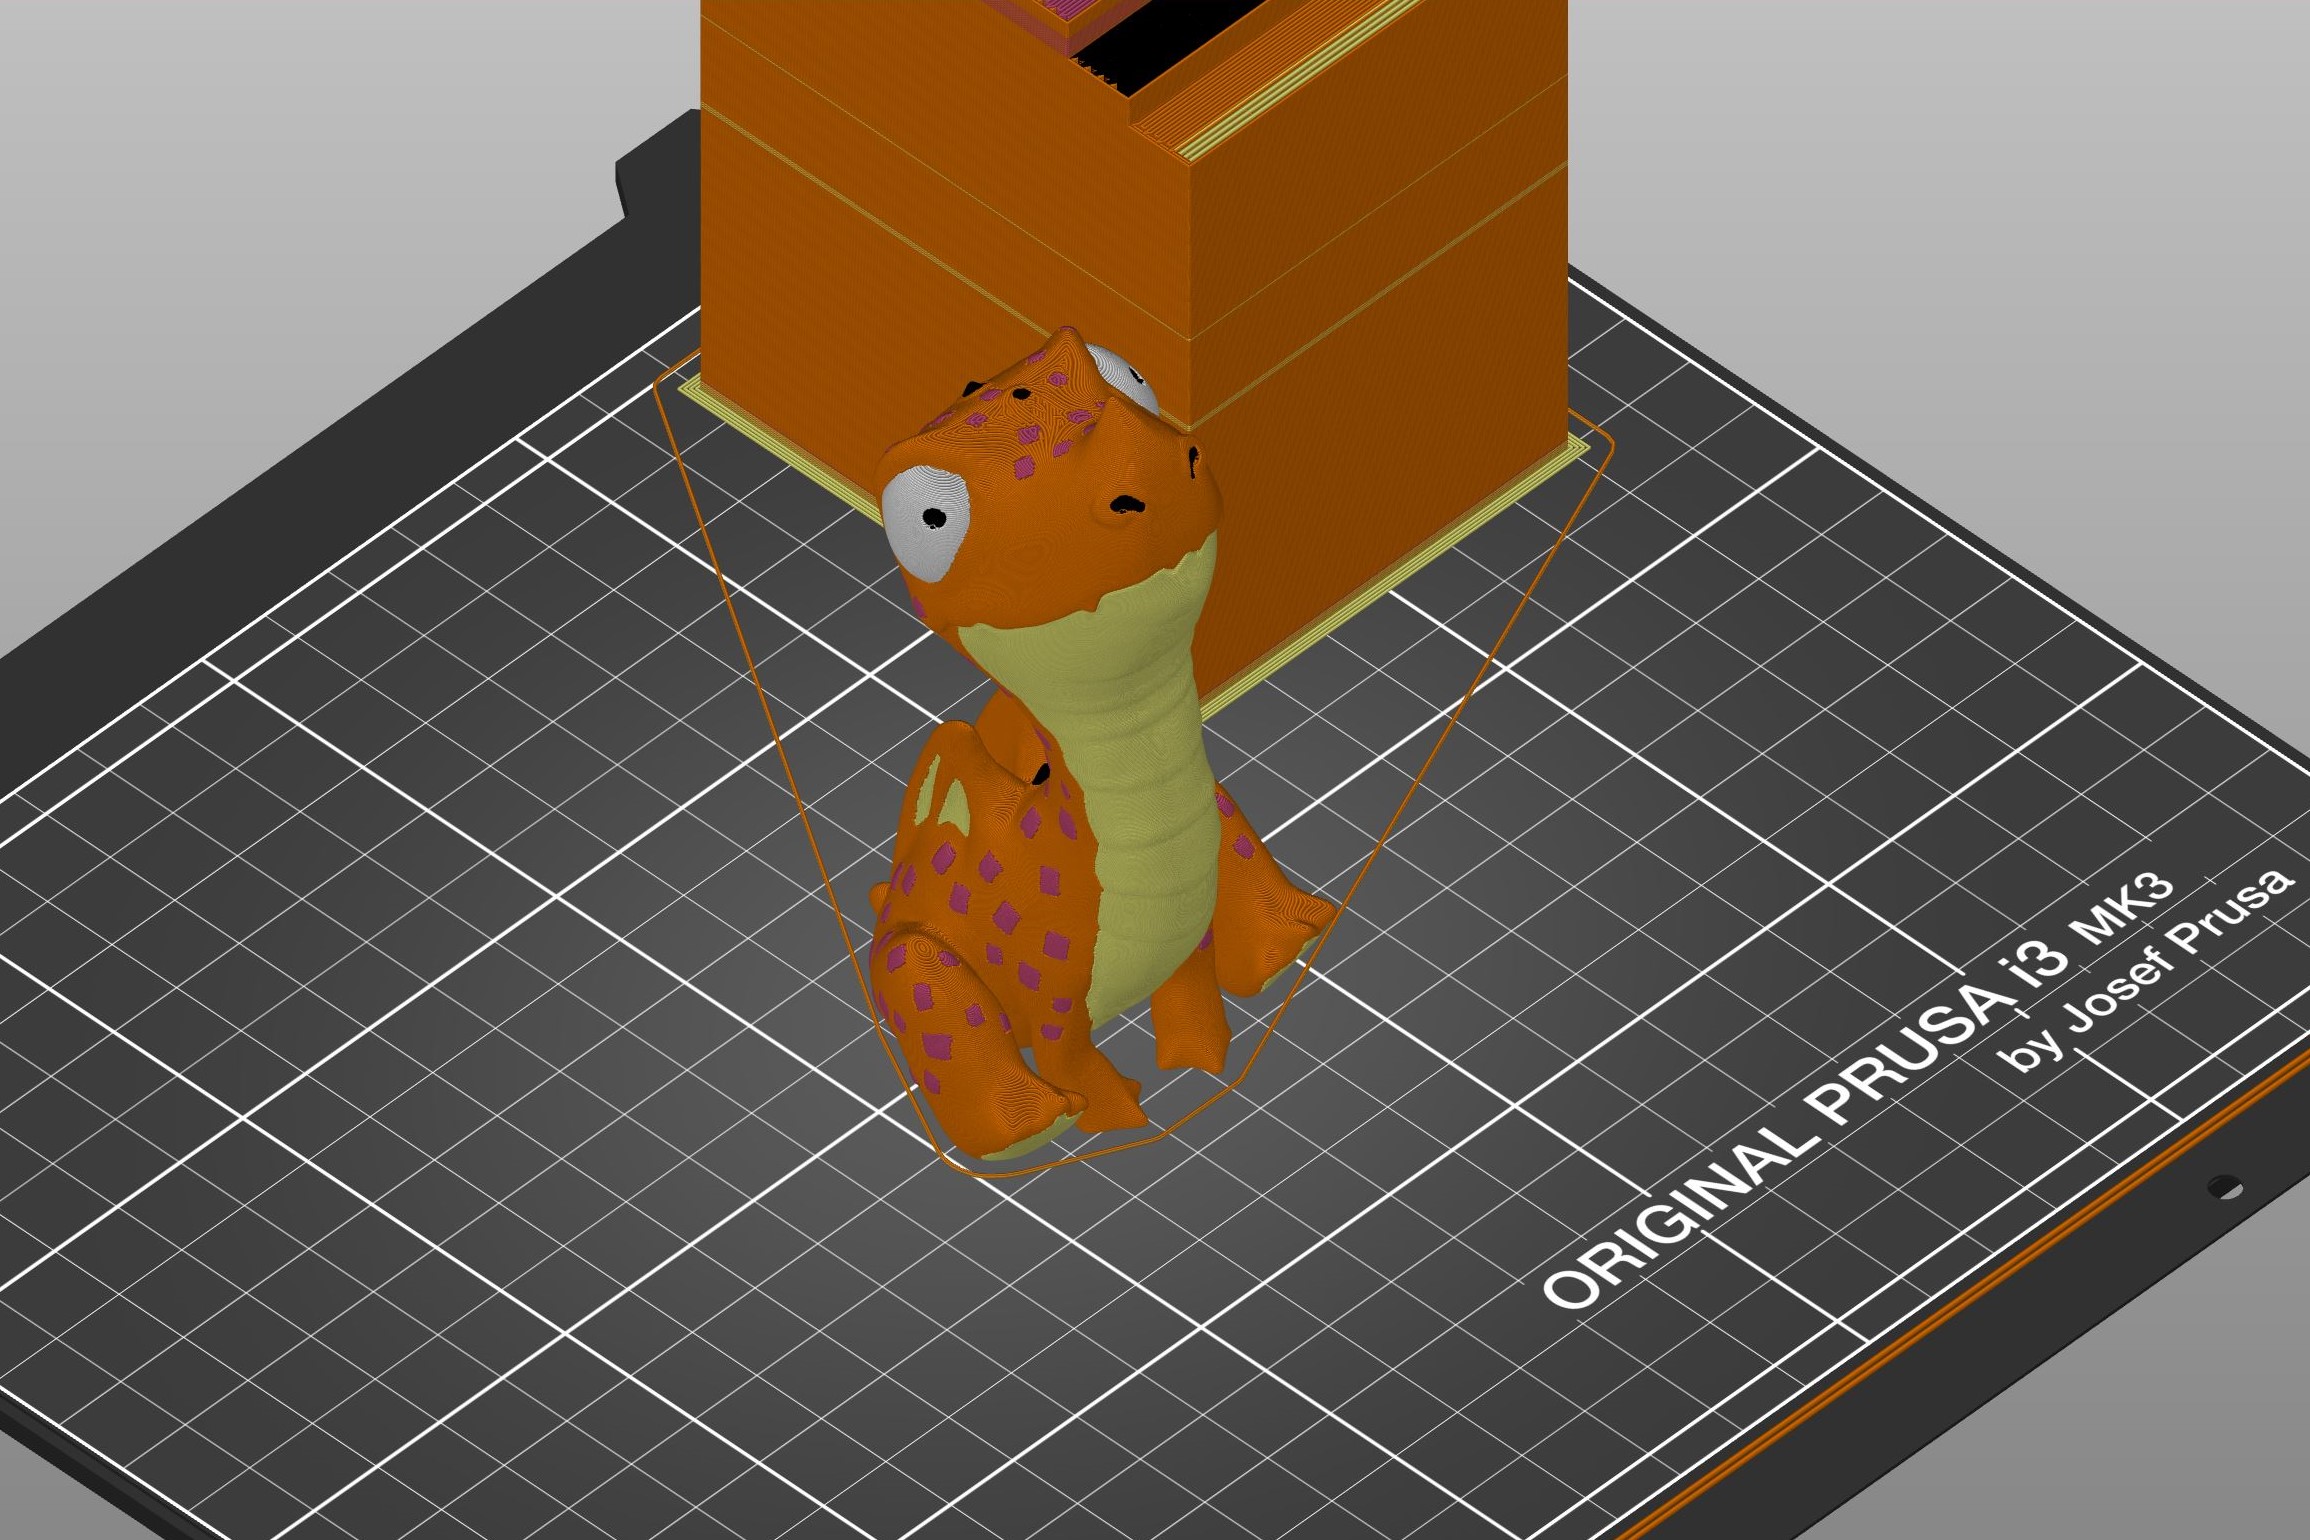
If you have the MMU2S upgrade, you can also print the dragon in multiple colors. On Printables.com, there is already a proper 3MF file available.
Shopping list
- Once you get the idea that sculpting is something you would enjoy doing on a more regular basis, the first and foremost thing to invest in is a graphics tablet. We already mentioned this in the older article about sculpting and really, we can’t stress this enough. You don’t have to spend a lot of money, even the cheapest model (we definitely recommend the Wacom brand) would still be miles away from the mouse experience. There are three main reasons. First, the tablet senses many different levels of pen pressure, letting you make both gentle and bold brush strokes, while a mouse has just one level – either you press the button or you don’t. 🙂 Second reason is that no matter how steady your hands are, you will probably still struggle to make long straight lines with a mouse. The third reason is ergonomy – obviously, long hours of holding a mouse with a pressed button put an extreme strain on your wrist.
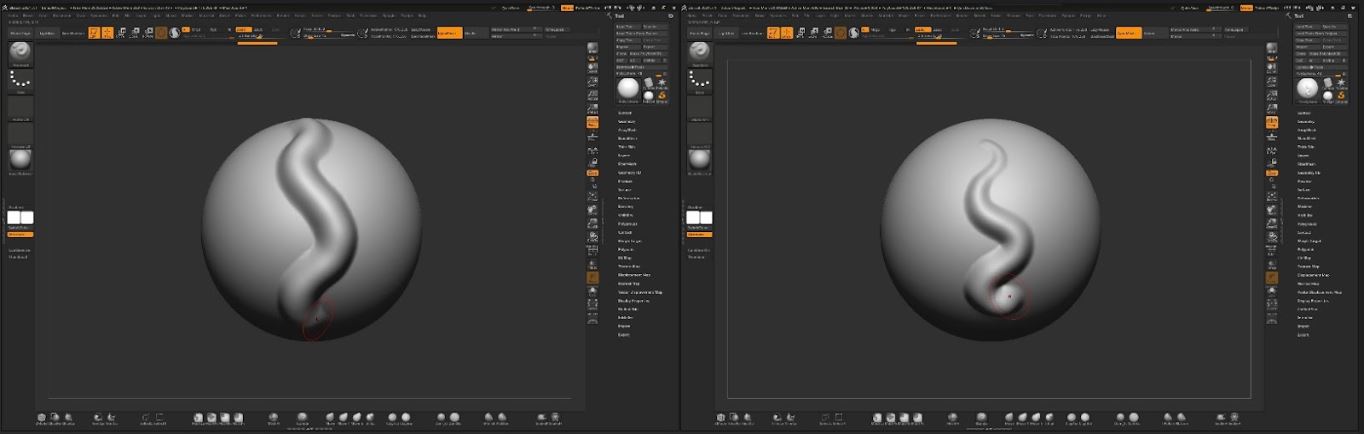
The difference between a brush stroke made by a mouse and by a graphics tablet pen.
- You could also invest in better software. The ZBrush Core is relatively affordable and removes some of the most glaring limitations of the ZBrush Core Mini. One worth mentioning is the inability to sculpt separate objects in one scene. For example, you could make a separate eyeball which is then not affected when sculpting the eyelid.
- A second screen helps a lot – you could use it to show some reference photos you need for your project.
- Speaking about reference, there is never enough of it: consider investing in books, anatomy models, or sculpts of other authors for inspiration.
And that’s all for now. We hope you had fun and this baby dragon won’t be your last sculpting project. We will definitely return to this topic in the future, either with another blog article or maybe even a fully-fledged Prusa Academy online course.
Happy printing!
– Vlado Turek, Vladimir Kafka
I follow your blog for good information. This endless runner game is enjoyable, just like run 3
thanks for the tutorial really enjoyed it made my first sculpt in Zbrush thanks to you having fun with it also mad respect to the artist in the vid the dragon is great its the small details that really make it shine
Please add to article that zbrush core mini is Windows/Mac only; no Linux 🙁
I successfully created my first sculpt in ZBrush with your tutorial, so thank you, <a href="https://kveez.com/en/nerdle/">nerdle</a>