


We’ve already shown you a few tips on how to use every last meter of filament. For example, not long ago, we ran a contest on Printables.com, where you uploaded great projects using the last 5 (or less) meters of filament. We think that this topic is full of potential so we decided to compile a list of several useful tips to save material (and money) that you might be interested in. It makes sense that some of the following examples will be used in very specific ways but it’s still good to keep them in mind to save the environment and your wallet.
1. PrusaSlicer settings
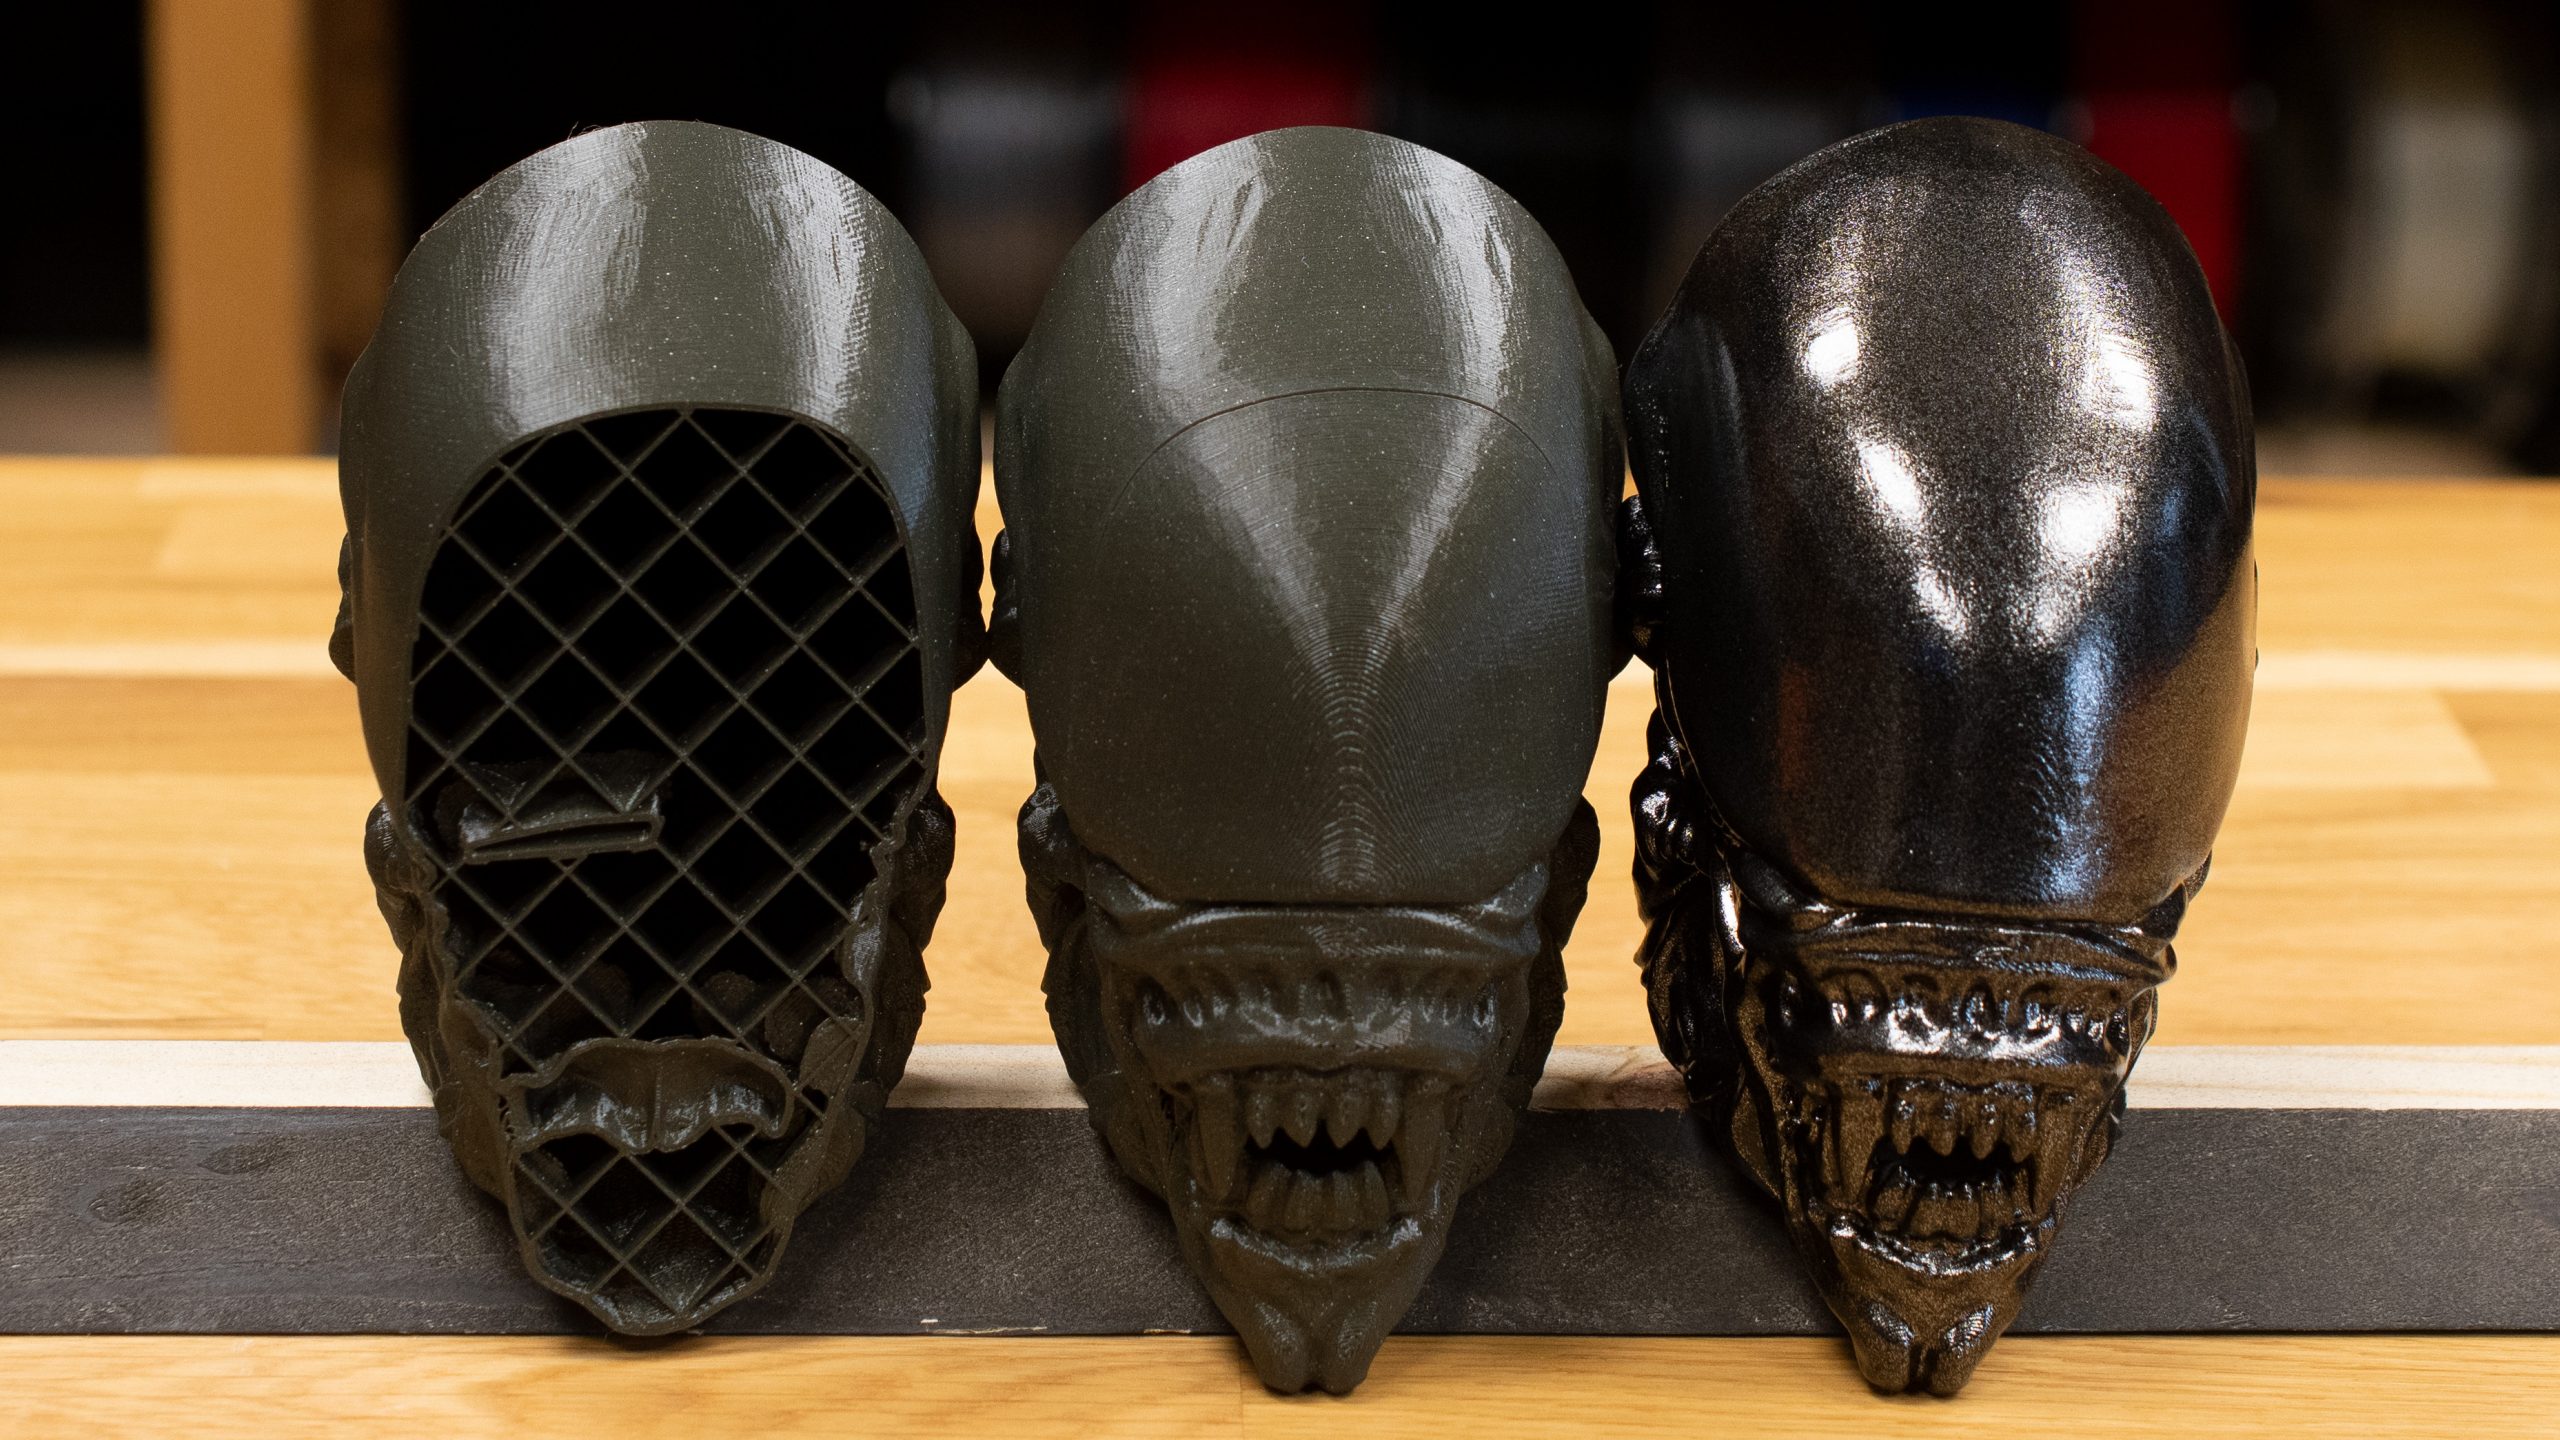
PrusaSlicer is a powerful tool for printing both visual and technical parts. We definitely recommend learning how to use Expert mode – with it you should be able to print both great-looking and functional parts with minimum errors. Anyway, we don’t want to overwhelm you, so we’ll share the essentials of saving filament when printing visual parts. First, go to print settings, reduce the number of bottom layers and choose infill that saves material. PrusaSlicer 2.5.0. (and newer) has Lightning infill which is by far the best type of material-saving infill. If you don’t like this type, there are others that work almost as well as the lightning infill – support cubic, for example. Keep in mind that both of these infills are suitable for visual models only – technical parts need stronger internal support. And be aware that saving infill, in general, may lead to print failure. Printing some structures (or materials) may cause material build-up that gets in the way of the nozzle. If you print large and complex models, don’t decrease infill at any cost, you don’t want the print to fail in half.
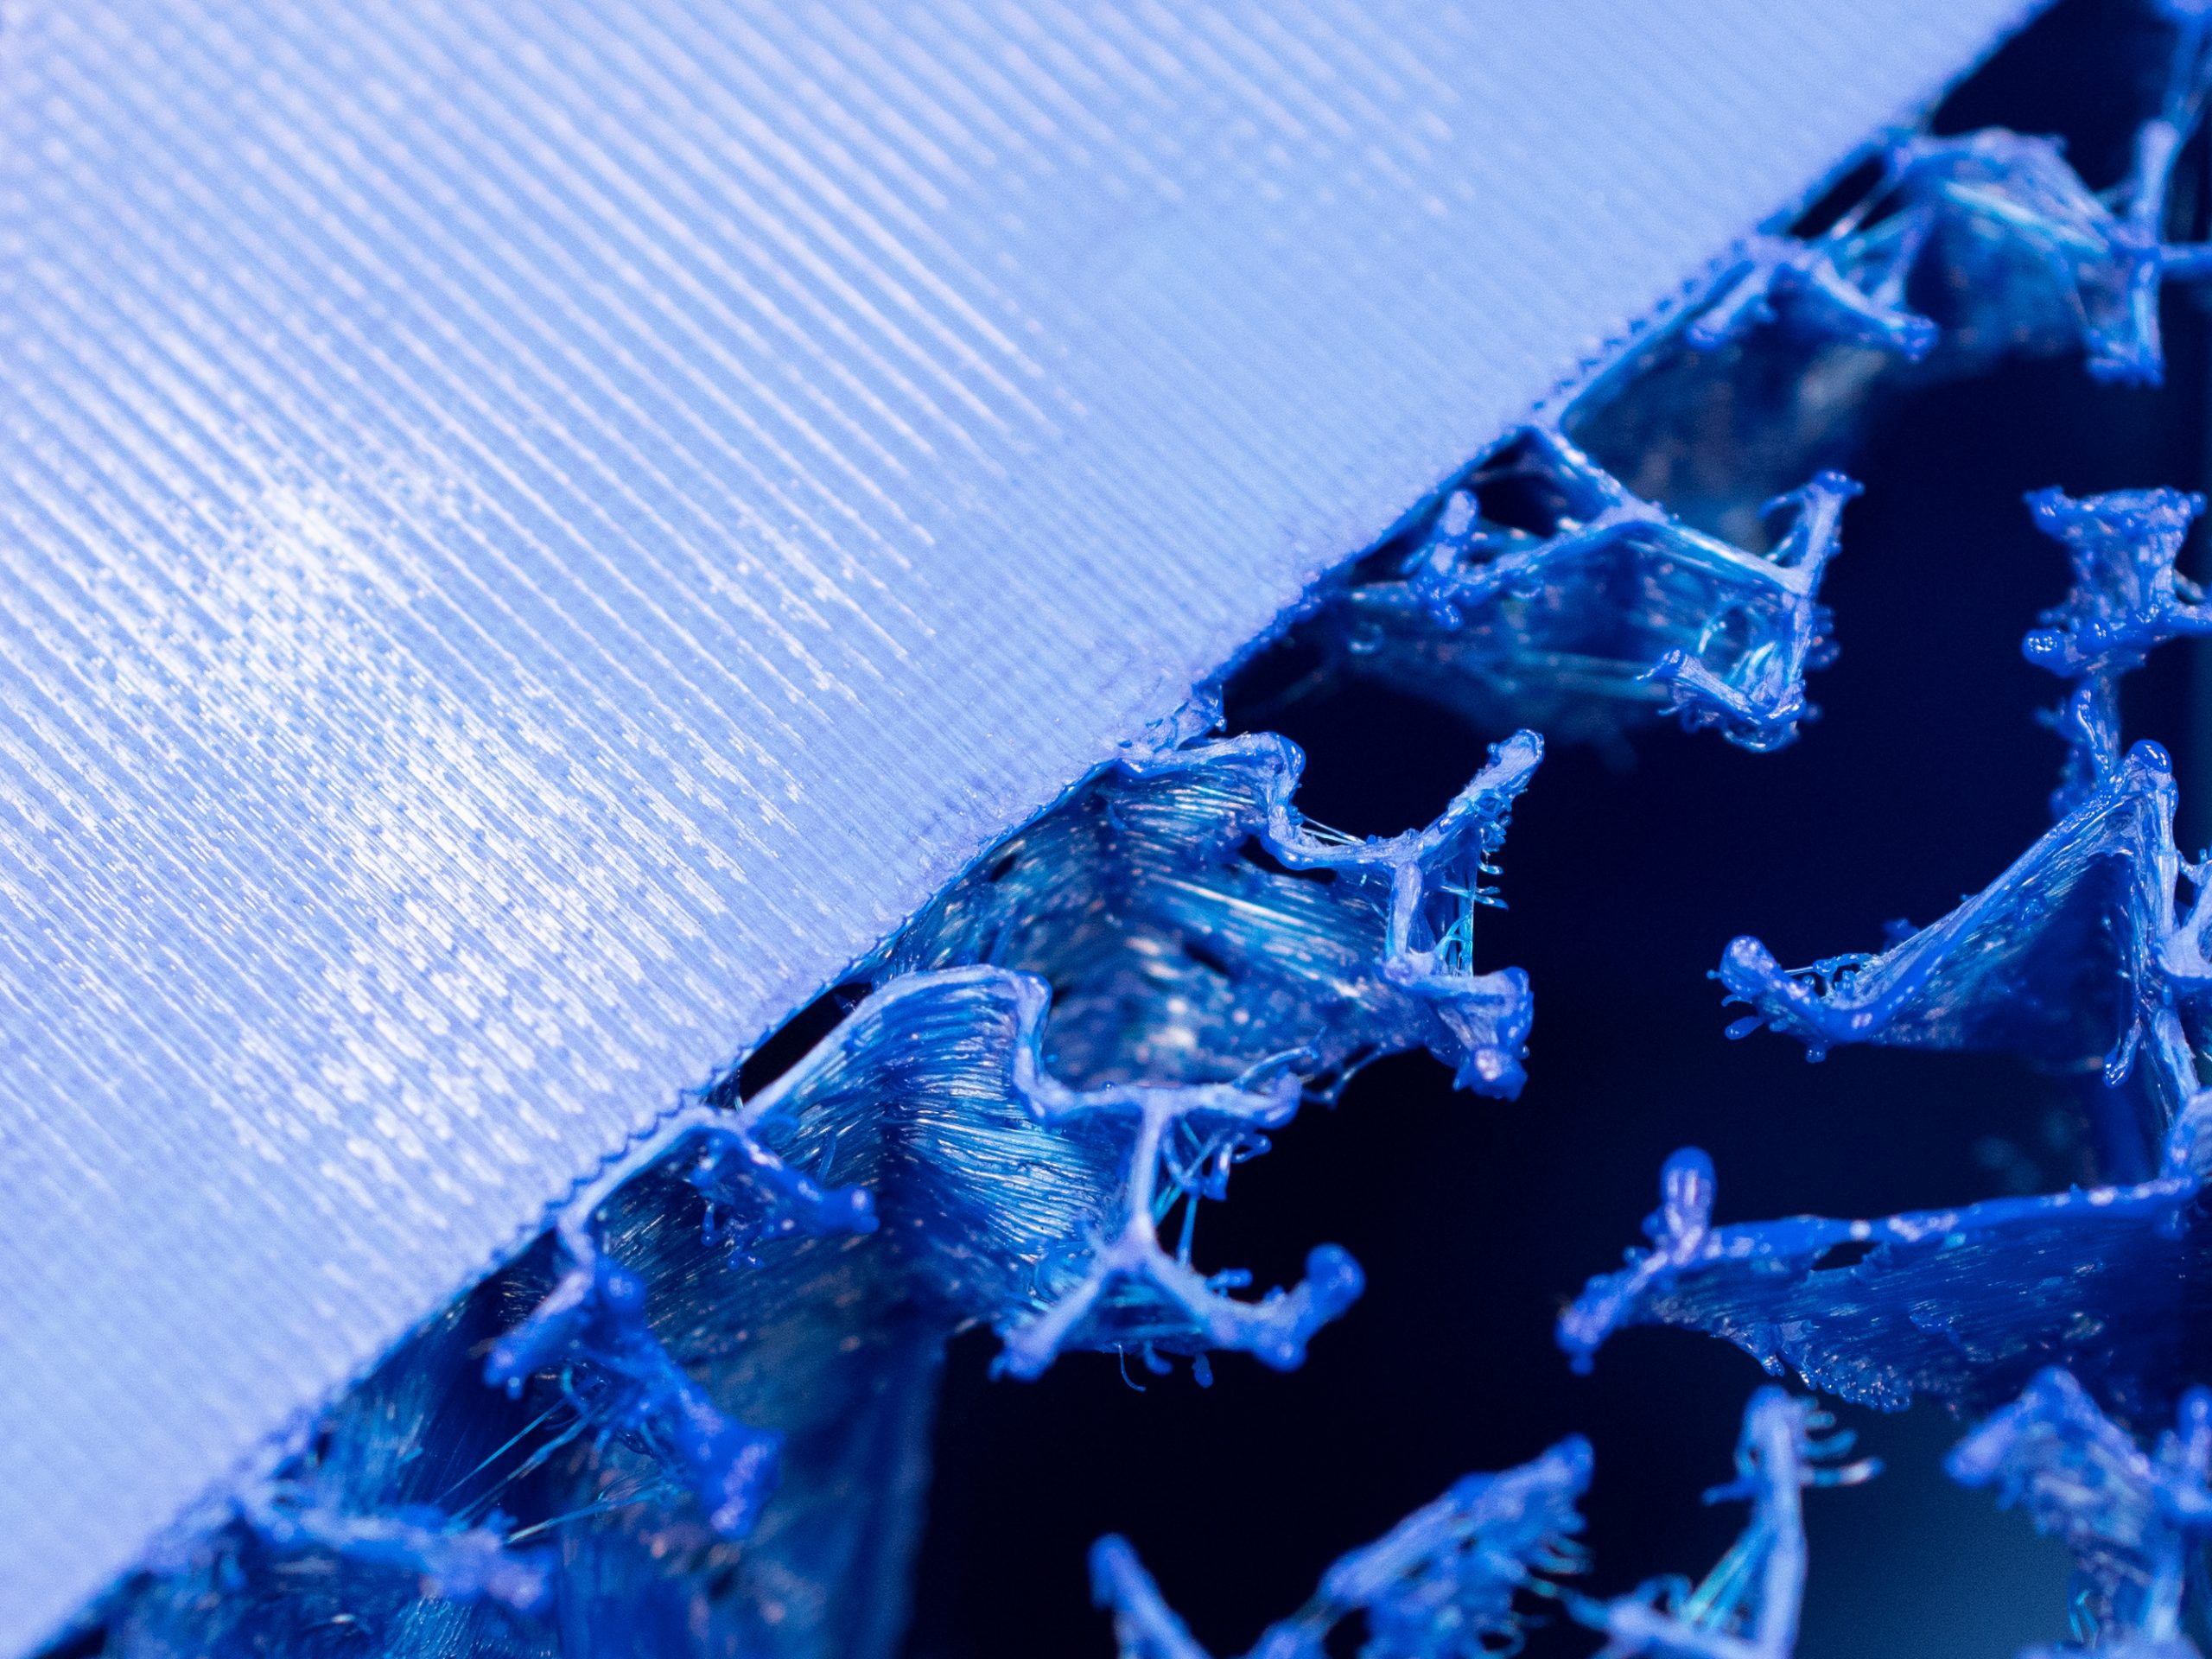
The lightning infill may not look nice but it saves a lot of material
2. Try printing without supports
Print supports combined with complex models significantly decrease print speed and consume a lot of material. Many 3D models can be easily printed without supports by rotating them the right way or cutting them in two (or more parts) in PrusaSlicer. A model cut in half can be easily glued together and visible seams will disappear with postprocessing. After all, plenty of visual models are being sanded and painted anyway so masking any seams isn’t going to add much hard work to it. But if you still insist on printing the model in one piece, we suggest using the paint on supports function in PrusaSlicer. This powerful tool lets you make supports only where it’s really needed.
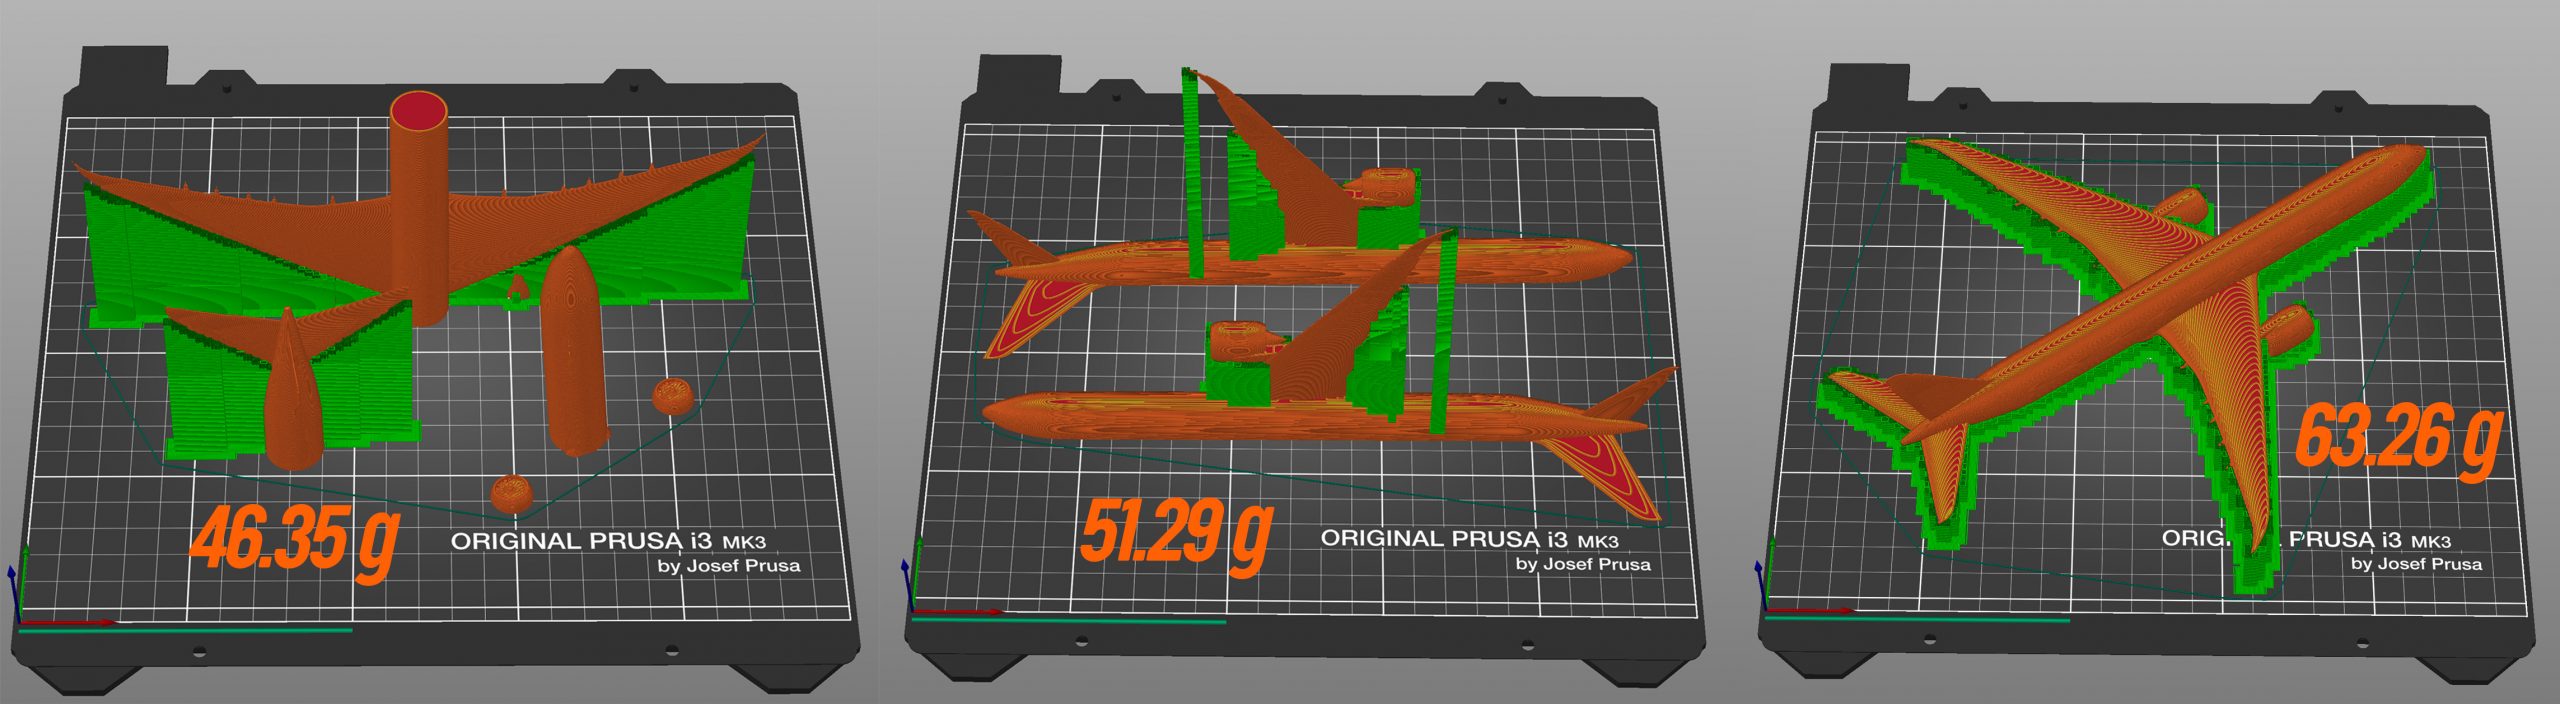
An example of saving filament (and time) by spinning and cutting the model
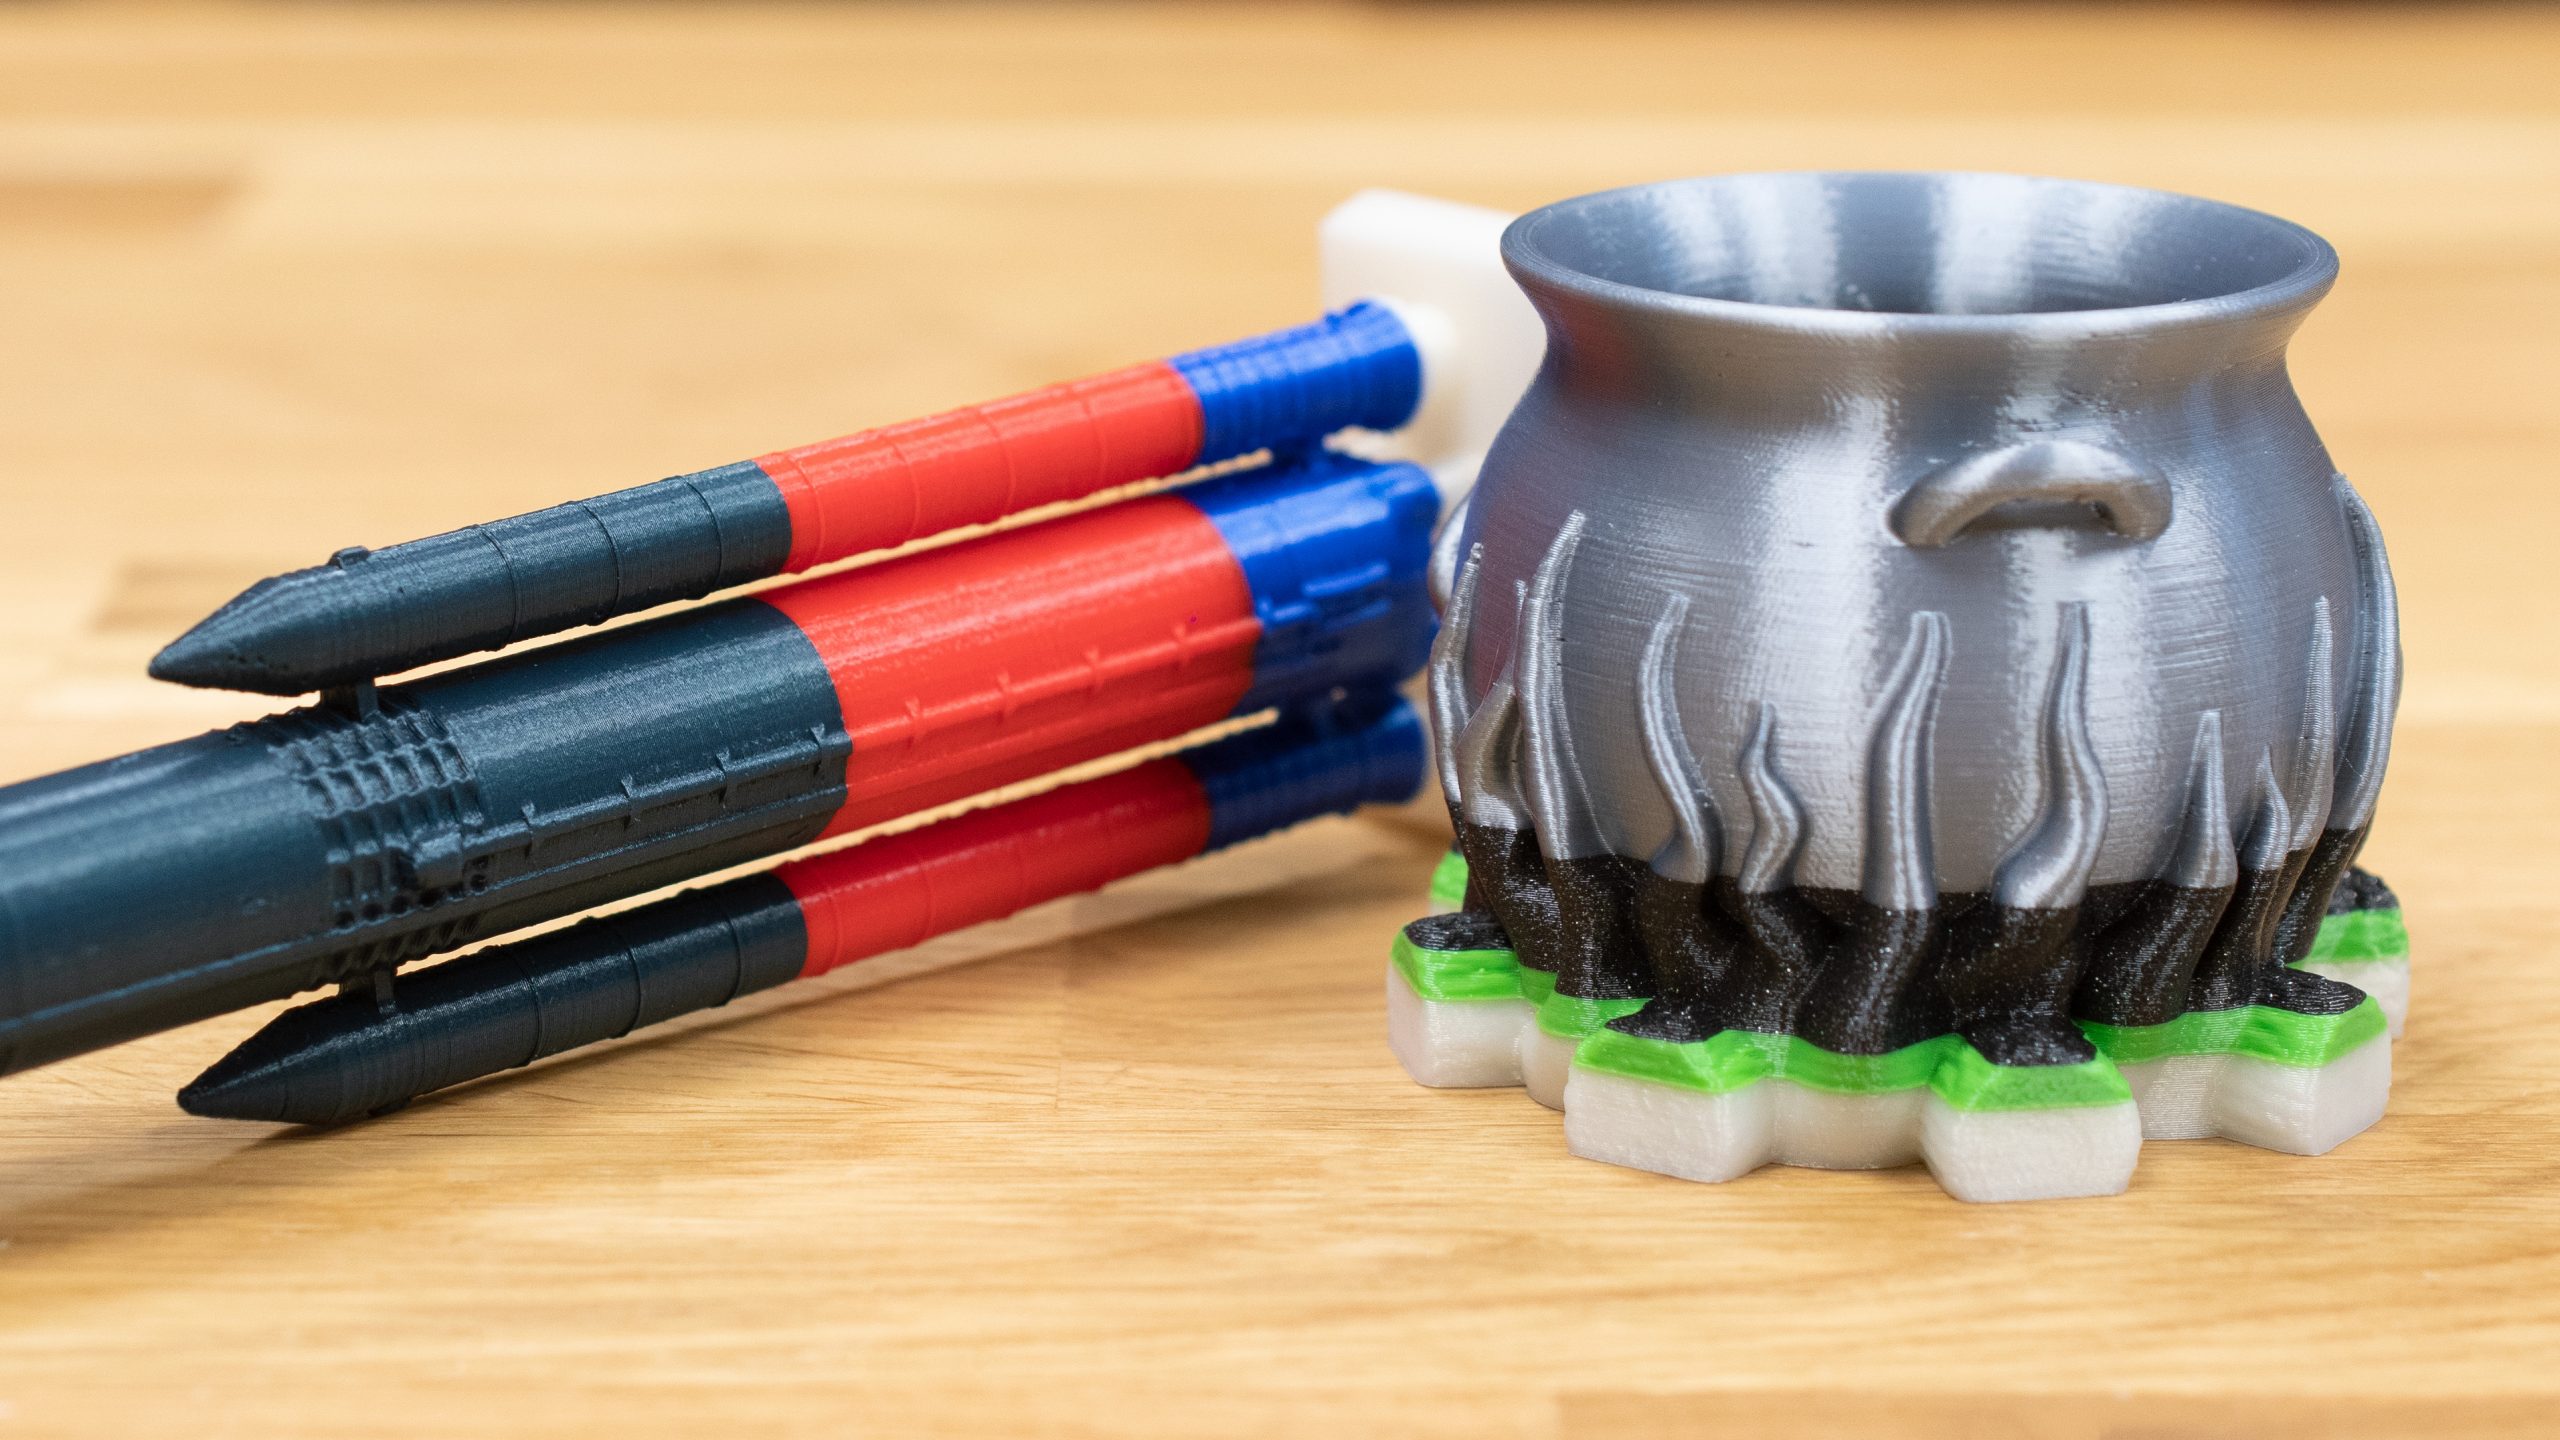
3. Print a detachable print supports
This cool trick we’ve already covered in one of our previous articles uses the color change (pause print) function to give you an option to insert reusable print supports. This might be useful for printing large quantities of models with overhangs over and over again. You simply print a support structure with another material and set a pause print function right before printing the overhangs. Then, you add the structure to the model. But be aware that if you print the support structure with the same material, it will adhere too much to the model and you won’t be able to remove it. We suggest combining tough filaments with flexible supports (and vice versa) with a layer of stick glue.
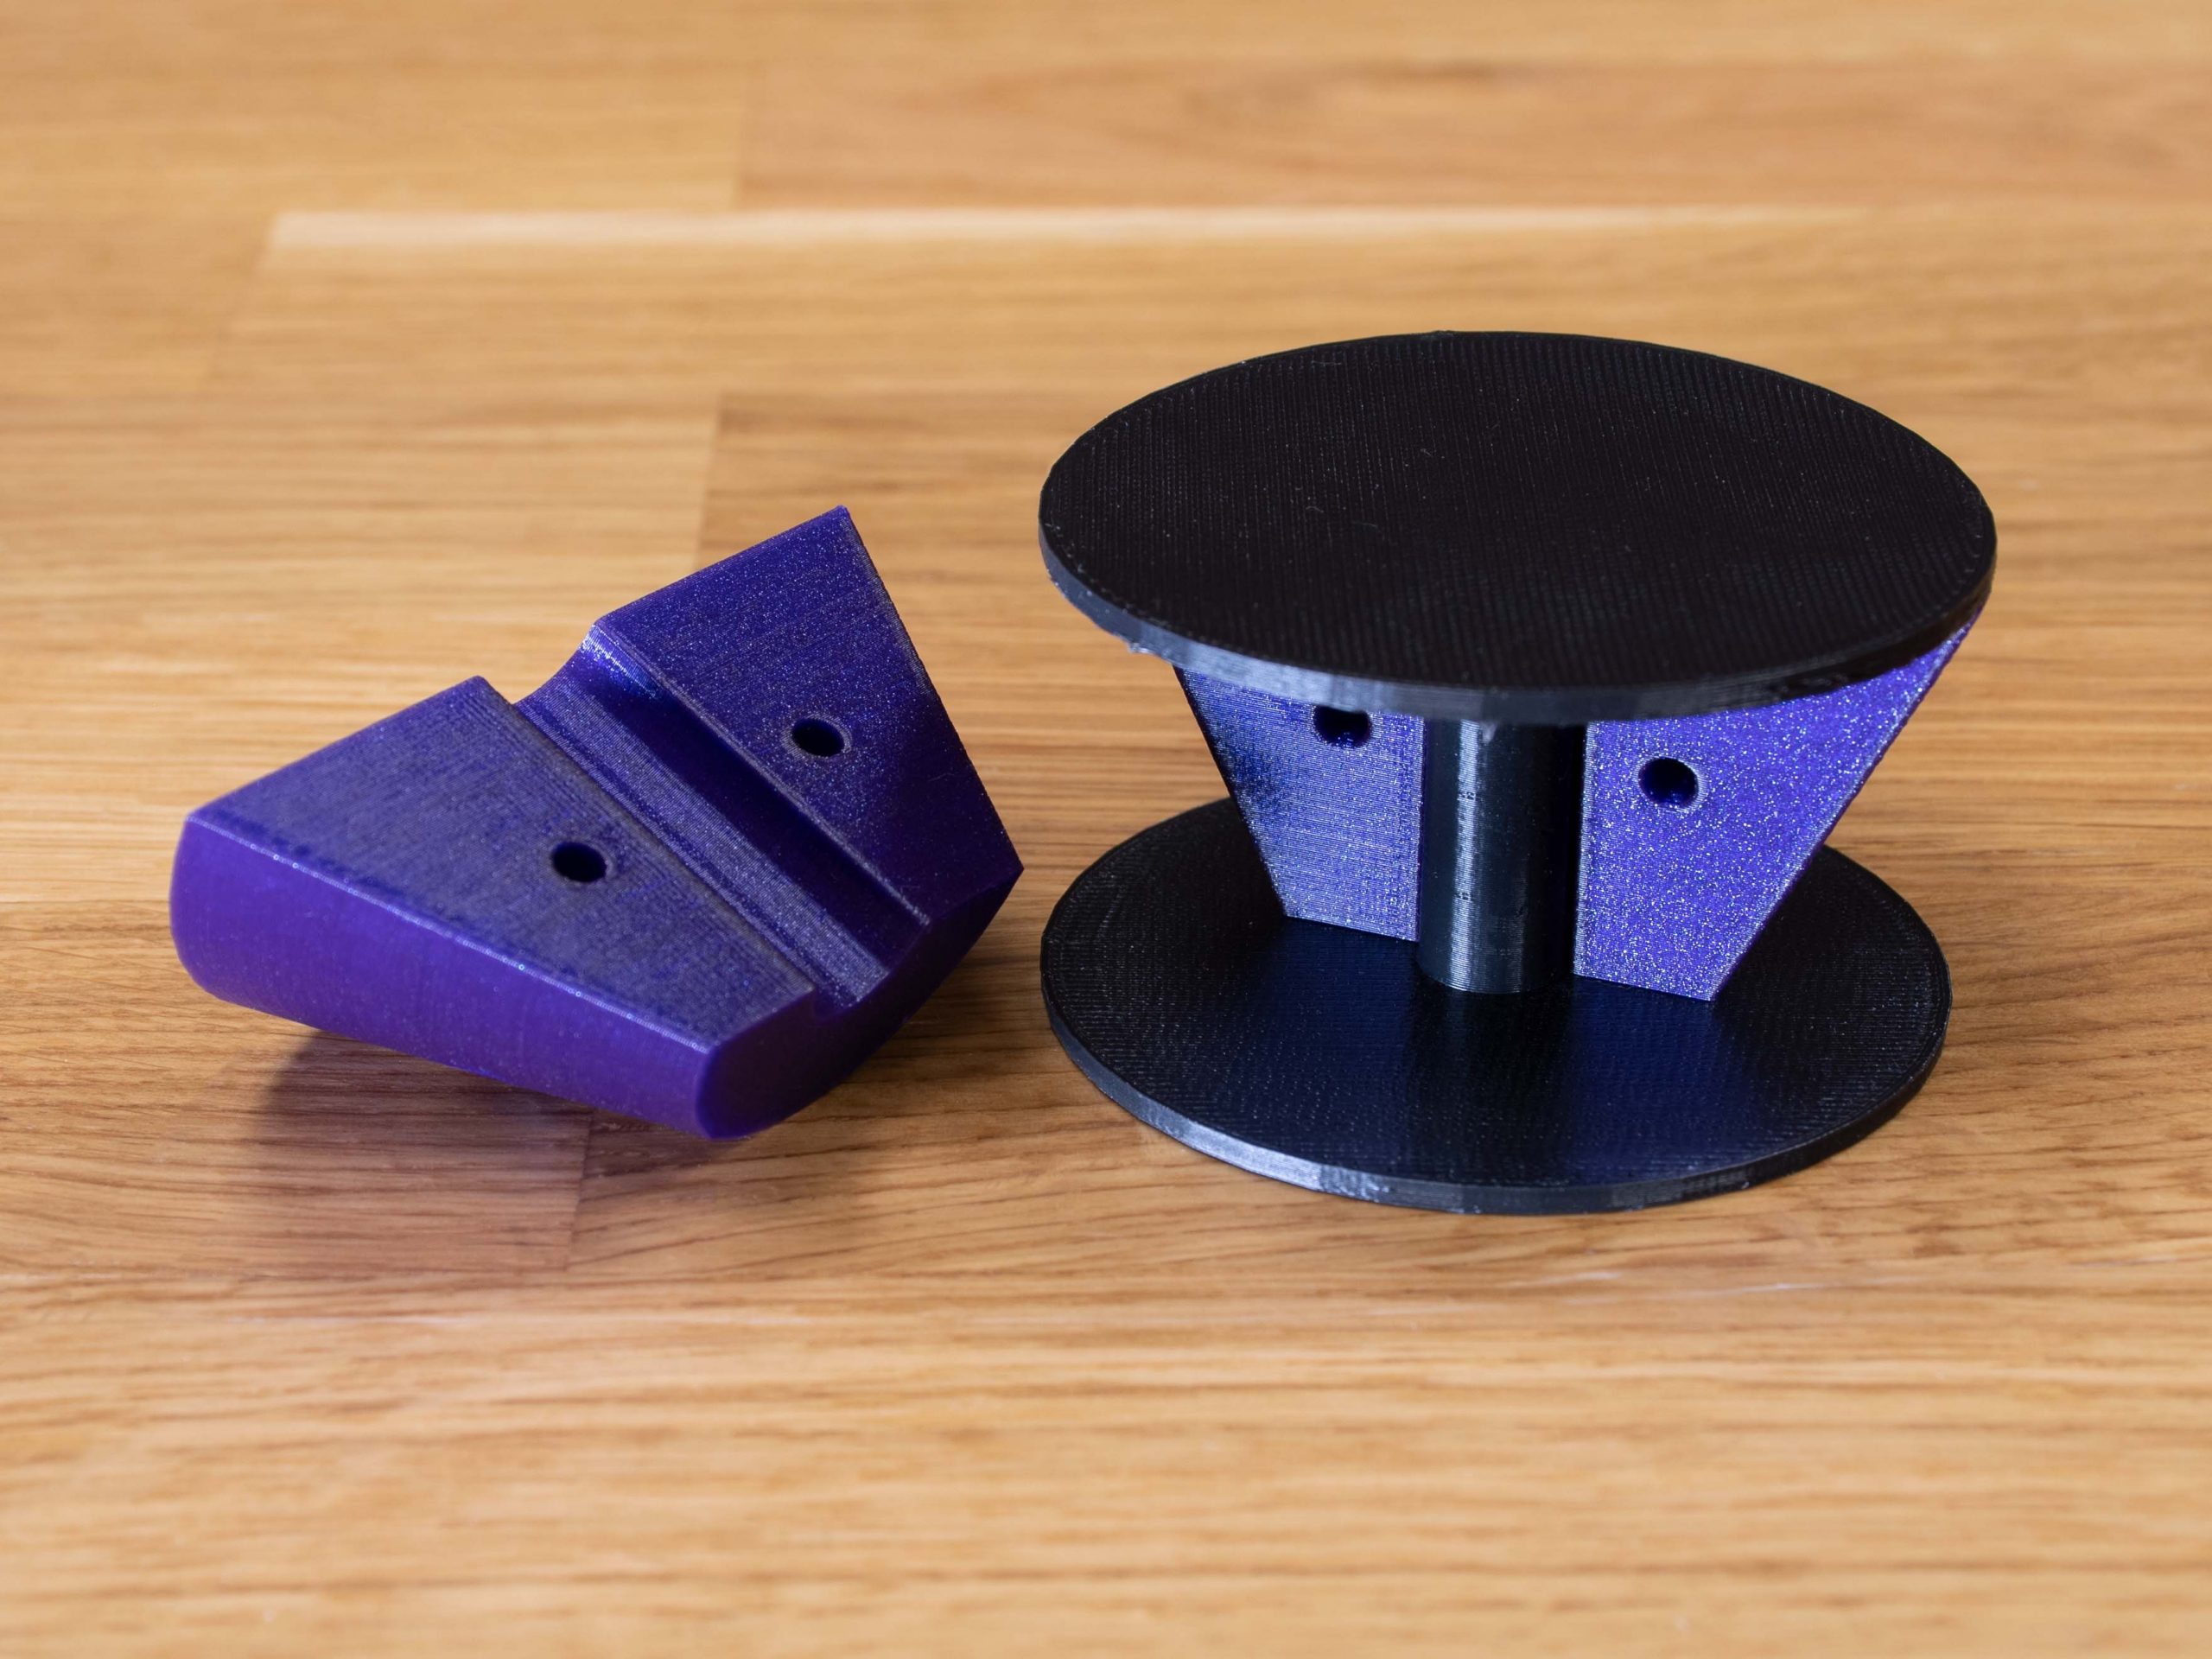
Inserted PLA support structure into flexible filament print
4. Don’t waste filament on useless stuff
Yes, you’re reading it right. Owning a 3D printer at home should come with some responsibilities. One of them is resisting the temptation to print every stupid little thing that is available online. And yet, almost everybody prints something useless from time to time. This leads us to a simple question you could perhaps ask yourself before every print – is this really something I need or want so much? Now, we don’t want to pose as a moral authority here, especially when we also like to print stuff just for plain old fun from time to time. On the other hand, there’s a clear line between “Oh, this is a bust of my favorite character, I want it!” and “I haven’t printed anything in two days. I. MUST. PRINT.SOMETHING.” It would be a shame if your 3D printer turned into an expensive garbage generator.
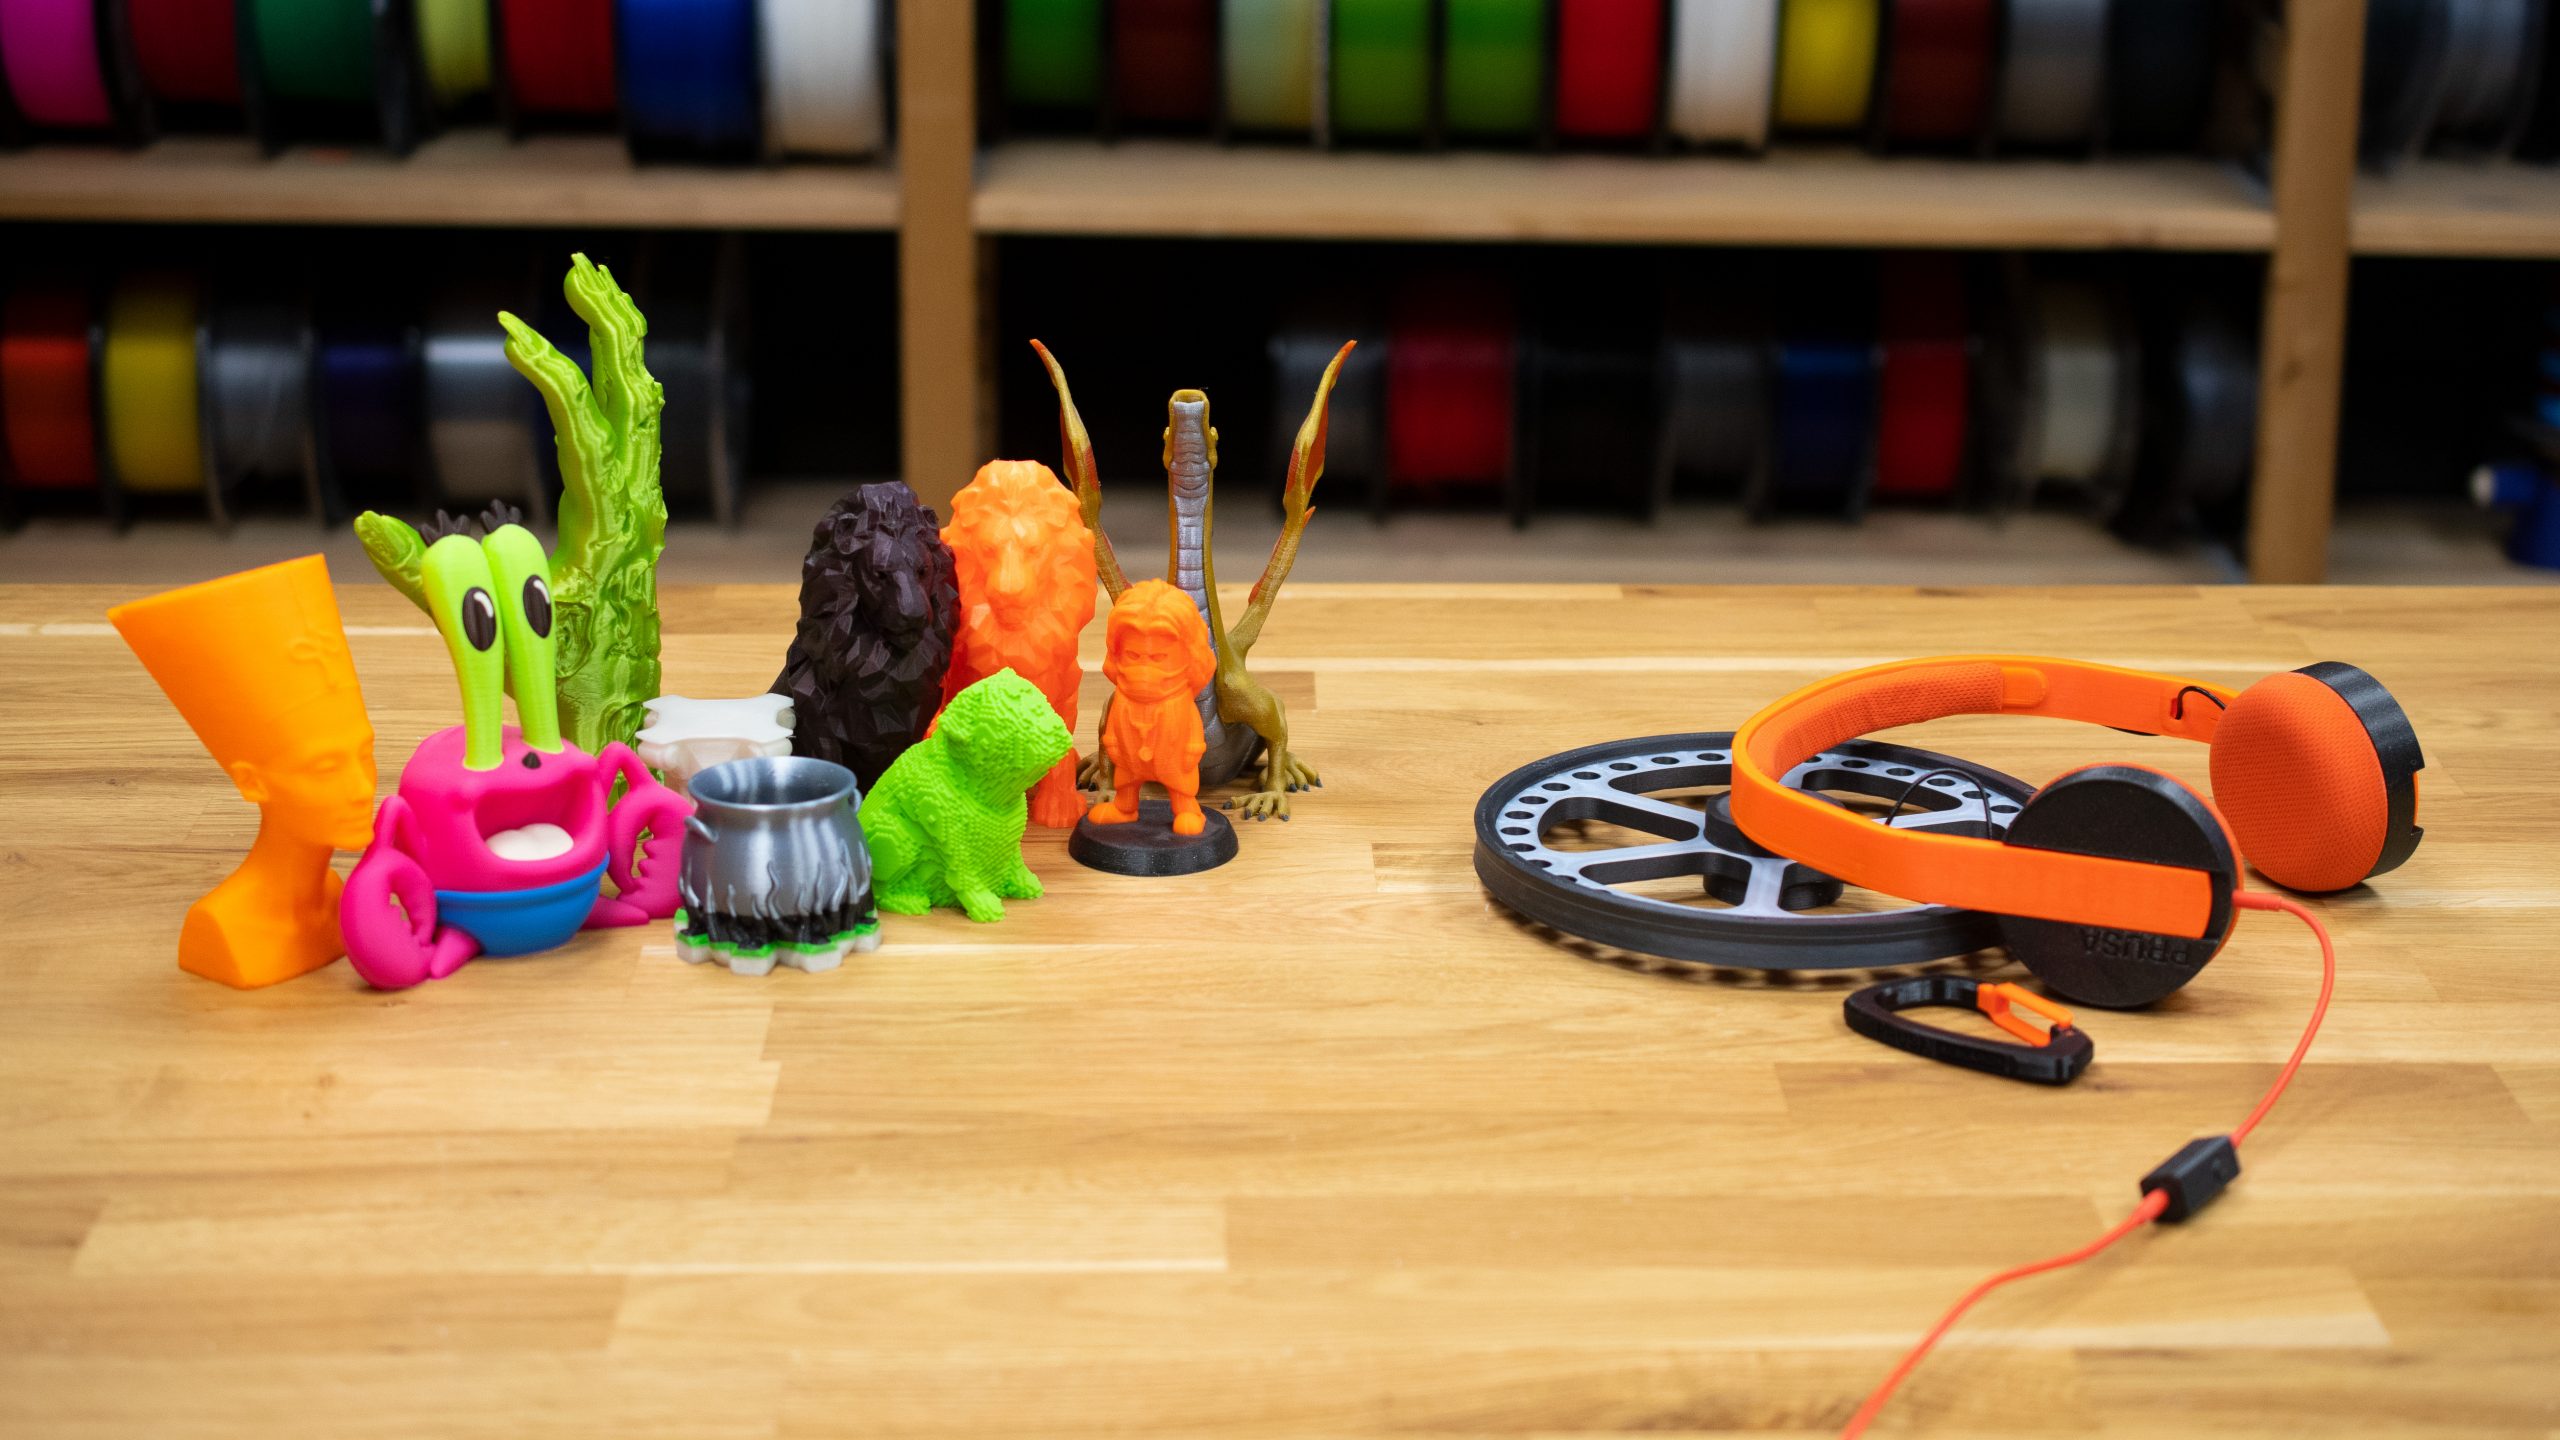
A few functional parts (right) are better than a bunch of good-looking dust collectors (left)
5. Give unused models a second life
This requires some creative thinking but try to reuse failed prints, print garbage and unused prints. Even the simplest models can be reused for another purpose. It may be even something as simple as a blob or MMU2S wipe tower melted by heat gun (see LARP gadgets article). There are so many ways and all you need is to be creative. And if you’re out of ideas, try to give or sell the models to someone else. You may not be able to reuse it but other people may have some ideas on what to do.

Blobs and melted MMU2S wipe towers may be used as sci-fi props for LARPs, various games and movies…
6. Fix failed prints
Everybody deals with failed prints from time to time, nothing and nobody is perfect. But don’t worry, some failed prints can be fixed quite easily. For example, if you print a visual model that will be painted lately and all of sudden the printer nozzle gets clogged, it’s not the end of the world. You can simply measure the height of the printed part, then slice the model in PrusaSlicer and print the rest of the model. Then you can glue it together, and use putty and sandpaper to mask the failed part. After the paint job is done, no one will notice anything.
Example of the failed print repair
7. Use every last meter of filament
There’s one great thing about the Original Prusa 3D printers and that is the filament sensor. If it’s plugged in and calibrated, you can use it for finishing all filament leftovers you have at home. We use it all the time, mostly for printing large models that are about to be painted.
Some small models printed with Prusament leftovers
8. Use recycled filaments for printing
Have you heard about our Prusament PLA and PETG recycled? If not, it may be about time to read our release articles (PLA and PETG) and perhaps try printing with them. Our recycled Prusaments are made from waste that is being generated during the Prusament manufacturing process. Thanks to this process we’re able to make high-quality filaments that are cheaper than regular Prusaments.

9. Fix your prints with a 3D pen
Do you have a 3D pen that works with the same materials as your 3D printer? That’s great, you can use it for fixing broken or failed prints!
10. Place a recycle mark on the print
In some situations, it might be quite useful to have a recycle mark on the print. If you eventually decide to throw away something 3D printed, someone can use that mark to identify the type of filament and re-use it. Unfortunately, 3D printed materials (even marked ones) are being sorted as non-recyclable and incinerated in the Czech recycling plants. However, there may be some projects that may be able to use 3D printed materials. And who knows what will happen in the near future? The technology might finally make a big step forward – and suddenly, the 3D printed parts will be recyclable. So we definitely recommend placing a recycle mark on your model before slicing in PrusaSlicer.
In case you don’t know how to do it, here’s a short guide: The recycle mark can be added to your model in PrusaSlicer as a part, modifier, or negative volume (recommended). Simply click on the selected object with the right mouse button, then choose “add negative volume” and pick an adequate recycle mark from the gallery.
Finally, there are many other ways of reducing the price and environmental impact of 3D printing. However, the most effective methods are rather complicated in home conditions. And yet, there are people who are able to make their own recycled filament out of failed prints. It might be a good idea to contact a local “lab” or workshop, where people often work on various projects that are too large or difficult to do at home. Plus, these facilities are often well-equipped for advanced projects. Some of them may even have various projects for collecting and reusing waste from 3D printing. For example, one of such projects turns waste from 3D printing into stylish furniture. Here in PrusaLab, we work on several internal projects but we’re always working on something new and if it turns out to be good for the public, we’ll let you know for sure.

Examples of various ways to recycle 3D printing waste: Furniture parts and recycled skateboards.
Unfortunately, recycling is quite difficult in the world of 3D printing. Rather than focusing on reusing garbage, it’s better to prevent making garbage in the first place. Still, it requires some creative thinking, which is obviously something that the whole community excels in. If you have any ideas, make them happen and share them with others. Every idea counts! And if you want to know about our previous ideas and steps in the means of sustainability, don’t forget to check out our older article.
Happy printing!
>Don’t waste filament on useless stuff
Amen. I don’t know how many models and makes I’ve see where I can buy a ten pack off Amazon for less than the cost of filament, at higher quality.
But tbh do you always need a 10pack of something?
Isn’t it sometimes that you buy 10pack to get 1 thing and 9 becomes trash anyway?
I actually print stuff to avoid buying 10pack of things I need only one of or just want to try something what is not sold separately and I don’t know if it’s gonna work for me.
11. When designing, test concepts with small test models or small, self-contained slices of your whole part.
PrusaSlicer is pretty helpful for slicing a model down to the small piece I actually want to test, but I am also getting used to designing independent “proof” pieces in FreeCAD, that run off the same parameters that I can use to verify something (like a fit around an existing object).
So if for example my design has a mount for a post, I set up my parameters, and as well as my final design I have small test parts that can verify those fits. I have to be a little careful because a tight fit in a small part might be more flexible than the same fit in the final part.
12. Do your early designs around press-fit modularity, even if your final design will be a single print, because you can reuse pieces in your testing process.
If you have a complex part that can be split temporarily into press-fit pieces, you can save a lot of print time on the aspects of the part that you’ve already got right, and reuse them as you work on other bits.
Great point, I will try to incorporate those in my workflow. If you can walk through an example of how you do this, it would be very valuable, I think…
Amen. If I can print just the tricky portion of a new design, I can replace a 2-5 hour print with a 5-15 minute print…meaning a nearly unlimited number of prototypes in less time than it takes to do a single full test.
>Don’t waste filament on useless stuff
I waited 10 years before getting a 3D printer, because ALL I saw was useless stuff, poor and great prints but most of them were no more useful or attractive than what one would find in a cereal box. Not to mention the endless testing to “verify” how great some printer was. If it doesn’t solve a problem or serve a need, I don’t print it.
There are an incredible number of advantages in the field of cryptocurrency, which is why so many people have the desire to learn how to make money on it. Go to https://cex.io/prices and start your journey, you will see that it is much easier than it sounds and very profitable.
yes you can check it https://defineprogramming.com/mr-beasts-net-worth-become-billionaire/ is mr beast a billionaire
Spend some time playing. I’m interested in finding out more because I have strong views about it. Would you please provide more details to your blog post? We will all actually gain from it. trap the cat