


I think it will come as no surprise when I say that many of us here at Prusa Research are not just technology geeks – we’re avid gamers as well. Some of the luckier members of our team already got their hands on the PlayStation 5 (even Jo Prusa – eventually) and many of us were eagerly awaiting the arrival of CD Projekt RED’s latest release: Cyberpunk 2077.
And because we love to tinker and dive deep into all sorts of crazy cool projects (like the steampunk-themed Original Prusa i3 MK3S), it didn’t take long before somebody suggested a cyberpunk-themed 3D printer.
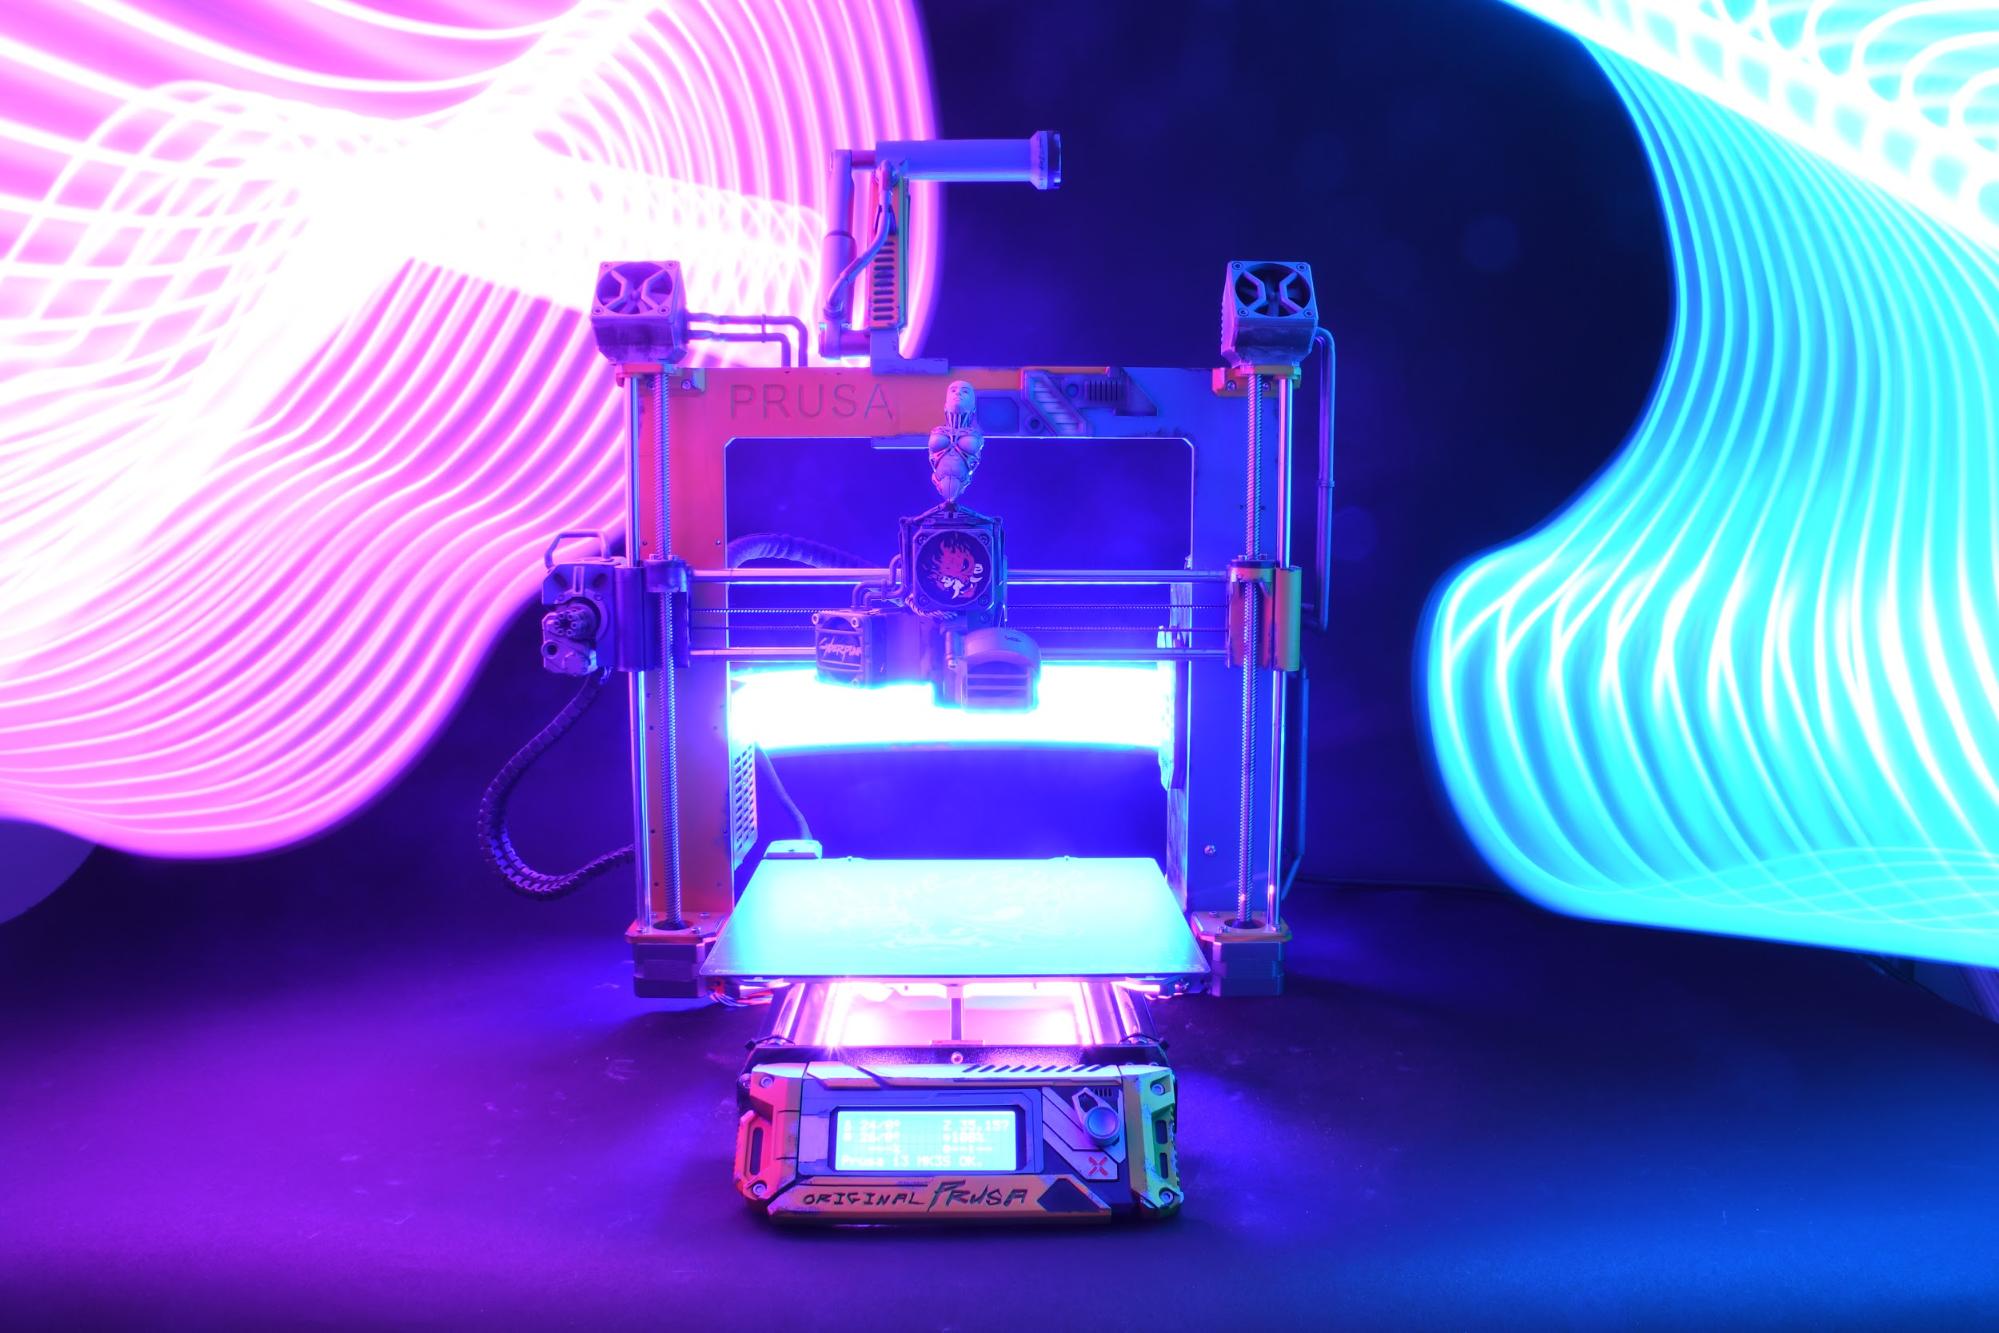
If you’ve been following our How-to guides on our YouTube channel, you’re probably aware that we have some really skilled hands here. It still took us a couple of weeks to get it all done. This project involved the creation of custom models and modified printer parts, hours upon hours of meticulous post-processing, painting, weathering and putting all the cherries on top. And here’s the result – lo and behold: The Cyberpunk Original Prusa i3 MK3S+! Wanna hear the entire story? Let’s dig right in!
Before we start – all the parts we used to modify the Original Prusa i3 MK3S/+ are available for download from PrusaPrinters.org. Many of the models are intricately detailed, so your best bet is a resin printer like the Original Prusa SL1.
Starting with the basics
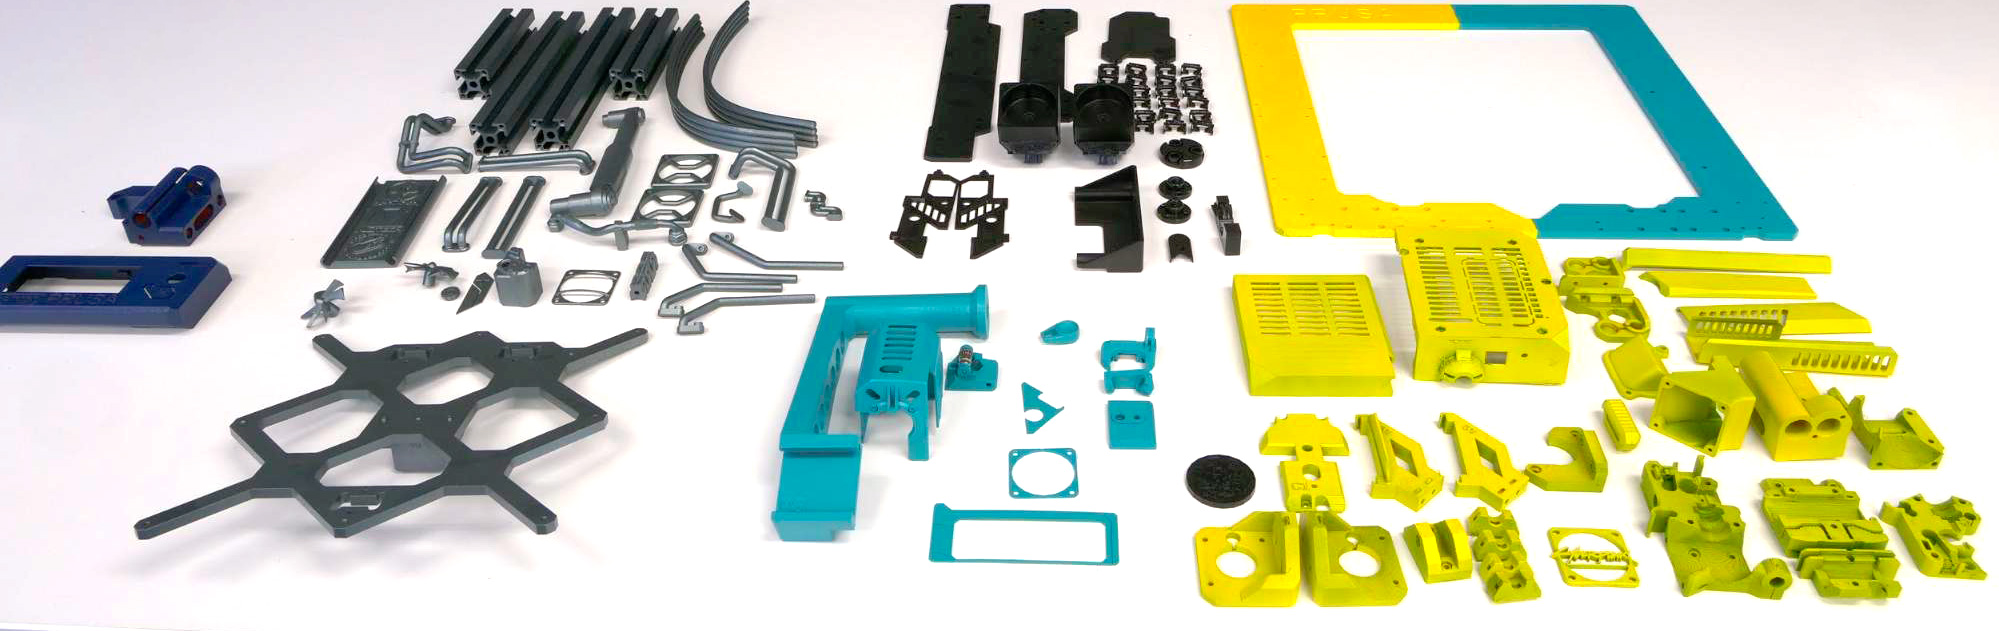
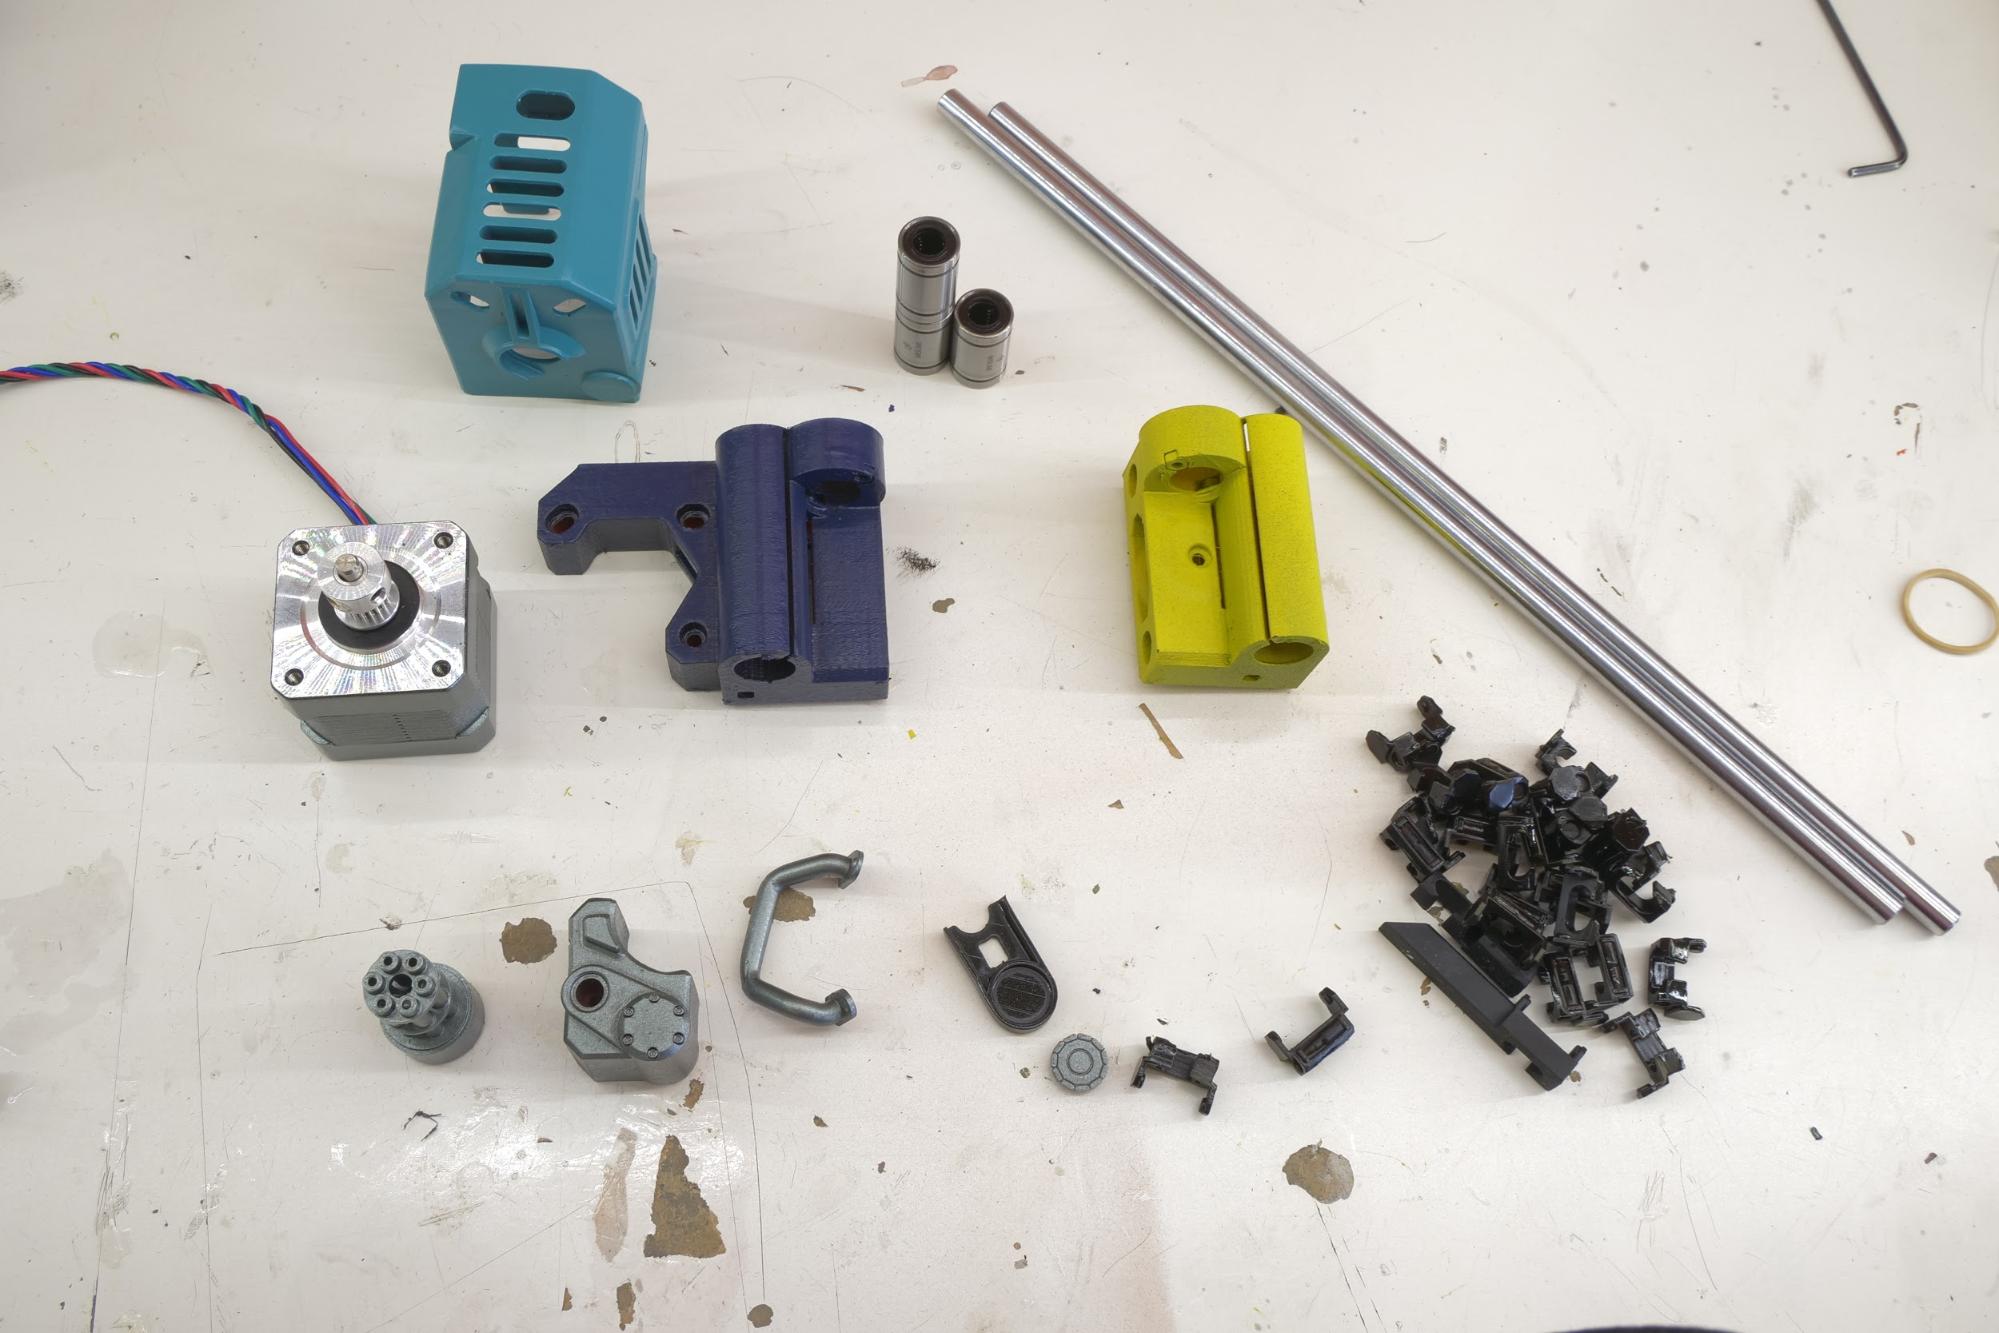
If you’re planning a total overhaul of an entire 3D printer, it’s always better to start with a disassembled machine. This is exactly what we did. We’ve selected a color palette to closely match the aesthetics of Cyberpunk 2077 with blue, yellow, and black colors in the spotlight. The silver color was used to bring many of its details to life.
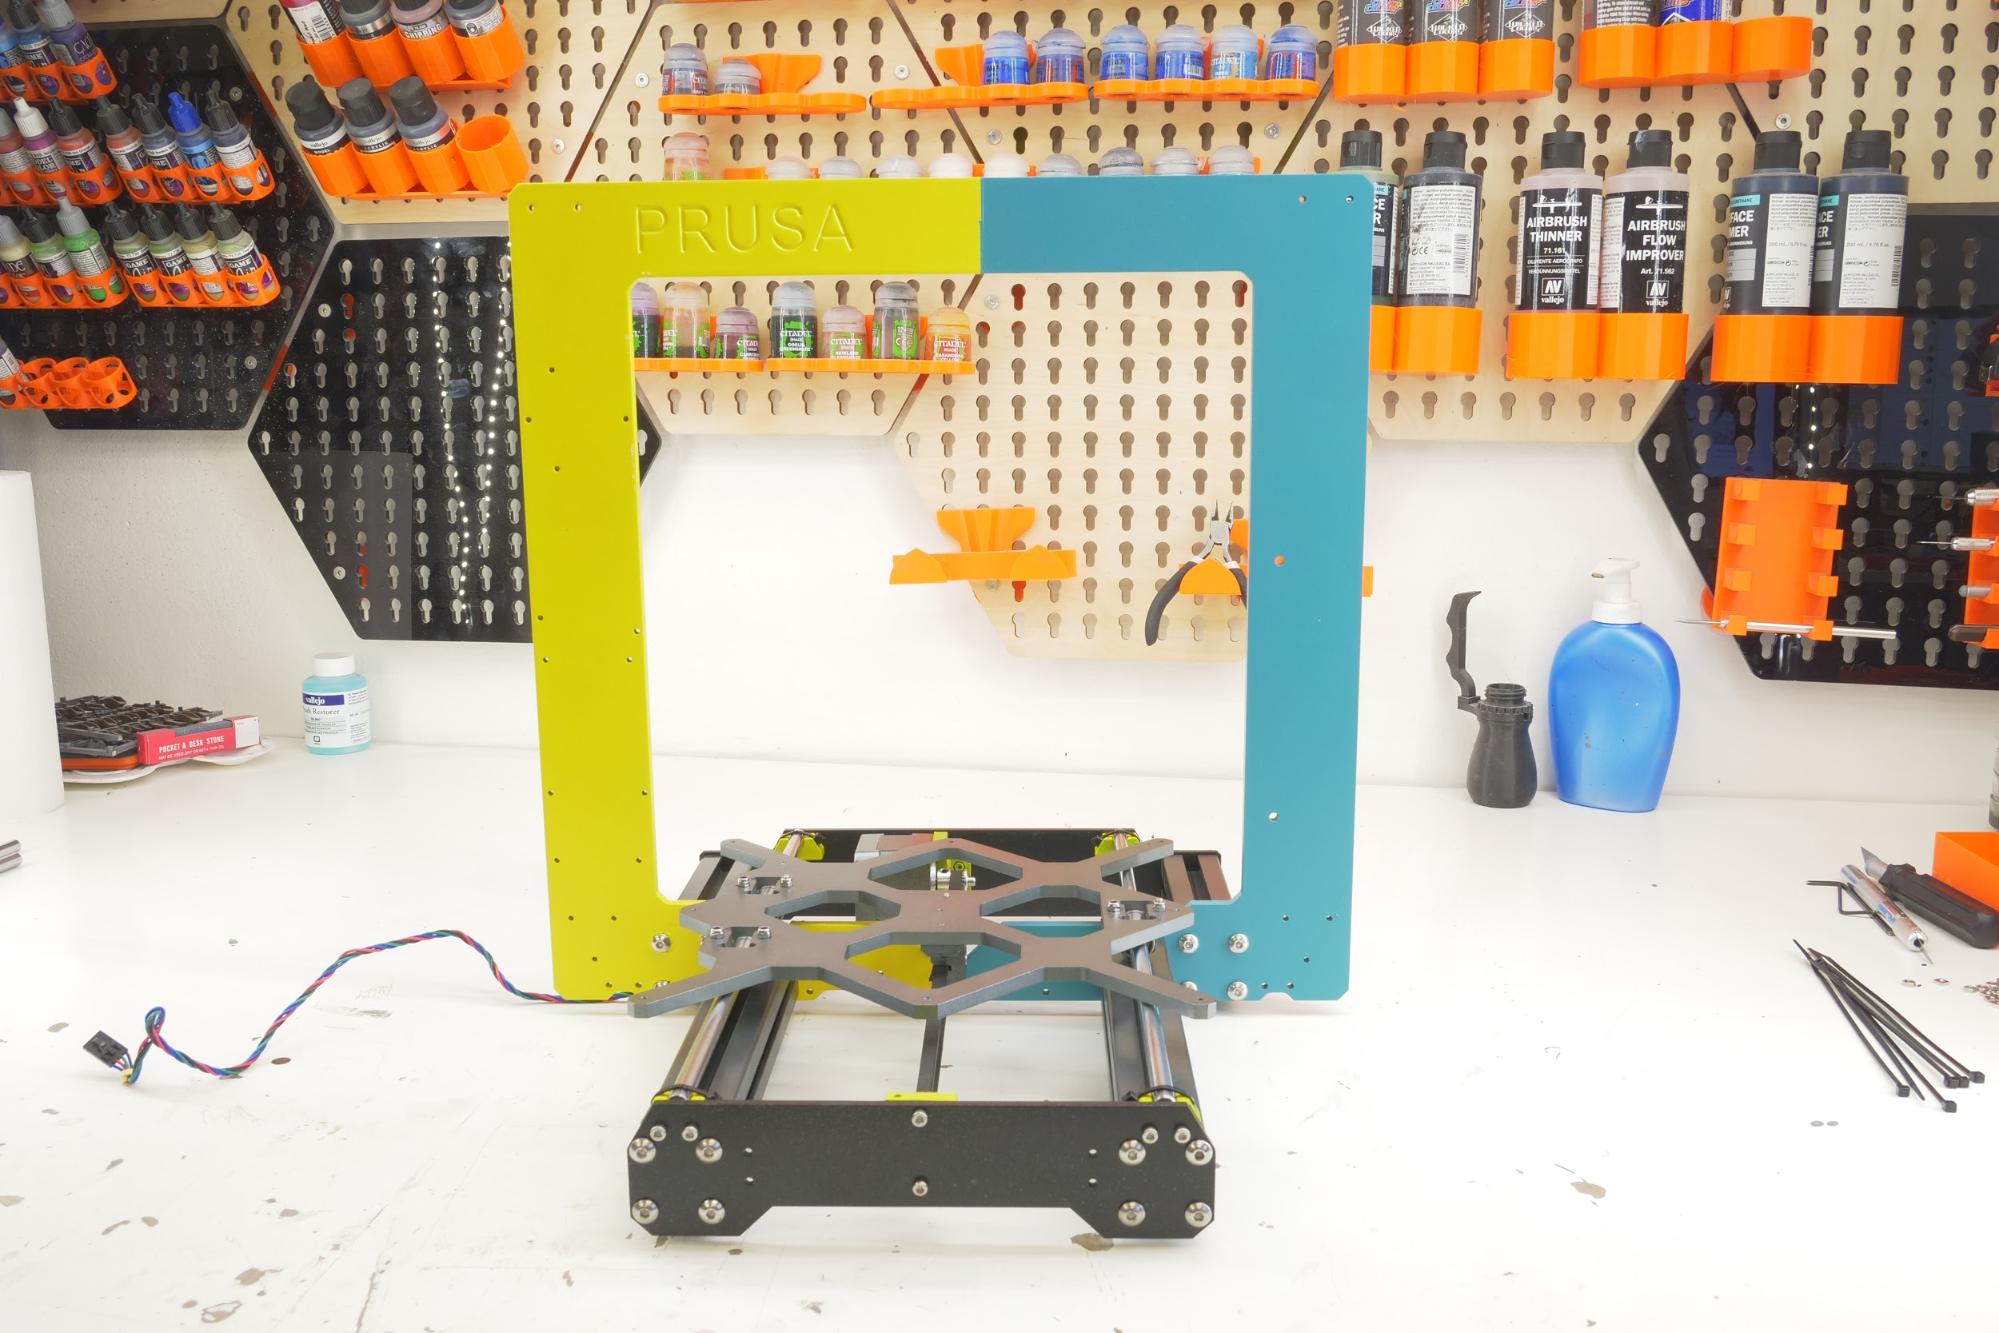
With the base paint job finished, it was time to start the usual assembly process. It’s better to exercise caution when attaching the parts together. Especially the screws can damage the painted surface if you’re not careful.

We went all-in and painted even motors. Masking tape was used to protect some of their parts.
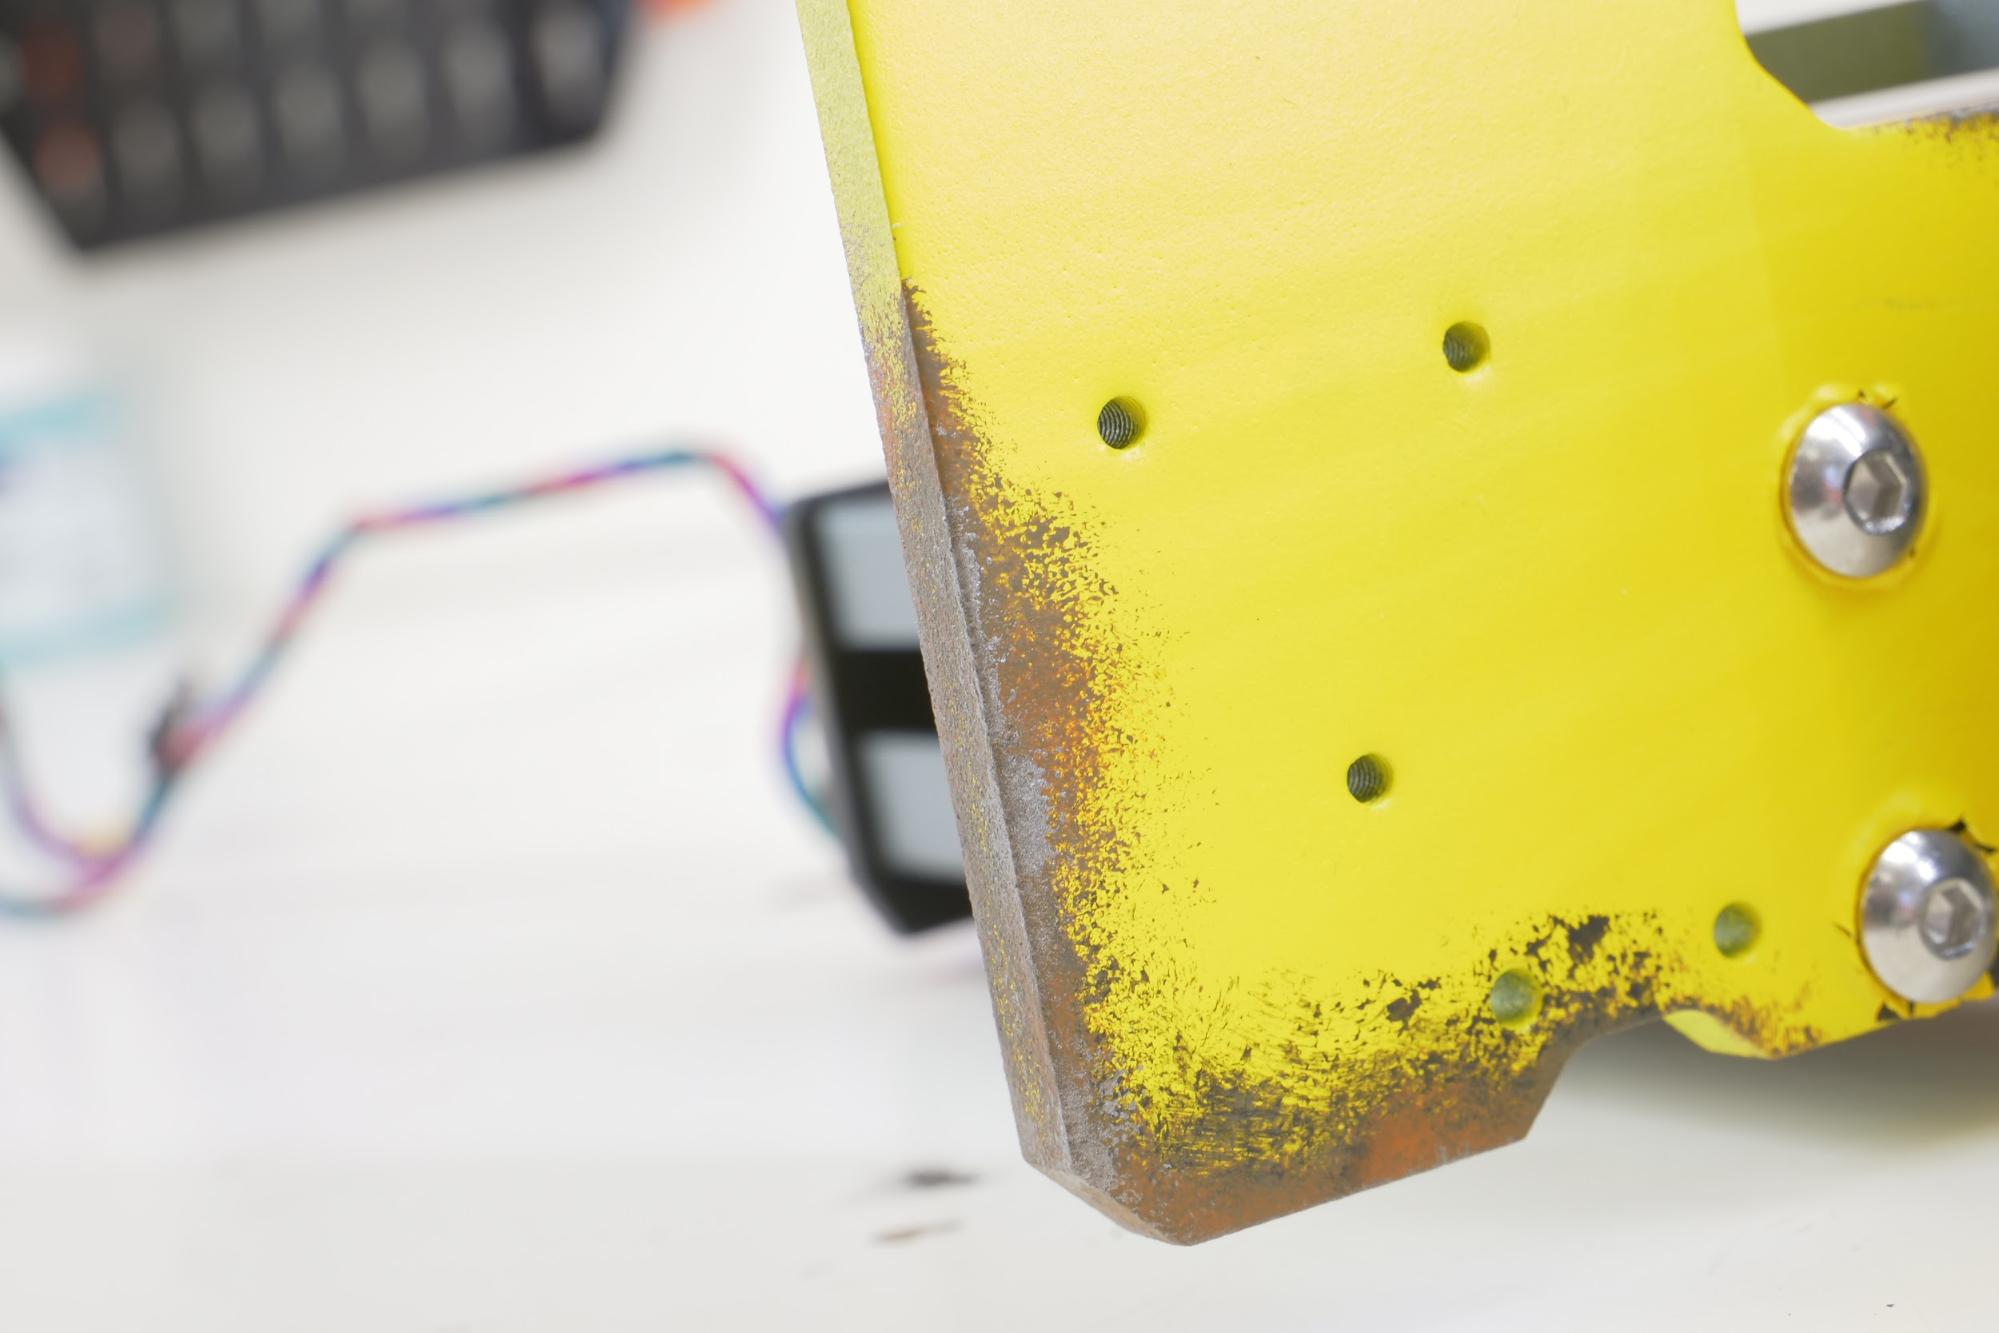
Once we had the base frame and Y-axis assembled, it was time to give the machine a slightly worn look. The method to achieve this is called “weathering” and while the process is quite simple and straightforward, the results are impressive. Take a sponge and dip it into several different colors in this order: black – brown – orange – silver. Then, gently tap the frame with the sponge to create a worn metal effect. You can use the same method to replicate the look of oil residue around the screws. If you want to learn more about various post-processing effects, head over to our YouTube channel.
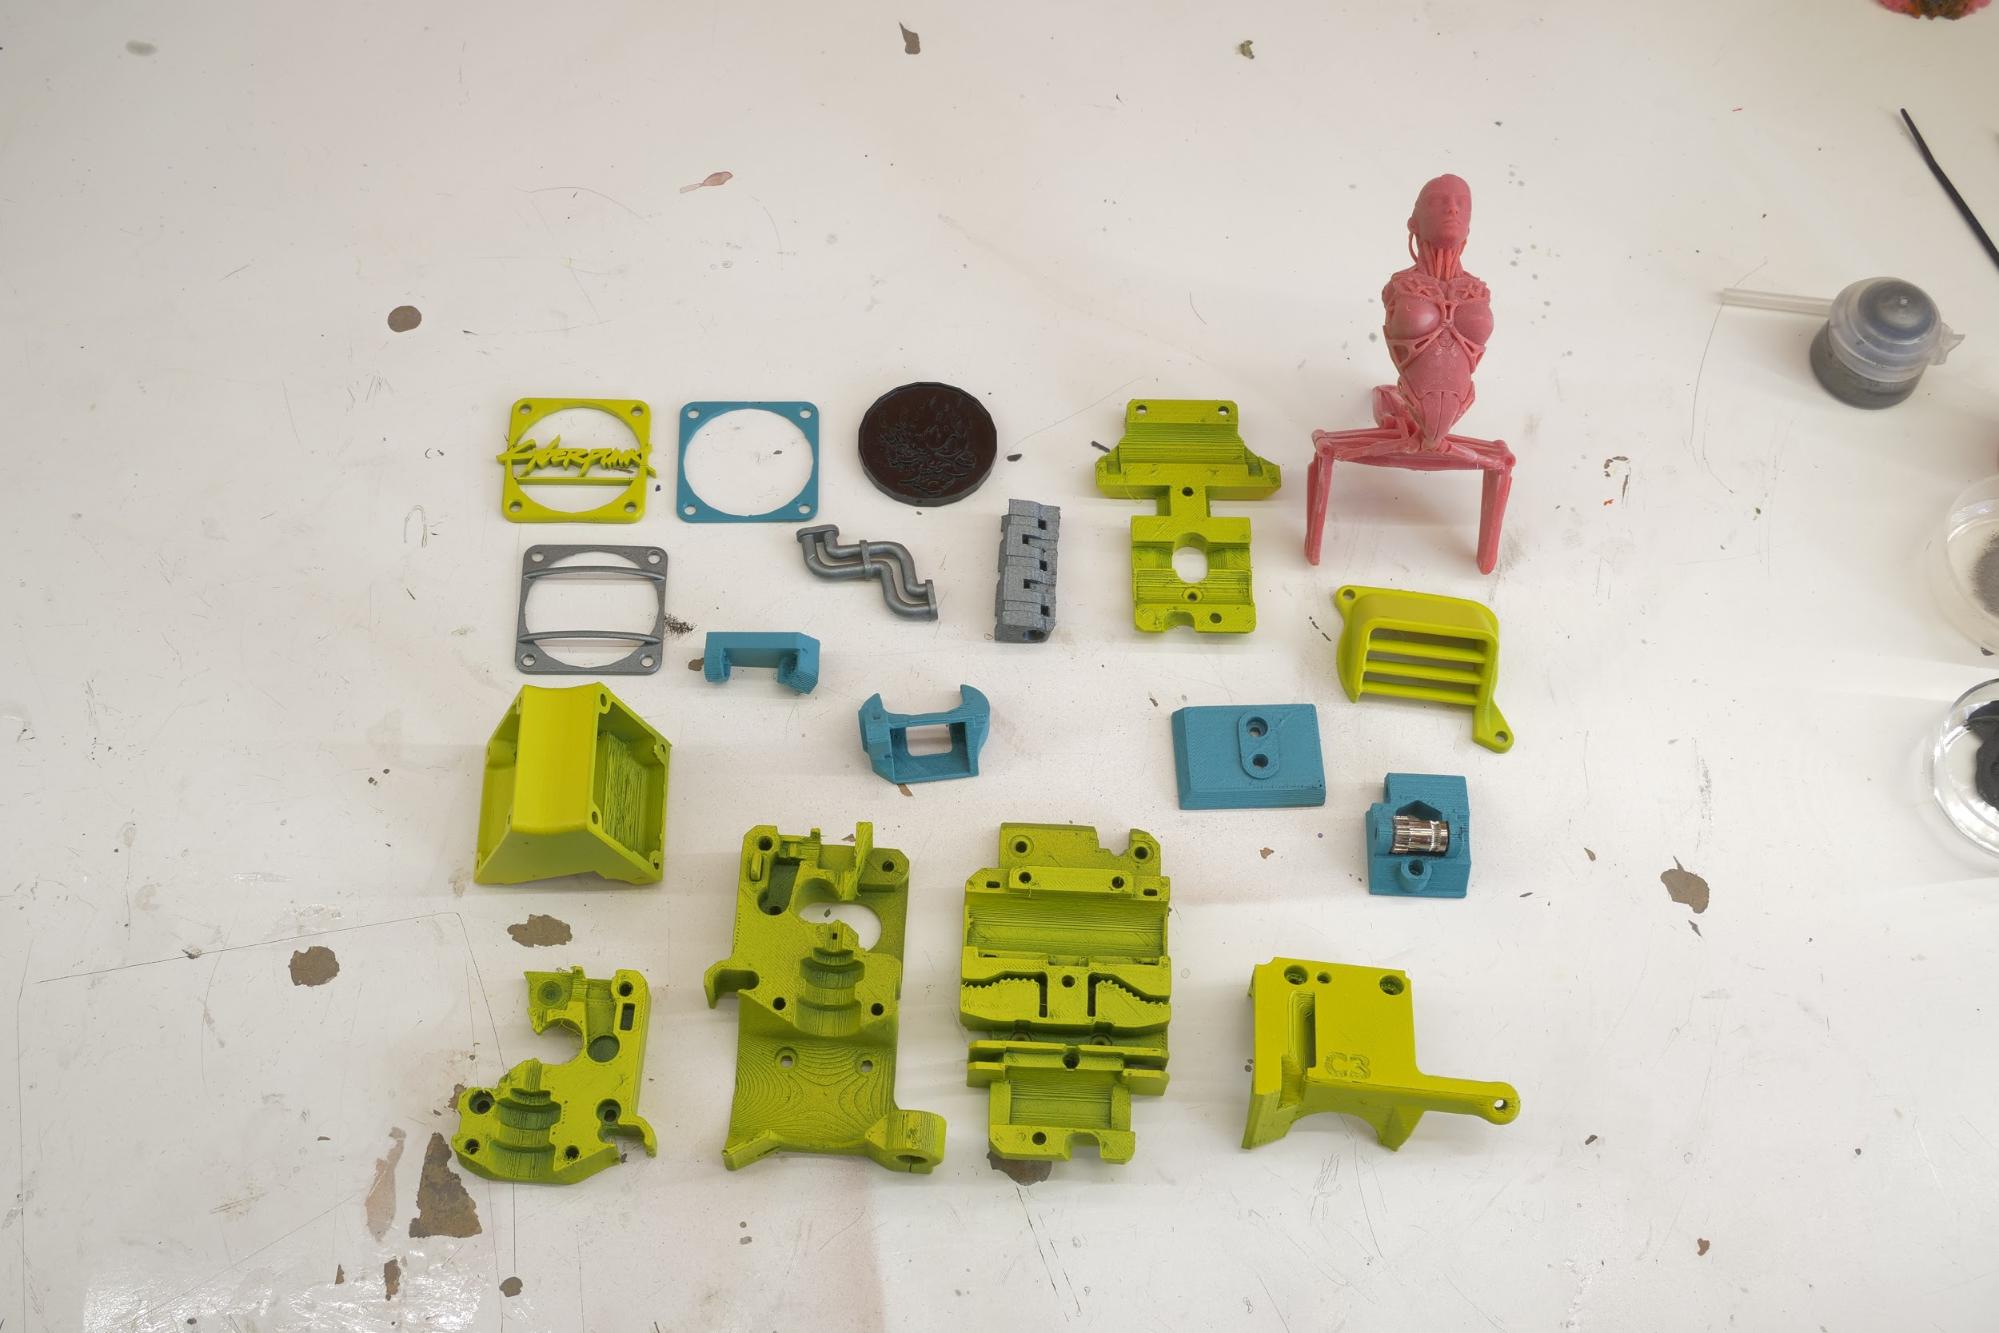
Once the base paint is done, we can start adding more layers – actual 3D models.
Futuristic LCD technology
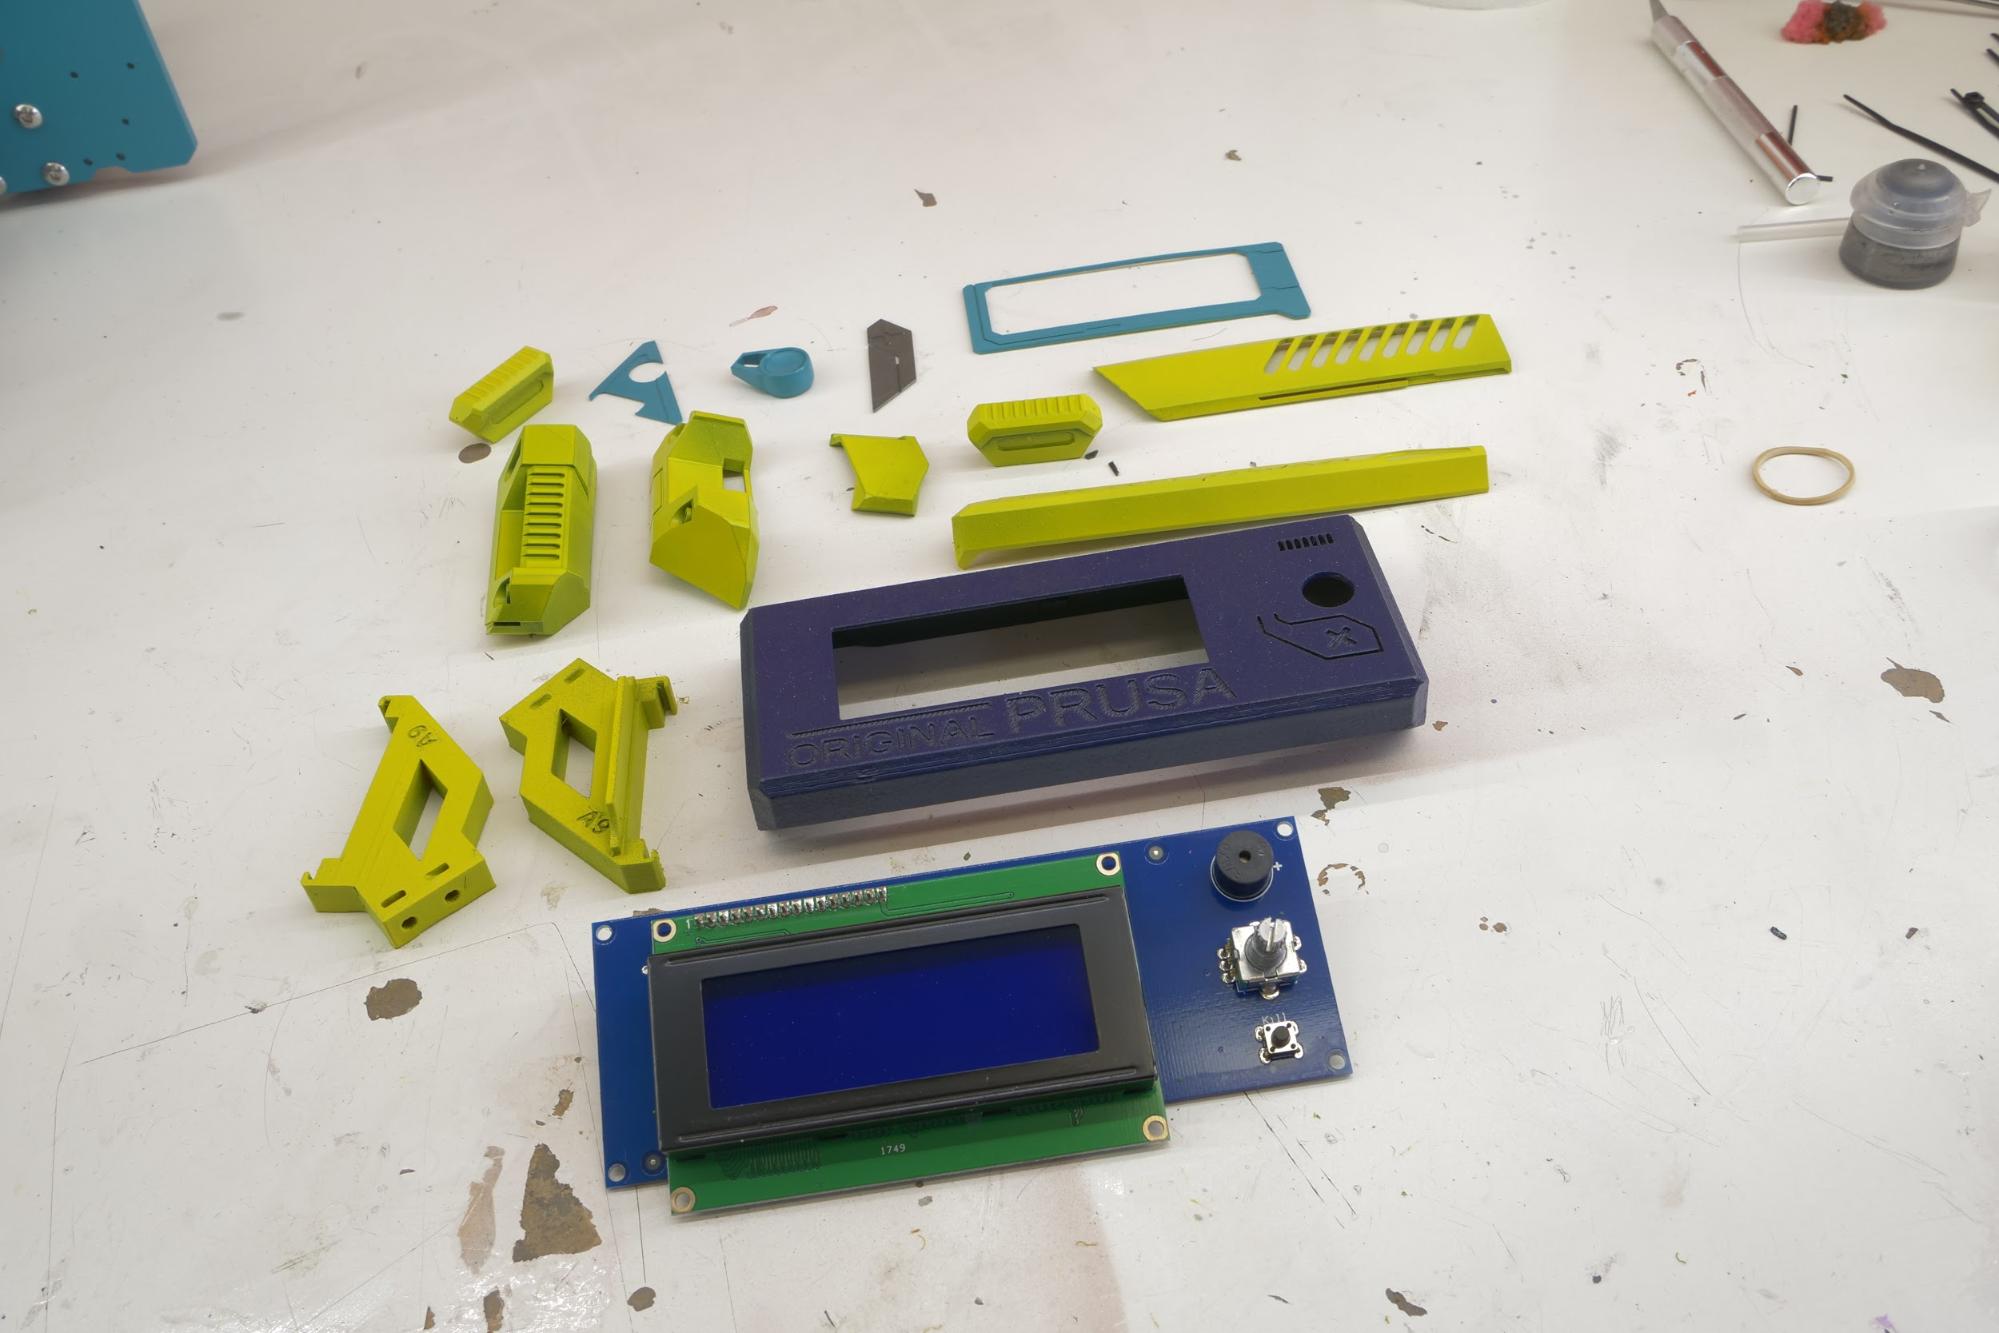
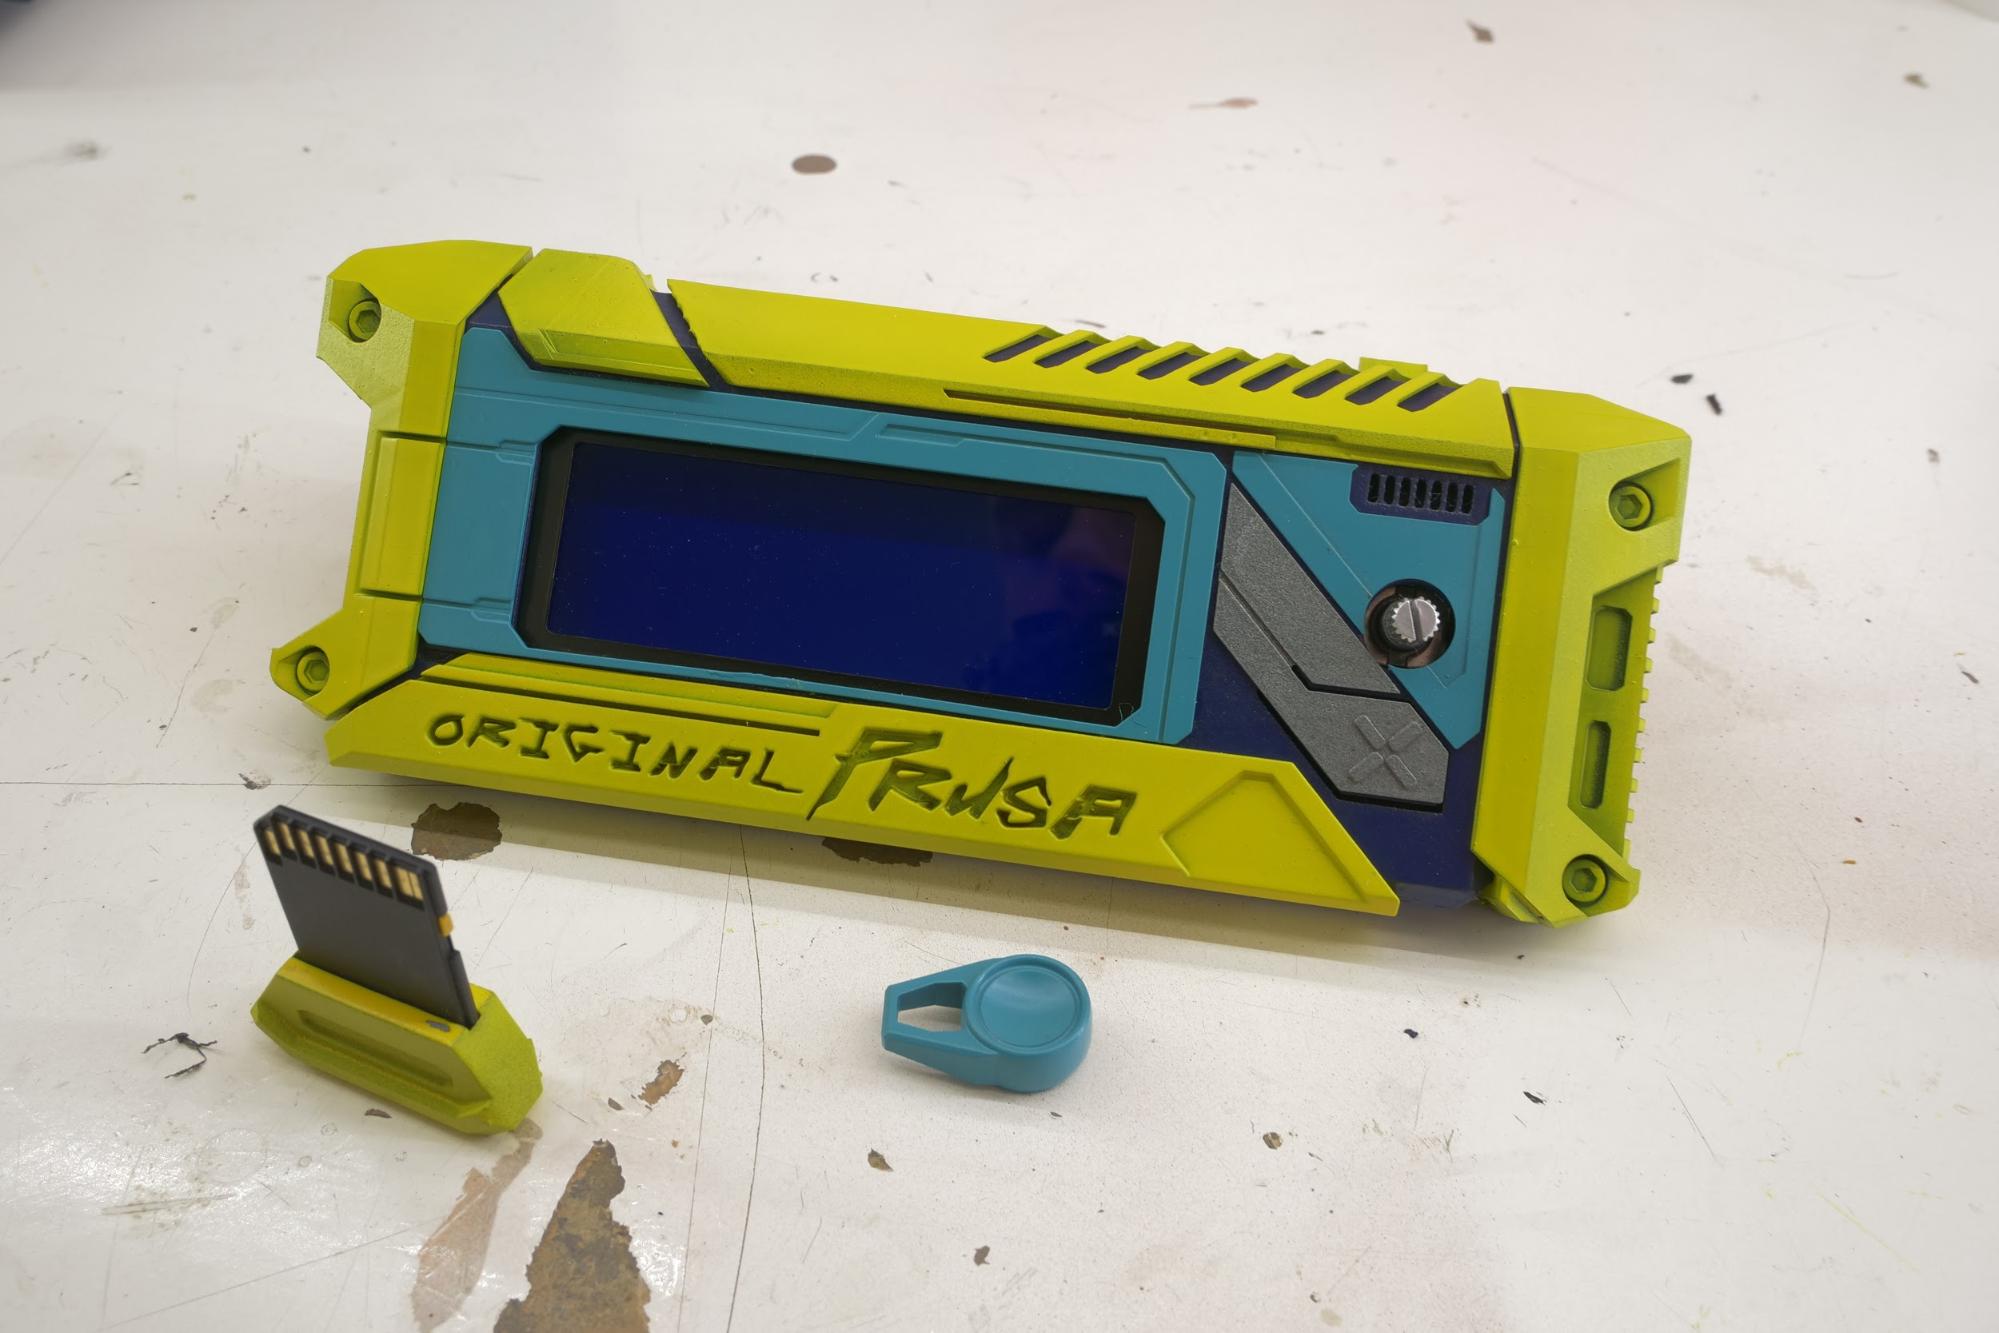
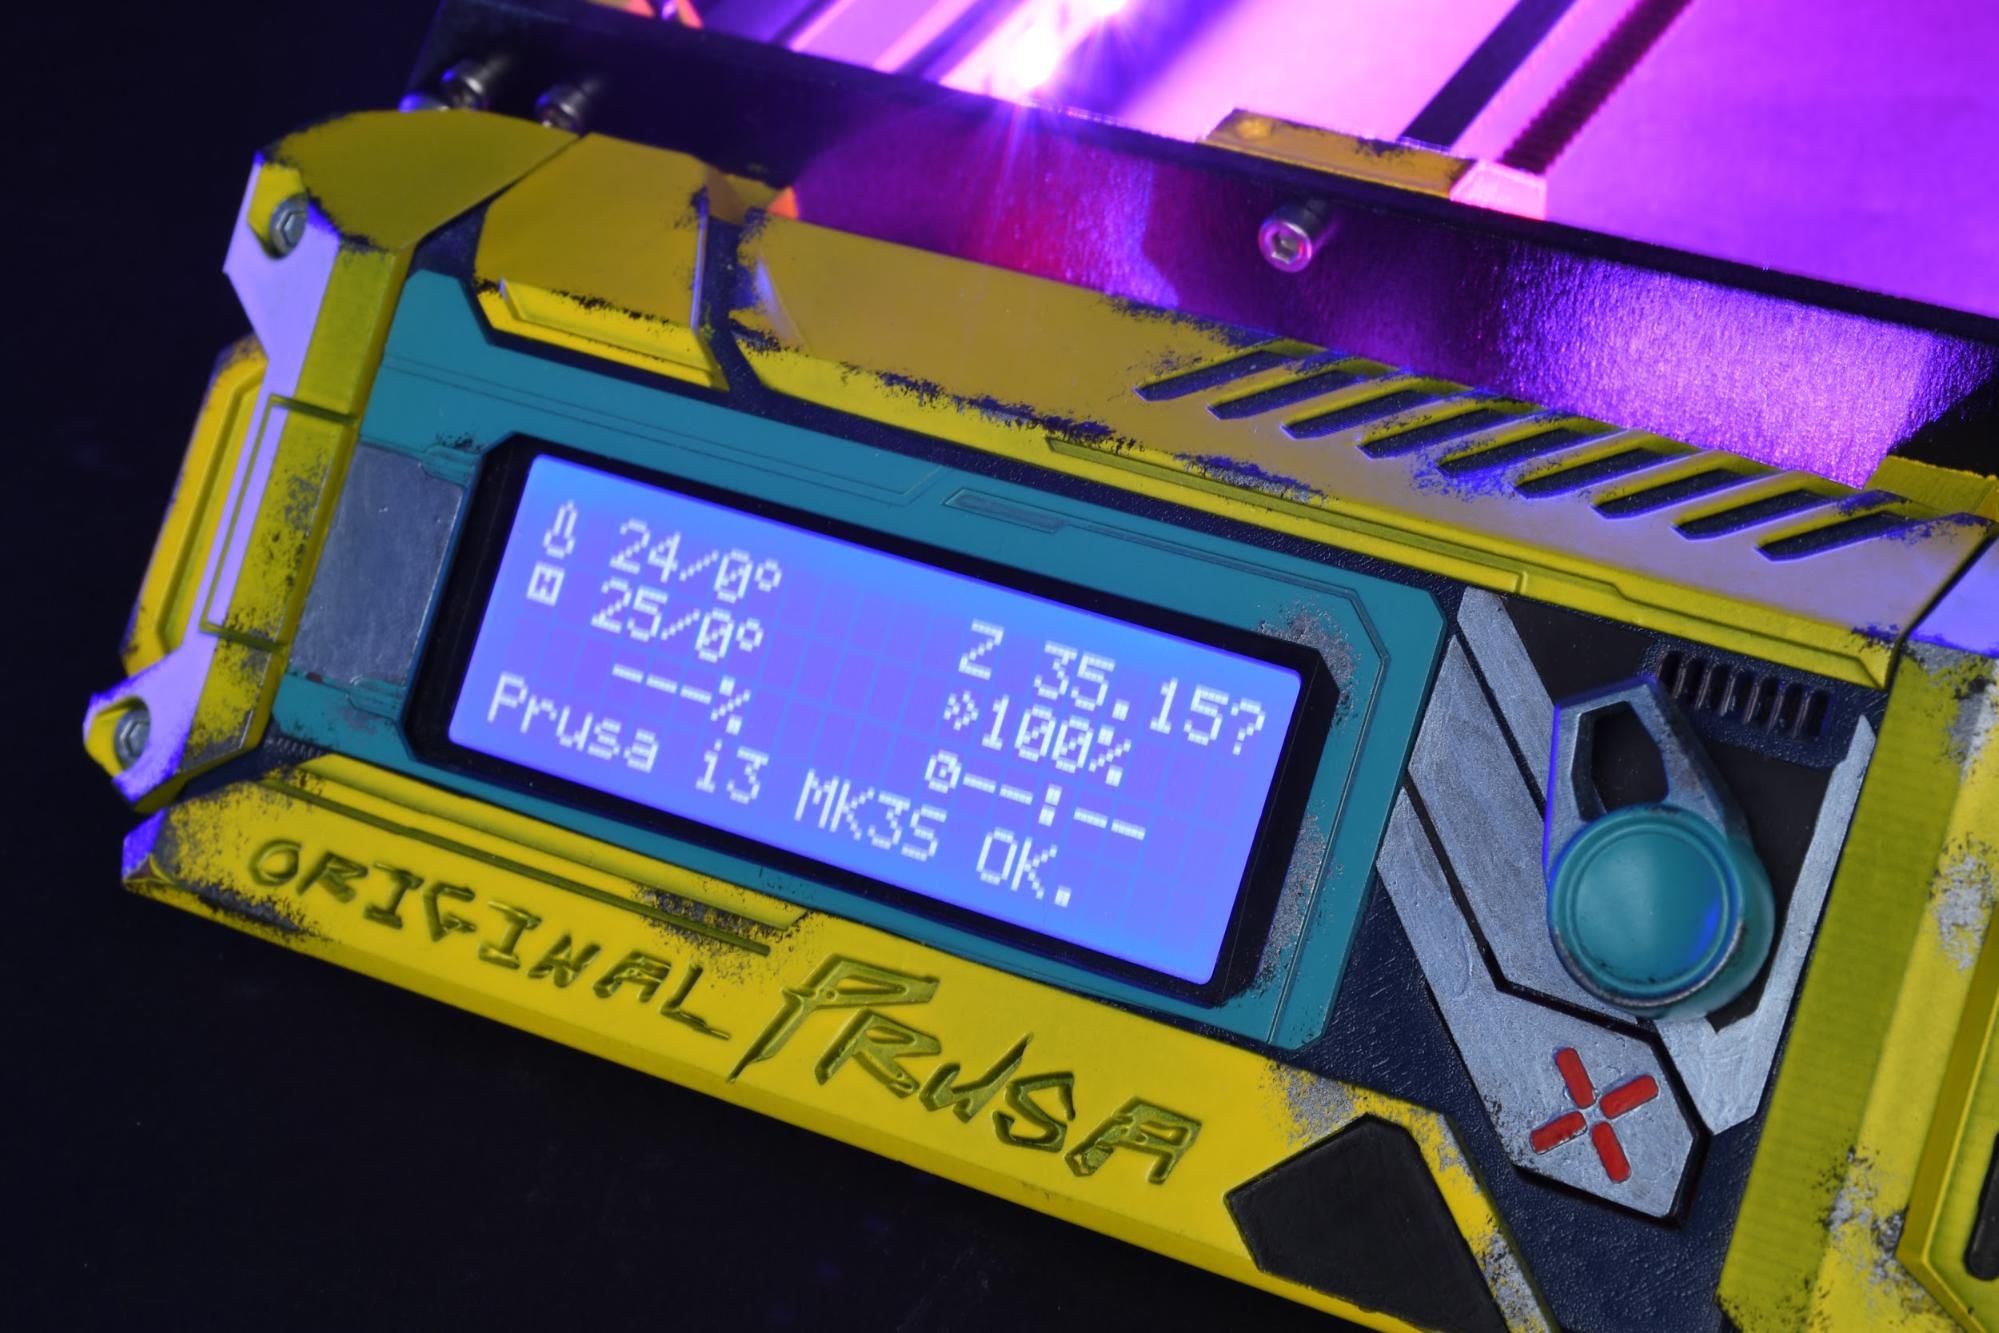
The LCD frame went through a major overhaul. Even though we started with the basic MK3S display frame, the number of custom pieces to fit around the display turns the simple standard part into a futuristic device.
 |
 |
|---|
We left the LCD itself untouched because the blue tint of the segment display goes pretty well with the cyberpunk theme. The paint job was finished with weathering effects to unify the look.
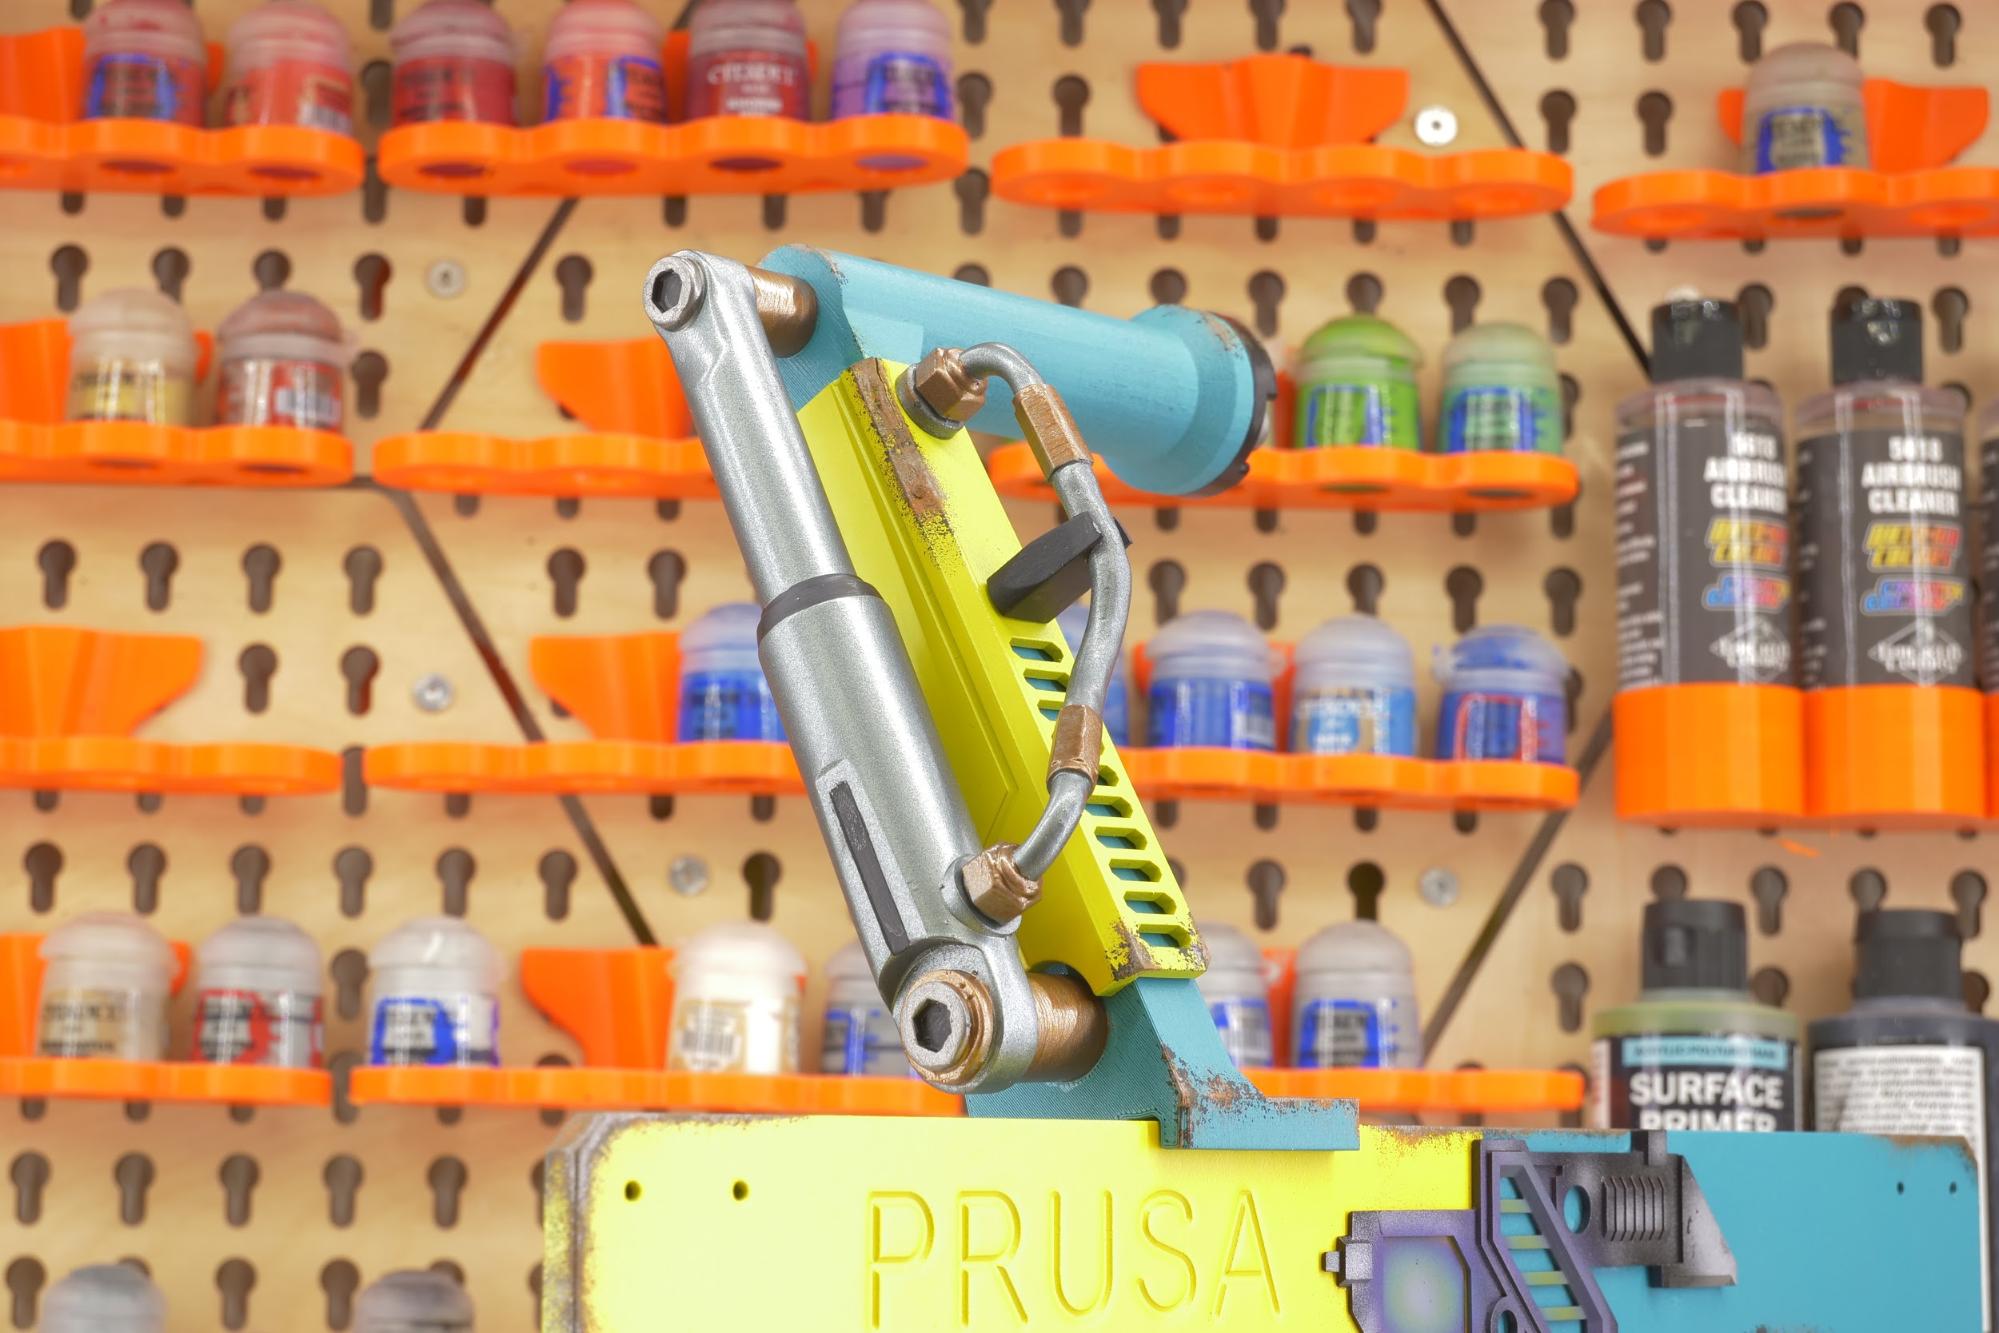
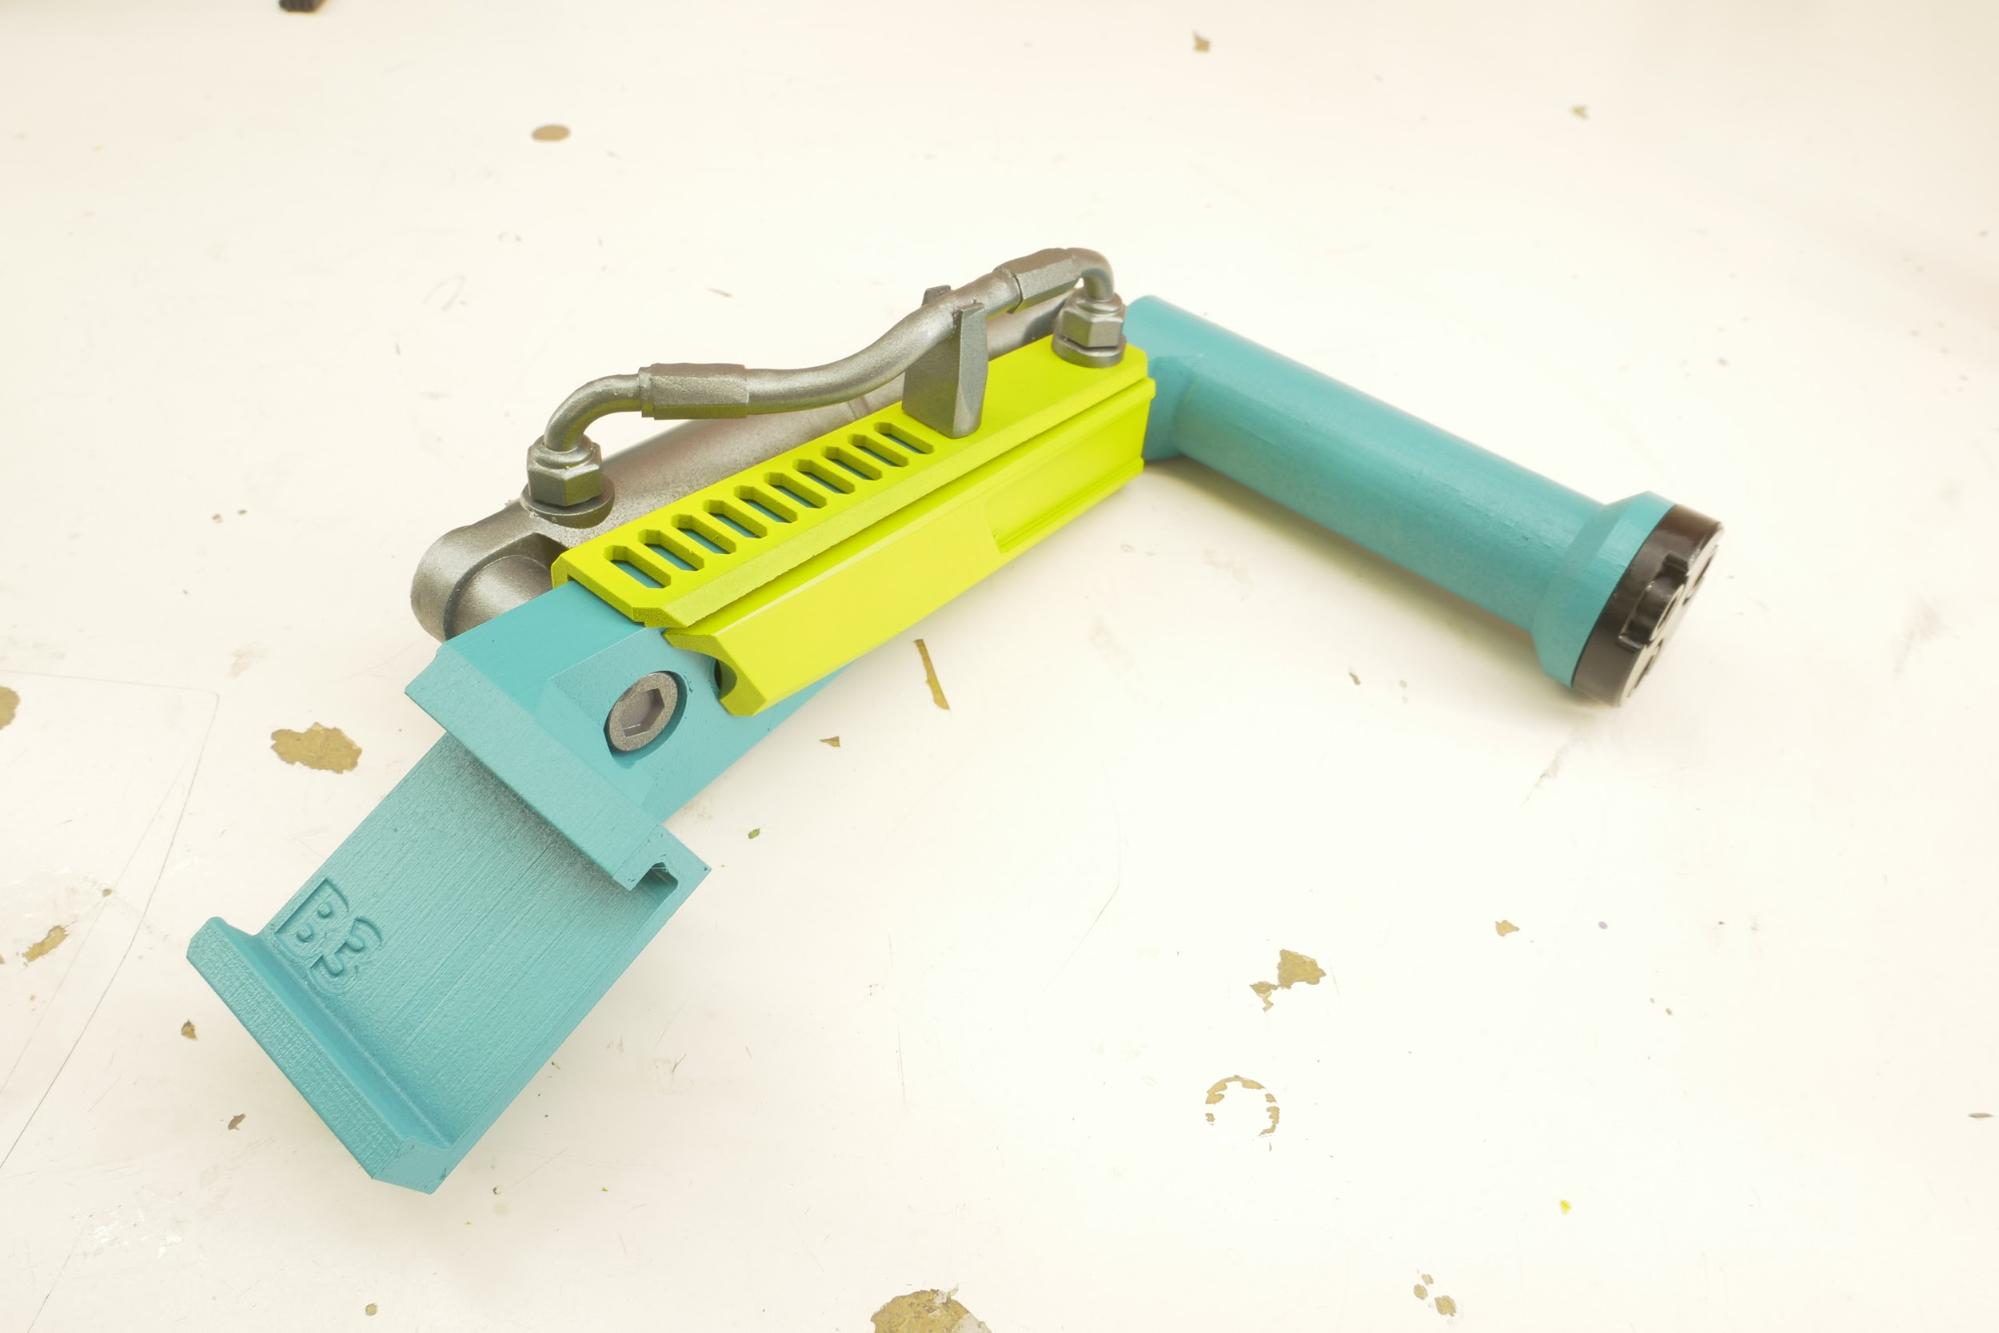
Spray and pray
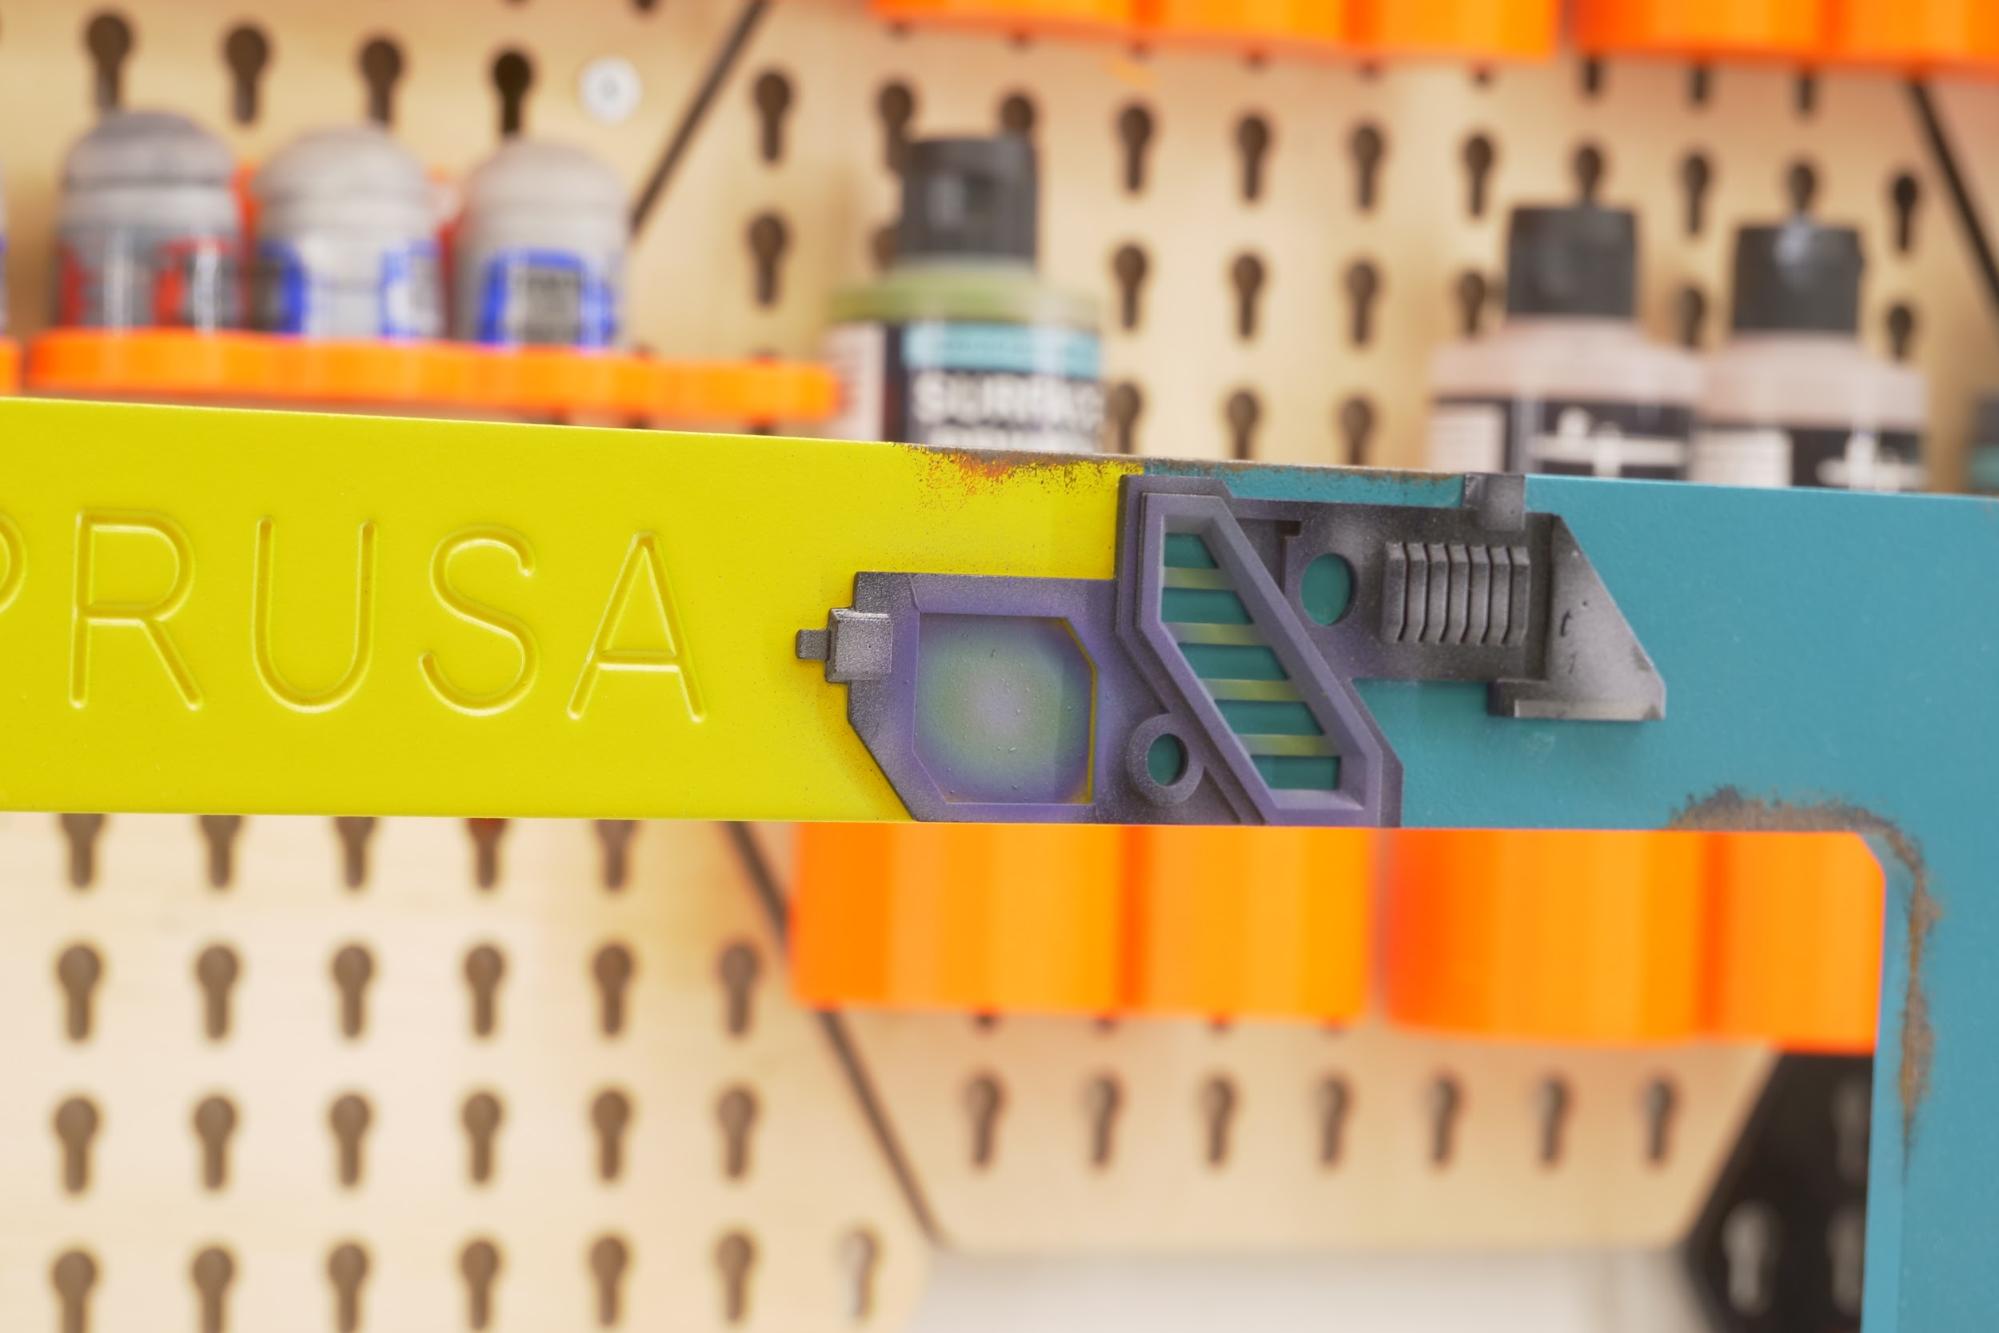
The constant rotation of the X-axis motor got us thinking: how should we modify it to emphasize the motion? How should we hide the wires? It was simple, really. When in doubt, use a minigun.
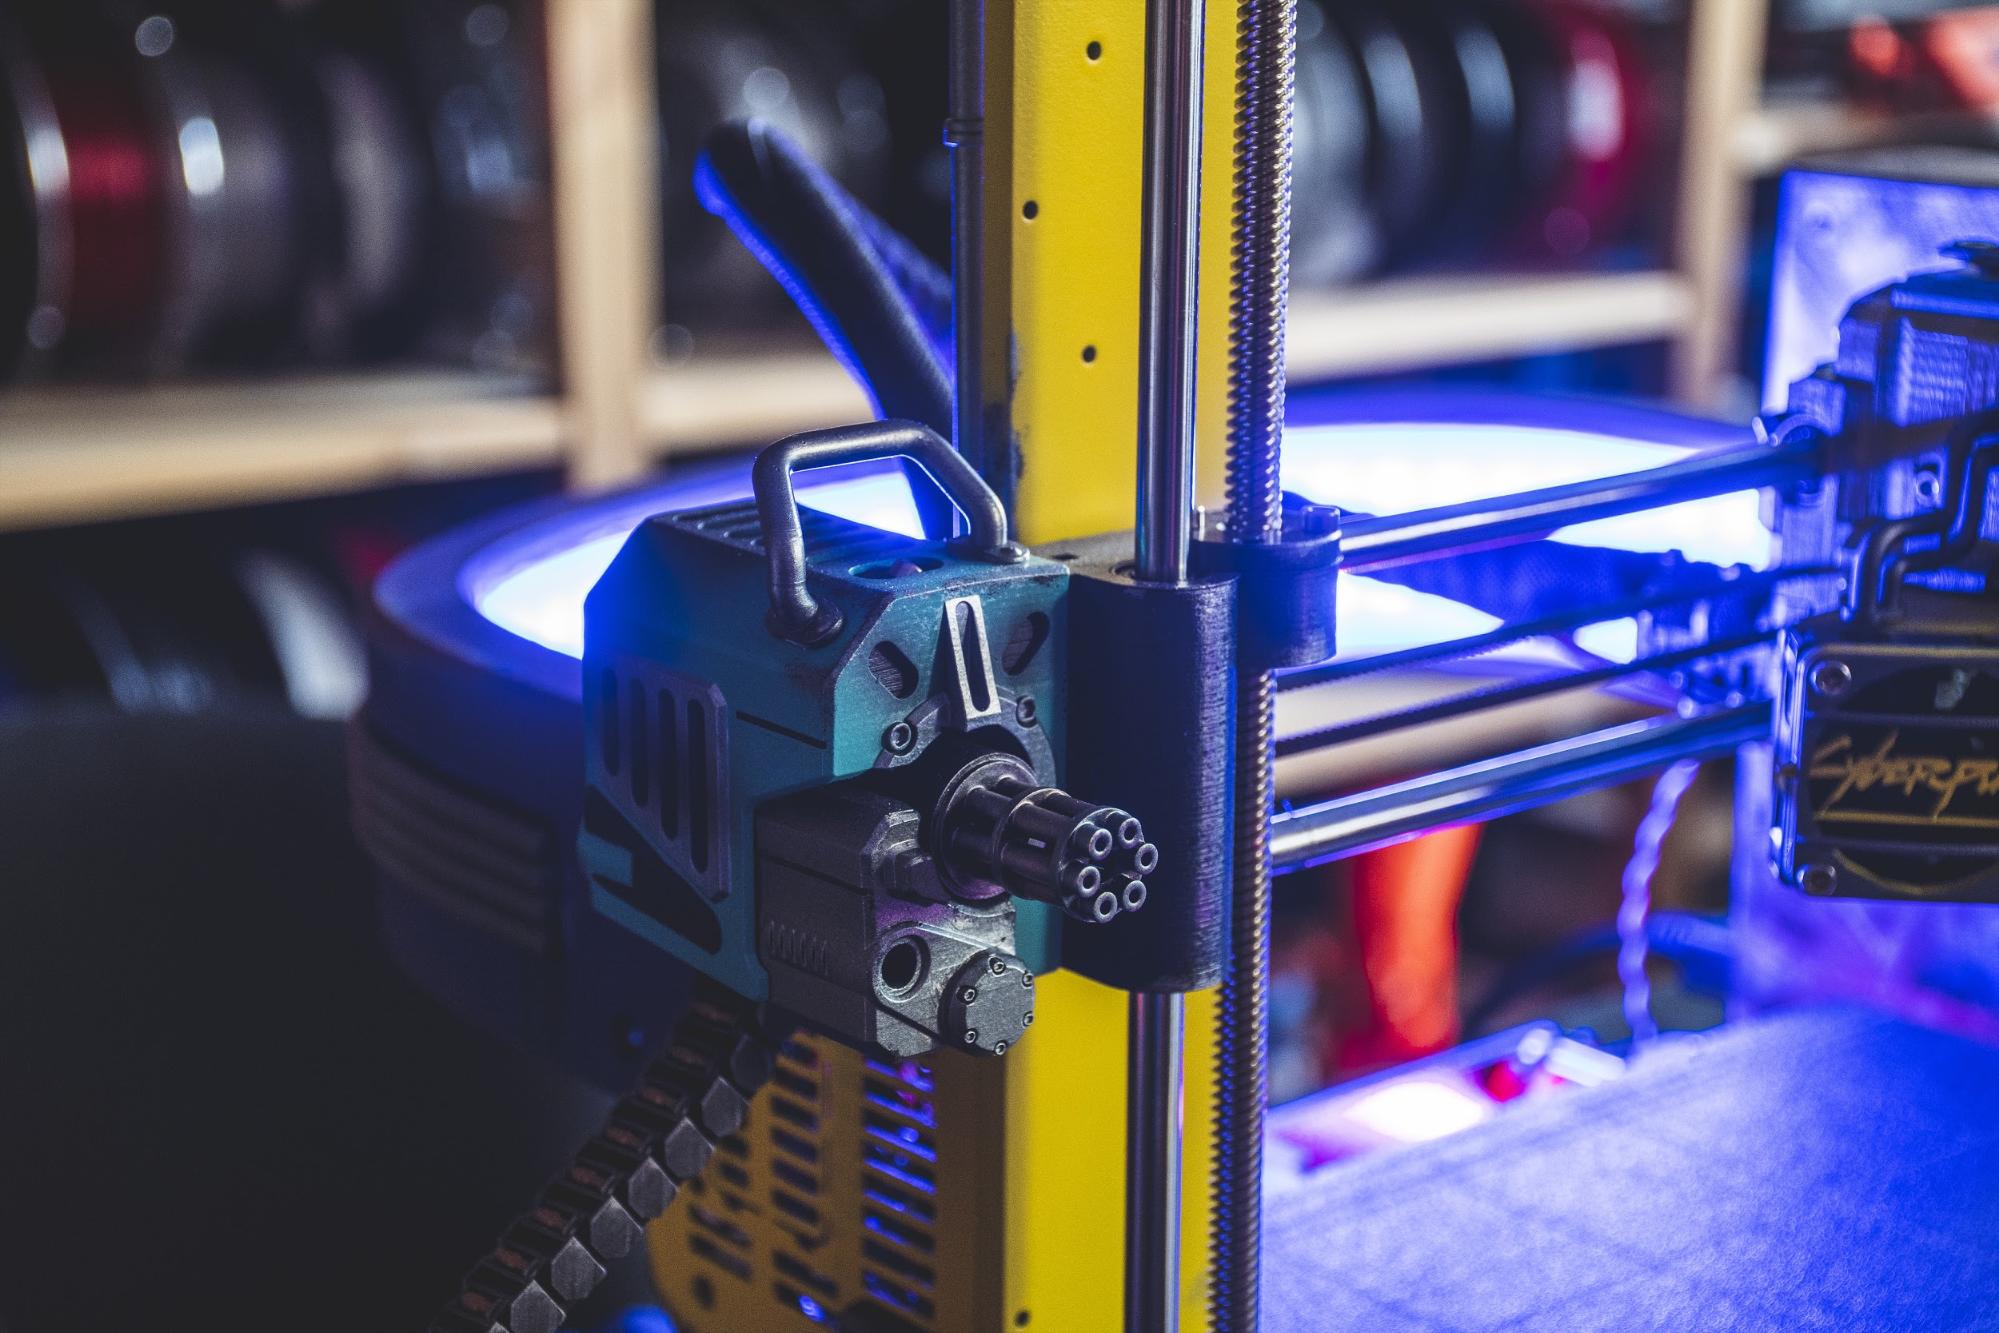
What sounded like a great idea turned out to be “a bit” of a pain in the end, though. If you decide to add this mod to your MK3S, we strongly recommend to print more than the exact required number of belt parts and bullets – they might break easily. Also, hiding the motor wires in the belt requires patience. However, watching the barrel of the minigun rotate during printing is very well worth the effort!
 |
 |
|---|
The Cyberxtruder
There’s not a single part of the extruder that would go untouched – except for the Bondtech gears and hotend. Again, we started with a disassembled extruder, applied for the basic paint job, put everything together, and only then completed the look using the weathering method. This way, a more seamless look can be achieved. Don’t forget to carefully paint any visible wires, too!
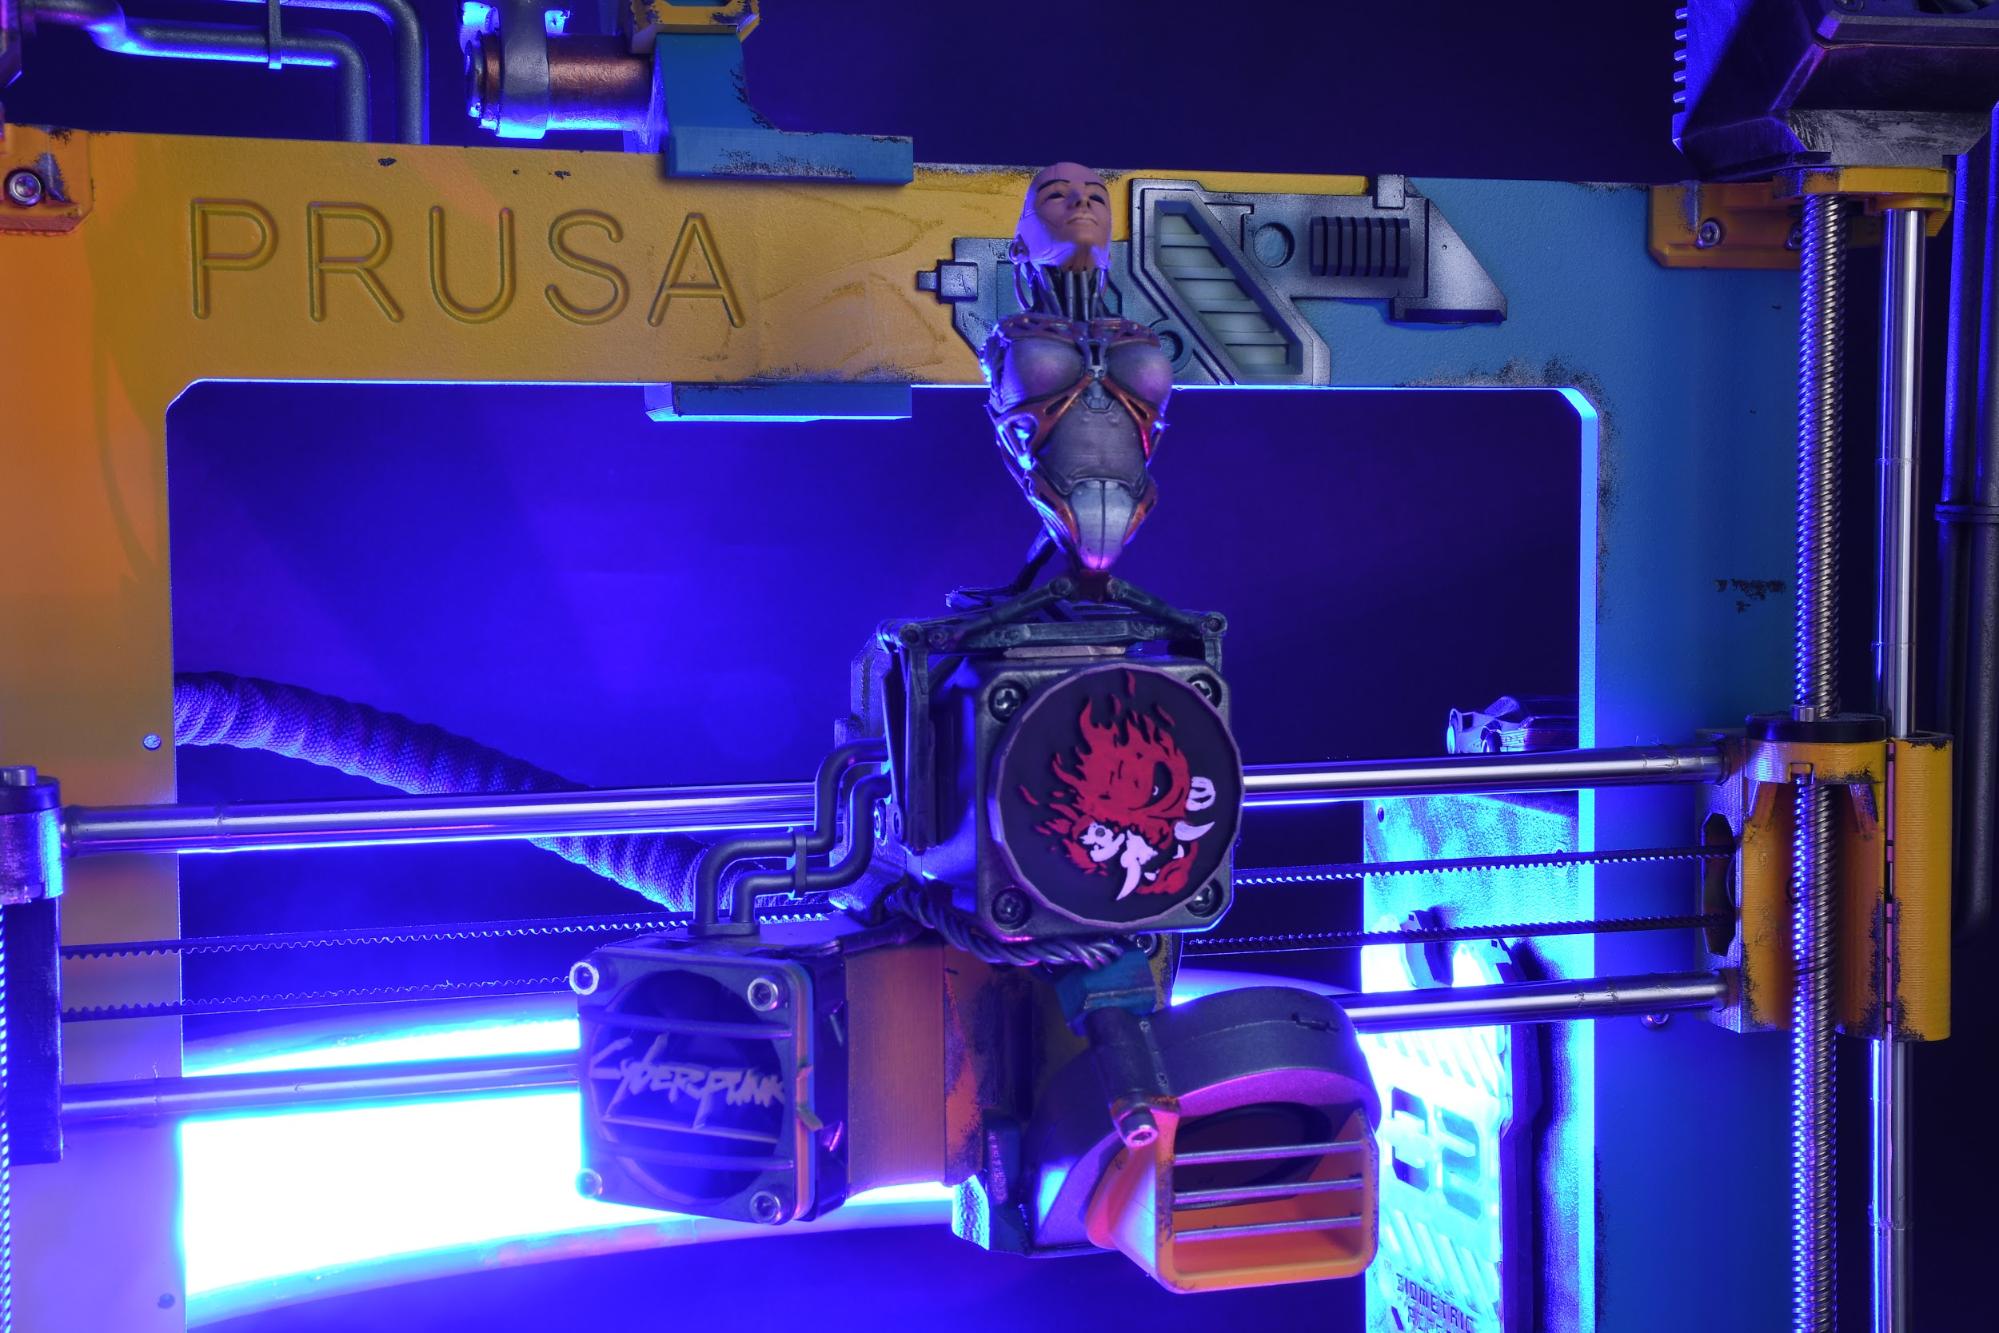
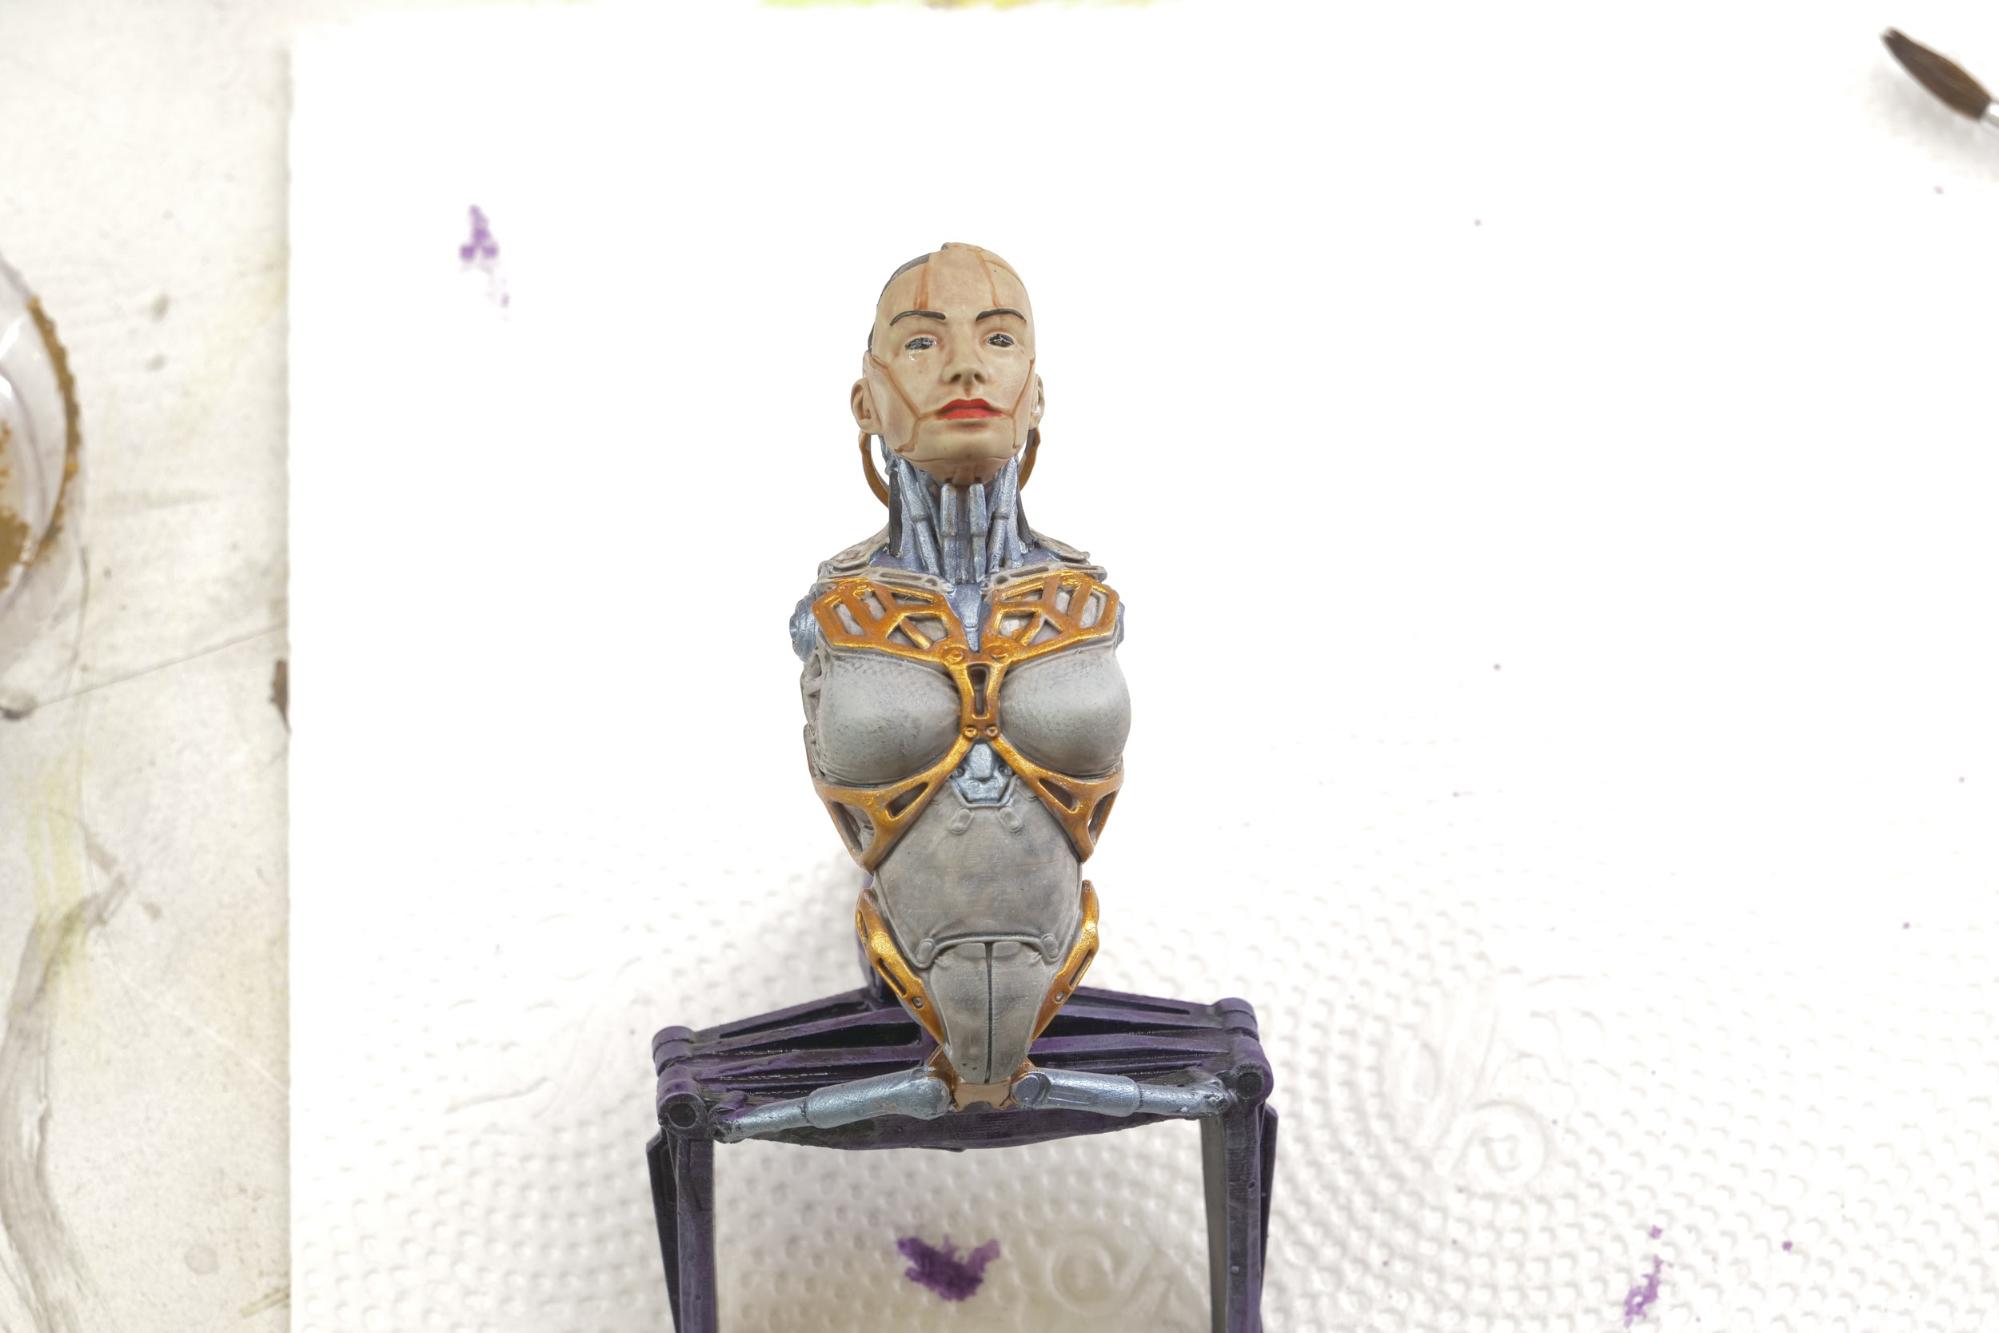
Once the extruder was done, we moved onto the cyborg and the badge. This is no different than painting any regular figure – again, you can check out our YouTube channel to learn more about painting 3D models. Both models are attached to the extruder with the futuristic technology of magnets.
 |
 |
|---|
The Z-top vents
The Z-axis remains relatively untouched. We’ve added two large fans and some piping (possibly to let off some steam). The pipes should be glued only to the fans, not to the frame, so you can still detach the Z-axis ends in case you need to carry out some maintenance.

Prusa Spoolholder 2077
The spoolholder consists of 6 parts, most of them modified. We used the same color palette to match the look of the rest of the printer, all parts are further enhanced with the weathering method.
 |
 |
|---|
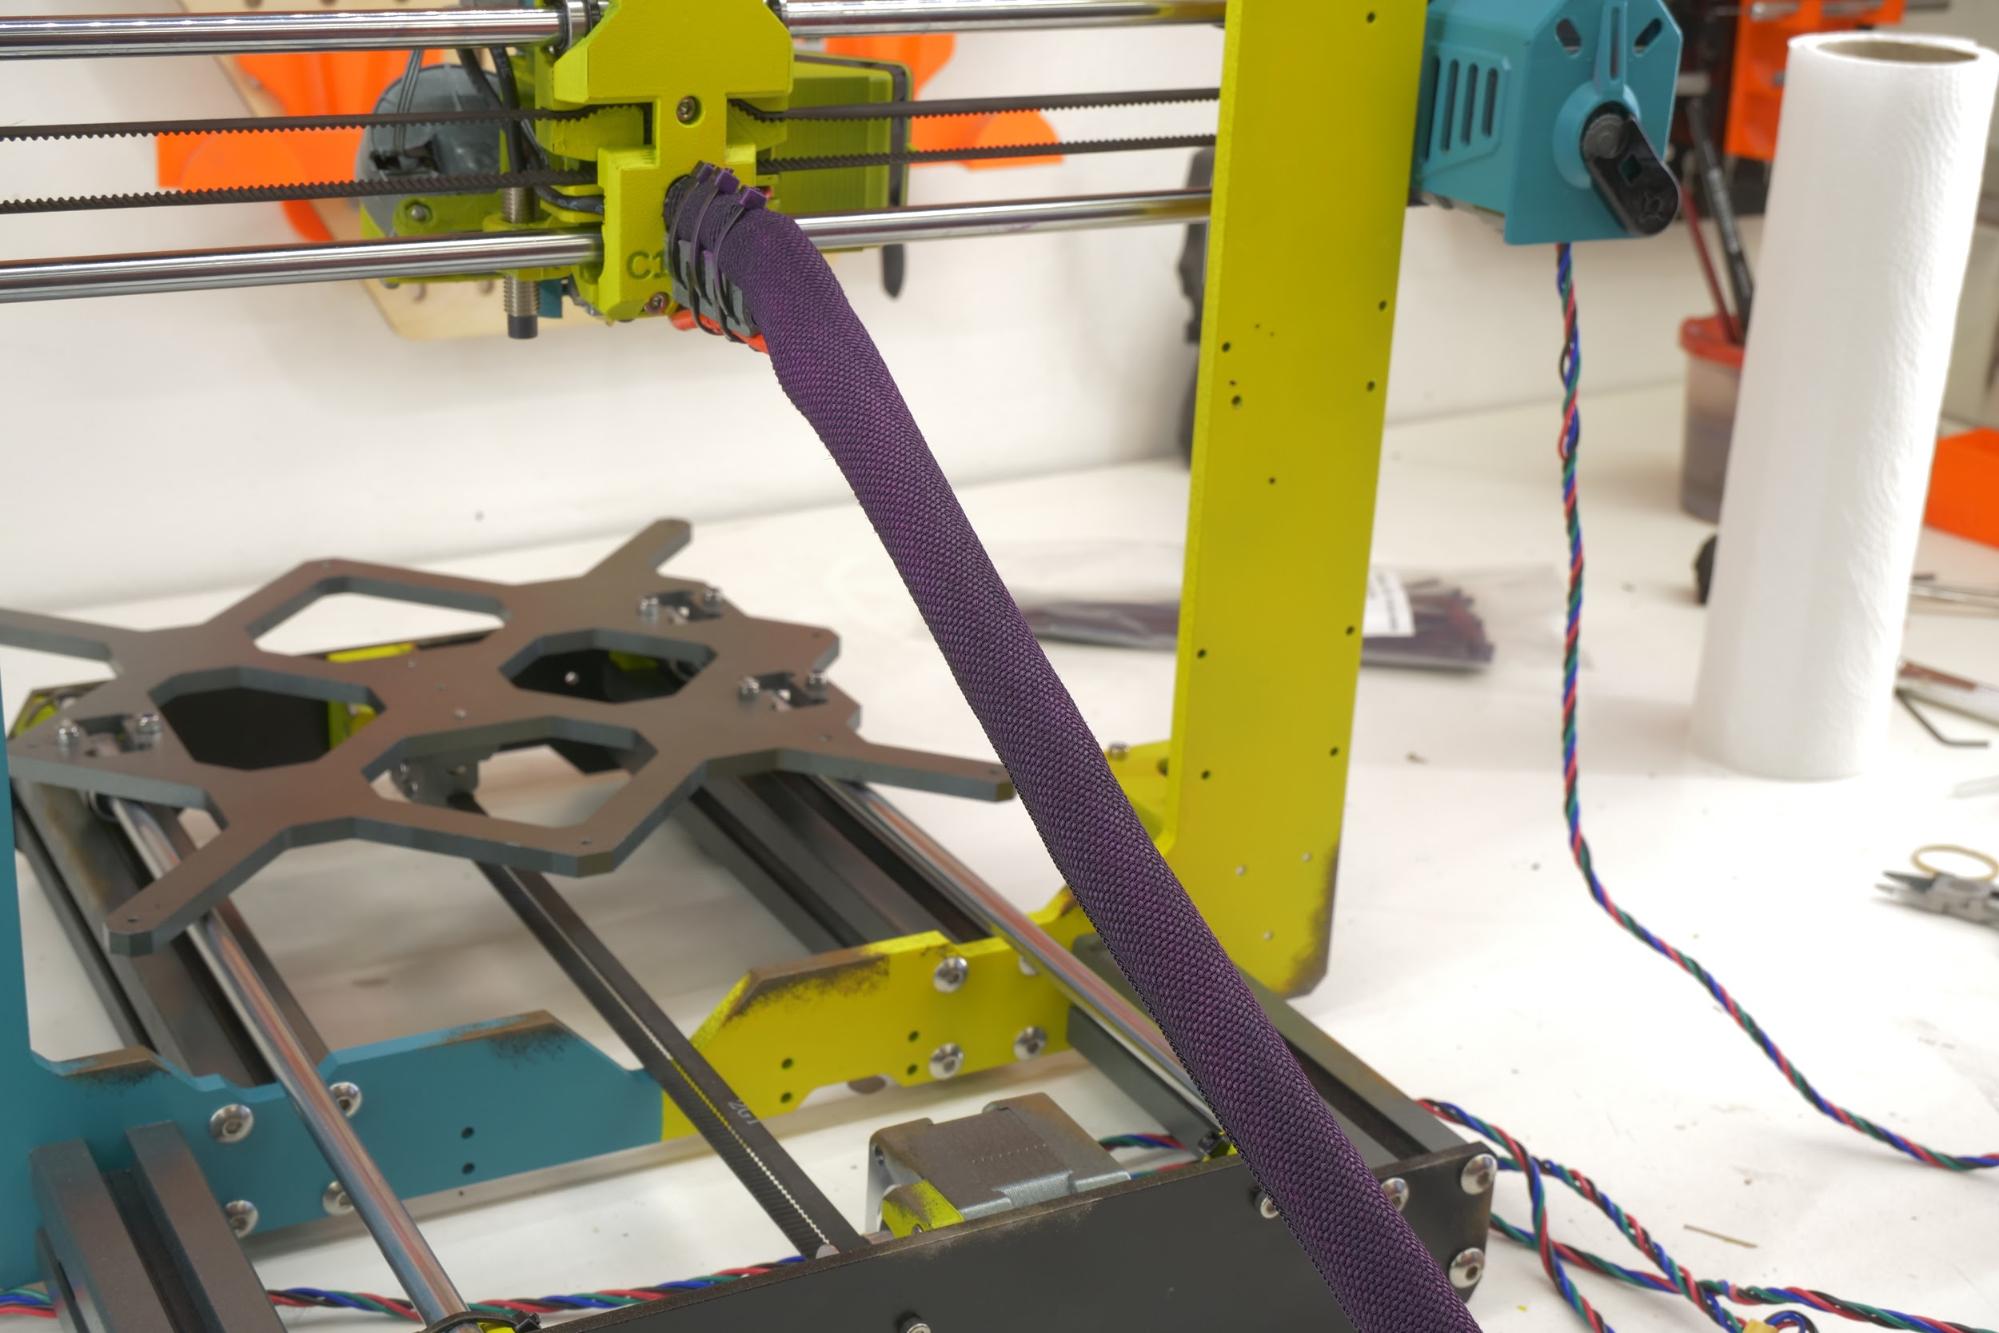
Taming the wires
For a brief moment, we considered leaving the wires from the extruder exposed to achieve a somewhat rough, torn look that would bring a chaotic contrast to the beautifully painted cyborg on the extruder. However, since we wanted to maintain the printer’s functionality, we kept the original sleeve and painted it purple.
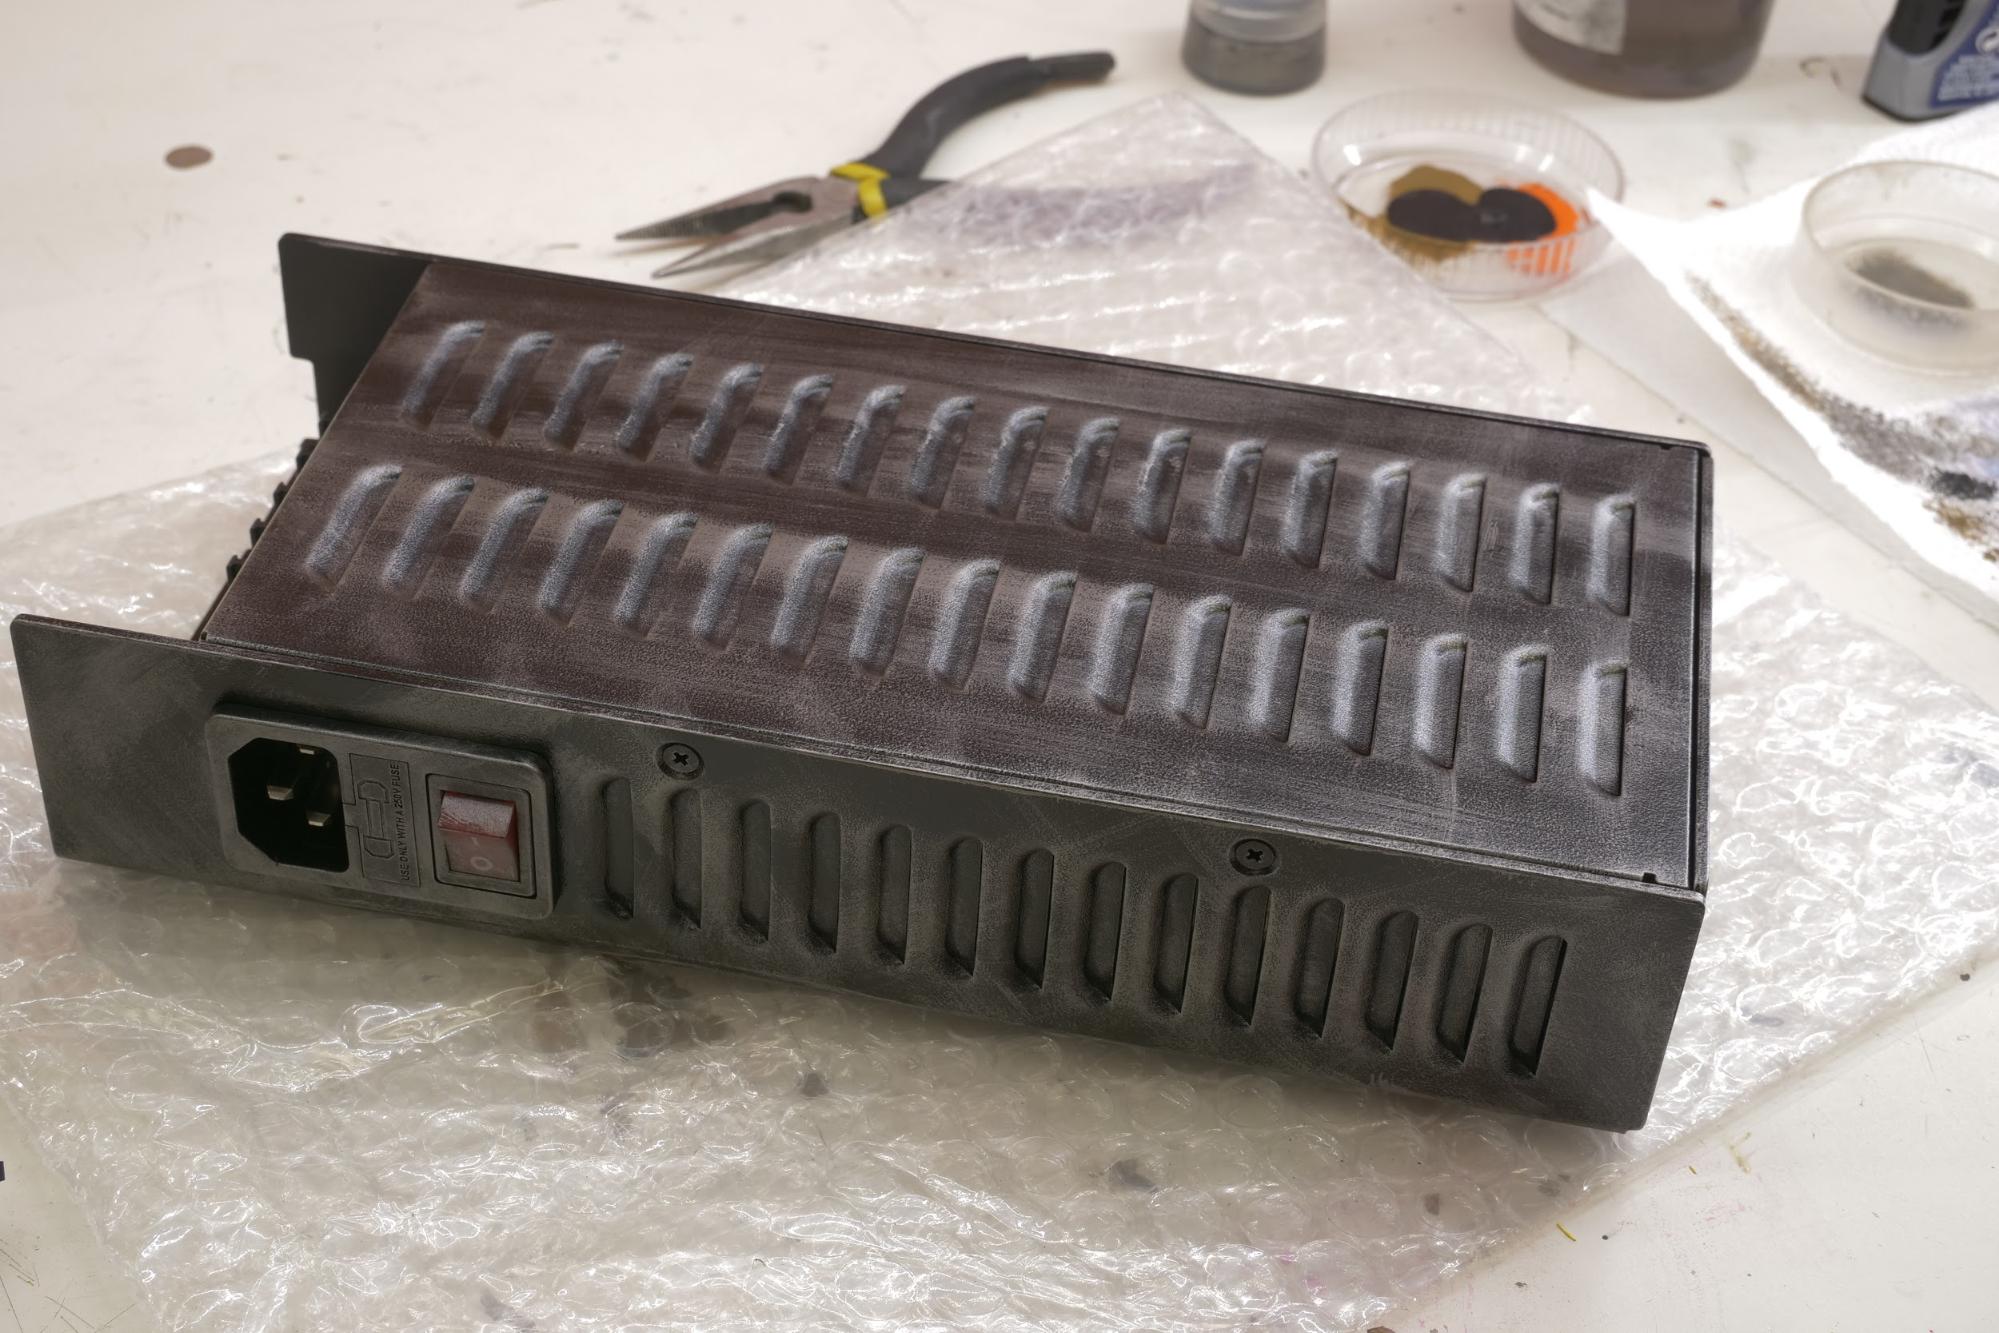
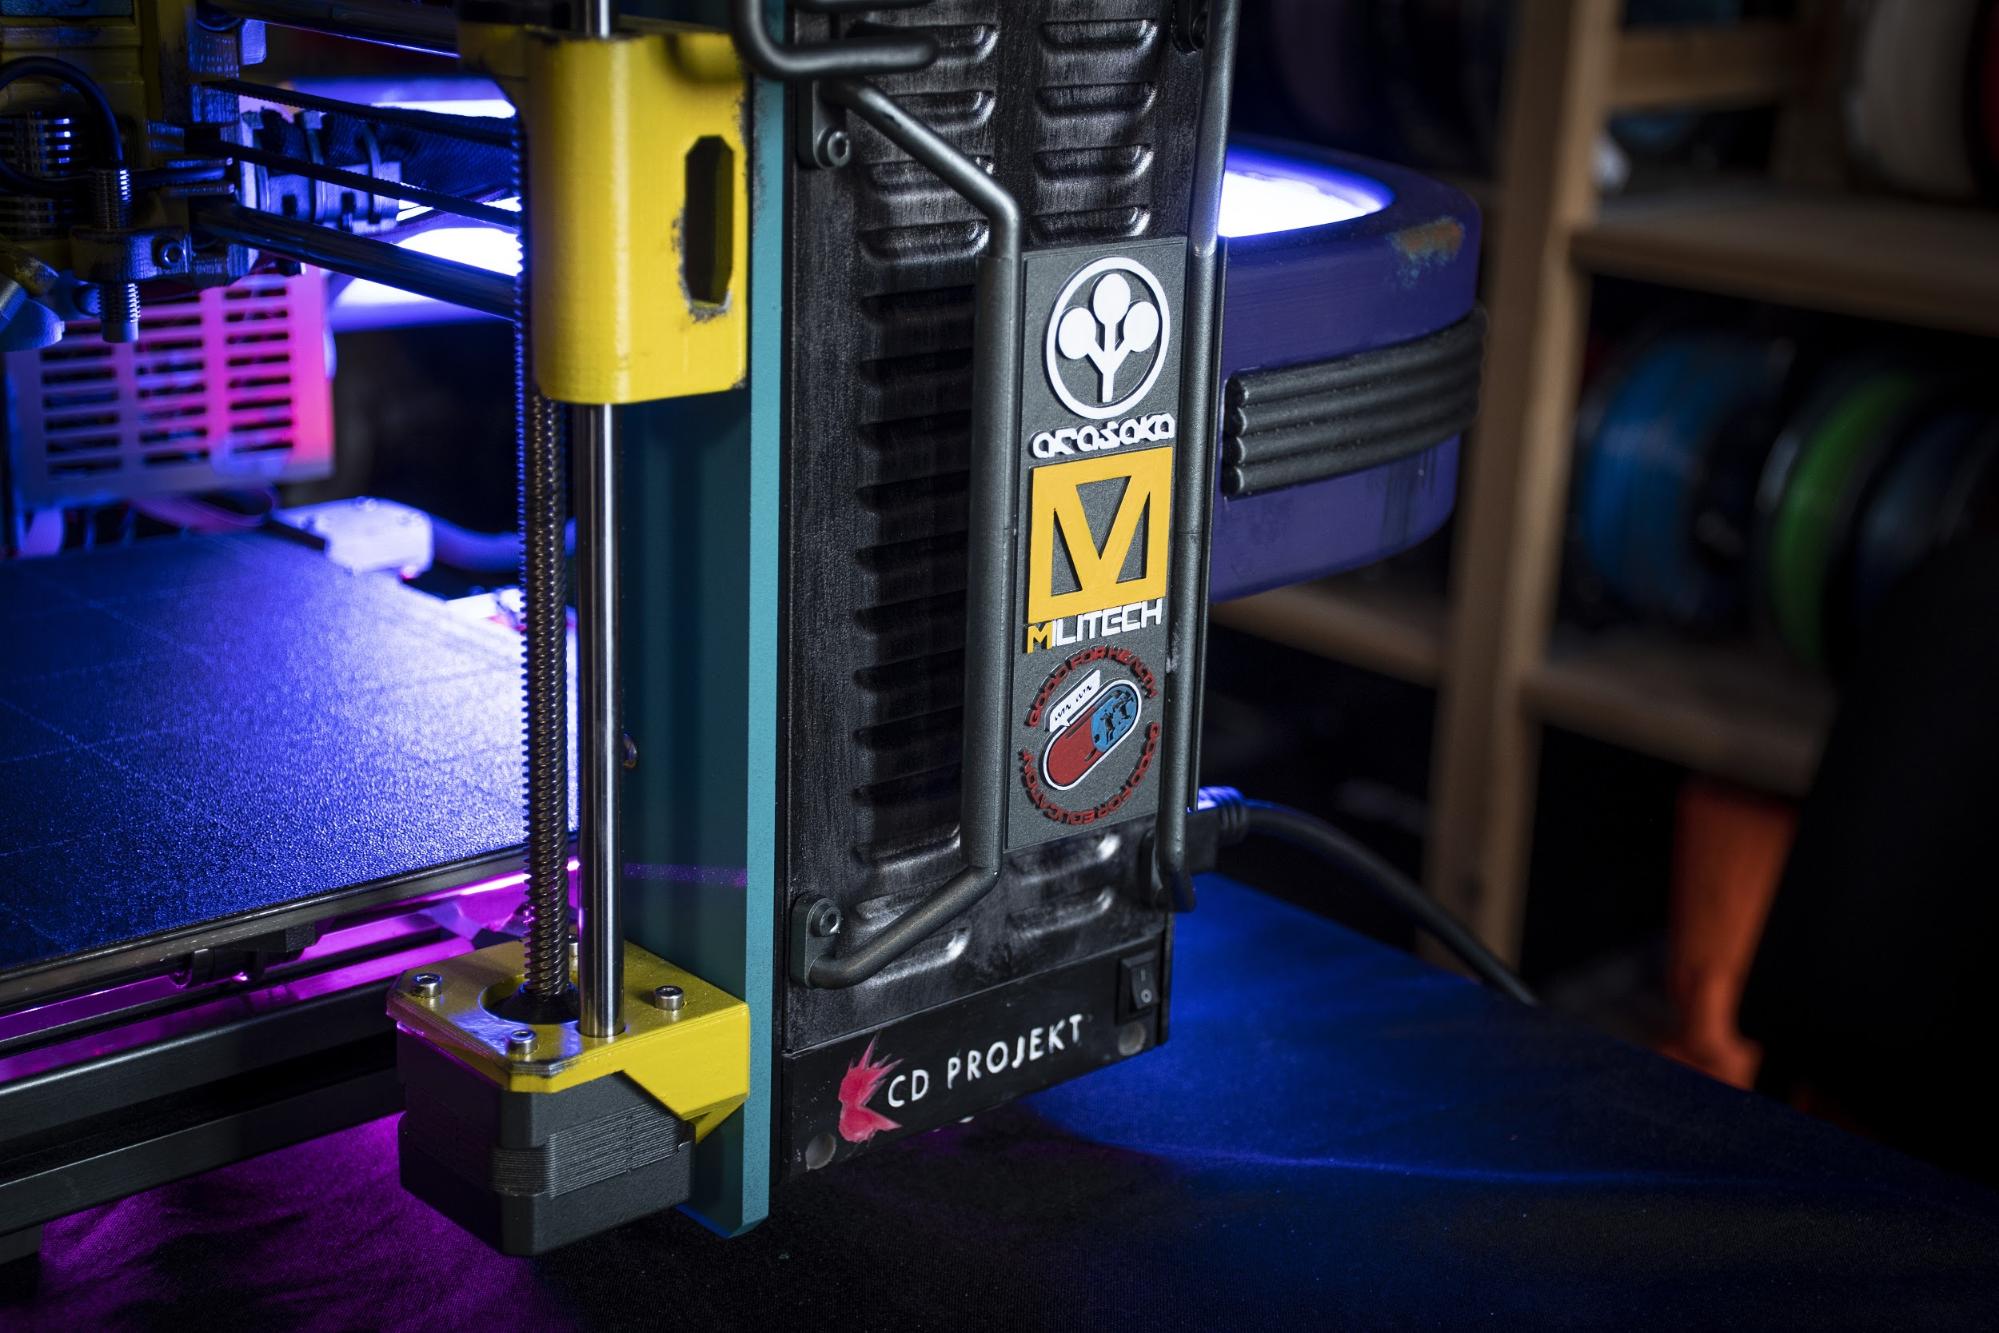
The electrical heartbeat
We strongly suggest keeping the electrical components as intact as possible. Dabbling with the electronics can cause damage to the printer (or worse). This is why the only thing we’ve done with the PSU is a very simple and careful dry brushing paint job to add surface scratches and imperfections. This helps to suppress the large black areas of the PSU. Always make sure none of the paint got into the PSU itself!
Once the PSU was painted, we could add a number of printed models to complete the look. A couple of corporate logos from the game did the trick.
The neon glow
The cyberpunk aesthetics of this MK3S would be severely lacking if we didn’t replicate the glaring neon glow that illuminates the streets of a futuristic metropolis. Standard LED stripes were used to create the purple glow for the heatbed, and another set to light up the semicircle at the back of the printer, which is reminiscent of the backlit collar of the jacket worn by Cyberpunk’s protagonist.
Three of a kind
A wise man once said that when there’s something worth doing, it’s also worth overdoing. This is why we have decided to build not just one cyberpunk MK3S. In fact, we’ve built three of them. We’ll probably keep at least one of them on display and we’re thinking of sending one to the CD Projekt RED team. However, what about the third one? We have thought about an anti-cyberbullying charity auction, but we need CD Project’s approval for that. What do you think? 😉
And we are, of course, sending our congratulations to CD Projekt RED on their successful launch of Cyberpunk 2077. Thank you for inspiring us – and see you in Night City!
Freaking awesome! I especially love the custom bed sheet. Would be cool if it was purchasable, or even a service to get a bed sheet with your own picture/design on *wink wink*.
Awesome, awesome, awesome !!!!
OMG
The colors, the design…
To look your Video… AMAZING !!!
Many Thanks for the Inspiration !!!
It’s all about Cyberpunk 2077??
I was searching for this information on https://www.google.com/
Thanks for sharing this informative post. To get the best mobile repair service at home by expert technicians. Huawei Service Center Dubai is a big name in this telecommunication industry. For more details visit our website.
https://www.dailytechnician.ae/huawei-repair-services/
Wow, Amazing post. Thanks for sharing this post. To get services from leading projectors making agencies you can get best projectors under $100. The best quality and affordable price and look is very shiny. For more details visit the website.
https://bestreviewsolution.com/best-projectors-under-100/
David, what a great build! I’m very impressed, although I really fell off my chair when I saw that pegboard in the background. I’d like to do a build video about it. Let me know if you’d like to collaborate or have issues with that.
I don’t know how are you doing but i so admire You all guys!
Have CD Red contact with you and have you choose charity?
A mechanical contractor is a business that is responsible for the installation and maintenance of heating, air conditioning, refrigeration, plumbing and other systems that are essential to the operation of a business or home. Additionally, commercial mechanical contractors dallas tx also provide services such as installing boilers, furnaces and fireplaces. You can choose from many different types of contractors to complete your project. Some specialize in heating and air conditioning (HVAC) while others focus on plumbing or electrical work. Some contractors offer all three services.
I'll be honest, I'm pretty disappointing in this design.
The construction and build quality is amazing, but the design is all over the place.
Instead of making a 3D Printer that could exist within the world of Cyberpunk 2077, they instead made what amounts to a Cyberpunk Nascar printer trying to fit as much logos, iconography, and random doohickeys like the tiny gattling gun. Arasaka and Militech are competing corporations, you don't even have to be a fan of the game to know that, they'd never put their logos side by side, and the design of the printer itself fits neither Arasaka or Militech. Also why the random pill logo.
Anyways I am designing a cyberpunk casemod for a 3D Printer and got momentarily excited to see this but was disappointing in the lack of thought and imagination that went into this considering the effort.