


As a 3D printing enthusiast, I’m used to creating custom gadgets and fixes, but my latest project has brought a whole new level of joy: sensory play accessories for my friends’ little ones, to be used with modeling clay, plasticine, or kinetic sand.

My friends, family, and even my landlord keep asking, “If I needed something 3D-printed, would you do that for me?” Sometimes, pointing them to Printables.com is enough – they find what they need themselves. More than that, I enjoy creating new designs for them. One particular wish stood out. “Can you model a poop?” asked my friend, a mother of two little girls. Then she introduced me to e-shops and mama blogs with one topic: sensory play.
It was a new field for me. I asked around among the young parents in my social circle. Turns out, it’s a popular activity for kids aged 2–6 and their parents. So, like the good auntie I am, I started designing. You find the results in my Sensory play with playdoh collection. And using only PrusaSlicer, you can remix them and create your own!

A little market research and a brainstorming session with my friend showed that there are three main categories: stamps, rollers, and molds. We’ll now go through the design principles of each type and show you how to adapt them. The models throughout this article were printed on the Prusa CORE One+ and MK4S. The only exception is the molds with a flexible hinge, which are printed using the Prusa XL printer, but they also have a single-material alternative. We will get to those later. All the models featured here can be printed without issues using basic settings.

Safety first
Before we dive into the details, let’s address the most important thing: the safety of the children. Regarding materials, PLA is a fundamentally safe material for handling, and its raw form is non-toxic, but it’s not entirely risk-free when used in 3D printing. Some filaments might contain additives or colorants that are not food-safe (meaning they shouldn’t be licked).
The potential health risk of the 3D-printed parts lies in their layered nature, because the tiny spaces between the print layers are big enough for bacteria to move in. Make sure to clean the surface properly with warm water and dish soap, but don’t put the printed objects in the dishwasher, as they would not withstand the temperatures.
We created the depicted designs with the idea of sensory play, but keep in mind these are not certified toys. If you choose to print it for your children, there are a few rules I’d recommend adhering to:
- Do not leave the children unattended when playing with 3D-printed parts. This is by far the most important and the most basic rule, as you never know what’s on their minds. You should be able to stop them immediately if there’s a risk they might cause harm or damage to anyone (themselves) or anything. This also includes biting, licking, and accidentally swallowing any 3D-printed parts.
- Avoid tiny parts and sharp edges. Do not print models that are fragile, have tiny parts or sharp edges. Also, check for print errors, such as stringing. Clean the surface thoroughly to prevent the kids from ingesting plastic particles.
- Optionally, use a food-safe coating. 3D-printed parts are not meant to be put in a mouth. Even when you clean the surface of strings and other small parts, consider a food-safe coating if your child tends to taste everything. This creates a tougher, smoother surface and may help round the edges, reducing other types of harm. You may find inspiration in our older article about food-safe 3D printing.
Reviews and recommendations
To test the designs, I handed out sets containing one of each model to my friends. To my great pleasure, they were received very well by all the children. From the ergonomic point of view, the objects had the ideal size, and they were easy to handle. From an educational standpoint, using them was intuitive, and it encouraged creating games and stories where the clay objects were used as props. The parents were happy as well. Probably the best feedback was that “the kids entertained by playing with it for hours“.

Let’s roll
When creating the designs, I chose to begin with rollers because I knew a trick, the Image to Lithophane by 3D Printing Rocks, you might already know that from this article. The webpage allows you to upload an image, select a solid cylinder as an output, and download an STL file.
I experimented with pictures from the internet and AI-generated pictures, but in the end I created my own, using SVG icons from the SVG Repo and any vector graphics editing software for the roads and railways. The SVGs work the best because they are simplified and don’t have too many colors. On the lithophane roller, white areas form the surface, and darker colors turn into deeper grooves.

However, I encourage you to try out any picture or photo, be it cartoon characters, your hometown scenery, or even a family picture. My settings recommendations are:
- Image Settings → Negative Image,
- Model Settings → Maximum Size (MM): This is counterintuitive; it is the circumference of the cylinder (I used 125 mm for a diameter of 40 mm),
- Model Settings → Thickness (MM): 2,
- Model Settings → Thinnest Layer (MM): 0.2.

When using pictures with a higher level of detail, feel free to play with the Thickness and Thinnest layer settings. Also, consider that the image covers the curved surface of the cylinder. To have a conveniently sized cylinder, with its height equal to its diameter, you need an image of a width π-times bigger than its height. But again, just experiment with it, no need to be this nerdy. 🤓
The presented designs of the sensory play rollers with stamps are available on Printables.
Stamp and tell
The stamp cubes are the most reliable to print and the easiest to edit, so you can create many of your own. Besides being used for their purpose, in the hands of the kids they also turned out to be suitable for building walls, towers, and houses for the molded clay objects.

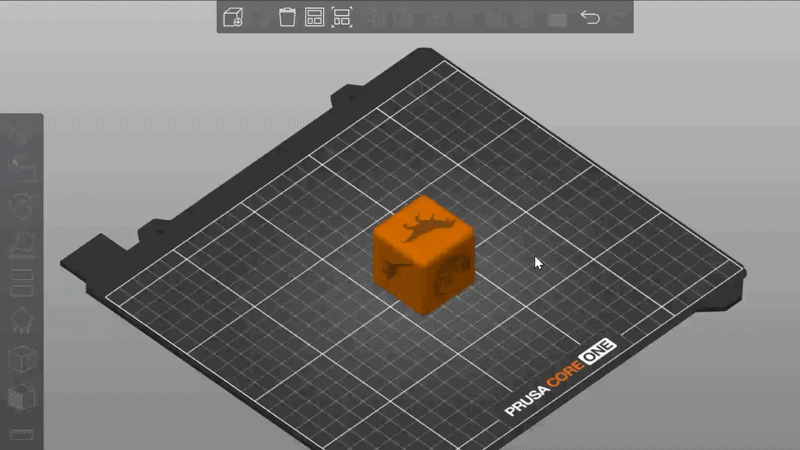
The sensory play stamp cubes with pictures on Printables currently offer the following themes: dinosaurs, African animals, farm, ocean, food, weather, and three cubes of forest animals typical for Europe. The cube has a size of 4×4×4 cm and rounded edges for safety reasons. The stamps are created by placing pictures on its faces, giving them a thickness of 0.8 mm, and turning them into negative volumes in PrusaSlicer. In the same way, I added stamps on the flat faces of the rollers above. The pictures are again SVG icons from SVG repo.
Starting with an existing stamp cube, you can exchange the pictures for ones of your choice and create a cube with a new theme.
Download icons from the SVG repo. Also download the 3MF file and open it in PrusaSlicer. There are multiple cubes, but we will work with just one. As shown in the gif above, click on one icon and select Edit SVG. In the menu that appears on the left side, click on the arrow under the picture and select Change file. Then choose an SVG file (a vector icon) from your computer. You can adjust its size in the menu as well. That’s all! Repeat for the rest of the faces, and you’ve designed your own stamp cube.
One piece of advice: the SVG modifier in PrusaSlicer will discard all the color data! PrusaSlicer only cares about solid infill. Therefore, it’s best to only search among monocolor or outlined icons.

Time to mold
The molds are, in my opinion, the most interesting of the three but also a little more complicated to construct. They are created by putting a negative volume object inside a cube; this is cut in half, and a hinge is added to connect those halves. It sounds simple, but don’t forget one important thing: you need to be able to take the molded clay out. Therefore, the shapes have to be rather simple with no “hidden caves.”
From the reports of my friends, the molds work great with kinetic sand and homemade modeling clay. Store-bought ones are usually more sticky and make it harder to take out the molded shape.

To use space efficiently, there are also stamps on the square faces of the molds. You can choose from a heart, a mushroom, a waffle, a pumpkin, a (Christmas) tree, and the poop mold that started my sensory play designing streak. The existing designs can be turned into new ones in a similar way we showed for the stamps. However, exchanging the negative volumes and aligning them correctly requires a bit more PrusaSlicer skill and practice.

As mentioned in the beginning, the sensory play molds with flexible hinges are printed on the Prusa XL. They combine flexible TPU 95A for the hinge with PLA for the mold itself and supports under the hinge.
The models take advantage of a PrusaSlicer feature developed for multi-material printing called beam interlocking. Thanks to that, the connection between the materials is strong. The hinge itself is both flexible and durable, supported by PLA organic supports during printing. This ensures the surface quality and the supports are removed very easily because of the low adhesion between the two materials.
If you don’t have a printer with multi-material capability, the sensory play molds with mechanical hinges are the alternative for you.

Final tips
The provided models are really just the tip of the iceberg of what is possible. However, if you start experimenting, implementing your own designs, or using photos, you should consider the layer height with respect to the level of detail. For example, to print real photos on rollers, we would even suggest using a 0.25 mm nozzle, which allows you to lower the layer height down to 0.05 mm.
Finally, you can design many different models directly in PrusaSlicer, using features such as SVG modifiers and embossing. If you want to learn more such tricks, check out our PrusaSlicer Masterclass – Beginner to Advanced course. Or dive deeper into 3D design with the 3D Modeling in Autodesk Fusion.
And most importantly, have fun with the designs. Happy playing!

Great idea! 3D printing sensory play accessories is a creative way to help kids learn and explore while having fun. I like how you explained the design ideas for rollers, stamps, and molds. Projects like this show how useful 3D printing can be for families and educators. We also see similar creative applications while working on CAD and 3D printing projects at caddeziners.com.au.
This is such a creative idea! 3D printing sensory accessories is a fantastic way to encourage hands-on learning and imagination for kids. Activities like these remind me how important creative play is, especially when combined with fun <b><a href="https://www.toynix.pk/collections/toys-for-girls"> toys for girls</a></b> that inspire crafting and storytelling.
Spicy Chat AI is a free, uncensored AI chat platform where users create custom characters or explore millions made by the community—no filters, no judgment, just pure creative freedom.
<a href=" https://www.magi1.ai/spicy-chat-ai ">spicychatai </a>