Nearly all Original Prusa i3 3D printers have a spool of filament placed in the original holder on the frame. This solution is trouble-free, practical, functional and mobile. However, if you want to print from special materials, which are hygroscopic, you need to keep the filament dry also during printing – that’s what silica gel is for. We present several solutions for this case.
What is a drybox?
A drybox keeps the filament dry during printing and also protects the filament from dust. A 3D printer with our Multi-Material Upgrade not only allows you to print from filaments of different colors but also gives you the opportunity to print with different kinds of materials. A practical example: printing water-soluble supports. The usual approach is to print supports with the same filament used for printing of the model itself. Once it’s done, it is necessary to remove the supports manually – using force. This results in visible marks left on the print. In some cases, the supports may be difficult to access and may even be impossible to remove. There must be a small gap (typically 0.1 mm) between supports and the print. Therefore, the surface under the supports is not perfectly smooth. On the other hand, soluble supports can be printed without spacing and dissolved in water. The print surface is therefore much nicer.
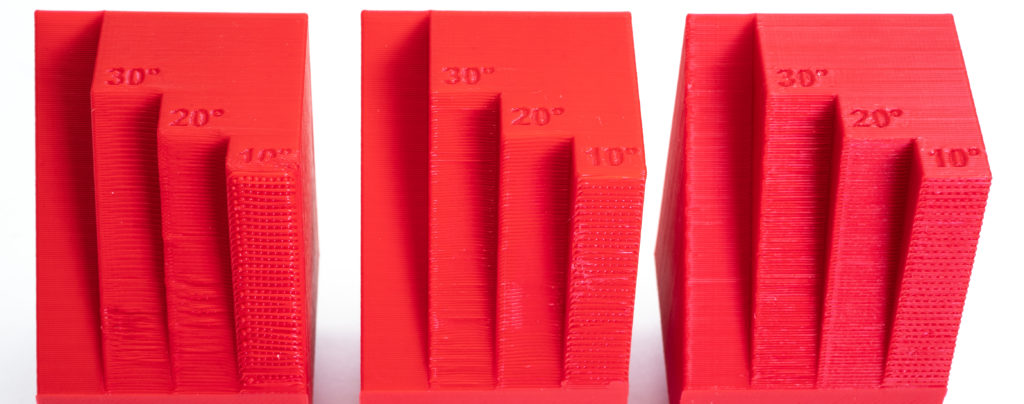
On the picture below, you can see the different surfaces above supports. From left: without supports, with normal supports, with soluble supports.
Table of contents
- Drybox for one filament + four filaments without cover (for MMU2S enclosure)
- Dryboxes on a wall for any number of filaments
- Samla Drybox for three filaments (for MMU2S enclosure)
- 2x Samla Drybox for up to six filaments
- Community solutions and ideas
Drybox for one filament + four filaments without cover (for MMU2S enclosure)
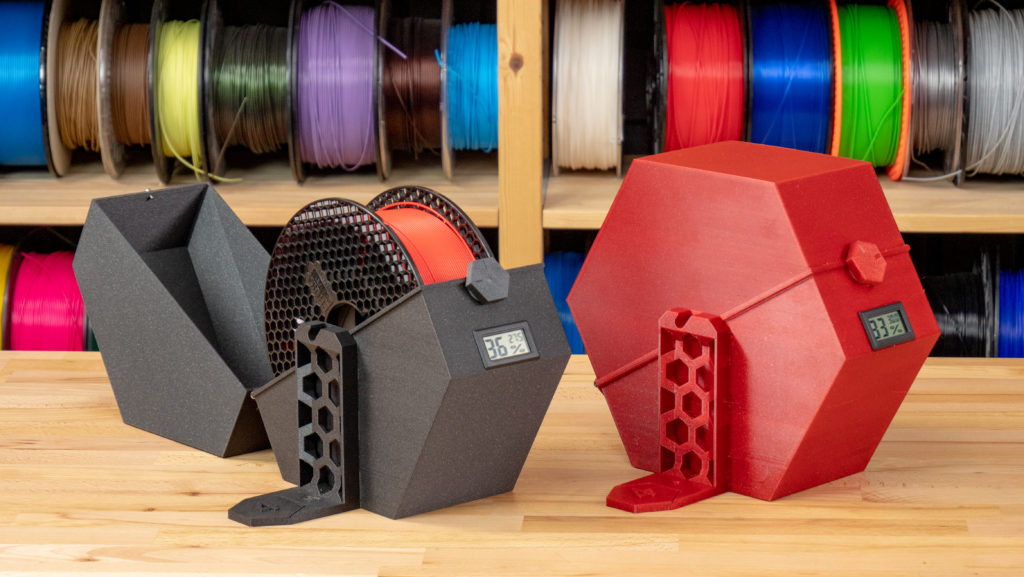
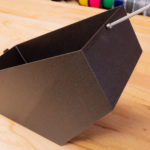
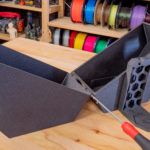
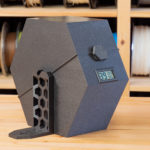
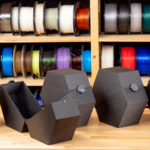
When printing soluble material with the MMU2S, the soluble filament should be in the fifth filament slot (as default). That is why the drybox is adapted to the location on the right. The modular filament holder is a part of the construction of the MMU2S Printer Enclosure V2. We created an alternative part that works as a cover / drybox for the fifth filament.
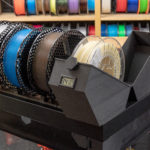
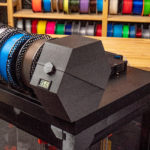
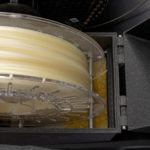
Benefits of our drybox
- filament is protected from dust
- filament is in a dry environment thanks to silica gel
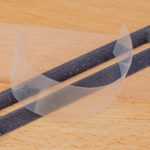
- simple and functional oval filament outlet which is covered by a piece of foil
- easy to load filament
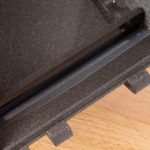
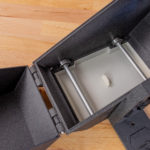
- easy replacement of silica gel thanks to the tray on the bottom of the box
Parts and fasteners
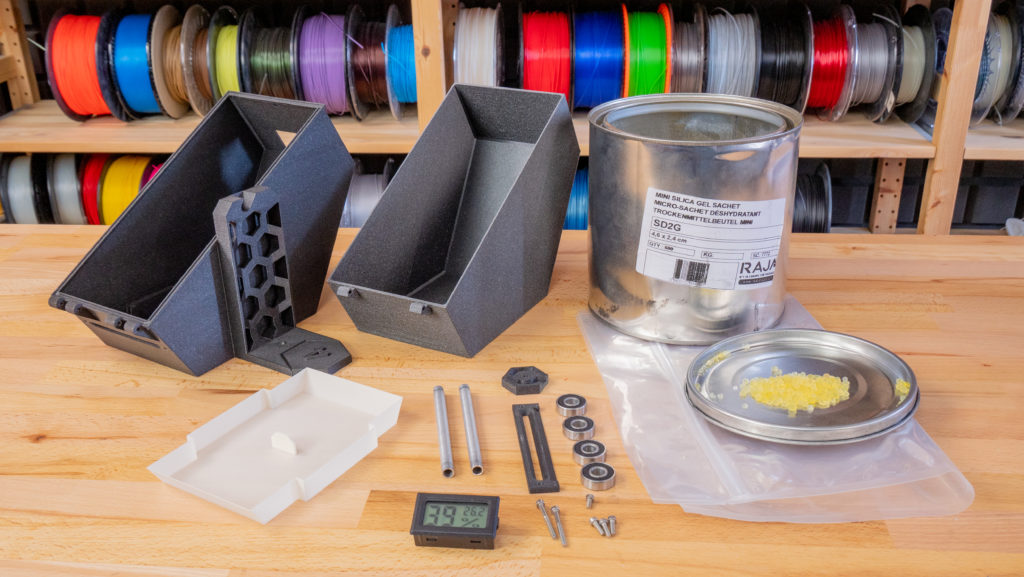
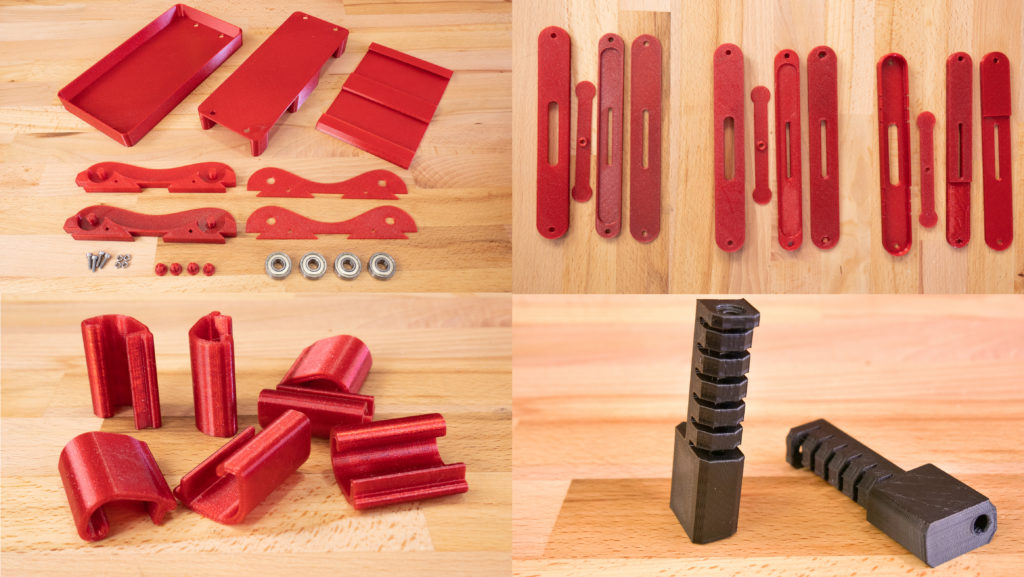
- printed plastic parts (preferably PLA material) – make sure you chose the right parts depending on whether you want to place the humidity sensor in the box or not
- 2x M3x30 screw
- 3x M3x10 screw
- 1x M3x5 screw
- 4pcs of 608RS bearings (from original spool holders)
- 2pcs aluminum tube diameter 7.8 mm (from original spool holders)
- plastic film from Prusament coil (or similar quality film 0.1mm thick
- humidity sensor – optional
- silica gel
Building the box
- Shorten the aluminum tubes from the original spool holders to 100 mm length.
- Secure the box closing knob with the M3x10 screw. Make sure that the pin on the bottom of the box fits into the groove in the knob.
- Cut the same size foil from a Prusament bag so it fits the frame.
- Insert the foil and frame into the box and secure them from outside with two M3x10 screws.
- Use a sharp scalpel to cut the foil in the middle of the groove.
- Screw the M3x5 screw into the lid.
- Attach both halves together with two M3x30 screws.
- Place the tray on the bottom of the box and fill it with silica gel.
- Place bearings on the axes and snap them into the box.
- Push the humidity sensor into the box.
During testing, the air humidity was kept below 20% in the box at an ambient air humidity of approximately 45%.
Dryboxes on a wall (for any number of filaments)
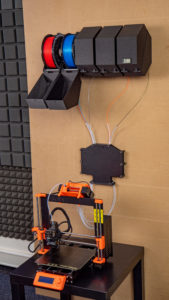
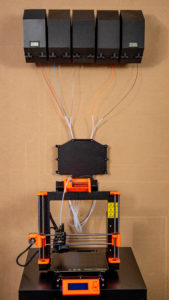
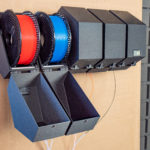
This drybox is of a similar design as the first one. However, this version can be secured onto a wall. You can use any number of dryboxes. When used with the MMU2S, it is recommended to attach the filament buffer under the dryboxes onto the wall, but you can also try printing without the filament buffer. If you do not have a multimaterial upgrade, you can use multiple boxes as storage space and have several materials at hand, so they can be switched quickly and easily.
The assembly of these dryboxes is similar to the previously described design. This versions, however, have the filament outlet at a different location and it also has mounting holes. Use these buffer mounts when mounting the buffer onto a wall. Be sure to select the right model to print depending on whether you want to use the humidity sensor. We recommend using PLA for printing – we used Prusament PLA Prusa Galaxy Black.
Samla Drybox for three filaments for MMU2S box
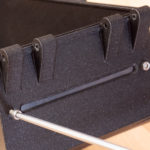
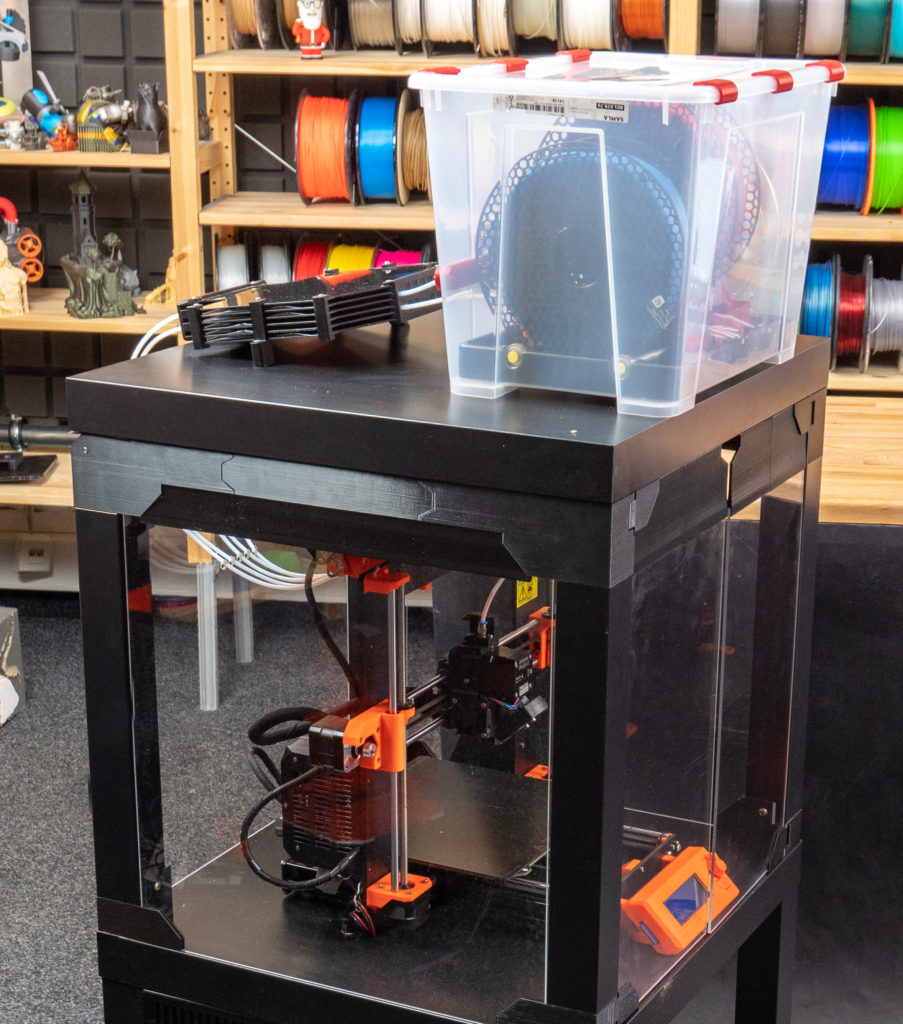
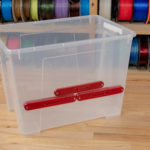
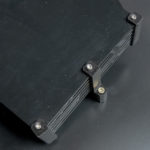
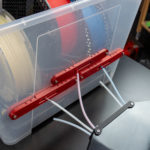
A slightly less refined design, yet a very simple and functional solution is a drybox built made using Ikea Samla boxes. The box can easily fit two filaments. If you print the middle holder, the third filament will also fit inside.
Material for the 3-filament version
- printed plastic parts of sliders and middle filament holder
- filament buffer holders
- printed lid clips
- 1x IKEA Samla box with lid 39x28x28 cm / 22l
- 12x 608RS bearings (from original spool holders)
- 4x 7.8 mm aluminum tubes (from original spool holders)
- 2x original spool holder
- 6x M3x18 screw
- 4x M3x10 screw
- 10x M3 nuts
- 4x 3,5×20 wood screw or similar (mounting box to the table)
- 2x 3,5×35 wood screw (filament buffer mounting)
- humidity sensor – optional
- silica gel
Assembly instructions
- Place the slider on the box and mark the holes on the box where the sliders will be attached with screws.
- Drill the holes in the indicated locations with a 4 mm drill bit.
- Place the inner slider part on the box and align the part with the drilled holes.
- Mark the oval holes in the box slider with a marker.
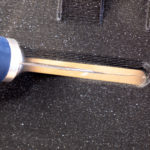
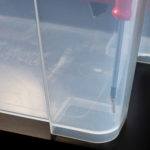
- Create oval holes by drilling a hole next to hole with 5mm diameter drill bit and then cutting the residue with a sharp knife. ATTENTION – the box material is fragile.
- Attach the sliders onto the box (M3x18 screws).
- Unscrew the filament buffer and replace the middle holders with new ones.
- Place the drybox in the center of the top lid and screw it with four screws. We recommend pre-drilling holes in the box.
- PTFE tubes should be approx. 0.5 cm from the drybox.
- Place the two original spool holders in the box and fill them with silica gel.
- Place the humidity sensor inside the box.
- Assemble the printed middle filament holder and place it in the center of the box.
- Pass the filaments through the sliders and secure the lid with the printed clips
During testing, the air humidity was kept below 20% in the box at an ambient air humidity of approximately 45%.
2x Samla Drybox for up to six filaments
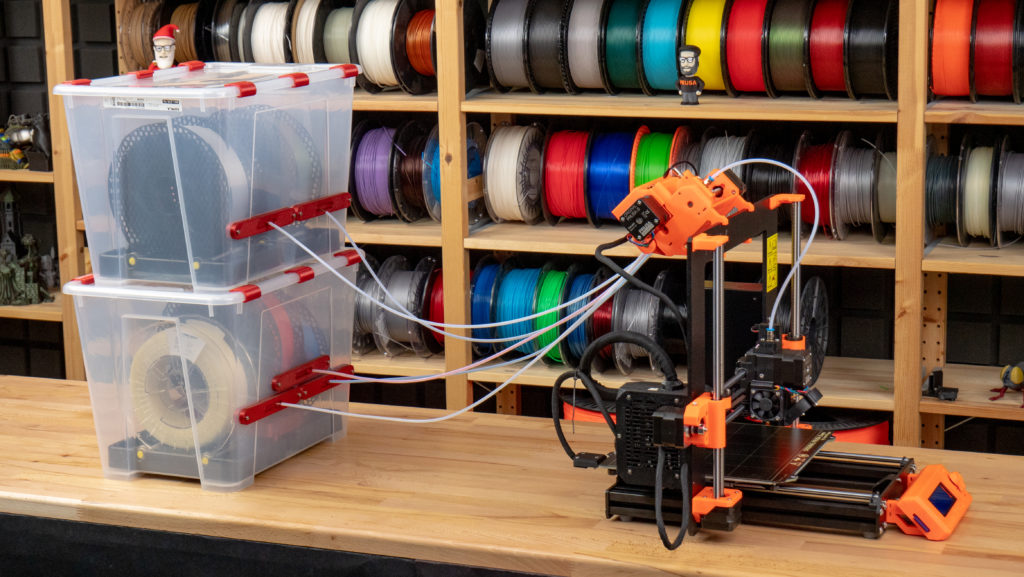
The Samla Drybox design can be used without Prusa Printer Enclosure V2 – the printer with the MMU2S upgrade can be placed on a table (see the picture below). In such a case, it is even possible to place two boxes on top of each other. Then there is enough place up to six filaments. According to our tests, this solution can be used without a filament buffer. Place the boxes behind the printer so that the PTFE tubes from the MMU2S unit end close to the drybox sliders. Building material is identical to the previous solution, only the amount of material used is doubled.
Silica gel can be re-dried in an oven and then reused.
Community solutions and ideas
Original Prusa printer owners are usually very creative people and true makers, who often design and produce their own printer accessories. At PrusaPrinters.org, there’s plenty of various add-ons, tweaks, and mods. However, keep in mind that not every “upgrade” brings only benefits. Non-original filament setup can, in some cases, negatively affect print quality and reliability. Always assemble and test your 3D printer as stated in original instructions, before you start to experiment with mods.
Do you have your own original solution you would like to show? Share your models and prints on PrusaPrinters.org, on our forum, Twitter, Instagram or Pinterest and we will add them to the gallery below.
Happy printing!






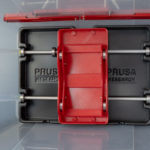
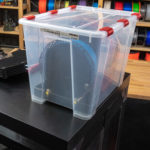
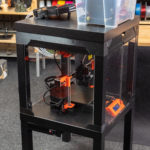
Shucks, I just finished a similar solution!
https://i.imgur.com/RCN1WBf.jpg
Since my printer is in a room adjacent to a shower, I’m worried about most of my filaments absorbing water over time. Your dryboxes seem more convenient to load/unload than the ones I’ve built, and I’m considering scrapping what I have and printing a row of your dryboxes.
If I’d like all of the rollers on the top of the enclosure to be in these dryboxes, how would you suggest going about that?
I made one more remix. So you can place five dryboxes on the enclosure. https://www.prusaprinters.org/prints/4683-standalone-drybox-with-humidity-sensor
You are prolific. Thank you so much! I’m absolutely loving every article you put out. I also appreciate that you do so many remixes!
Perfect! Just was I was looking for too!
But I’m getting an error when trying to import the g-code into PrusaSlicer “not sli3er generated g-code”
I answered to your duplicate comment directly in the print.
Hi Will
Really nice design, do you plan to share it?
That would be awesome
Hi, I am printing the tiles for the MMU 2 Enclosure actually. Now I see this boxes. Great work. But one question: You said „Next – the spoolholders. They consist of three parts. Place them 20 mm from the front edge of the top cover“ . With this solution isnt it better to mount them 30 to 40 mm from the front edge, so that they dont protrude? Or will there be other problems?
Yes, good point. You can move it 20mm further, but you have to make the next new 6 holes into the table.
Ok, but I built a new table actually, so there are no holes in the table right now. So it’s better for new builders to make it 40mm from the front edge?
People who already drilled the old holes can still make this adjustment too. The old holes will be covered up by the spoolholders, so things will still look nice.
But be aware that this will increase further the already awkward angle for the first and last spool.
How do I keep the boxes dry? Is it enough to close the box and have silica in it? it’s not really clear which steps are used to keep the box dry – what was the foil used for?
Small piece of the foil is used as filament outage cover. Only silica gel keeps the box dry – it is enough.
Well played Prusa, well played… Once again, you have sucked me in with your neat ideas and excellent execution!! Now I have to buy more humidity indicators.
I do have a question on the film and slit in the film for the filament output on the dryboxes… Being In a high humidity area, I would be very interested and like to see if someone modifies the SAMLA slider tothe dryboxes and possibly adapts to accept a PTFE fitting to it.
Thank you Thrust me, that the sliders were the first idea how to solve filament output. But… Samla sliders effectively used just 1/3 of box width. (range of the slider movements is just 1/3 slider mechanism). The idea with foil is unique, I think
Ondrej:
Ah, that makes sense. Yeah, don’t want to restrict the movement of the filament out of the box. I will try it as is then. Thank you!
Where can I buy the 7.8 mm aluminum tubes? I can’t find them somehow.
You should be able to buy 8 mm diameter and sand them a little bit – if necessary. It doesn’t matter the material. You can use plastic, steel, carbon or wood 🙂
Would printing rollers in PETG work? I messed up four of my aluminum tubes from the MMU upgrade kit. I cut them too short. Can’t believe I did that. So I have enough for 3 boxes but need to find an alternative for the other two boxes (4 tubes).
Where do you get the aluminum tubes, PRUSA? I can’t seem to find them.
How about Carbon Fiber rods?
https://www.alibaba.com/product-detail/ID-7-8mm-Carbon-Fiber-Tube_60747301429.html
Sorry, I did see that these were ID not OD…
7.8mm = 5/16″
Hi. Love the models, but would it be possible for you to share the source files?
The reason I’m asking is because I would like to modify it for mounting on aluminium extrusions as well as for the round humidity sensor.
can we get the STL files of the Drybox
Well done – but where is the STL for the white tray (Silica Tray)?
What about the prusa branded plastic trays?
By any chance, does anyone know how I might get one of those humidity sensors to the UK without waiting 40 days or paying 40 pounds?
I should have searched better before asking:
https://www.amazon.co.uk/dp/B07RKSGVG7
Or a 5-pack: https://www.amazon.co.uk/dp/B07GPT8HPY
So it says that PLA is recommended, but I want to print this clear so I can see what is inside. Do you think PMMA would work as a substitute?
Do you print this with supports?
No. You don't need supports. Just make sure you print the top and bottom in the correct orientation. Print the bottom on its bottom… Print the top upside down, so that the top of the lid is the first layer.
Approx how much silica gel is needed per drybox? To make it easier to know how much i need to batch order.
Is there a drybox that would be able to mount beside the printer? In that case I would need a filament guide too right?
This wall solution is NOT working, aluminium rods are NOT turning easy enough and the Prusament spool is grinding and not turning easy, when I have the aluminium rod on hand with the two bearings is kind of ok but then I put them on place they are super hard to rotate.
Don’t even kno why I try this project, like the ikea lack it works half way.
im also having this problem, the spools just grind on the rods without spinning the bearings even tho tits really easy to spin them
https://imgur.com/a/wzM7cSm
This is what I did. I got small bearings and put them over a 4mm brass rod, and made supports where the original bearings would go in and put heat shrink over the bearings, I have 4 bearings on each side. There wasn’t enough friction between the filament spool and the aluminum rod surface.
I just printed the wall mounted version and noticed there was no tray for the silica. So once the silica absorbed water to its capacity you have to unscrew that whole box from the wall and get the silica out by turning it upside down or something like that. Sounds messy and not really practical. (The silica tray of the standing version does not fit)
Otherwise great idea.
Water vapour rises, therefore shouldn’t the silica trays be inside the top of the boxes or enclosures for maximum effectiveness ?
Nice design but I have a little issue with the bearings.
The bearings are working well as long as I don’t put them in place. After that, the rod is really hard to move. I tried to change the distance between the bearings, but it didn’t help.
Does anyone have a solution for that?
Why not with a PC4-M10 PTFE?
Hello! I just finished my build of the tabletop drybox, but when it talks about the original spool holders aluminium tubes I really don’t know what it is talking about! I have some spare bearings from an old project but I don’t know where to get tubes of the right size. Any help would be much welcome 🙂
They are referring to the MMU2S, it comes with 5 spool holders.
https://help.prusa3d.com/en/guide/7-spool-holder-and-buffer-assembly_46160
Hey,
Thanks for the “How To”.
Where can I buy the 7.8mm tube? Will 8mm fit?
Alak
Just found that the tube might be included with the MMU2S
I know its a while after you asked but others may have the same question…
I just printed out rollers 🙂 8mm diameter, 100mm long in PETG. Work a treat.
Thanks for your tip! I am gonna print these with PET 7.9mm x 100mm and see how it goes 🙂
If someone did the same thing as I did and printed a wall mounted drybox and then wants it to be standing here is my base for it:
https://www.prusaprinters.org/prints/35973-prusa-drybox-base
The link for the humidity sensor is dead. Anyone have a link to a workable replacement? I dont know the dimensions of the sensor so im nervous to buy one from aliexpress, wait 2 months for it to get here only for it to be the wrong dimensions lol
I purchased these and they fit well: https://www.amazon.com/gp/product/B0851X5XSS
That link is showing unavailable.
I bought these https://www.amazon.co.uk/gp/product/B07GPT8HPY instead
Thank you! I’ve been looking for the US version of these but didn’t know the dimentions.
I was also looking for versions of the hygrometer that were readily available in the US without long waits or extra expense.
Based on the ones posted by the other helpful members (Thanks!) I came up with an external dimension of 1.89 x 1.13 x 0.6″ (48 x 28.6 x 15.2mm).
There are several thermometer/hygrometer combos available in this size on Amazon, though the ratings vary wildly. I thought these looked pretty workable:
https://www.amazon.com/TAIWEI-Electronic-Temperature-Thermometer-Hygrometer/dp/B07MCGDN5C/
I have just printed this and put together using instructions. However it takes a lot of force to pull filament out of this dry box. Do you have any advice how to make filament go smoother out. I think the issue is the port and not the bearing. These work fine.
Same issue here, wall mounted box without buffer. It is quite hard to pull fillament out. Bacause of that PETG i store there is creating artefacts on surface (tested with hand pulled slack of fillament out and compare that with just letting printer do its job without any artificial help). There were significant differences in print quality. Probably due to feeder unable to pull enough material so it under extrudes at times. Did you find some solution to this?
Don’t make the same mistake that I did and buy 1mm plastic foil. It is way too strong and stiff to let the filament through. I encountered underextrusion and a noisy print, the filament scratches along the sharp edges of the foil.
As suggested in the tutorial, use the plastic bag that the Prusament spools come in, they are more than enough and way more flexible.
Can anybody tell me why there is a number 4 on the side of the filament dry box base part?
From their quote above “The modular filament holder is a part of the construction of the MMU2S Printer Enclosure V2. We created an alternative part that works as a cover / drybox for the fifth filament.”
The lack enclosure has 5 spool holders on top, each numbered 1-5. This one is meant to replace the 5th spool holder, but that part’s leg is what held the label for the 4th spool.
Good day,
where can I get:
4pcs. 608RS bearing (from original coil holders)
2pcs aluminum tube diameter 7. 8 mm (from original coil holders)
can I order the parts from Prusa?
Many thanks in advance
Günter
I am confused about step 3 for the one spool dry box. None of the plastic on a Prusament bag is as hard as the one pictured. I cut a piece from a bag anyways, and the m3x10 screw pushes the bag away. How does a screw secure a very flexible bag with nothing to secure it against?
Fyi, the link to the hydrometers for the single spool dryboxes is dead. These on Amazon are the same thing: https://smile.amazon.com/TAIWEI-Electronic-Temperature-Thermometer-Hygrometer/dp/B07MCGDN5C/
And for when that link eventually dies, you’ll want any hydrometer that is designed to be inserted into something and is 48mm x 28mm. These are all over Amazon and other places.
Can someone point me to the correct Aluminium Rods? I can only find here in Germany 8mm diameter…
Some notes/thoughts:
I did cleaned the grease out of the original bearings. This was suggested because of the speed that we are using the bearings, (not over 3000 RPMs). Grease is used to make the bearing friction-less (almost) for High Speed (H/S) applications.
Oil is used for LOW speed applications. I used miracle oil. It’s clean and works quite well. It does drip out a bit but holds in there well enough to make the bearings work. I am currently using one of the retraction spool holders for my printing.
Oil seems to work well. I have many spool holders running with oil.
What I didn’t understand: Can I use the box to dry already wet filament or can it only be used to keep dry filament dry?
Yes, you can but hopefully you have color change desiccant that changes color when it gets too much water in it. Drying filament with just desiccant isn't fast. IT'll take several days, but the ambient moisture inside the drybox will become very dry pretty quickly. That doesn't mean the filament is dry. It means the dryness inside the dry box will slowly suck out the moisture in the filament… Once the color changes on your desiccant, you remove and save the wet desiccant and replace it with dry stuff. Don't throw out the wet desiccant. It can be dried out in a food dehydrator or your oven.
Hello Ondej,
thank you for sharing the dry box projects.
Do you know if the 2 kg spool fits into the Samla Drybox or is the spool too wide for the axles?
How difficult would it to incorporate an auto-rewind spooler (like this one https://www.printables.com/model/168-universal-auto-rewind-spool-holder-mm) into this design.
for all you people who really like prusa orange, you can get hygrometers now in orange
https://www.amazon.com/gp/product/B07YWC211G/ref=ewc_pr_img_2?smid=A2MRYLEZXIRGV5&psc=1
Are there updated dry box solutions or designs that incorporate the Injection molded spoolholder that is shipped with the MMU3? Ideally I'm looking for an updated design for the Drybox for one filament since the injection molded spoolholders do not contain 608RS bearings nor aluminum tubes that came with the original spoolholder to replicate an MMU2 setup with an MMU3.