
Extruder movements on both MK2/S and MK3 can be quite difficult to see. The other three axes are easily visible, and honestly, it can be super mesmerizing to watch. A lot of us always want to know what’s our printer doing. Peter Roodenburg designed the Dutch Windmill motor rotation indicator, and we immediately fell in love with it.
 His design is super simple, all you’ll need is:
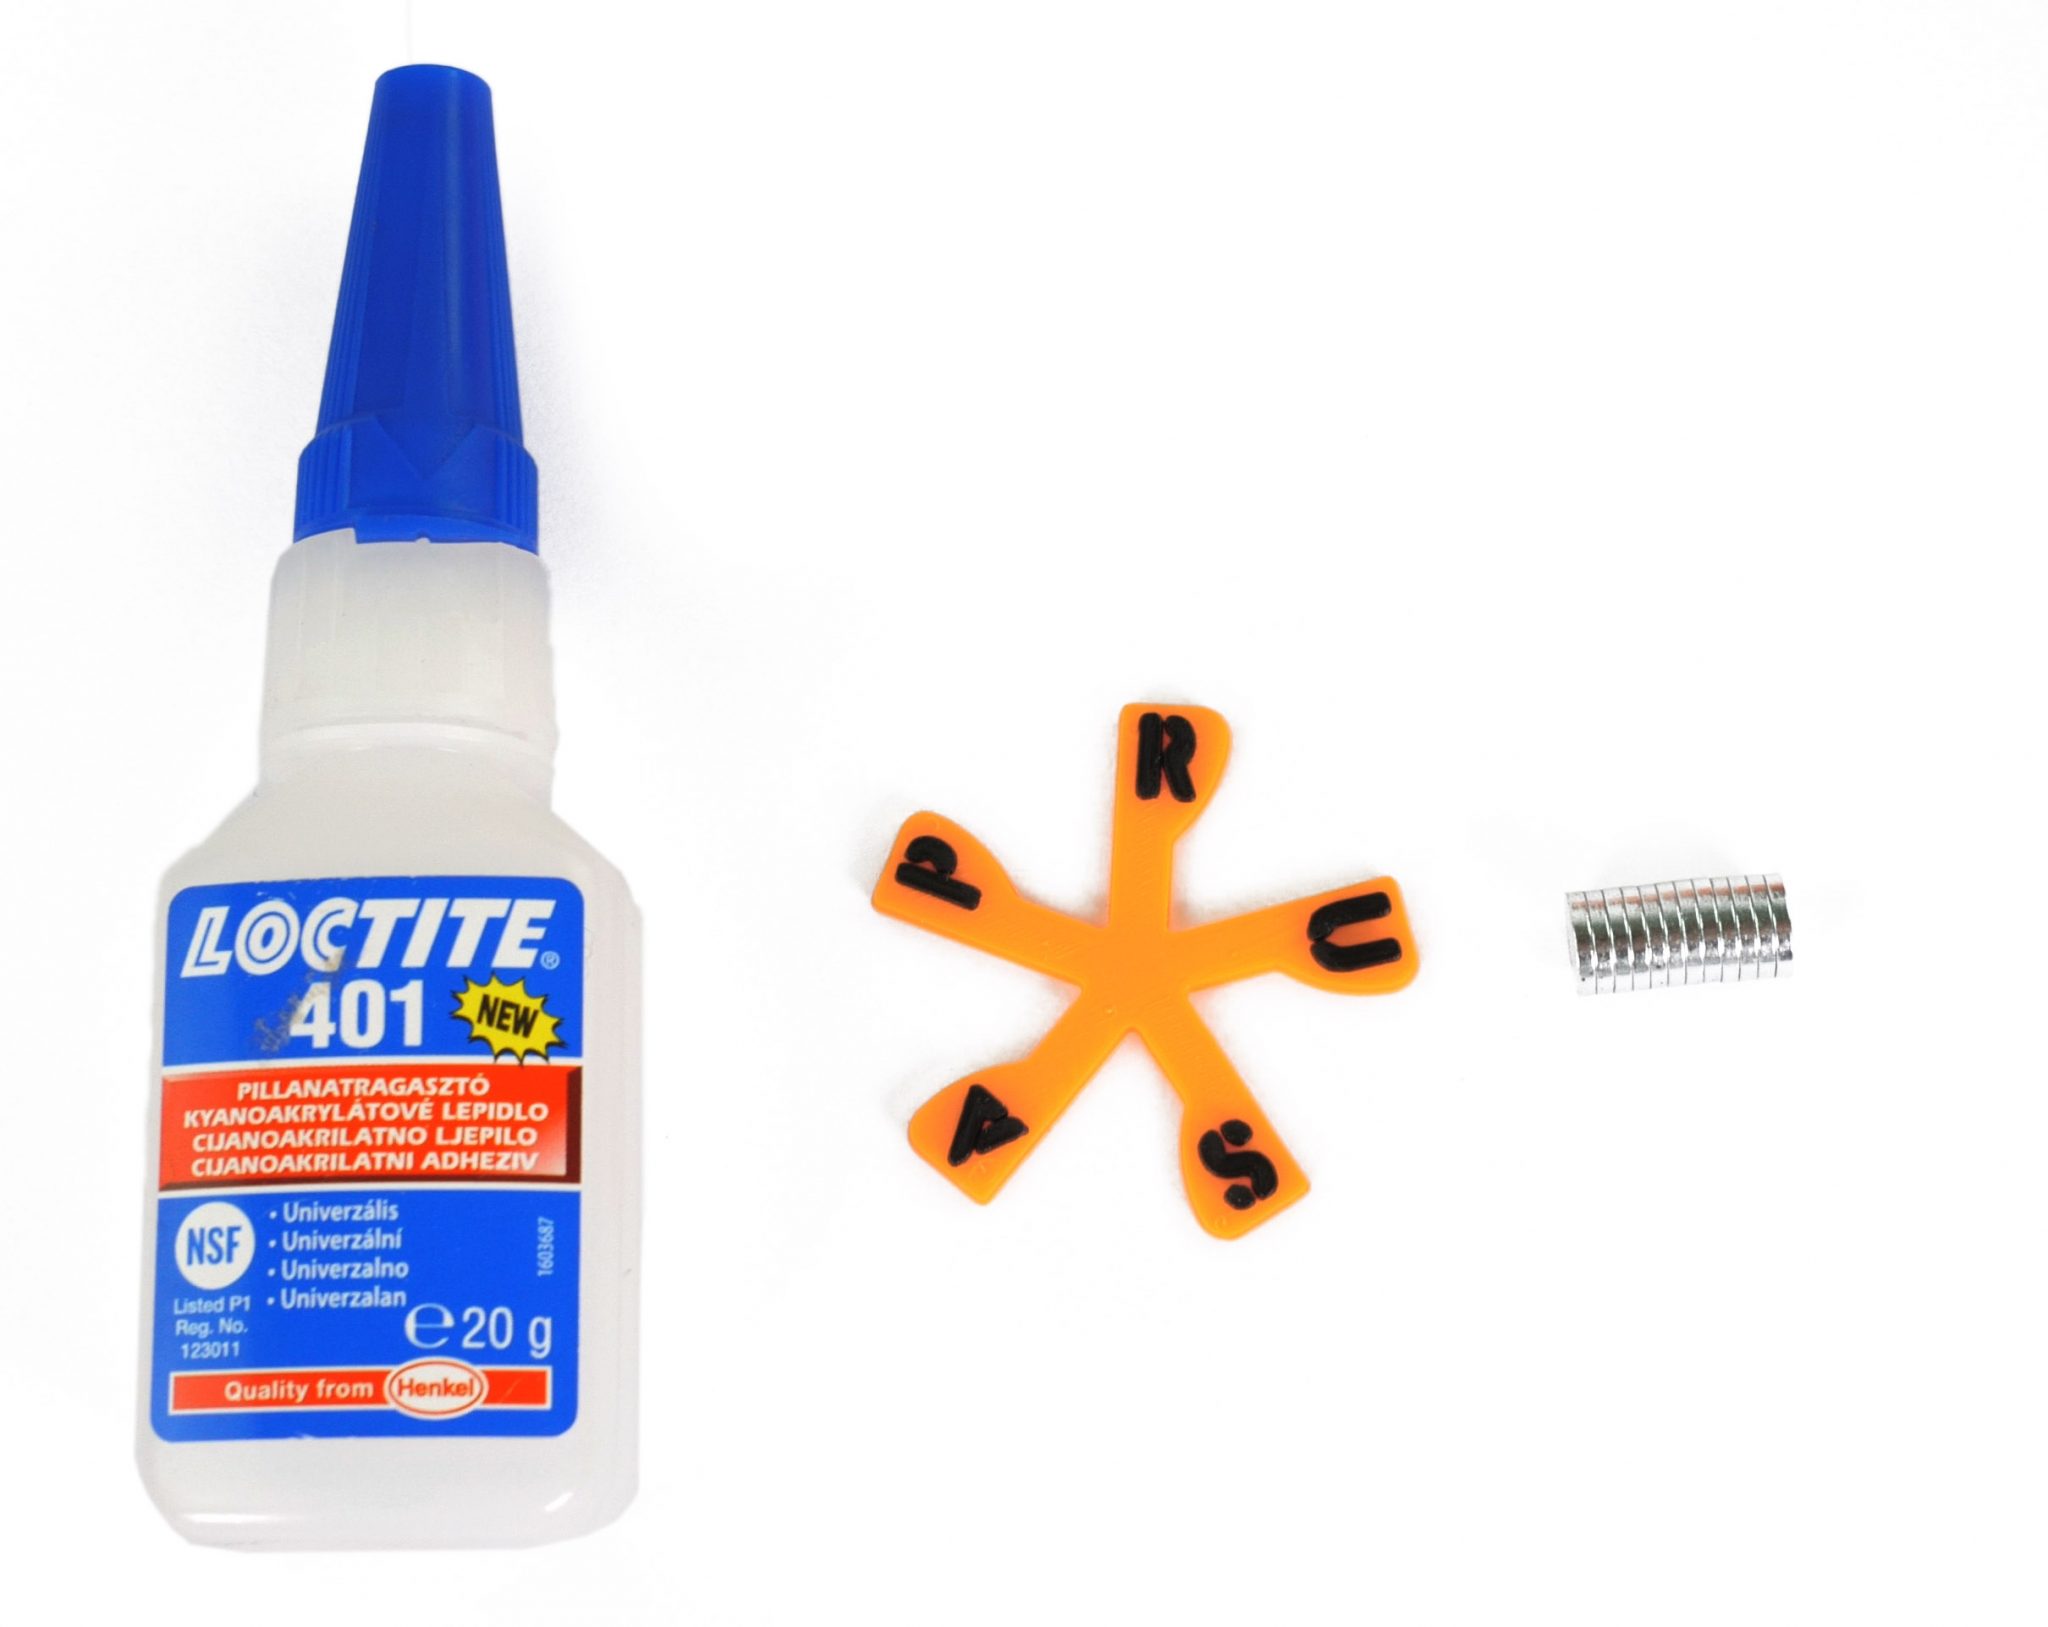
- Super Glue
- 8×3 mm rare earth magnet (neodymium magnet)
- 3D printed visualizer
When you have the print done, just glue the magnet to it using a good amount of superglue. Let the glue dry for a minute. Then you’re ready to attach the indicator to the extruder motor axis. It’s made from metal, so the magnet will stick to it and rotate whenever the axis rotates. The indicators fit both MK2 and MK3 as they use the same stepper motors and will probably fit other stepper motors with a similar design.
We designed some more of these indicators so you have more options to choose. You can also create your designs, these are really simple to make. The only dimension you should keep in mind is the circular opening in the stepper motor, which is 8.5 mm in diameter. And to make it look even cooler, you can use the color print feature of PrusaSlicer. Read the tutorial for that.
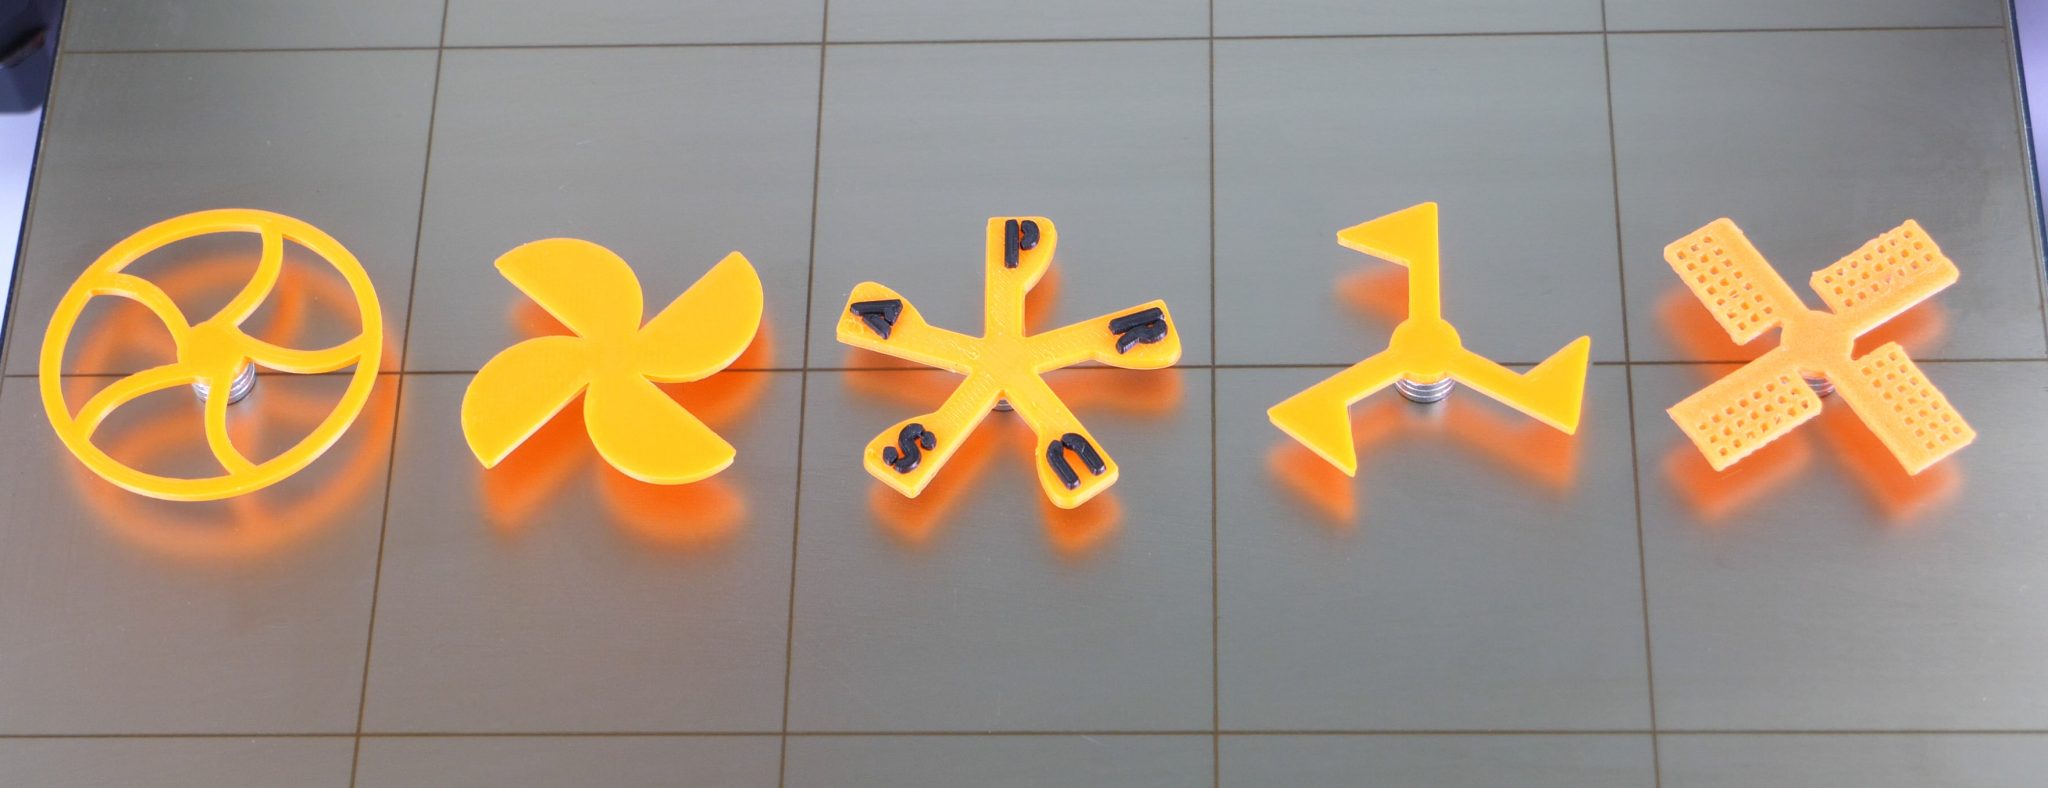
The circle, cloverleaf, Prusa, triangle and Peter’s windmill extruder visualizers
Even though these rotation indicators are mostly just for a cool look, they can be surprisingly handy when you’re dealing with a jammed extruder, overtightened idler or playing with retraction settings. You’ll be able to tell what’s the extruder doing at all times.
Magnet sizes and where to buy them
You’ll need 8×3 mm (~5/16″ x 1/8″) rare earth magnets. You can also stack thinner magnets if you do not have 3mm thick ones (stack three 1mm thick magnets on top of each other). Smaller diameter magnets did not reliably work for us during testing. You can get them from eBay, Amazon, Aliexpress or your local supplier.
Hi Mikolas,
Thx for addressing my design here! Hope the community likes it.
Cheers Peter.
Just wanted to drop a line to say that this is really awesome! I often use my printers to demonstrate how 3D printing works to kids and this will make it even nicer!
Innovation never stops from Prusa.
Tiny little things like this, that some may think are pointless, have a real benefit.
They just happen to look very cool too.
Magnets should arrive tomorrow 🙂
Tips: You can always get the small magnets from unwanted earphones.
Geomag bars have one magnet on each end, just remove the plastic coat and take em off
Super glue does not stick very strong to the crhomed magnets.
Better doing a hollow design and use “pause at layer” command to insert the magnet into the part itself. Covering it with 0.6mm layers (4 of 0.4 or 3 of 0.2) is perfectly sufficient 🙂
The link to Aliexpress for the magnets in the article seems to have stopped working!
I decided to make a Star Wars inspired visualizer, it’s a droid socket! Check out the video https://youtu.be/8Hep_bWYI0M
I discovered that when you use an additional magnet or even 3, you keep the heat away from the printed visual.
This is exactly what causes to loosen up the glue after a few prints.
I happen to have 9mm ones at hand…would those work or get stuck in the motor hole?
They will likely get stuck. But you could always try it out.
Please specify the magnets as Diameter x Length (spelled out like that) because NeoD magnets are available in either 8mm Dia x 3mm length AND 8mm length x 3mm dia. And only one of those will fit.