We are excited to announce that we once again expand our Prusament portfolio, this time with 6 colors of new, unconventional material PVB. This type of filament is great for printing design models because the material is very easy to post-process with isopropyl alcohol (IPA). The surface of PVB prints can be smoothed out and parts can be easily glued together. Let’s take a look at the details!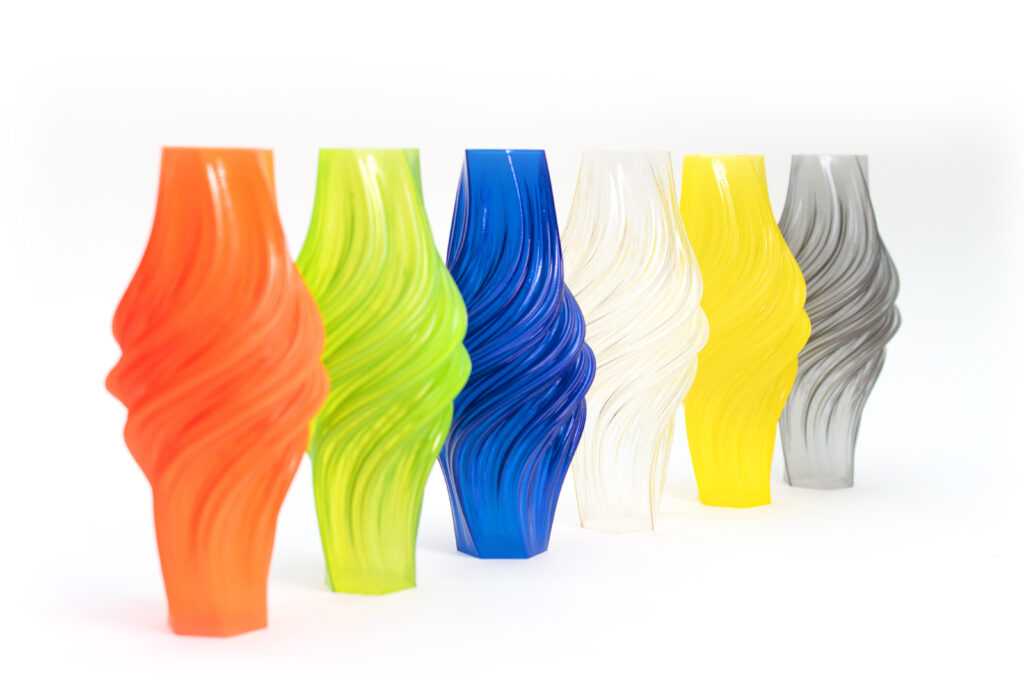
Specification
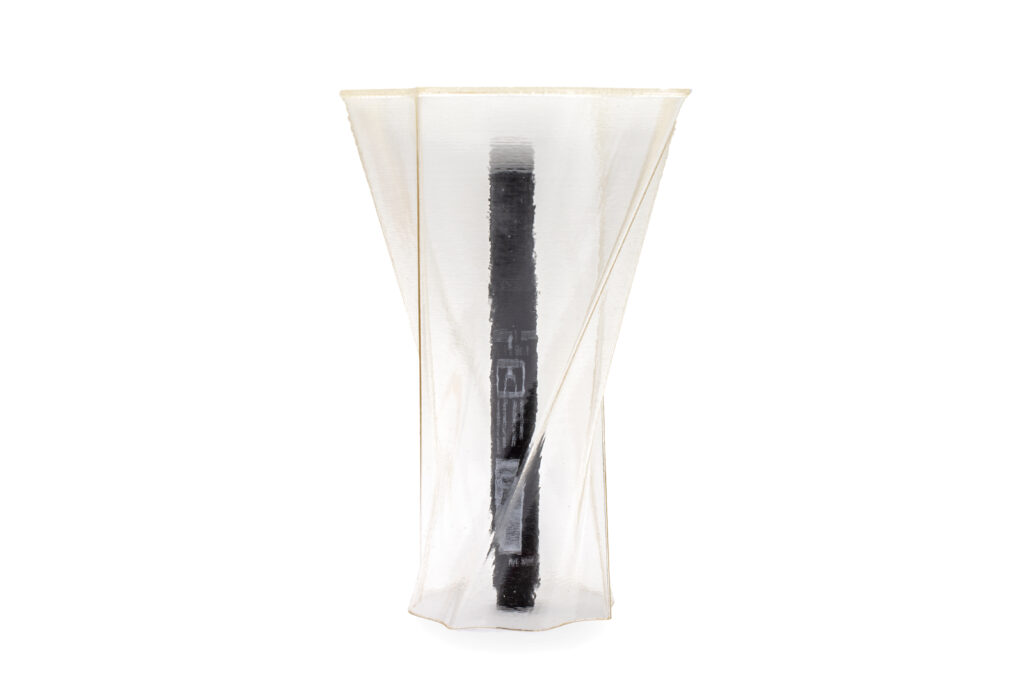
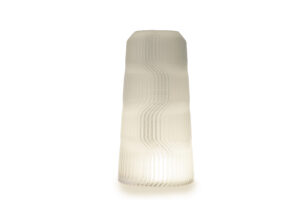
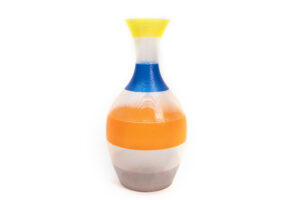
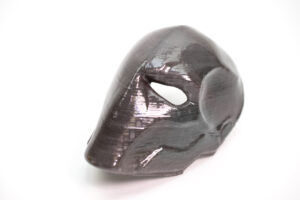
PVB has similar mechanical and printing properties to PLA. However, thanks to its transparency and easy smoothing with IPA, this material is most suitable for the production of visual models, such as unconventional vases, jewelry, lamps, and other art pieces. The most ideal are models that should be printed with transparent filaments. It’s good to tweak various print settings, such as layer height, the number of perimeters, and infill density to make it look even better. Plus, we recommend using the vase mode in combination with a larger nozzle diameter.
Keep in mind that PVB is not the best option for printing mechanical parts. Its dimensional stability, tensile strength, and impact tenacity resembles CPE (and low-tier PETG) but its temperature resistance and layer-to-layer adhesion are similar to PLA.
| Pros | |
|---|---|
| Print settings similar to PLA | |
| Filament transparency/translucency | |
| Great for design parts, vases, lampshades etc. | |
| Can be smoothed with IPA | |
| Great surface adhesion | |
| Good tenacity (similar to CPE) | |
| Good tensile strength (similar to PETG) | |
| Low warping (similar to PLA) | |
| Possibility of using 0.8mm nozzle | |
| Cons | |
|---|---|
| Poor layer to layer adhesion (slightly worse than PLA) | |
| Low temperature resistance | |
| Hygroscopic filament (absorbs moisture) | |
| Higher price | |
Our colors and price
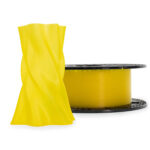
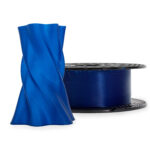
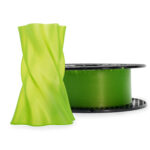
PVB comes in six colors: Prusa Orange Transparent, Bright Green Transparent, Dark Blue Transparent, Light Yellow Transparent, Natural Transparent and Smoky Black Transparent. All colors are available on 500 g spools for 24.99 USD/EUR (VAT incl.). Plus, for the same price, we offer a box of samples that includes 25 g of each color available – this way you can try them all and find out which color is the best for you. We also prepared a set of test models for you!
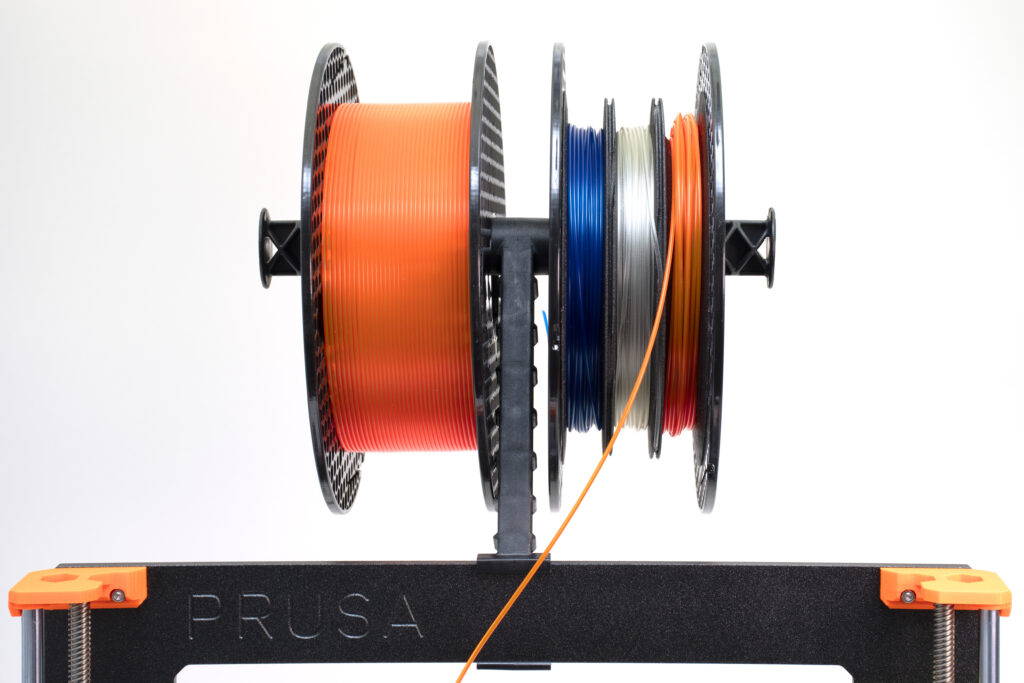
To make printing with the 25 g samples easier, we recommend using this special sample holder that can be assembled using two 3D printed parts and an empty Prusament spool.
Printing with our new nozzles
With PVB comes a new 0.8mm nozzle! You can order it now for 8.46 USD / 6.99 EUR (VAT incl.) from our eshop. There’s a good reason for releasing PVB and larger nozzles simultaneously: It’s much easier and faster to print PVB models with vase mode and a 0.8mm nozzle. The walls will be more solid and more resistant to deformation caused by IPA smoothing. Models printed with 0.8mm nozzle and vase mode can be smoothed so well, they look almost like glass.
PVB chemical smoothing
Before we start with how-to manuals, let’s sum up basic safety rules. IPA is slightly less toxic than other substances used for smoothing (acetone, chloroform, dichloromethane etc.) but it’s still an organic solvent. Always work in a well-ventilated environment and use gloves and other protective equipment (glasses, respirator). Do not pour used IPA into drains and waste pipes! IPA can be used multiple times. Once it loses its properties, contain it in a bottle and dispose of it as a dangerous substance (according to your local legislative rules).
The main advantage of PVB is chemical smoothing. Unlike other materials, PVB can be dissolved with IPA. This solvent is less toxic than other used chemicals (acetone etc.) and can be usually bought at your local hardware store. PVB smoothing can be done at home if you follow the safety rules mentioned above. Let’s take a look at the most common methods for smoothing PVB models:
- Smoothing station (Polymaker Polysher)
An automatic smoothing station is a safest and fastest way to achieve a smooth, glossy surface on your prints. Simply put the model inside for 35-40 minutes and then let it dry for two hours. The main disadvantage is the high price of such stations. - 15-30 minutes of washing in IPA bath
Immersing a 3D-printed PVB object in IPA can lead to a perfectly smooth surface. However, this method has several disadvantages you should take into consideration: The print usually floats (depends on its infill and other factors) and the surface becomes somewhat soft and “slimey”. This means that it’s difficult to remove the model from the bath without disrupting the smooth surface. Also, it takes a long time for the model to dry completely. The washing itself takes 15-30 minutes and drying takes usually several days. - Washing in IPA for short periods of time
A good-looking surface finish can be also achieved with consecutive shorter washing times. Disadvantages are similar to the longer exposition, however, by immersing the model in IPA for a short time, it melts only on the surface, while inside it remains solid. Simply immerse the model in an IPA bath for 30 seconds, remove it and let it dry for at least 15 minutes. Repeat this process five times or more for good-looking results. - Smoothing in IPA vapors
We’ve shown you this method in our older article. Its main advantage is low IPA consumption and easy solvent and model manipulation. But you should keep in mind that surface smoothing might be uneven without proper air circulation inside the box and it usually takes a long time (dozens of minutes to few hours). The process is simple: Pour a small amount of IPA inside the smoothing box, place the model on an elevated metal platform inside and wait. Check the model regularly to see whether it’s not melted too much. Keep the box warm and ensure good air circulation inside to get the best results possible.
If you don’t have any proper box and need to smooth small models, you can use an improvised method with kitchenware. Take a cylindrical glass, put a napkin soaked with IPA on the bottom and secure it properly. Printing a circular gadget with flexible filament might help. This will serve as a lid for your smoothing box. The bottom consists of a plate filled with water and an elevated (metal) platform in the middle. Put the model onto the elevated platform and put the glass onto it (bottom facing up). Let it work for 2-3 hours, however, don’t forget to check it regularly. - Spraying IPA directly onto the surface
This is basically the same method used in Polymaker Polysher. The main advantage is low IPA consumption, disadvantage comes with applying too much or too low IPA that might lead to uneven surface finish. IPA application and drying (at least 10 minutes) should be done at least five times. - Using a regular brush
This is by far the simplest method you can use. However, it comes with three main disadvantages: Using the brush usually takes a long time, the brush can leave marks on the surface, and with the incorrect application, it may even leave bristles on the model. If you choose this method, apply IPA onto the model’s surface, then let the model dry for at least 30 minutes. Repeat if needed.
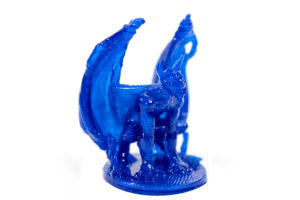
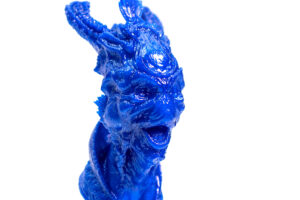
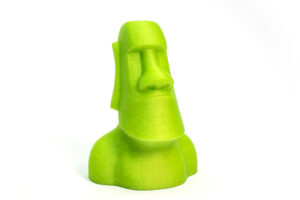
The example of results you can achieve with the Prusament PVB Natural
Tips and tricks for successful smoothing
- Use at least 70% IPA. More diluted solvents might not work enough.
- Prints should be placed on a non-adhesive platform (aluminum foil, metal plate, etc.). Other materials might stick to the surface too well (paper for example).
- Long drying requires the object to be rotated regularly. In some cases, the model might stay soft for a long time, stick to the surface or deform due to non-ventilated parts.
- Drying too fast or too slow causes bubbles of air to manifest inside the print. The best option is to dry it at room temperature and rotate it regularly.
- Long exposition leads to deformation, loss of details, and long drying times (a week or more).
- PVB dissolved with IPA should not come in contact with water. Wait at least 3 days before washing the model. Water leaves white marks on the dissolved (soft) surface and in some cases it can disrupt the internal structure. Dissolved PVB might also leave white marks on the smoothing container surface if it’s washed with water.
Keep the filament dry
PVB is very prone to absorbing moisture. Always put the spool back inside the bag with silica gel or let it dry for 4 hours at 60 °C before printing!
Typical applications for PVB
Do you want to learn more about PVB mechanical properties? Don’t forget to check our material table. We hope our new PVB Prusament will expand your 3D-printing horizons and you will enjoy using it! As always, we’re looking forward to seeing your great ideas and original models!
Happy printing!


The link to the sample holder results in a 404.
Thank you, it’s fixed now.
Is it compatible with the Mini?
Yes, it is. 🙂
Are they going to be tweaked and verified profiles for Prusa Slicer?
Yes, the PrusaSlicer profiles for PVB and 0.8mm nozzle were already released.
Also for Mini 0.8mm nozzle and PVB?
The profiles don’t work
PVB profile is 215 nozzle temp and the test prints print a 225 amongst other things
What’s the recommended enclosure temperature for printing with ASA? There’s more warping than I would like in my ASA prints, and I’m wondering if I could reduce the amount of warping by adjusting the enclosure temperature (by adjusting the amount of venting).
We have good results with temperatures between 30-40°C. Surely it would be good to have slightly higher ambient temperature for printing ASA but this isn’t good for electronics and neither for plastic parts and we do not recommend it (recommended working temperature for i3 MK3s is 18-38°C).
It also depends on what do you print: Large prints will be prone to warping even in higher ambient temperatures, small prints don’t need enclosure and work fine with high skirt around the model.
You can find more in our dedicated article, material guide or handbook:
https://blog.prusa3d.com/asa-prusament-is-here-learn-everything-about-the-successor-to-abs_30636/
https://help.prusa3d.com/en/category/material-guide_220
https://help.prusa3d.com/en/article/3d-printing-handbooks_125045
Would you recommend this for actual vases, for flowers? It seems like not a great idea, as a hygroscopic material, but there’s a demo model of a flower vase.
I always have the same question: when people refer to a filament being hygrosgopic, I usually understand it as it will absorb water and it will be a problem for printing – but what about after printing?
How do we use a 0.8mm nozzle when the printer HW setup only allows up to 0.6mm?
I second that. Had the same issue today and we should have o.8 mm in the HW setup, same as a profile for proper MMU2S support. Talked to support today. It simply should be there as a standard.
Have you tested this with investment casting? Lost PVB, I suppose, would be the name. I am wondering if your material is suitable. I have been using PLA, but would like to be able to chemically smooth models before casting them.
Is it possible to smoothe PVB using the washing and curing machine used with SL1 printer ?
What is the preferred print sheet for this material?
The Smooth PEI sheet. Though the Satin sheet will work well with it too.
https://help.prusa3d.com/en/article/pvb_196708
I have got some good prints from PVB, and I have managed to smooth them by misting them with IPA. What I have not managed to do is get them to dry out/harden back to their post-print state. I have waited a week and they are still like fresh chewing gum. How long do you have to leave them to harden?
https://forum.prusaprinters.org/forum/english-forum-general-discussion-announcements-and-releases/pvb-smoothing/