


“And can it print LEGO parts?” This is a question we often hear from people who are considering buying a 3D printer and they wonder for which purposes they could use it. And no wonder they ask about these awesome little plastic bricks- LEGO supports creativity, technical thinking and it’s popular among children and adults alike. But can you really print LEGO-like bricks on your 3D printer? The answer might not surprise you. Of course, you can – it’s a bit of challenge, though. So let us show you how to do it!
However, before we jump into exact instructions covering various materials and printer configurations, we’ll sum up a few basic facts about 3D printed LEGO-like bricks.
We’re sure that you would like to know how much 3D printed parts will cost you in comparison to the original ones made with injection-molding technology. It’s not an easy answer – printing a single brick is rather easy and cheap, but it’s also the time required for post-processing that you need to take into account.
Here’s a good example: Imagine that you need 20 pieces of grey high 1×8 blocks. You can buy them at the official LEGO website. The cost of 20 such parts without shipping is 5.40 USD (the price might vary depending on your country). If you decide to print the bricks with our Original Prusa i3 MK3S with Prusament PLA galaxy silver, you’ll use about 80 grams of material during a 13-hour print job. If you count only the price of the material used, it will cost you less than 2.50 USD. Not bad, right? But if you add the value of your time spent on print preparation and postprocessing (brim removal and possible acetone smoothing of ABS/ASA parts), you’ll find out that the cost might be significantly higher.
Another challenge is the accuracy. The original LEGO bricks made with ABS have a smooth surface and they are manufactured with a precision of 10 micrometers or better thanks to the injection molding technology. This is a target that standard FFF 3D printers will always have trouble reaching. But still, there are quite a lot of makers all over the world (for example io3dprint or 3dprintingmentor) trying to print LEGO with various levels of success – this confirms that you can 3D print almost anything, even though it’s not as easy as pressing a single button.
So let’s take a look at a few tricks that will help you deal with the lower accuracy of hobby-grade machines, but keep in mind that 3D-printed parts won’t have quite the same quality as original LEGO bricks.
FFF 3D printing
FFF 3D print is suitable for producing classic LEGO-style and LEGO Duplo-style blocks. Traditional LEGO bricks are a bit more difficult to replicate, but it can be done – our experiments done using Original Prusa i3 MK3S printers confirm that. Generally, there are 2 rules you need to take into account:
1) FFF 3D printers are less accurate than injection-molding. Some parts will have more trouble connecting, others might be a little too loose. Your 3D-printed pieces might not fit as well as the original ones.
2) You’ll achieve better results with a well-maintained and properly calibrated 3D printer (every 10 micrometers are important). Especially first layer calibration is especially essential for a successful LEGO print.
During our tests, we printed several LEGO parts available for free on PrusaPrinters or Thingiverse. The best results were achieved with railroad parts compatible with those from the LEGO City series. The main advantage here is that the connection with regular “pins” is minimal compared to other LEGO pieces. These models are more about the tracks themselves and joints between them, therefore accuracy is not critical here. We’ve achieved the best results with Prusament ASA (which worked great for other parts, too), mostly due to the similarity to ABS used for original LEGO pieces.
However, a vast majority of other pieces available for free on the internet seemed to be unsuitable due to small or no clearances whatsoever. The authors made their models as precise as the originals but did not take into account larger clearances necessary for FFF 3D printing. The most common problem is that brick walls are usually too thick, making it impossible to place 2 bricks next to each other.
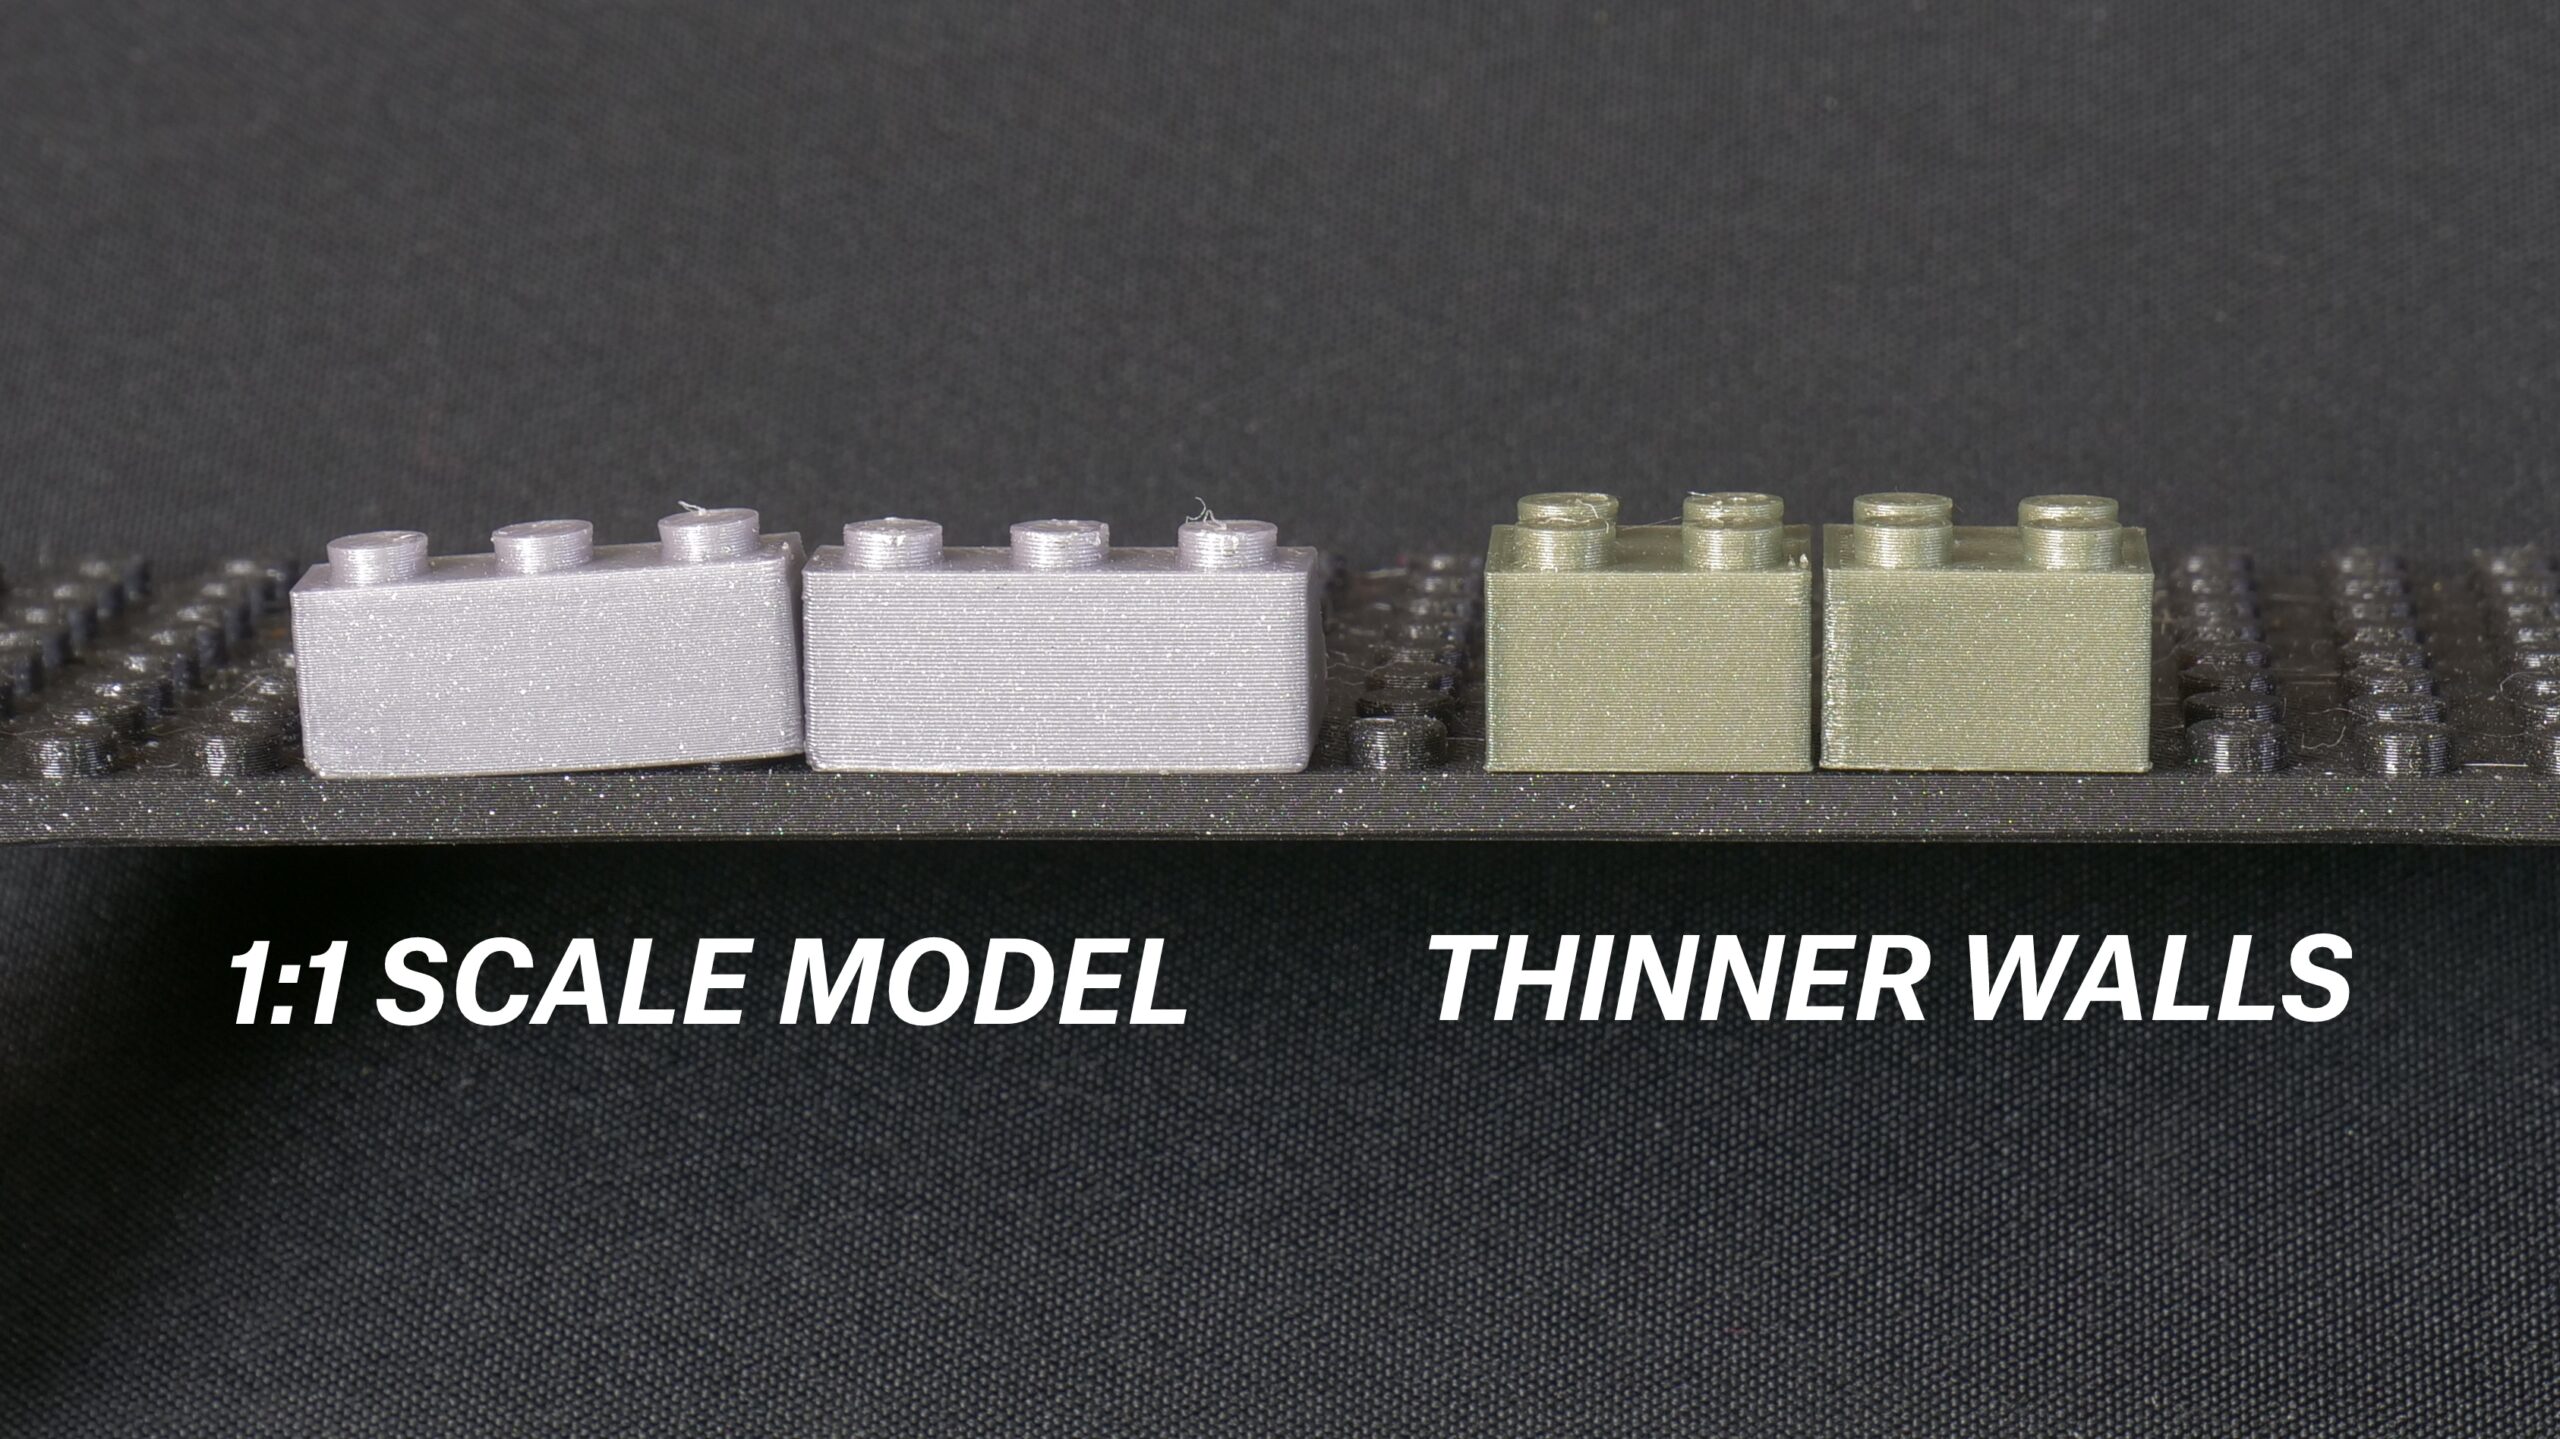
We have learned something from these mistakes and designed a set of several basic pieces printable with our Original Prusa i3 MK3s. These bricks have slightly thinner walls, so you don’t need to worry that they will not fit next to each other. There will be a small gap between the bricks. Plus, all pieces should fit (and be easily removed) with other 3D printed parts and also with original pieces. As we already said, it depends a lot on your printer setup and the choice of filament. It might a little time before you find the optimal settings suitable for your printer and slicer.
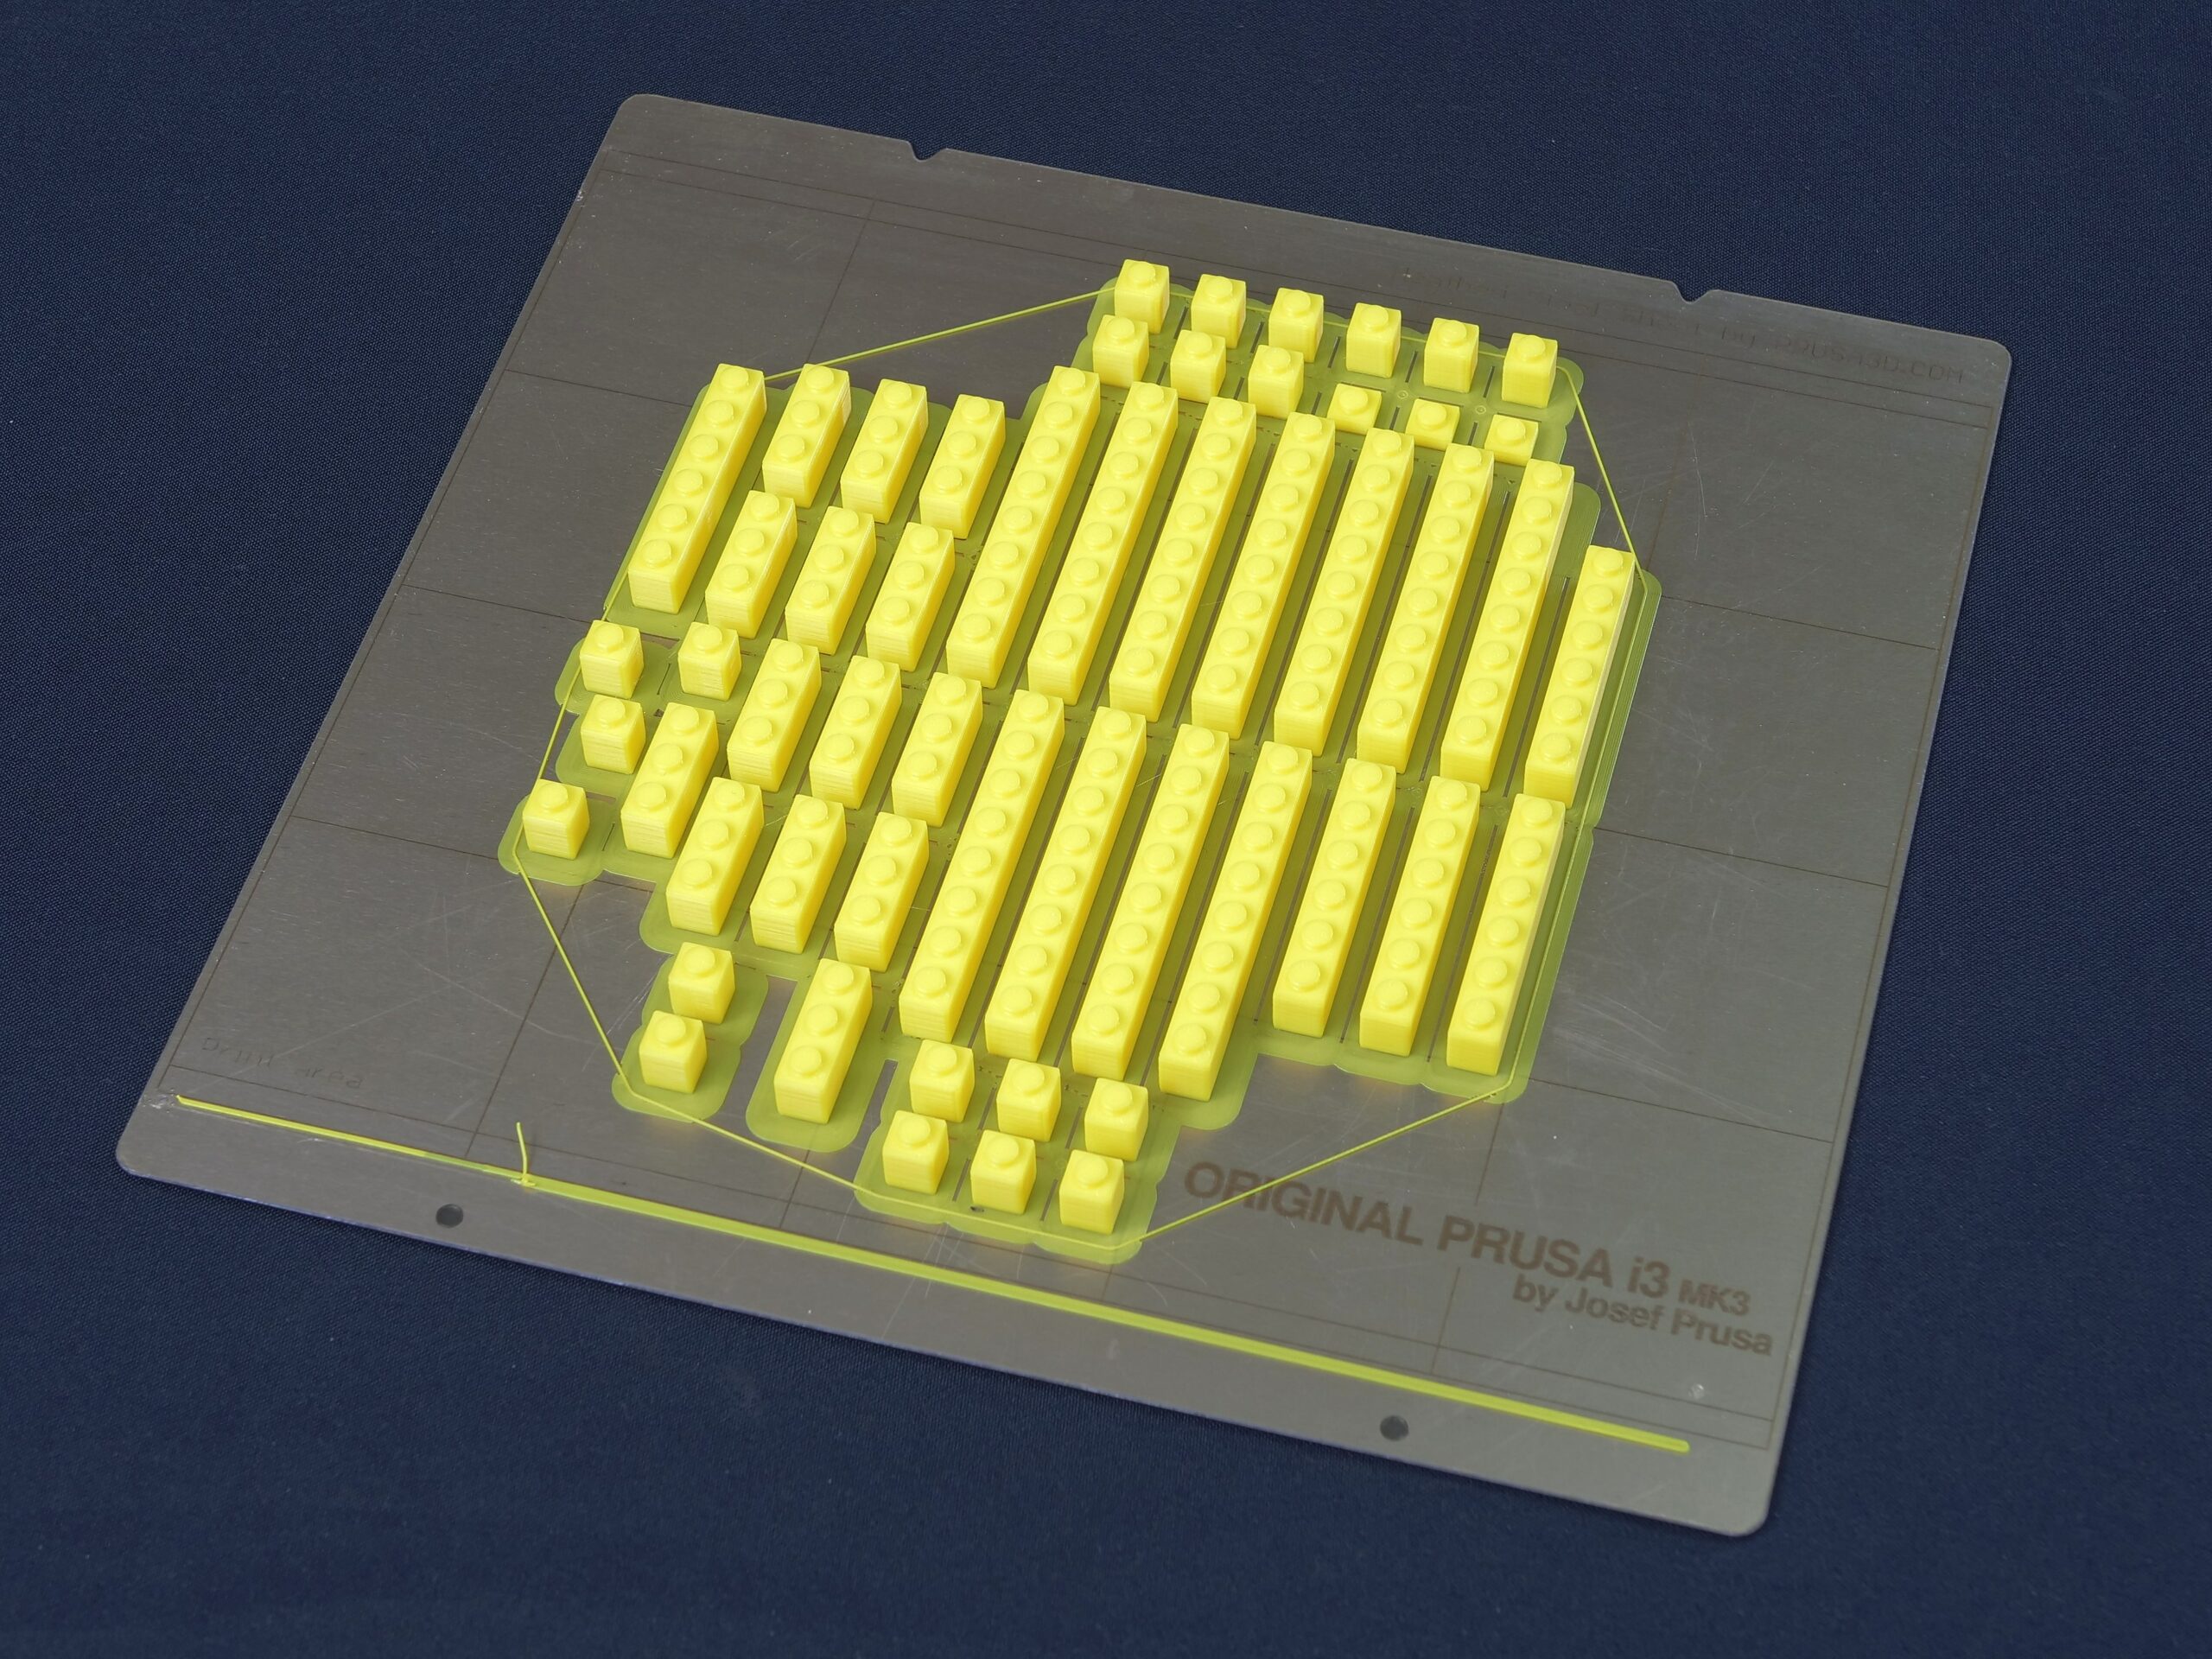
Keep in mind that it’s essential to have the first layer properly calibrated. And even with that, it’s good to raise the elephant foot compensation (Print Settings – Advanced) to 0.4mm and print the brick with the bottom (hollow part) resting on the heatbed with a brim around it. Without the brim you risk the print would detach from the sheet due to its small footprint.
Postprocessing and recommended materials
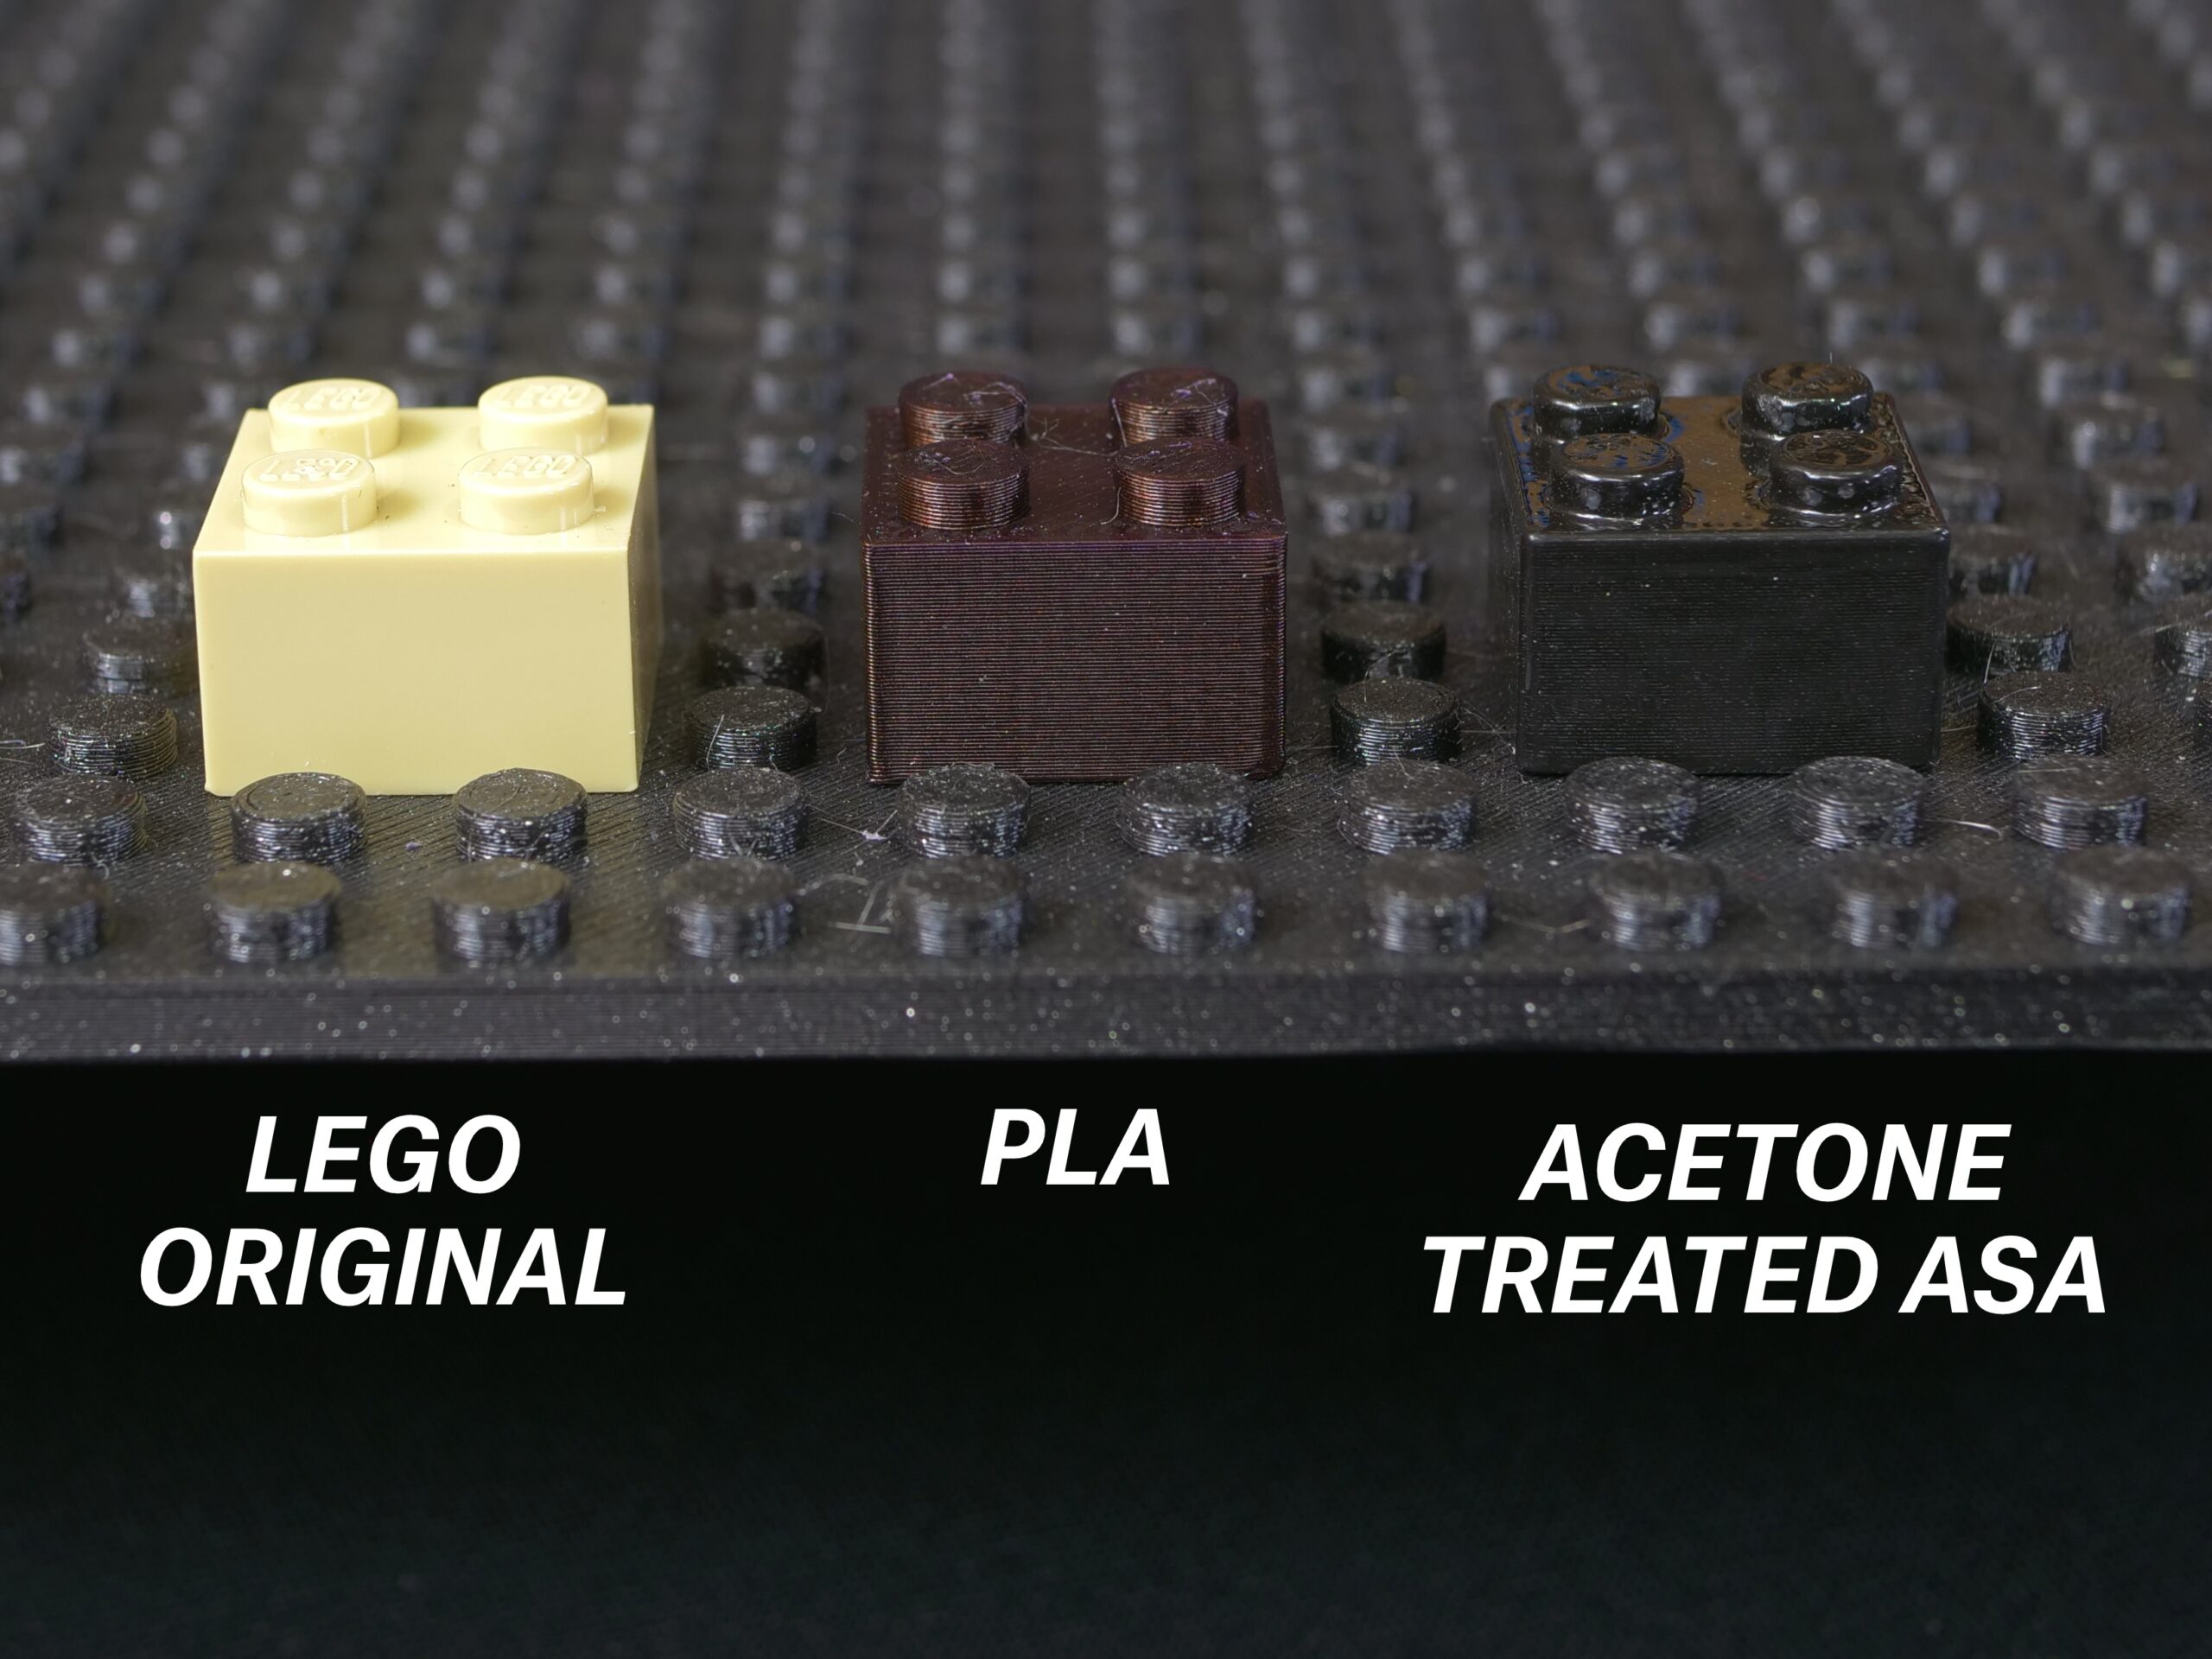
Once the brick is printed, you should remove the brim. You should be able to remove it by hand easily, but if you didn’t calibrate the first layer properly, it might be necessary to cut it with a knife. Layers created by FFF 3D printing can result in issues with connecting the bricks. To counter this effect, print your bricks with ASA or ABS and place them over an acetone bath to smooth them with the acetone vapors. This shouldn’t be a long process, because a prolonged exposure will cause the parts to lose shape. The blocks printed with ASA or ABS and smoothed in acetone fit well with the original LEGO pieces. On the other hand, if you combine original pieces with PLA, you risk damaging original parts (due to abrasion), which means they won’t fit well together anymore. We used Prusament ASA for our tests because of several noteworthy advantages: ASA has similar properties to ABS (used to produce original LEGO bricks), but it’s a lot easier to print. The odor is less noticeable, it doesn’t warp so much and it’s easier to smooth this material in acetone vapors.
What works well with FFF 3D printers?
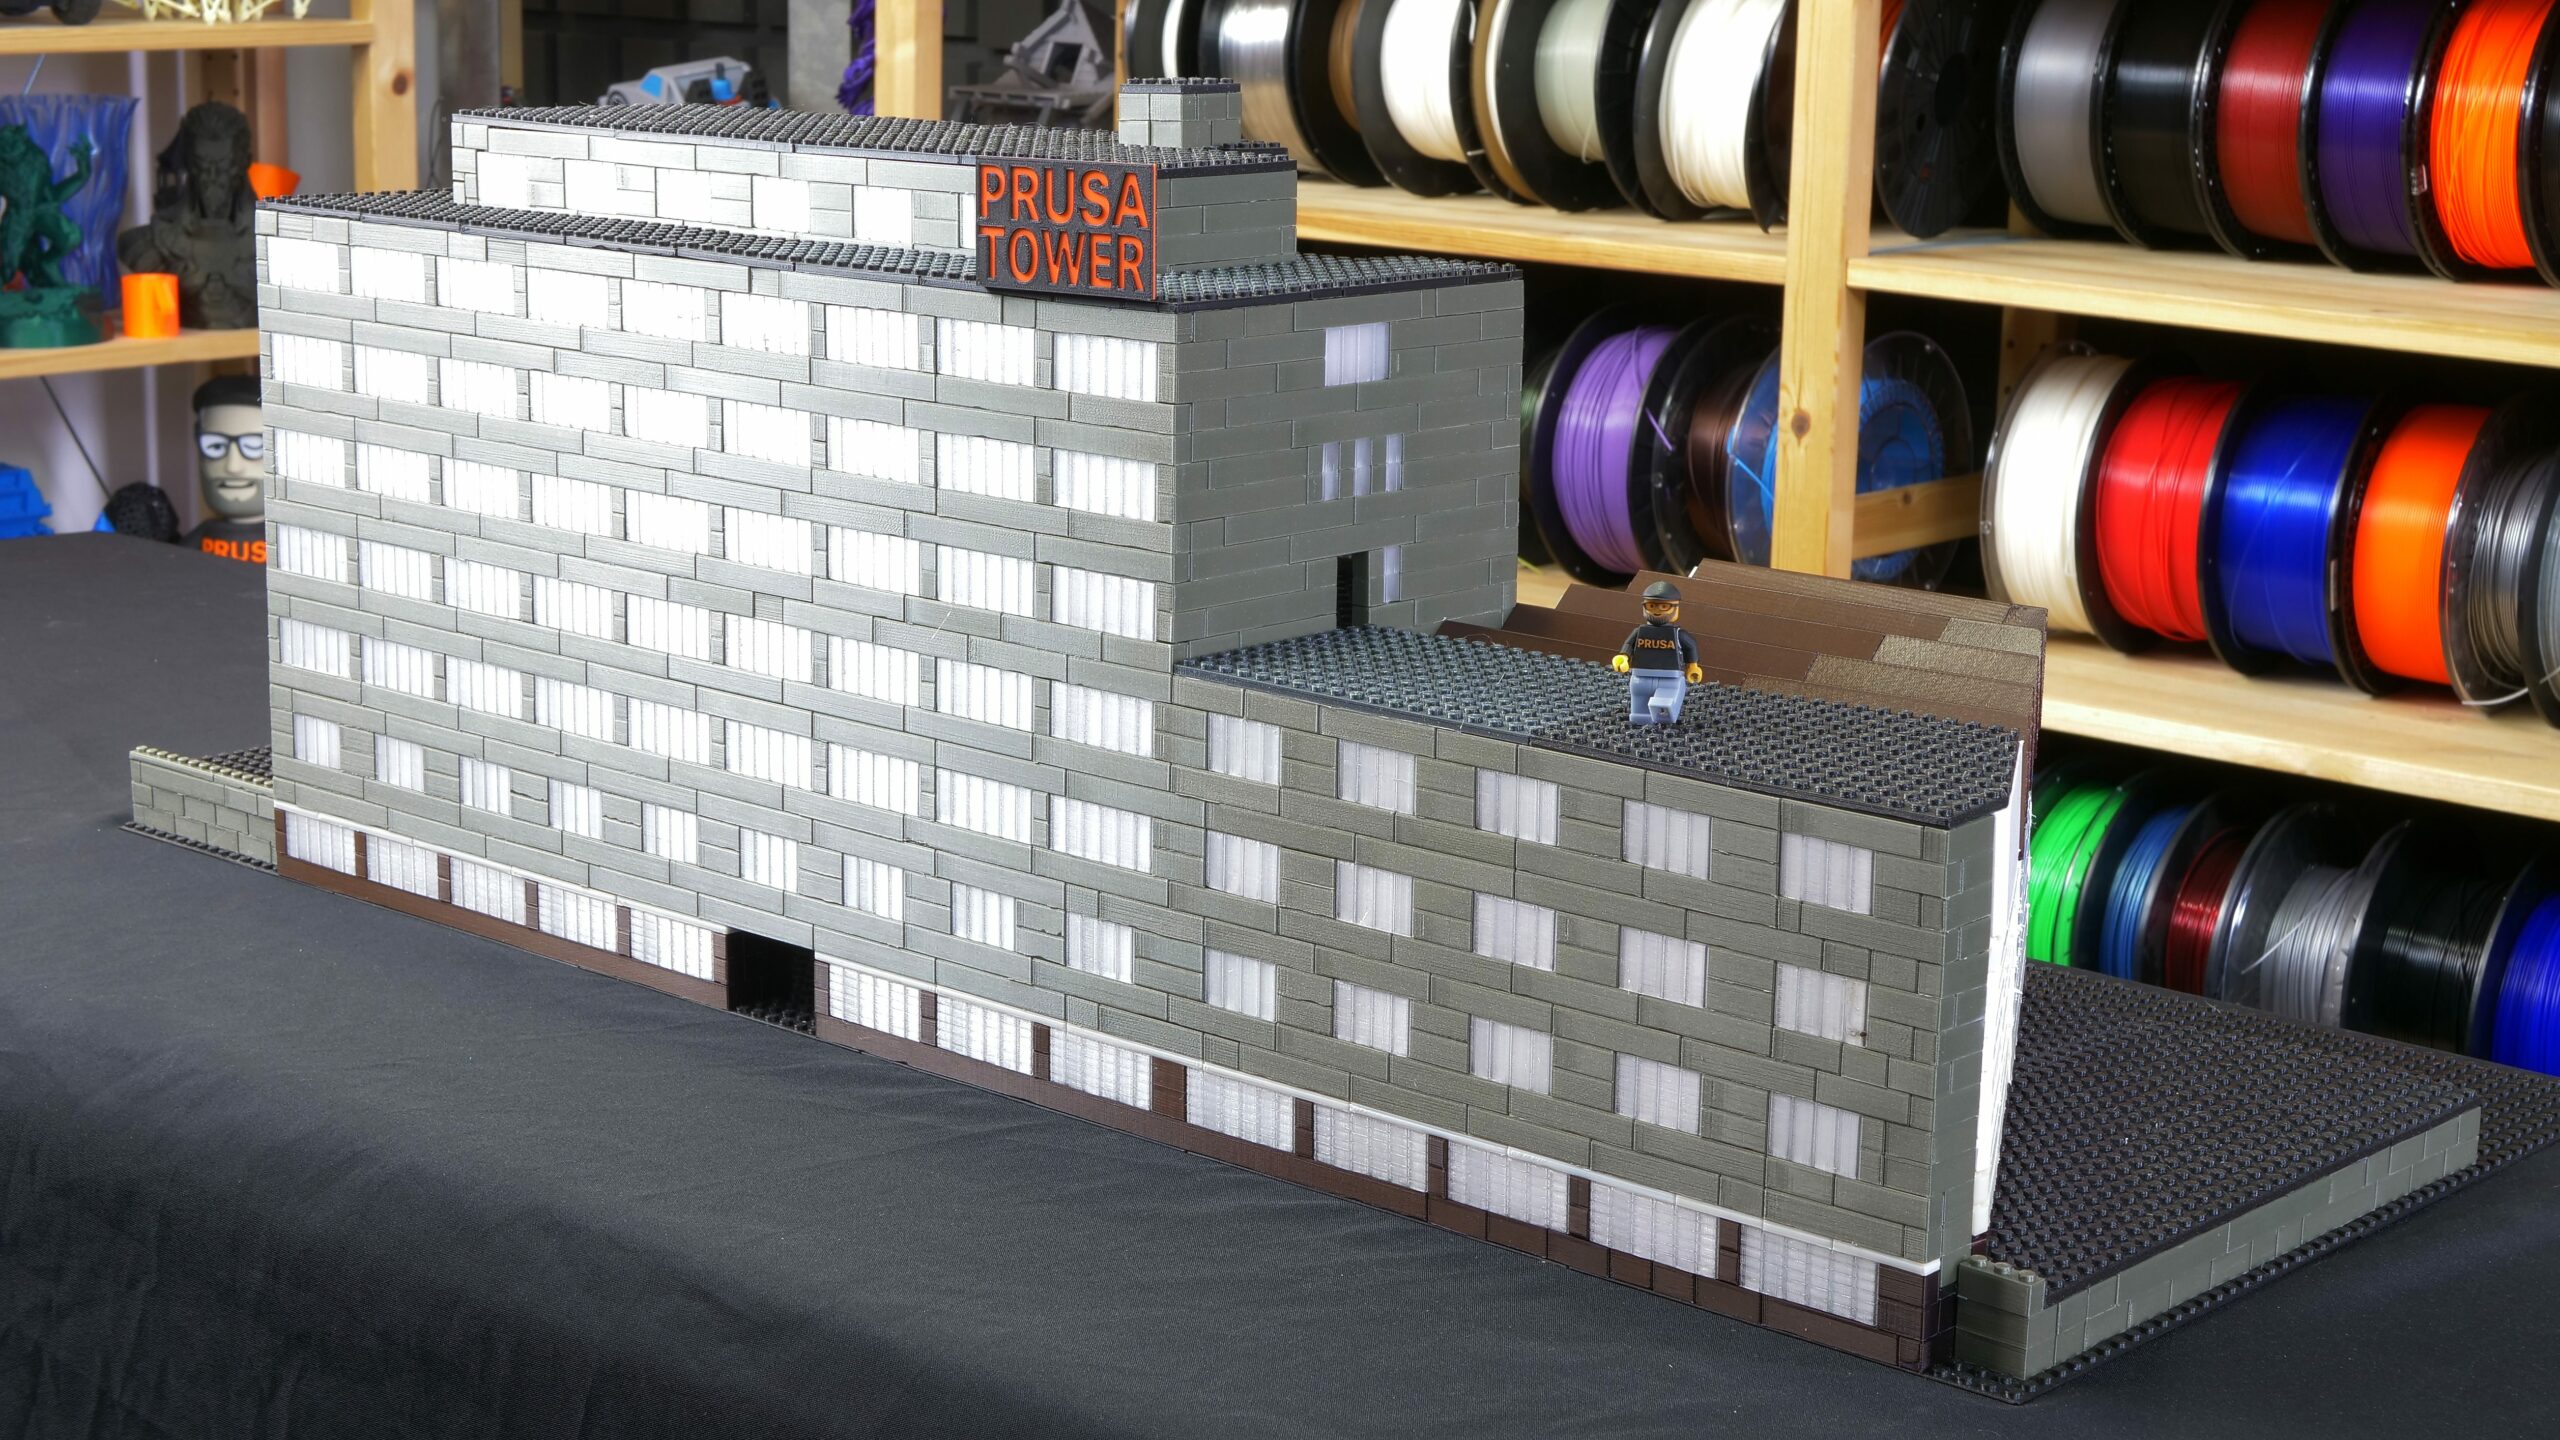
You’ve probably noticed that we like big projects 🙂 And this article is no exception – this time we used Prusament and our Original Prusa i3 MK3S printers to build a LEGO model of our headquarters, where we develop and make all of our printers and filaments. We used this project just to demonstrate how you can unleash your creativity to build something of a personal and emotional value 🙂
Usually, it’s better to print missing or special pieces that LEGO either don’t offer or sells for a very high price – such as large baseplates. Whether you can print certain parts also depends on your printer’s capabilities: generally, it’s not recommended to use FFF 3D printers to produce tiny and fragile parts such as hands of LEGO mini-figures. The same goes for larger amounts of tiny blocks (such as 1×1 low). Their post-processing (removing the brim etc.) takes too long and is quite difficult. It’s better to use an SLA printer, for example, our Original Prusa SL1. Speaking of SLA 3D printers…

SLA 3D-printed LEGO
SLA printers have one great advantage – their accuracy is close to the parts made with injection molding. However, there are other difficulties we need to face. One of them is a rather high amount of friction between two resin-made pieces. This makes the blocks not only hard to connect and disconnect at first, but it also makes them prone to abrasion, which leads to loosened joints. The other disadvantage is the higher cost of printed parts compared to FFF technology. What we can recommend, though, is to use SLA 3D printers for special parts prototyping, especially when there’s focus on detail (for example specific LEGO minifigures).
Don’t forget that most of the resins used for SLA 3D printing are not suitable for objects that should be handled by small children – with an insufficient amount of washing and curing, resins can cause a rash or an allergic reaction on the skin. This applies to adults, too!
The real usage of 3D printed LEGO-compatible parts
Generally, 3D printing is good for special or spare parts to go with original LEGO, or in special cases also for creating larger sets, but definitely not for mass production. It will never be as accurate as the injection molding method. And in large quantities, it’s also more expensive (considering print preparation and postprocessing). Most people will probably use it to print special parts that cannot be found in original sets, or missing/replacement parts.
We need to point out that 3D printed LEGO parts aren’t usually suitable for small children. For example, blocks printed with PLA on the Original Prusa i3 MK3S connect well, but require a larger amount of force that small children may not have. And let’s not forget about children’s’ health – they shouldn’t, under any circumstances, put any 3D printed pieces in their mouths. Especially SLA resins might be toxic and can particularly cause a rash or allergic reaction on bare skin!
Producing LEGO-like bricks is further complicated due to deeds and actions performed by the LEGO company, which recently targeted 3D printing communities and made them remove their creations from the internet. For example, extensive sites such as printabrick.com are no longer available for the public and people are limited to the handful of models that remained online or may create something on their own – like we did.
| Advantages | Disadvantages | |
| Original LEGO | Accuracy | Price |
| 0% work | Shipping | |
| FFF 3D printing | Cost | Lower accuracy |
| Quick production / availability | Requires post-processing | |
| Can print special parts | Lower amount of available parts | |
| SLA 3D printing | Accuracy | Cost |
| Quick production / availability | Requires post-processing | |
| Can print special parts | Lower amount of available parts |
Conclusion
LEGO is a very popular and creative building set. And thanks to 3D printing, it can be supplemented with lots of interesting pieces. It goes without saying that you won’t make a breakthrough with a business idea to sell 3D printed LEGO parts. This is mainly due to cost, print precision, and health safety. Even with the problems mentioned above, you can achieve very nice results. Don’t let these problems discourage you, try to print and build something amazing for yourselves! And don’t forget to share the results. If you really love enormous challenges, try to print our set “Josef and the printer factory”. You’ll need to print “only” 1680 bricks, that’s 847 hours of printing and 4976g of material.
Happy printing!
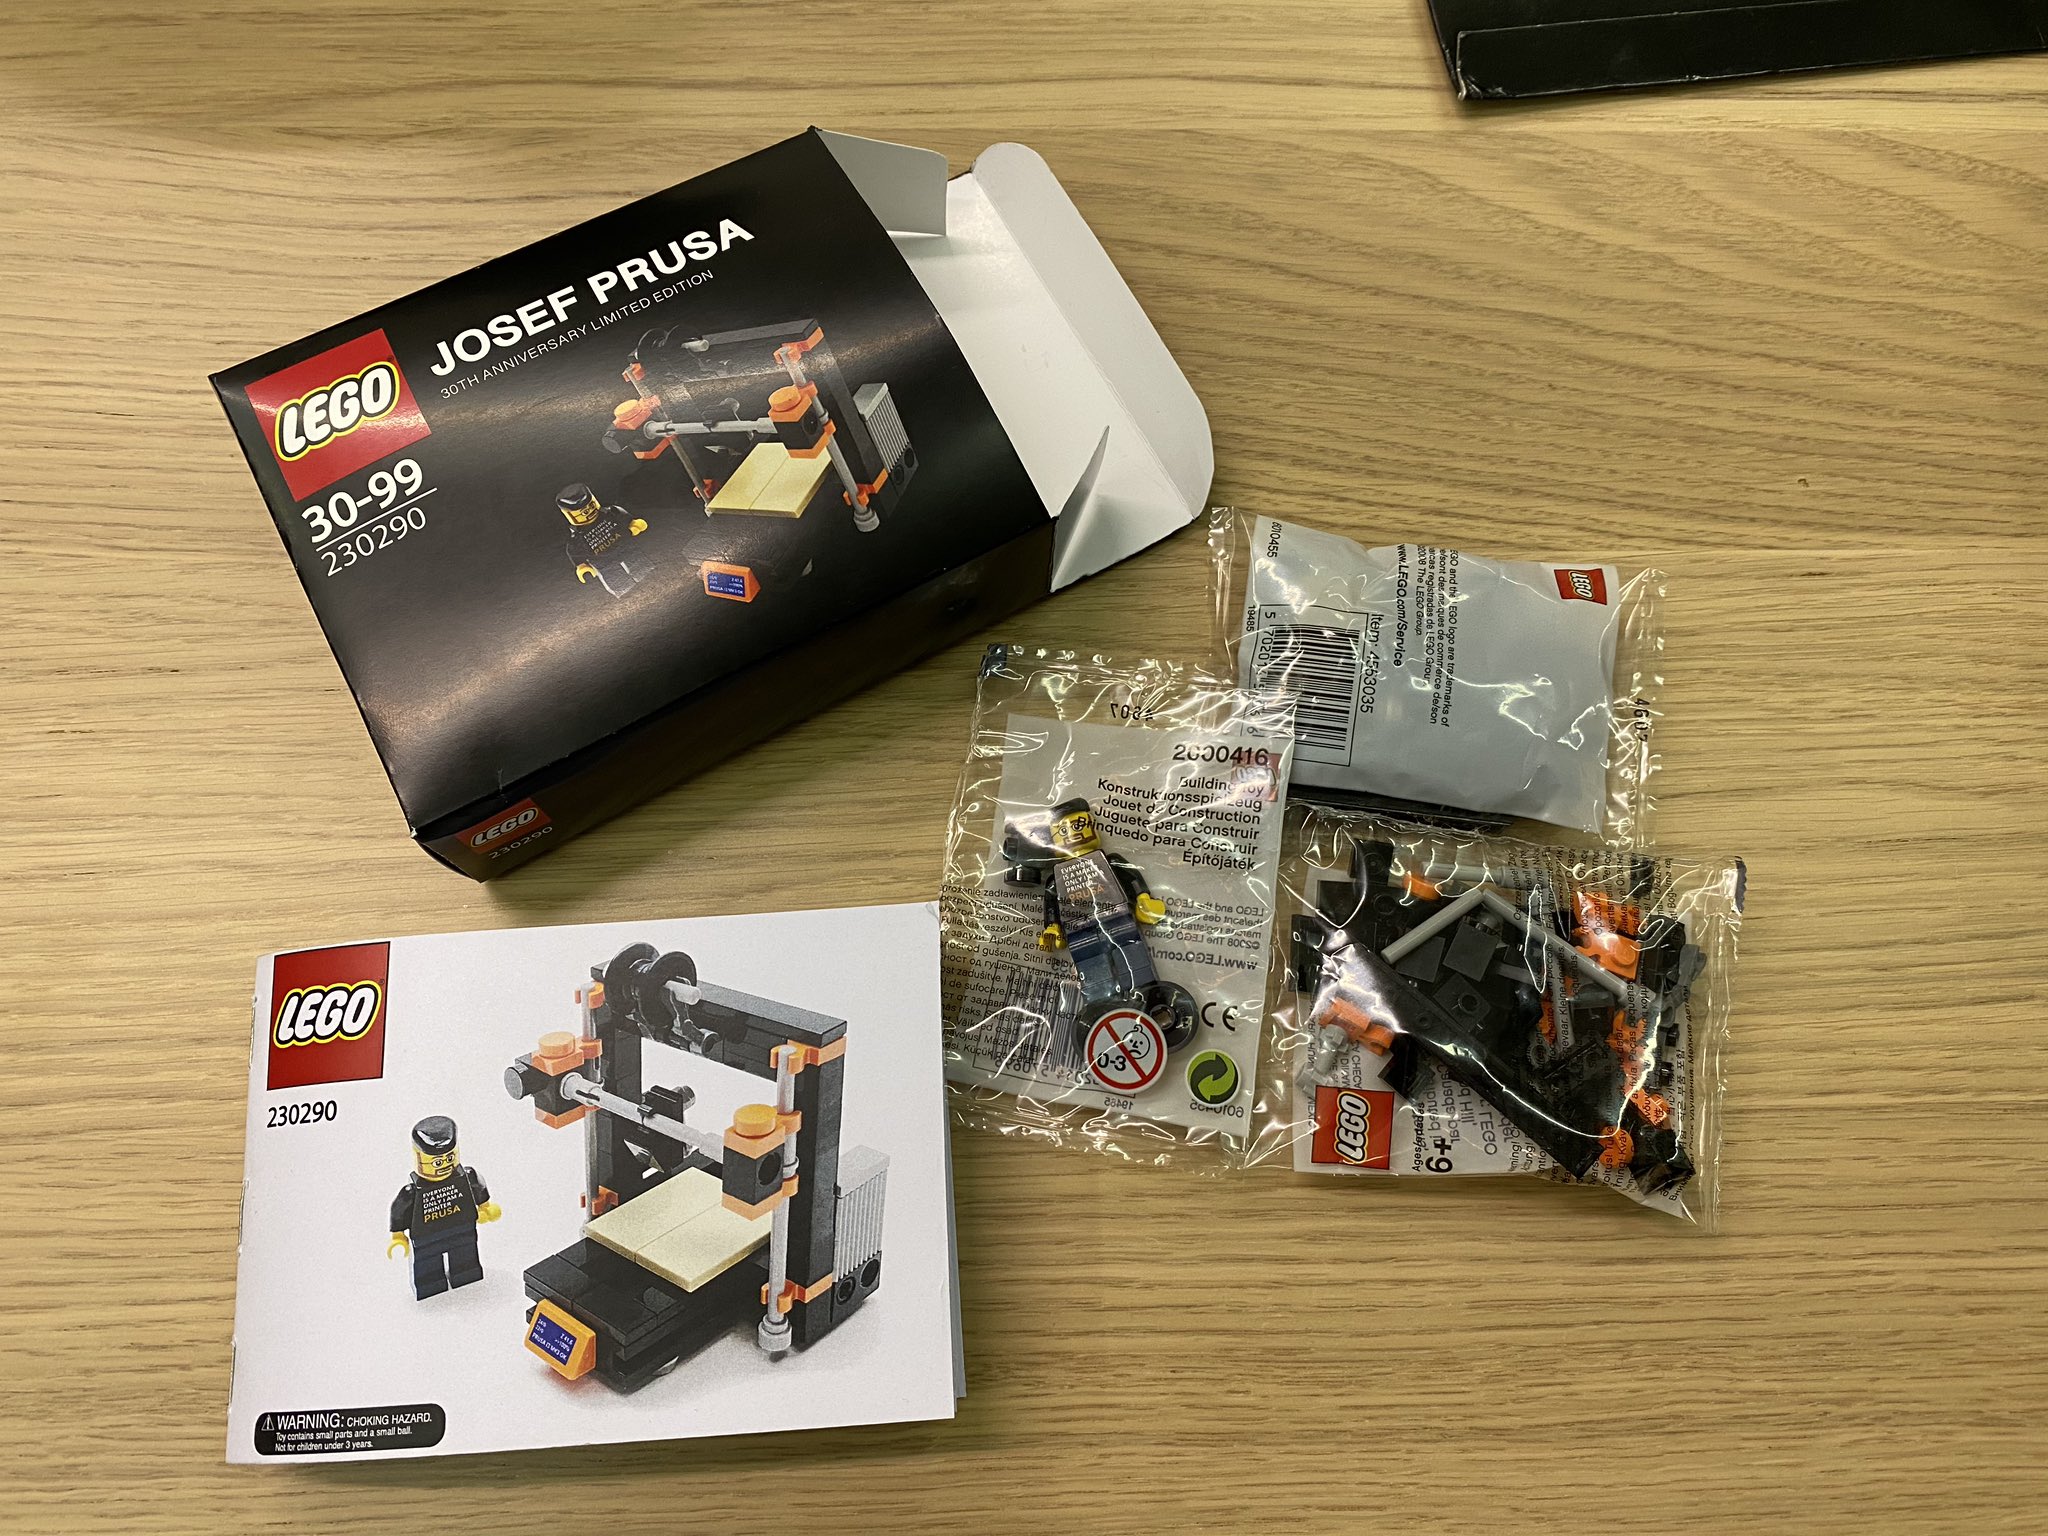
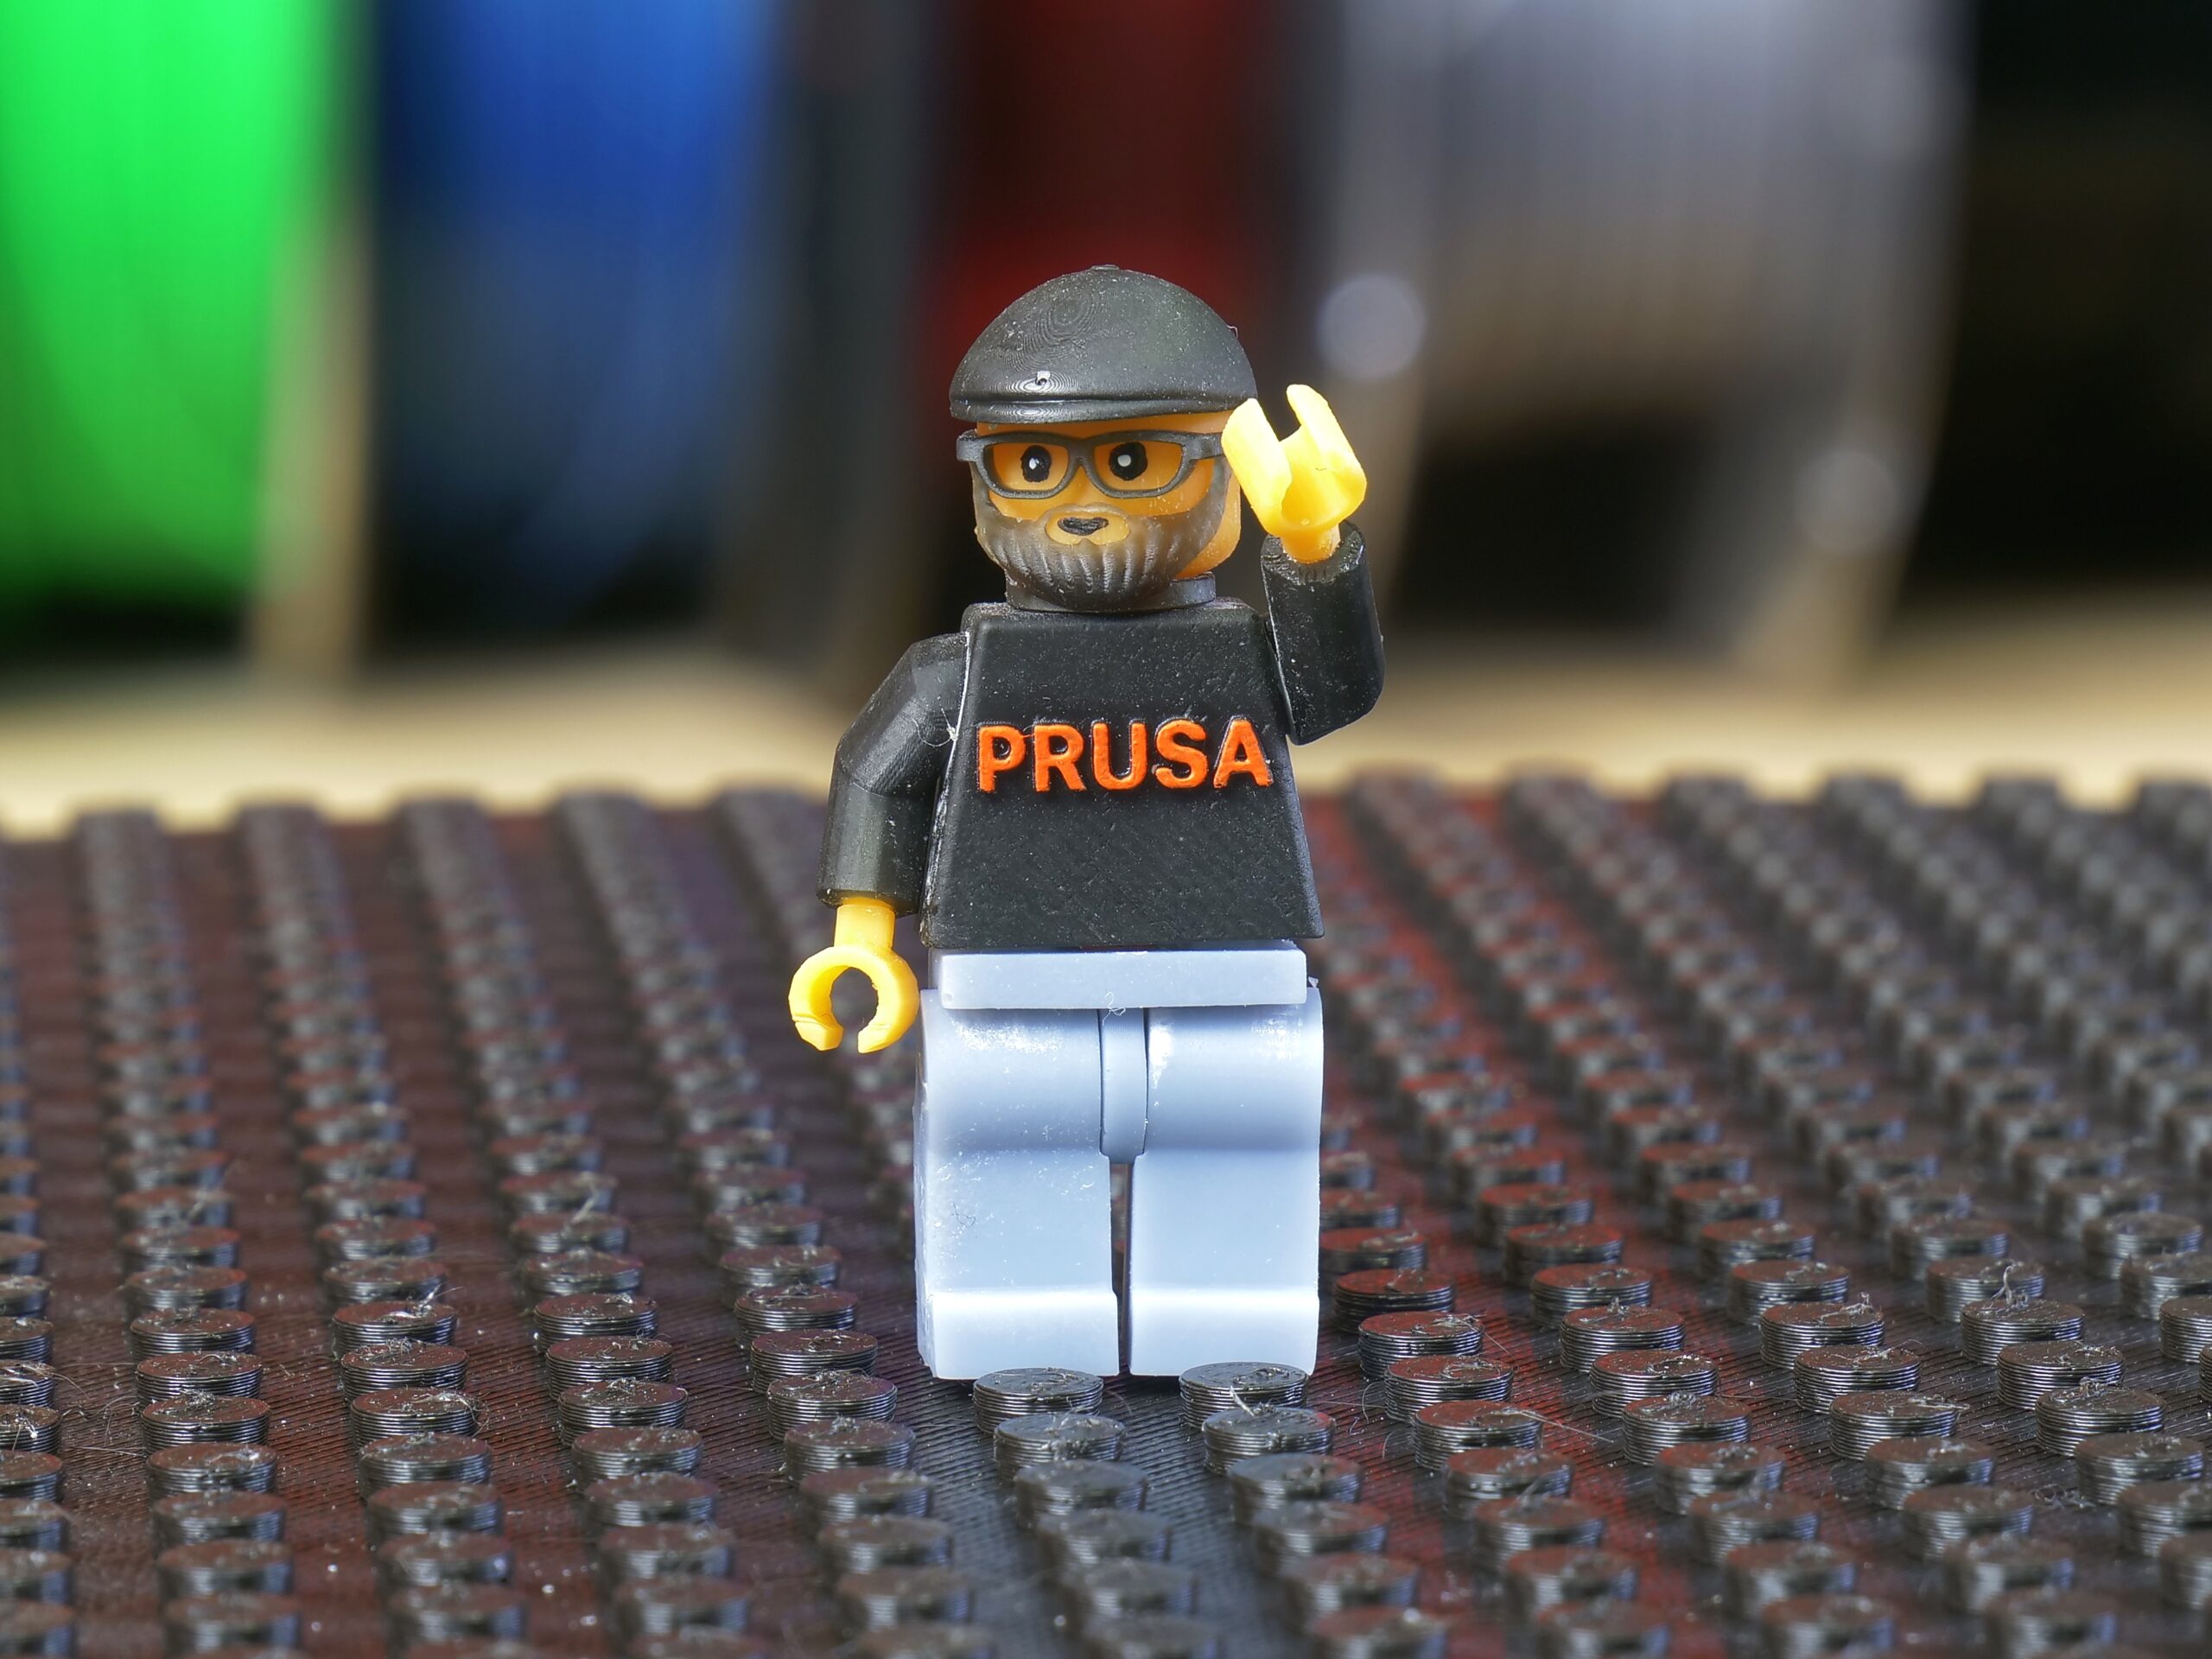
BTW everyone here loves LEGO! Jo even got this amazing kit with original LEGO pieces for his 30th birthday from one of our developers. 🙂
Is it possible to order the lego kit? I would love to have this.
I can’t find the models for the LEGO Duplo parts. Have they been uploaded?
You can find several DUPLO models online. It is mentioned in the article just to remind people that it can be printed without much touble as well. Plus the DUPLO parts don’t need that much accuracy such as LEGO.
I modeled a vintage brick called “Montini” which is Lego compatible. Montini bricks were produced in the Netherlands from 1961 to 1969 and made from polypropene. The design has thin diagonal walls on the bottom that deform slightly as they go between pips. My remake is optimized for a 0.4mm nozzle. I’ve printed a lot of pieces in PLA and tested them with original Montini and Lego Classic parts. Check out my release of Montini. www.thingiverse.com/thing:4051035
could that little lego set be an occasional easter egg in people’s packages?
think it would be really cool if it was
What about Nano bricks?
Did you guys test PETG compared to PLA and ASA?
Would assume that it would be a good match?
Creating 3D-printed LEGO and LEGO Duplo parts involves designing compatible models using CAD software like Tinkercad or Fusion 360, ensuring precise measurements for seamless integration. For <a href="https://www.walgreenslistens.me/"> WalgreensListens</a> just as feedback improves services, testing prototypes ensures parts fit perfectly with original bricks. Use high-quality PLA or ABS filament and calibrate your printer for accuracy. Platforms like Thingiverse offer pre-made designs, or you can customize your own. Post-processing, like sanding, enhances smoothness, while avoiding overhangs reduces support needs. Always check LEGO’s patent guidelines to avoid legal issues. Whether for repairs or custom builds, 3D printing expands creative possibilities while maintaining functionality.