


I swear I must have at least a few dozen guitar picks at home. However, after each session, they seem to just disappear, one by one. One day I wanted to play a song that really needed a pick. I spent literally 20 minutes trying to find one. I looked in my guitar bag. I looked under the amp. I even looked inside my acoustic guitar. But I could not find even a single pick! I would normally dismiss the idea of a 3D printing one, surely, it can’t be any good, right? However, desperate times call for desperate measures. I downloaded the first guitar pick model I found online, started the print on the MINI and within 5 minutes I finally had my pick. And it… works?! Not just as an emergency pick that’s barely playable. It seems just like any other pick I’ve ever bought. Incredible! And this one was printed from regular PLA. This must be the smallest, fastest, most useful print I’ve discovered so far.
After this realization that I can create my own picks, so many questions started popping in my head. What thickness do I prefer? What material should I print them from? I’ve only ever played with the classic picks, are there other shapes that I might like? Let’s answer all of these questions one by one.
Find the perfect thickness
Even one-tenth of a millimeter difference in the pick’s thickness has a fairly big impact on its feel and flexibility. Generally, for acoustic strumming you’ll want thinner, flappier picks (0.4 – 0.6 mm). On the other hand, you’ll want thicker picks (0.8 – 1.2 mm) that give you cleaner and brighter sound for lead guitar and solos. Most beginners end up somewhere in the middle with well-rounded 0.6 – 0.8 mm thick picks.
You can order sets that have 10 of each common thickness. But then you’ll end up with hundreds of picks that you don’t really like and just a few of those that you prefer. With 3D printing, you can easily generate all sorts of thicknesses by rescaling the model in the slicer. Print a few, pick your favorite and then create as many of those as you like. In PrusaSlicer, make sure you’re making actual copies (Ctrl+C, Ctrl+V) and not just instances (+ key), as those would all change in scale at the same time. If you want to input exact height values, click the lock icon in the right panel first, which turns off uniform scaling. Then you can edit the height of the object in the Z-axis.
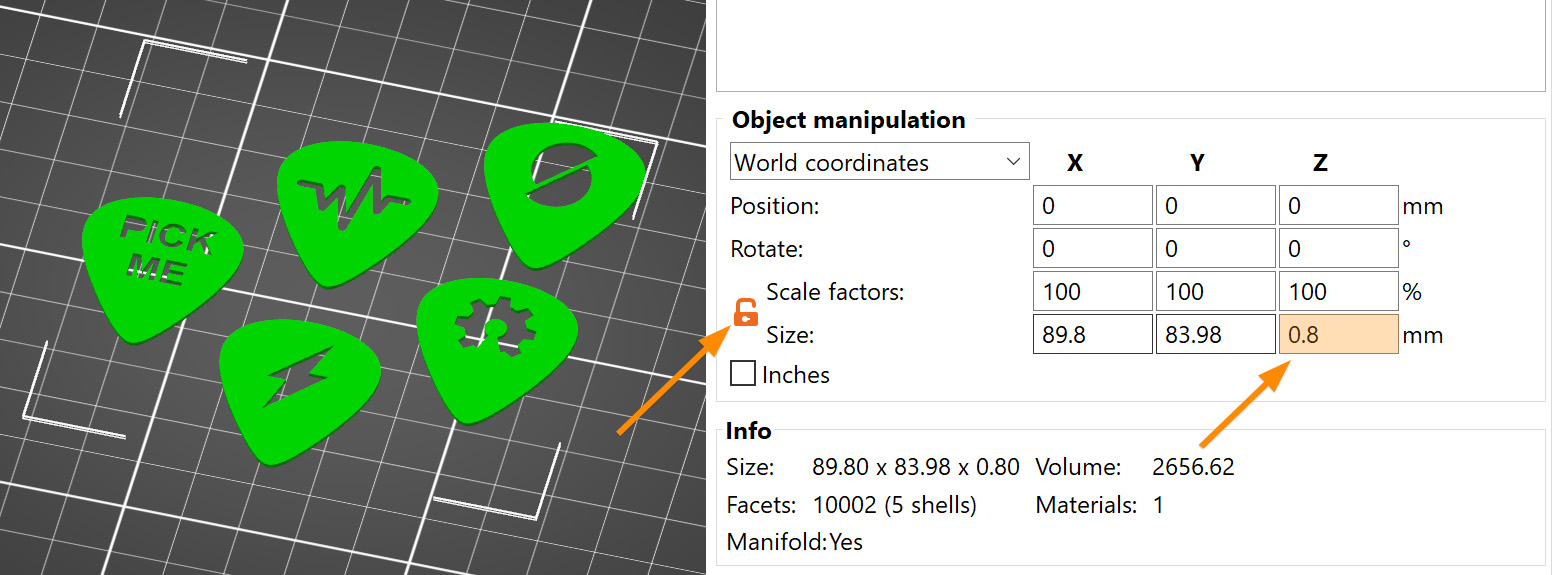
When you’re choosing the layer height, make sure you have enough resolution to print the desired thickness. A 0.7 mm thick pick with 0.2 mm layer height will end up being rounded up to 0.8 mm. PrusaSlicer will show you the real printed height next to the slider in the preview, adjust the layer height if necessary.
Customize it any way you like
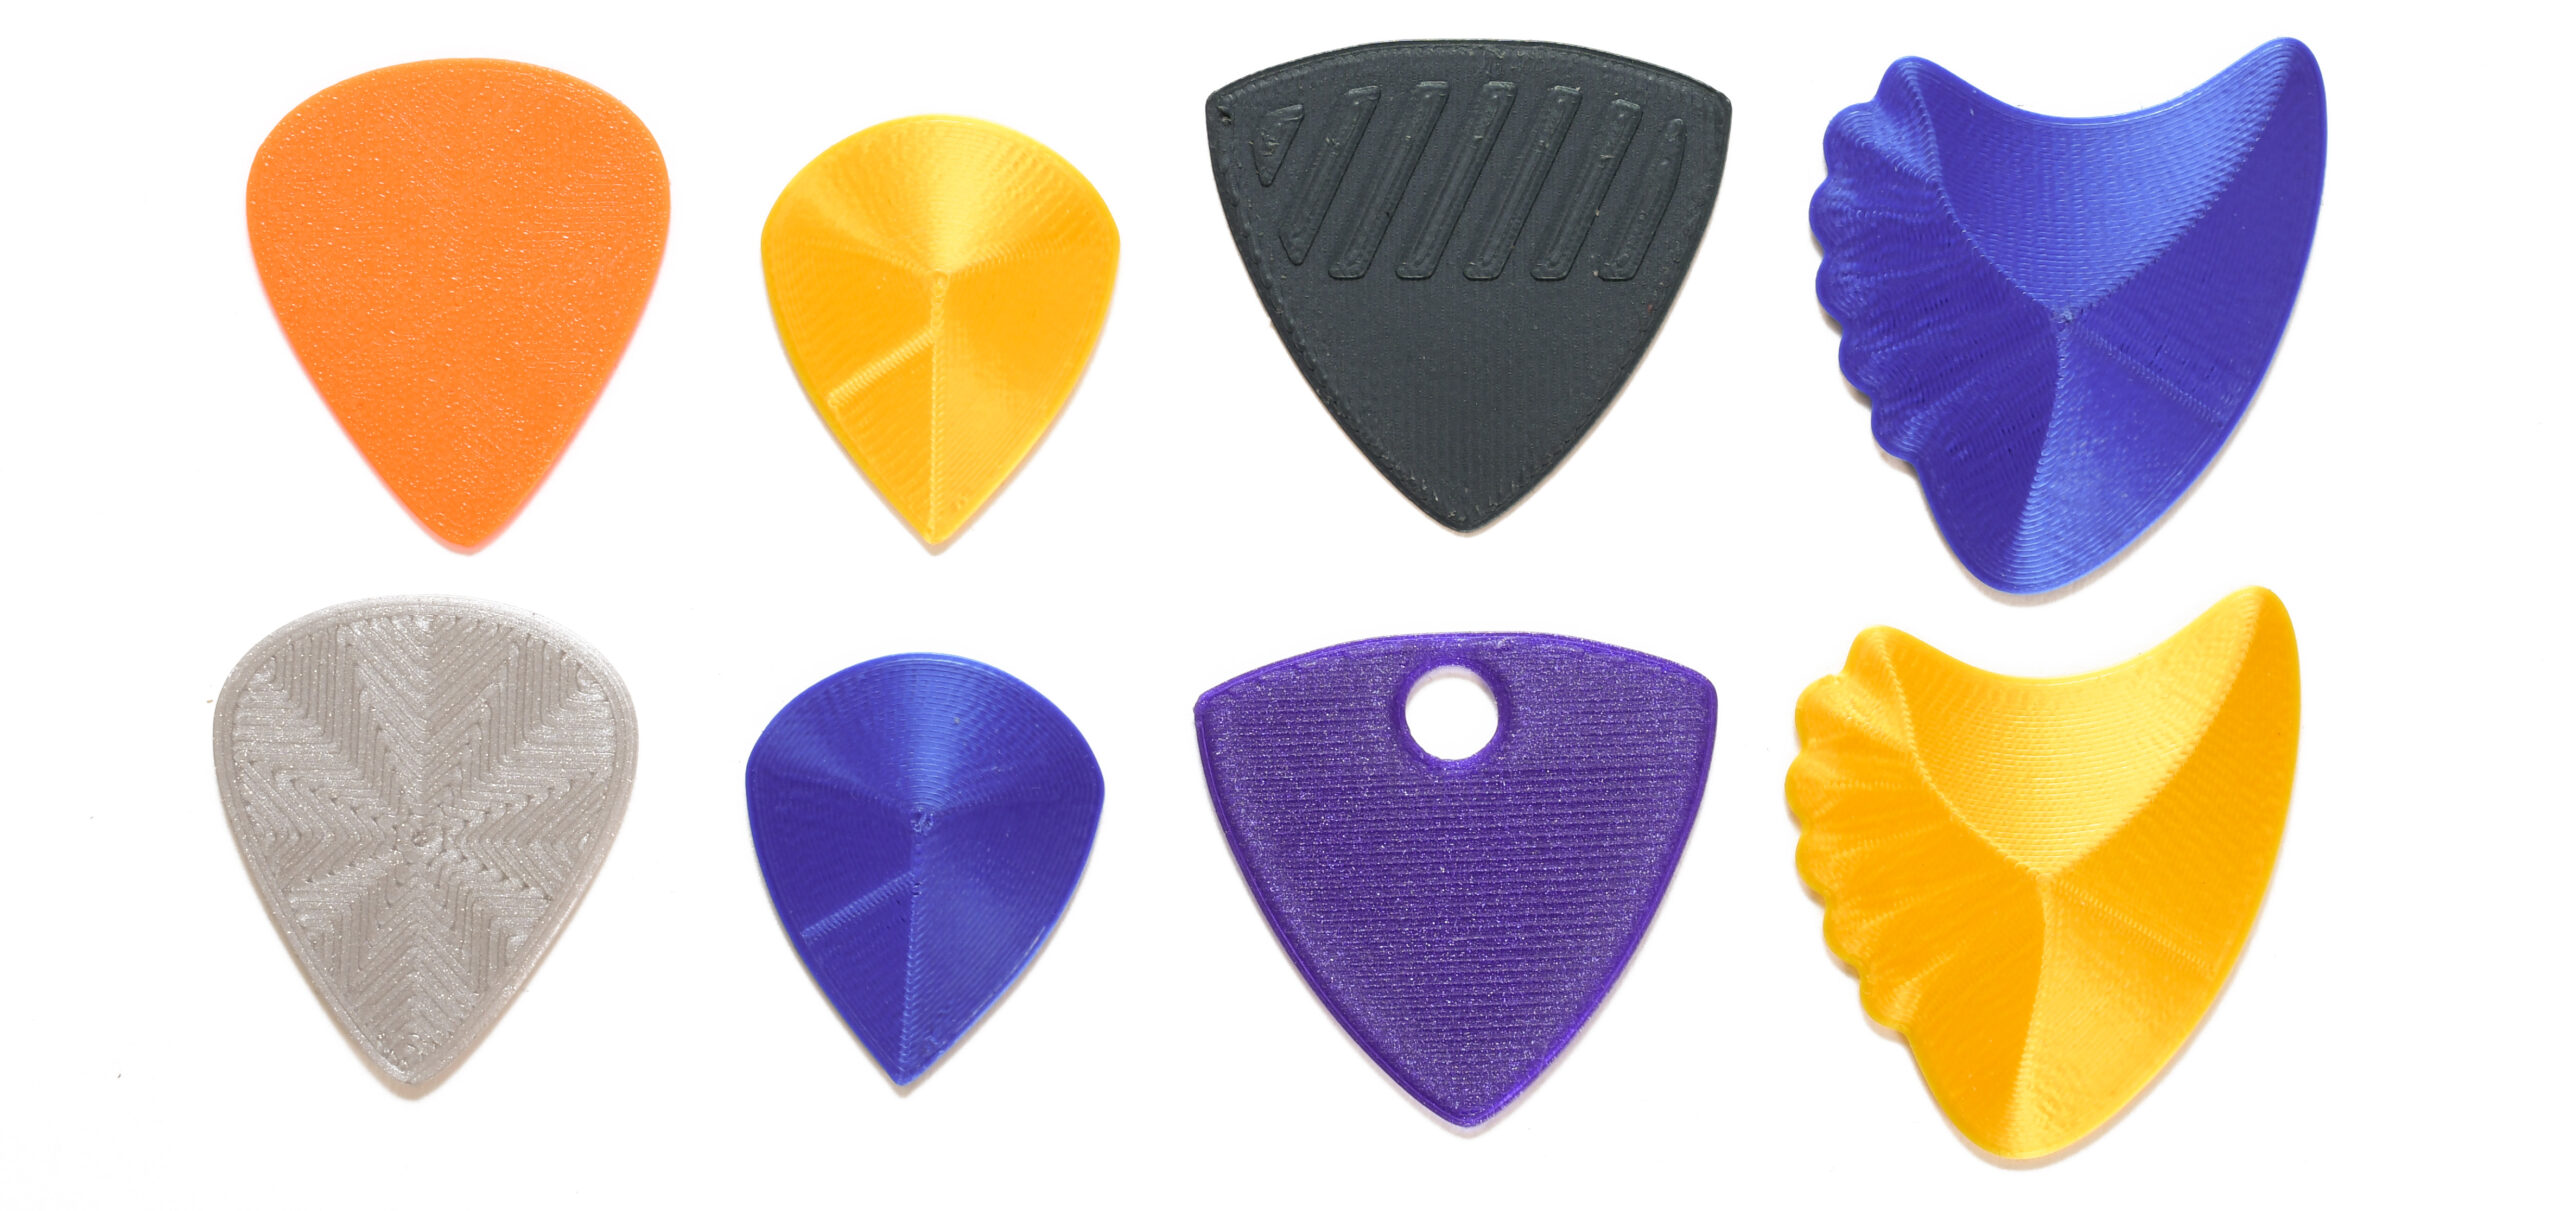
Picks come in more shapes than you might be aware of. Other than the classic shape, there’s jazz pick, which is great for fast picking, tri-tip, which has a bigger grip and can be used on all 3 corners, or the exotic-looking sharkfin, famously played by The Beatles with a different sound for each corner. You can also quickly tuck it away under the index finger (thanks to the fun arc) and switch between strumming with a pick and fingering. I’ve re-drawn all of these picks in Fusion 360 and you can get them ready to print from PrusaPrinters.org.
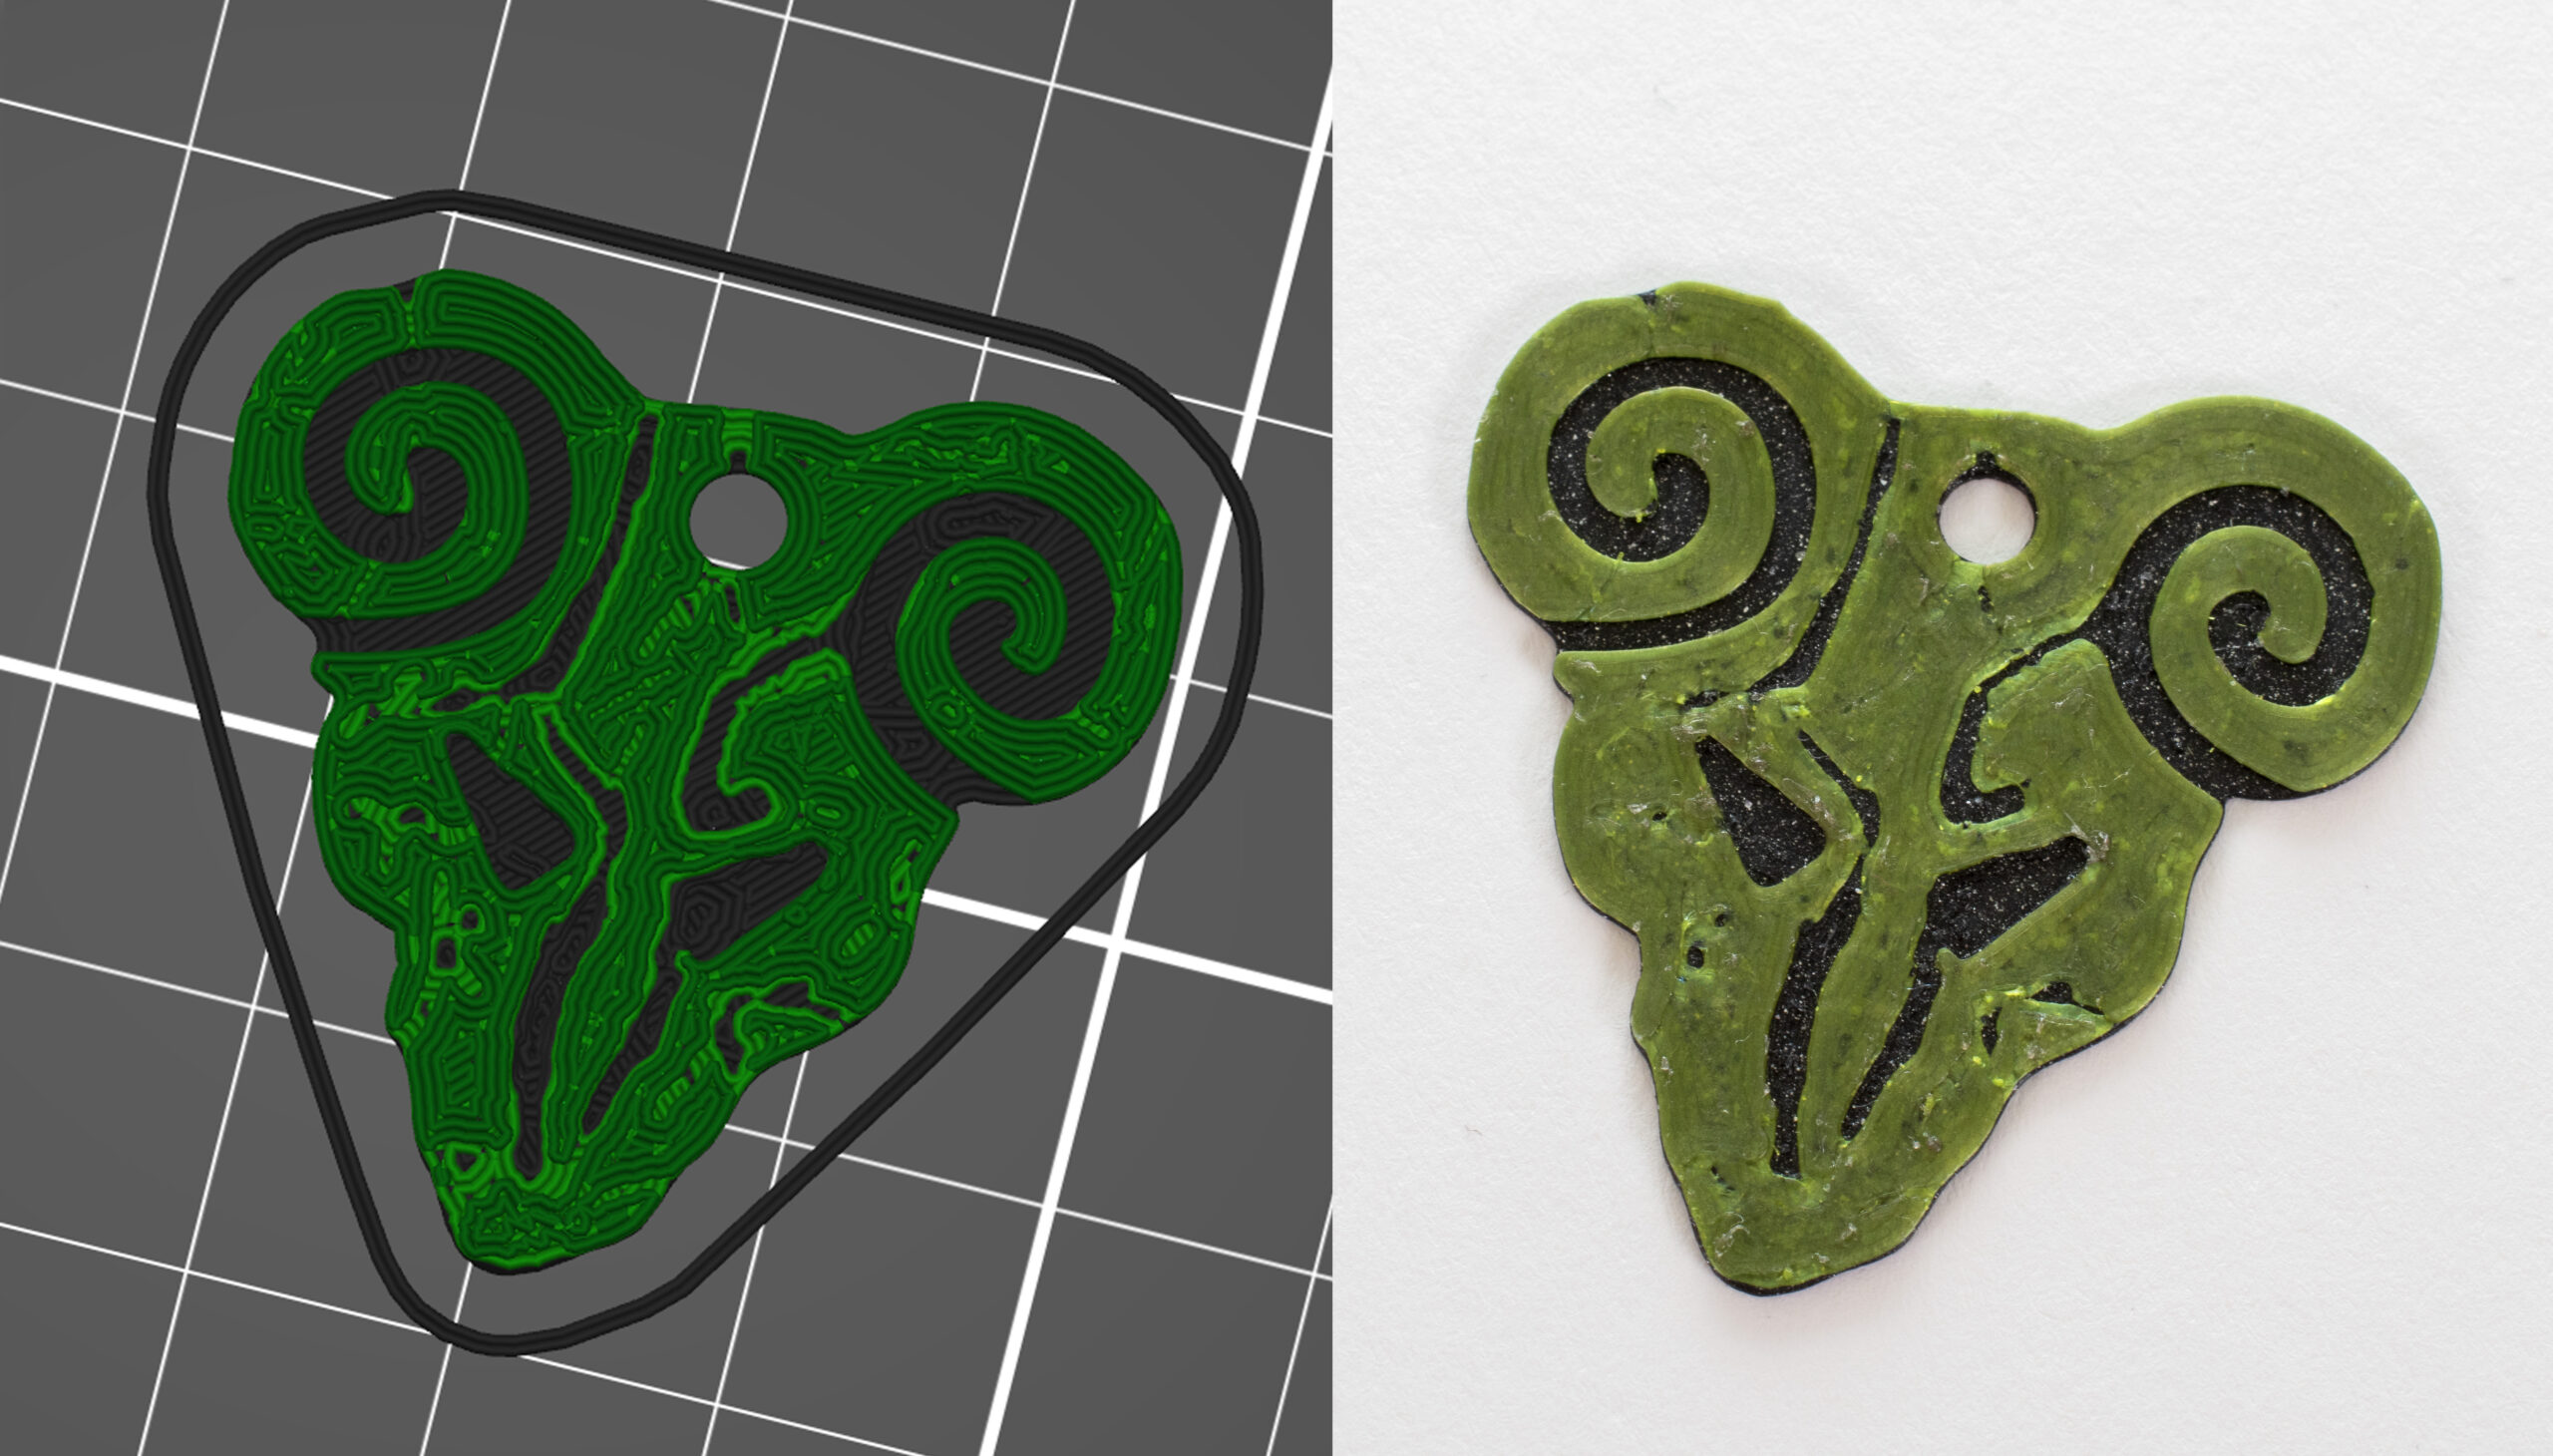
You can get way more creative than the mentioned shapes though! Who’s going to stop you if you decide to print the Pick of Destiny, the Devil himself? Yeah right.😈 The Pick of Destiny is a must-watch movie for all rock fans, with this magical pick giving you god-like guitar skills. As I was writing this article, I realized, I can finally make one for myself! I sculpted it in Blender (oh hey, we an article about sculpting too) and used the color change feature in PrusaSlicer to switch from Prusament PLA Galaxy Black, to Lime Green, to Mystic Green. Which ends up matching the movie look quite closely. Get it from PrusaPrinters.org.
The color is another easily customizable feature of the pick. You can match it with your guitar, your band color scheme or just pick whatever color you love.
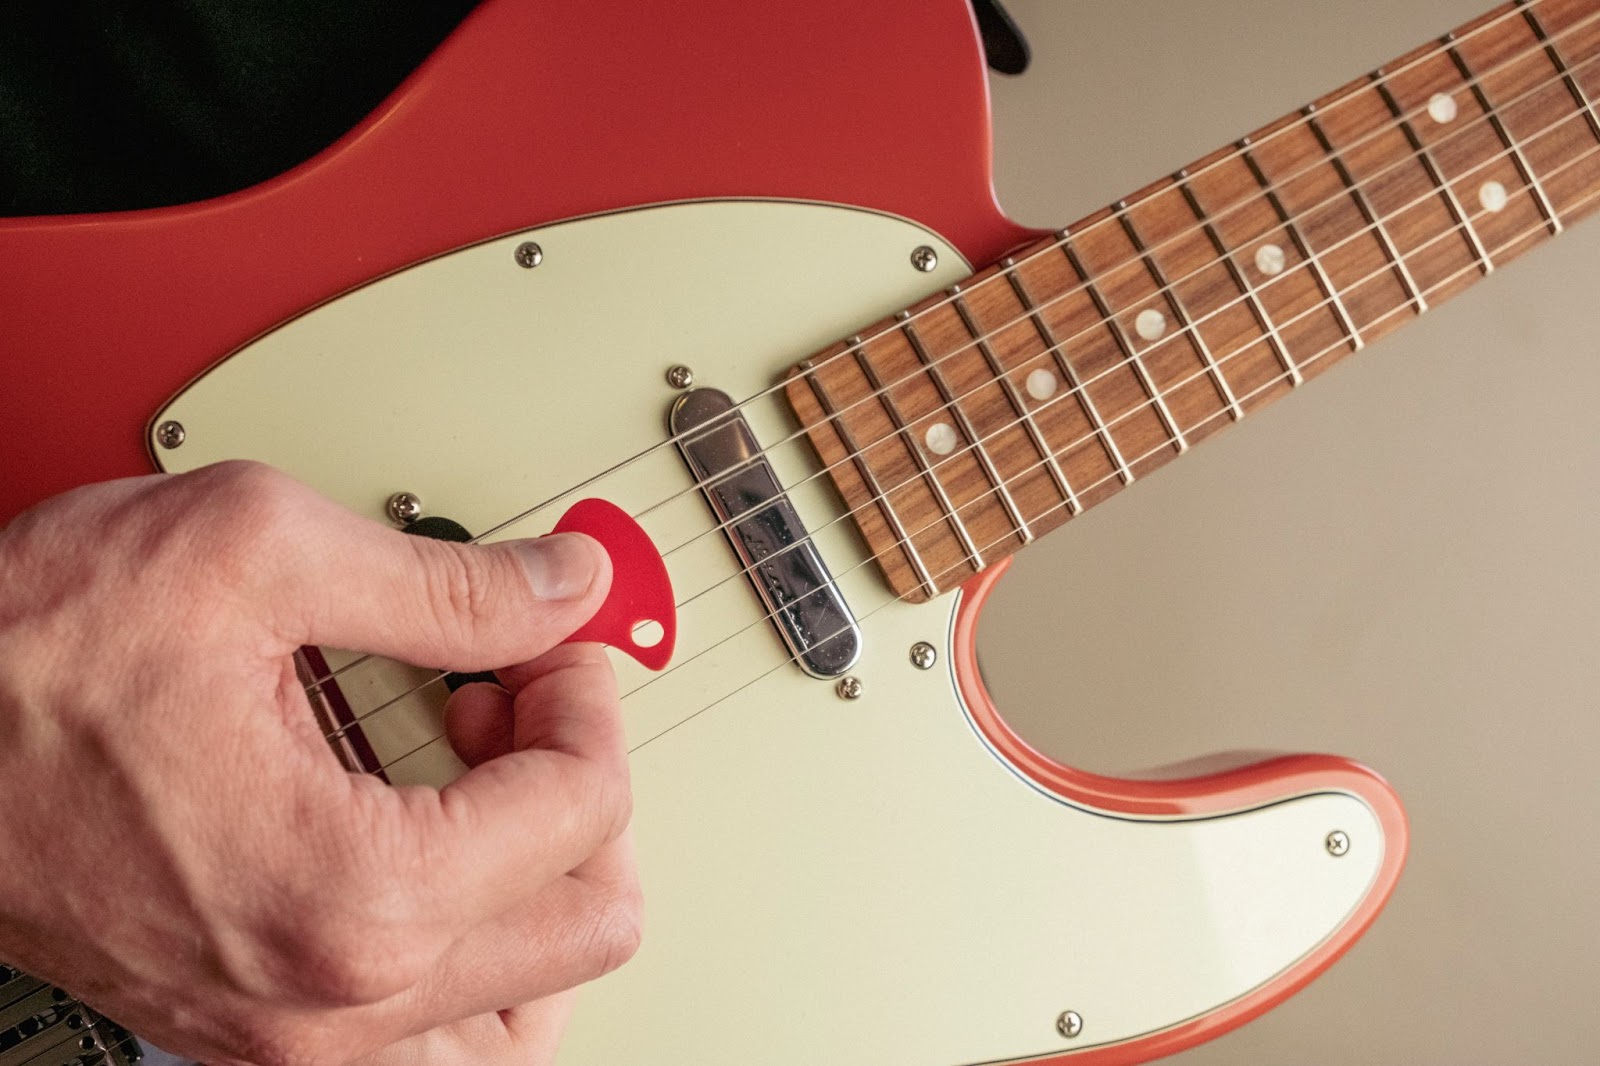 A pick matching the color of the guitar (Fender Fiesta Red – Prusament Lipstick Red)
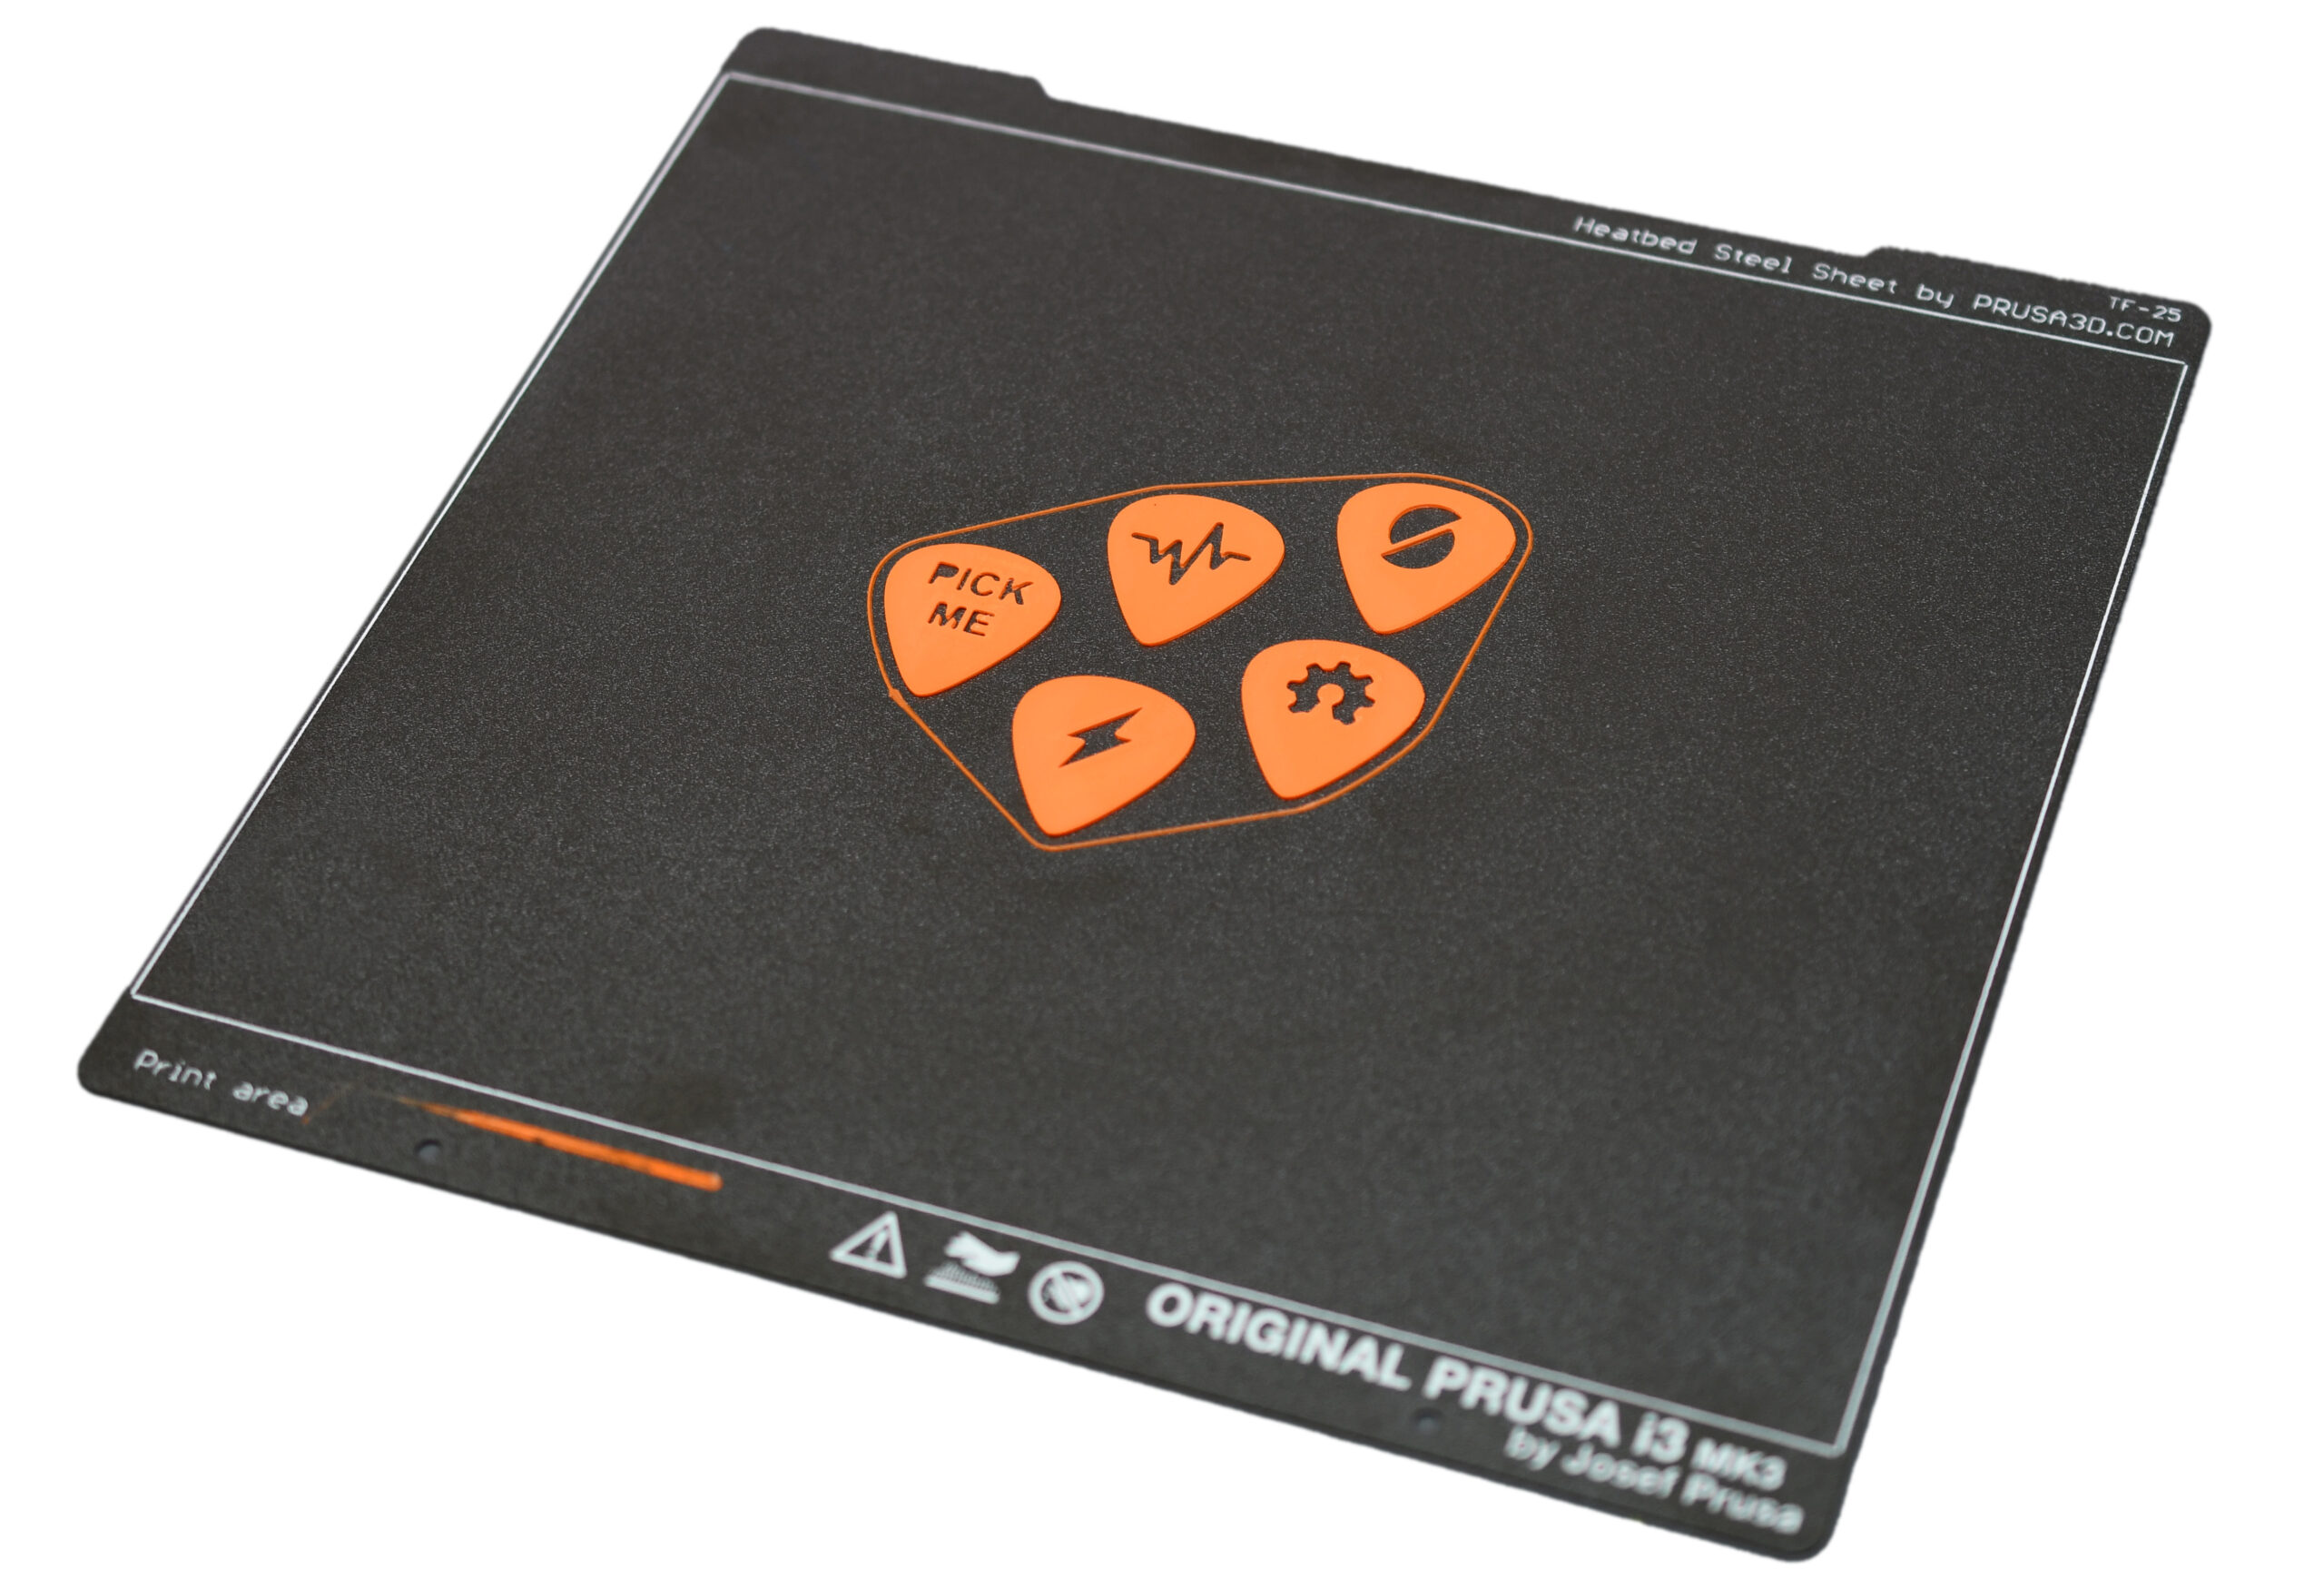
Some picks are perfectly smooth, you might prefer one with a textured grip though. You can emboss a simple pattern for that, a short text (e.g. band name), or even a simplified band logo. Use the color change feature to make those shapes stand out. Or you can subtract the shape to create a hole in the pick. Both embossing and debossing works similarly well.
At this point, you have picks so cool, you can use them as super inexpensive, yet practical merch to give away on shows! I now always carry a few 3D printed picks in my wallet. They’re a fun print to show and every player is always pleasantly surprised when I let them keep it.
Infill patterns
You can use the monotonic infill for simple angled lines. But especially with shiny filaments, you can get nice results with more interesting patterns. The Octagram Spiral, Hilbert Curve and Concentric infill work especially well.
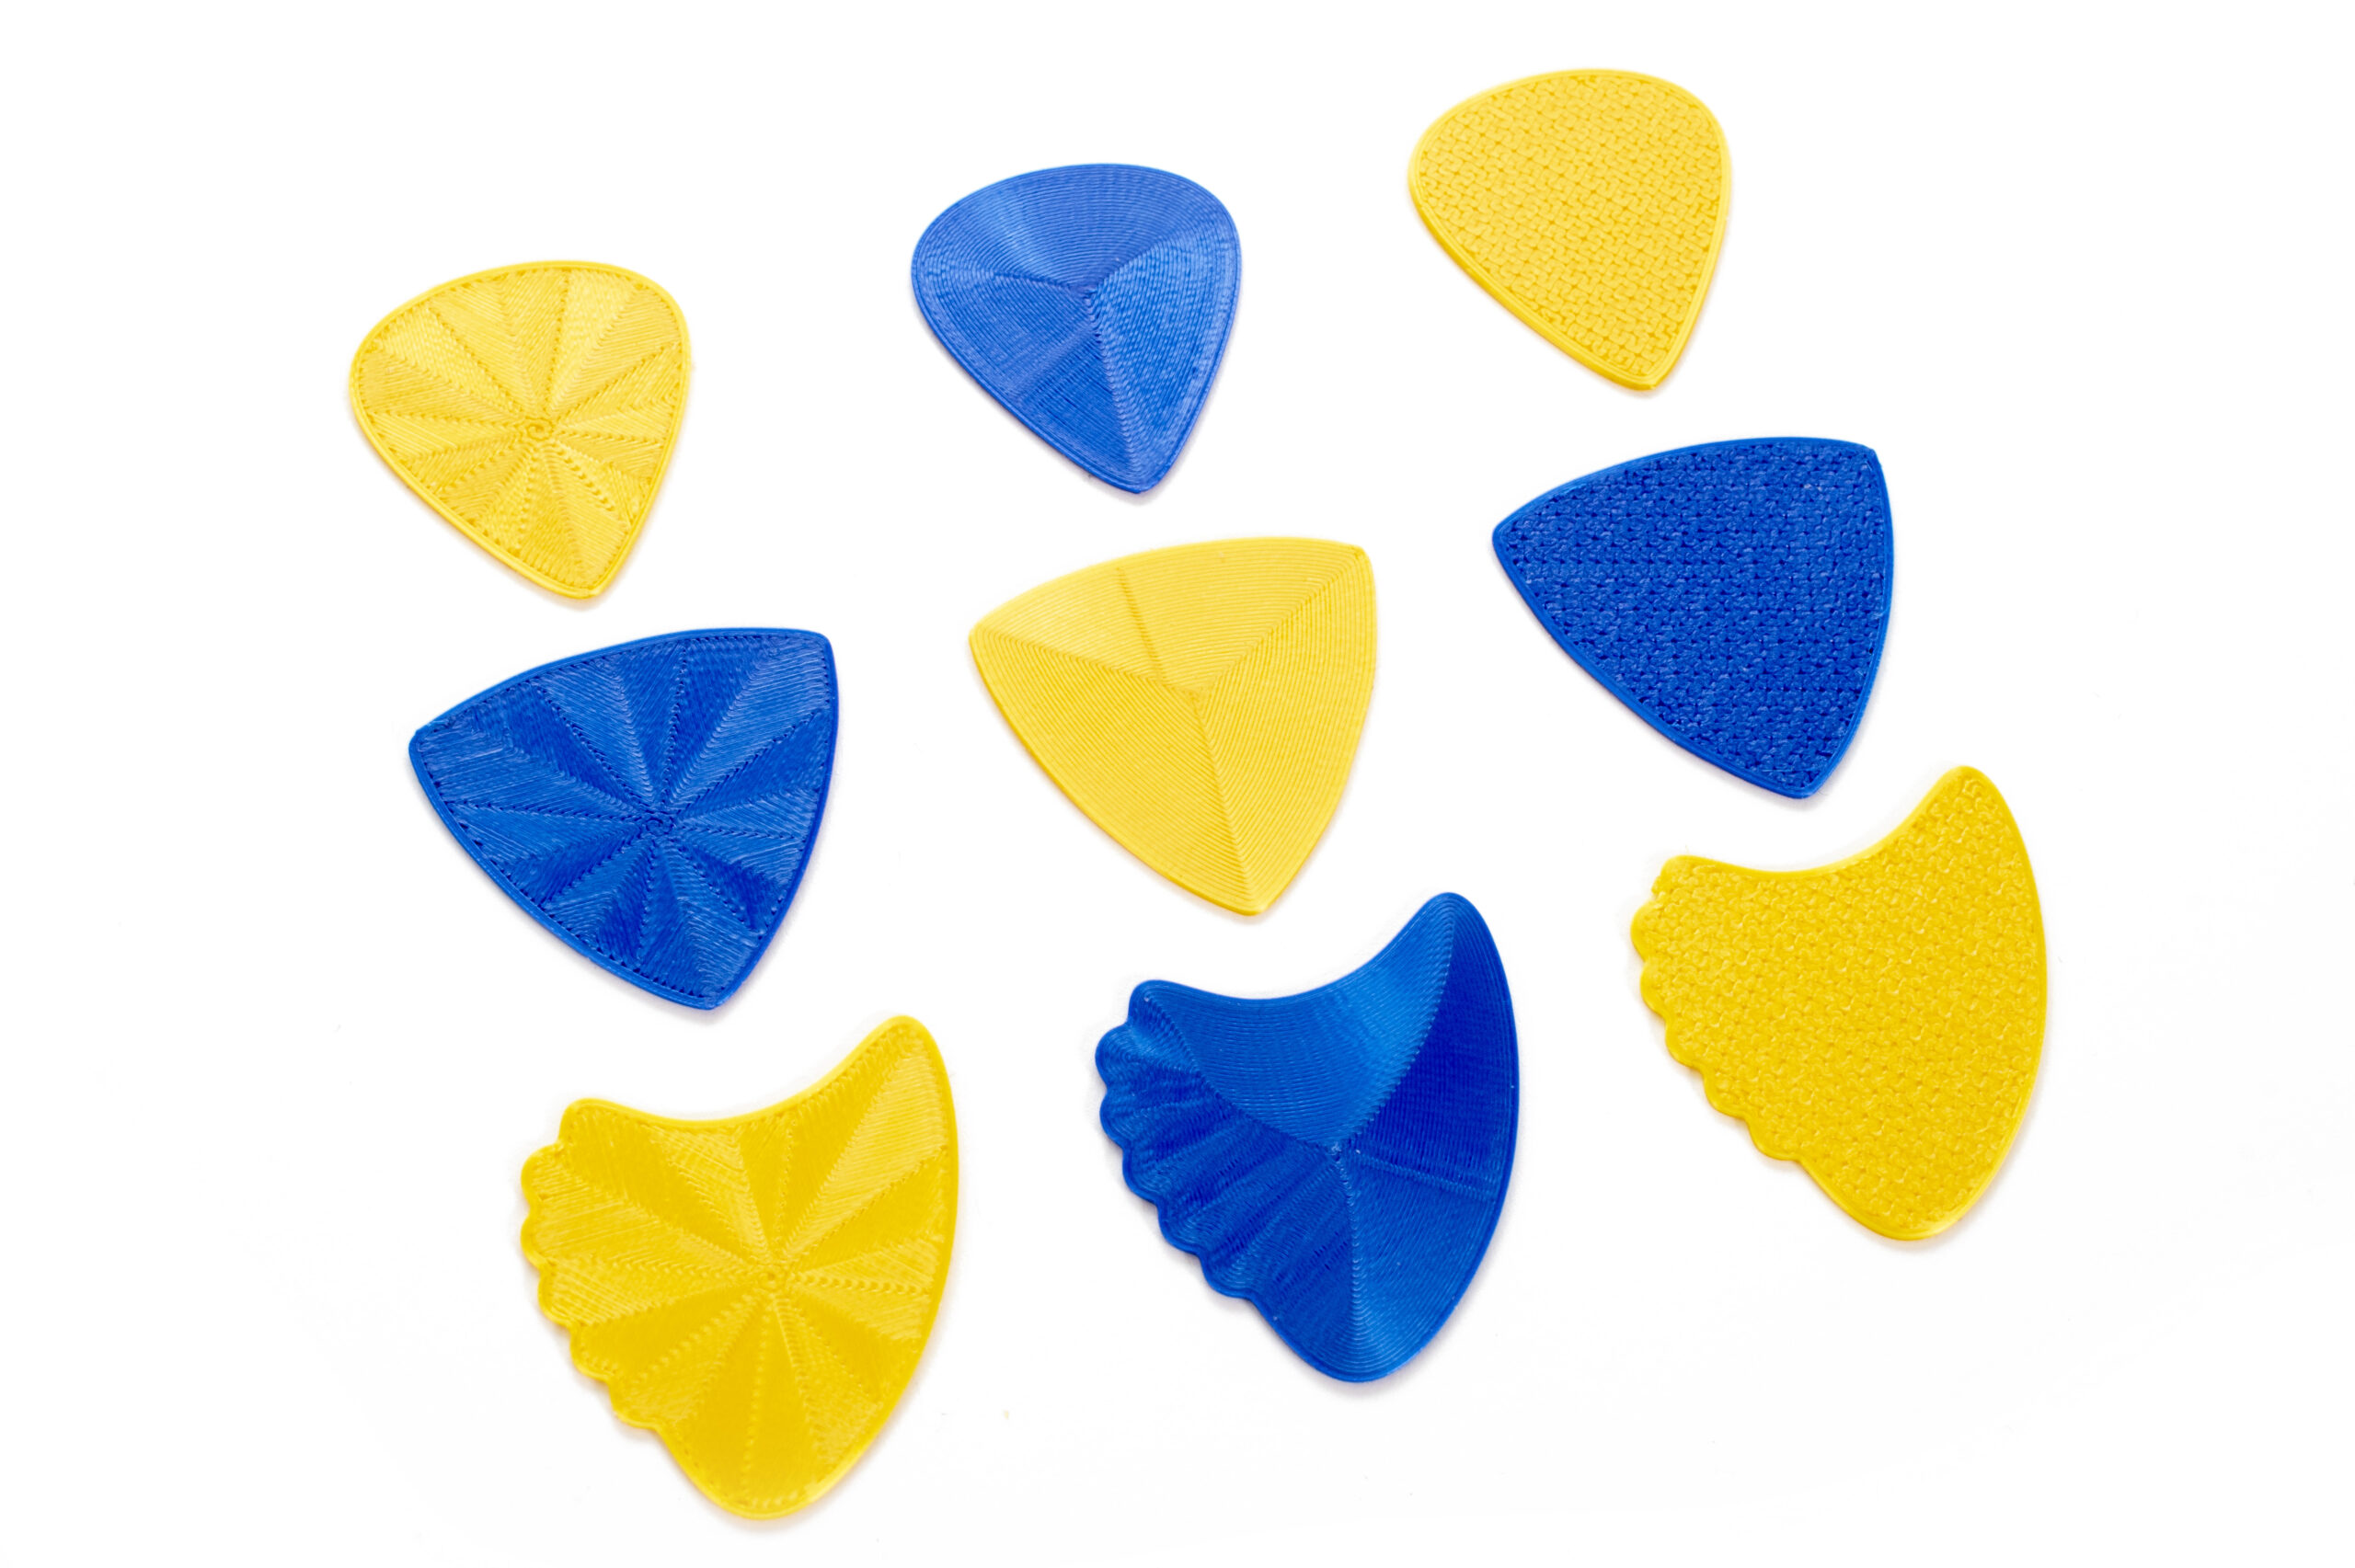
From left to right – Octogram Spiral, Concentric and Hilbert curve infill
If you’re going to use an infill pattern that doesn’t change between layers (e.g. Concentric), I’d suggest making sure you have at least one rectilinear infill layer in the middle of the pick. This should decrease the chance of the pick breaking along the extrusion lines.
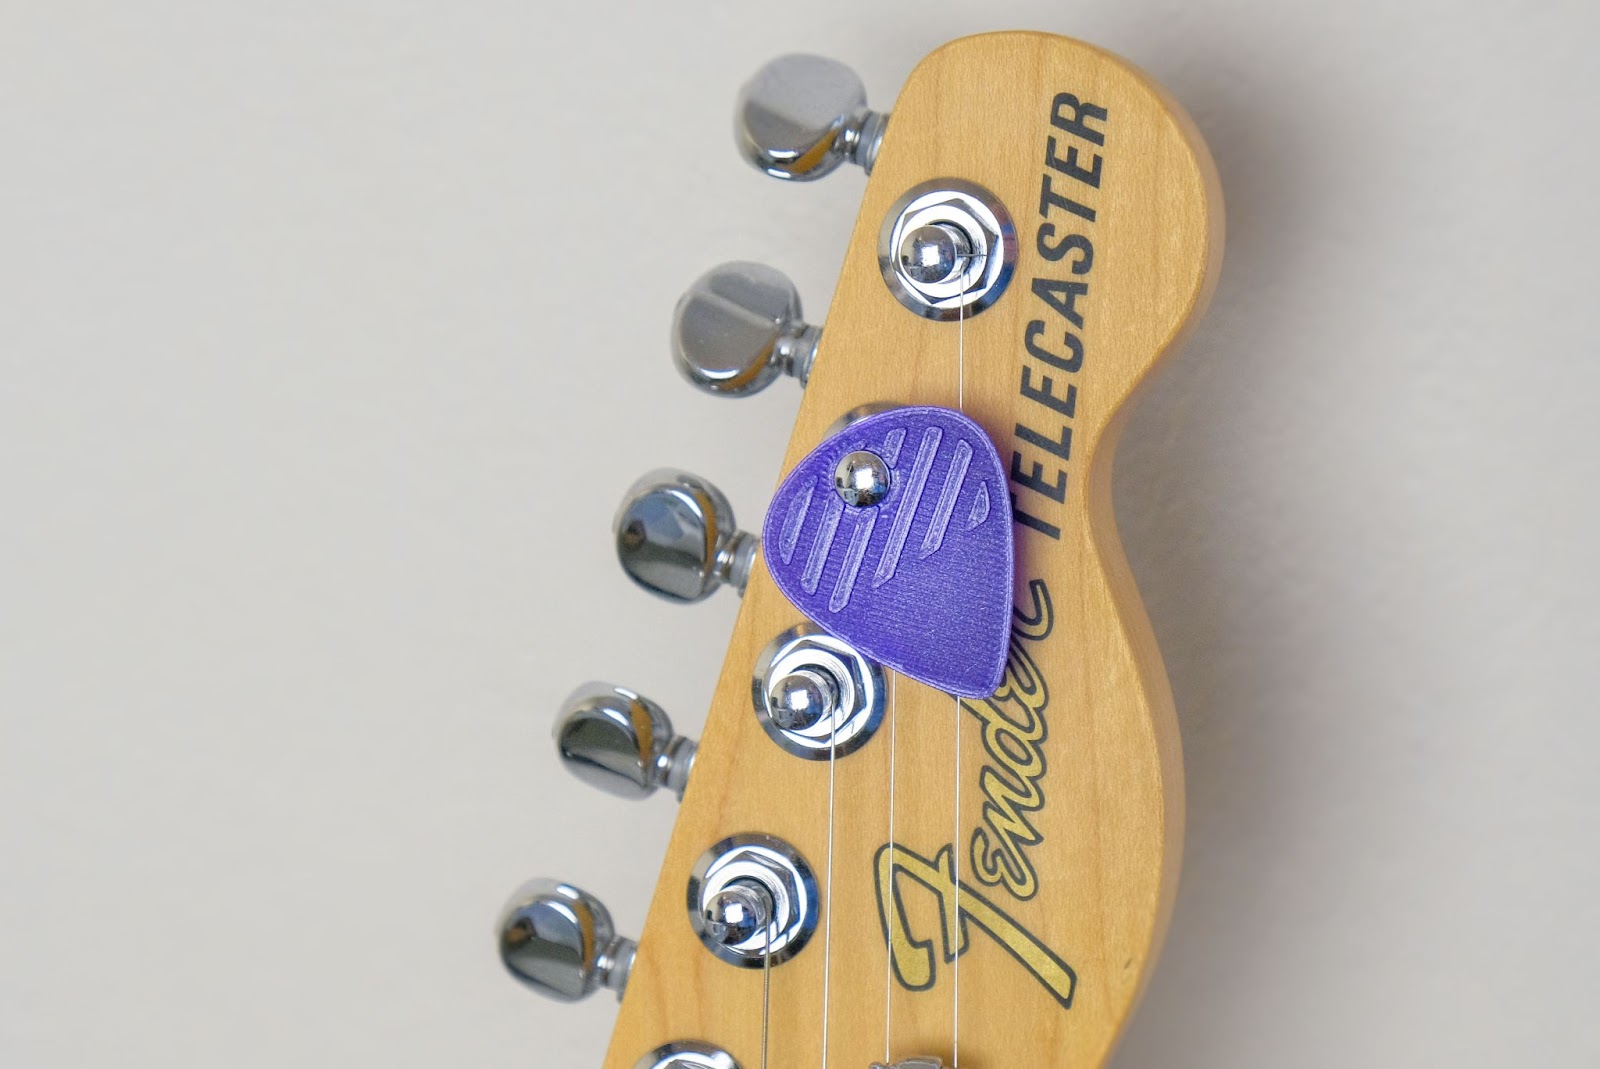
Add a hole for keyring or a tuner peg
It’s a good idea to have a backup pick that you always have on you. If you add a small hole to the top of the pick’s grip, you can put one on your keyring, handy! By matching the hole diameter to the diameter of your tuner (6 mm for most tuners), you can also keep one on your guitar. This solution is nice because you don’t have to add anything to your guitar, unlike various pick holders. If you’re designing your own pick, you can add the hole in the CAD software. Though maybe a better and more universal way is to do it directly in PrusaSlicer. That way you can add the hole even to designs you downloaded online, plus you won’t have to keep two versions for each pick (with/without hole). We have a whole tutorial about Modifiers.
In short, right-click the model, choose Add modifier. Pick either one of the simple shapes or load a custom mesh. Then set the infill, top & bottom layer and the number of perimeters to 0. In an upcoming new version of PrusaSlicer, we simplify all these steps into one with a special modifier called “Negative volume”.
You can add a band logo or name in the same way. To create the modifier shape, you can extrude an SVG file. Almost all 3D modeling applications can do that and you can download a ton of logos and basic shapes in the SVG format on sites like flaticon.
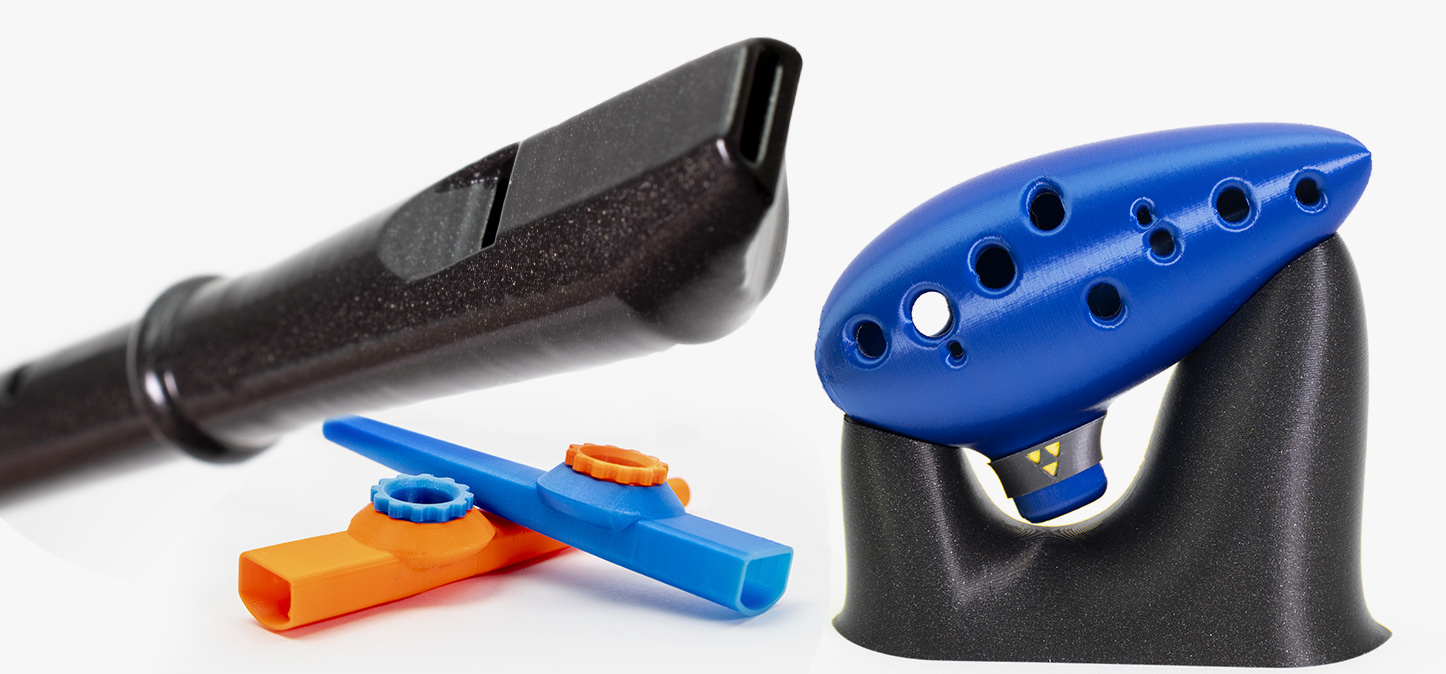
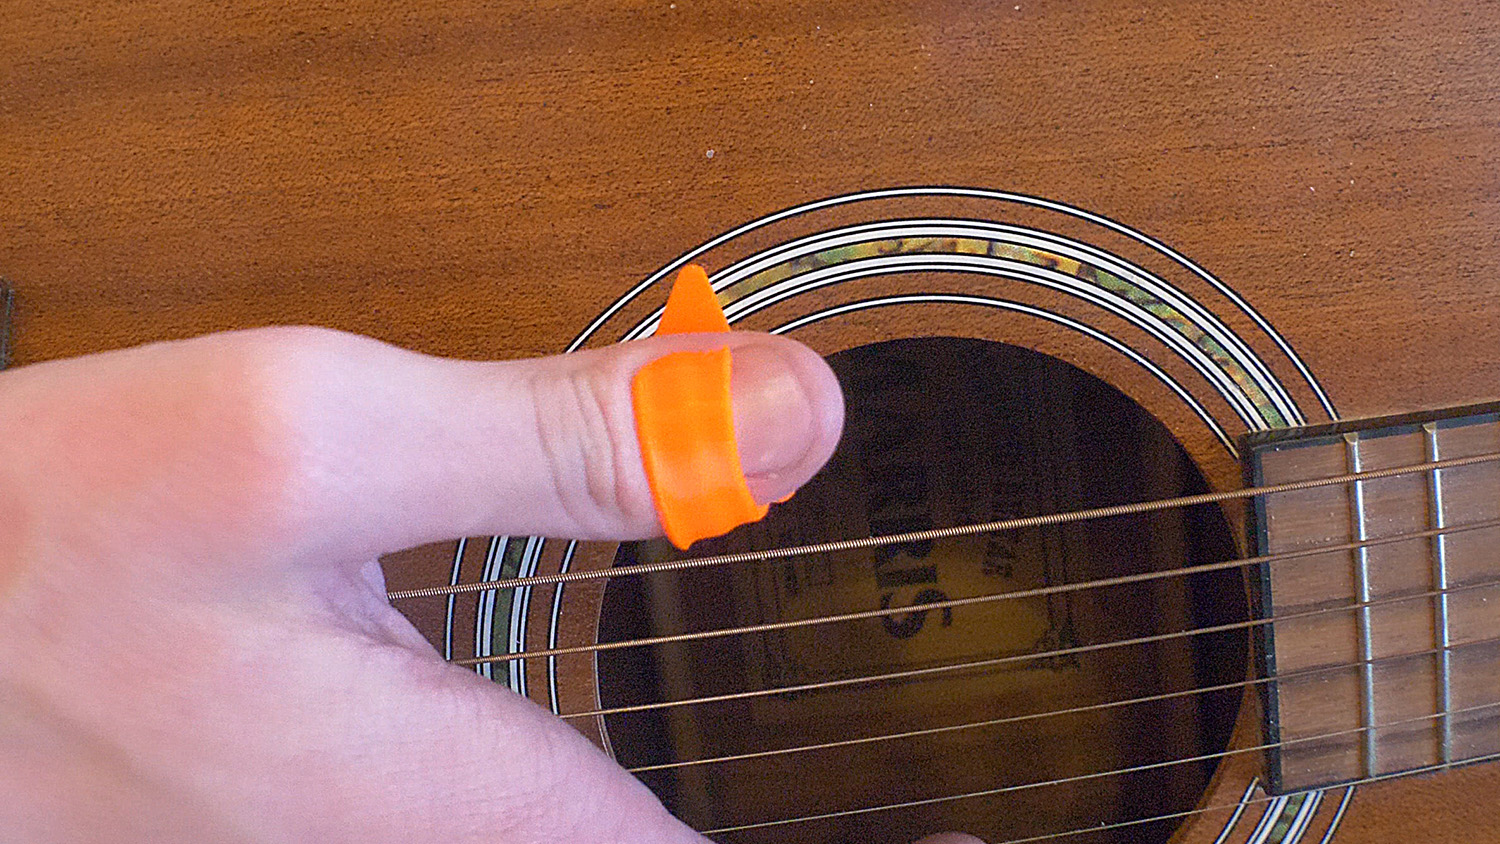
Thumbpicks
If you’re a fan of blues or jazz, where you can play the bassline on the low guitar strings at the same time as the melody, thumbpicks are worth giving a shot. They feel a little awkward at first, but they make the lows clearer and allow for a slightly different play style. Thumbpicks need to fit really well, otherwise, they can slip from your finger. So you’ll likely have to print it with several different scales. Get the model from PrusaPrinters.
Material & durability
After 6 months of playing with 3D printed picks, I was starting to think that I won’t break even a single one. Finally, after a lot of beating on the acoustic guitar, the thinnest pick that I’ve been using broke. It was a 0.5 mm thin PLA pick, which is extremely thin. Generally, it’s safe to say that 3D printed picks won’t break no matter the material you choose, especially if you use medium or thick ones.
The main difference between the various materials is in their stiffness. PLA picks feel about the same as their 0.1-0.2 mm thicker PETG and ASA counterparts. If you have our Prusament PC Blend, you can create extremely durable picks, which lie somewhere in the middle, when it comes to flexibility. In short, I wouldn’t buy a spool of a specific material just to print picks. Use whatever you have on hand. Even a 50g sample filament will be enough to print dozens of picks.
Print orientation and perimeters
Use at least the default value of 2 perimeters as that should prevent the pick from tearing from the edge. If you want to get really fancy with the settings, you can use the seam painting feature in PrusaSlicer. That way you’ll make sure the perimeter loop is continuous in the section of the pick that hits the string. Also, note that the edge of the first perimeter will get naturally somewhat rounded as you play.
You might be tempted to model something fancy to the bottom side of the pick, bevel the bottom corner, or print vertically for added resolution. But it’s better to keep it perfectly flat and print it laying down on the print bed. It will make printing the picks super easy and the picks will be durable since there’s essentially no load that would cause the layers to separate.
Summary
Once you find the one pick that you prefer, with just a few prints, you’ll have so many of them, you’ll never have to look for one again. You’ll also be able to give them away at large, which will for sure be appreciated. And if you have a band, you’ll have a pretty unique, yet super inexpensive merch to give away. Rock on and happy printing!
Keep it up
Perhaps you could try printing parts for an instrument such as a cello like the tailpiece
The stress put on the parts might be too much for printed parts to handle, I don’t really know
Don’t forget dick pics. My (adult) daughter can show her friends a dick pic her dad sent her. 🙂 Great gag gift… (it’s on Thingiverse)
I also printed a number of other guitar pics for my brother who plays.
Good article but I wonder if you could write a bit more on this topic? I’d be grateful if you could explain a little more. I really appreciate that!
cookie clicker