
The main focus of our previous articles was often the pre-production or production phase of 3D printing process: how to cut an object, how to print supports or how to fix errors in 3D models. One could get the idea that everything ends when a printer finishes printing and the final product is a simple colored shape with visible layers. However, today we want to show you that objects printed using the FDM method can achieve looks that will be comparable to those made using the injection molding method. This article is meant to be a rather short overview because we’re planning to dive deep into this matter in our upcoming articles.

If you printed a model split into several parts, the first step is to glue it all together. You can almost always use a superglue that is commonly available in hardware stores. Another good option is chloroprene glue, which remains partially flexible, so the joints are less prone to breaking.
Once the object is glued together, you can sometimes notice small gaps, which can be filled with putty. We recommend using dental tools to apply it- a cheap kit from Aliexpress will do nicely. Use sandpaper to smooth out the joints. Start with low grit sandpaper (180-250) and work your way up. Be careful working with the sandpaper. You can easily damage the surface of the printed model and fixing it will take extra time. This applies especially to the popular PLA material, which gets hot very quickly and the quality of the surface can easily degrade. Go for wet sanding to achieve best results.
 An airbrush used for spray-painting
To achieve a really smooth surface, with no palpable layers, epoxy resin is the way to go. There are literally hundreds of different products on the market, each with its pros and cons. We will take a closer look at epoxy resins in one of our next articles, however, currently our go-to solution is XTC-3D.
Once the epoxy resin is fully hardened, you can use a high grit sandpaper to prepare the surface for the first layer of paint. A great idea is to use a primer in a spray can. Applying a layer or two of a primer creates a connection between the epoxy resin surface and the soon-to-be-applied colors. Plus, the primer also reveals any imperfections of the surface, so you’ll still be able to fix them quickly – usually with putty and sandpaper. Finally, it’s time for painting. There are many ways how to achieve a good final look for your object: acrylic colors applied by a paintbrush, a more precise airbrush technique or using oil-based colors with a tiny brush for even the tiniest details. The very final step is applying a glossy or matte surface finish, which will help to preserve the colors and keep the object scratch-free.
Hulk
This model of Marvel’s Hulk is a great example of a post-processed model. The print consists of several parts, which have been glued together (green material right under Hulk’s right shoulder), then we went through sanding, applied epoxy resin and sprayed it with a filler. The first colored layer is pure green acrylic. Then, various shades of oil colors have been applied to achieve the desired look. Apply a transparent surface finish to preserve the object’s surface and keep the surface scratch-free.
Download link: STL 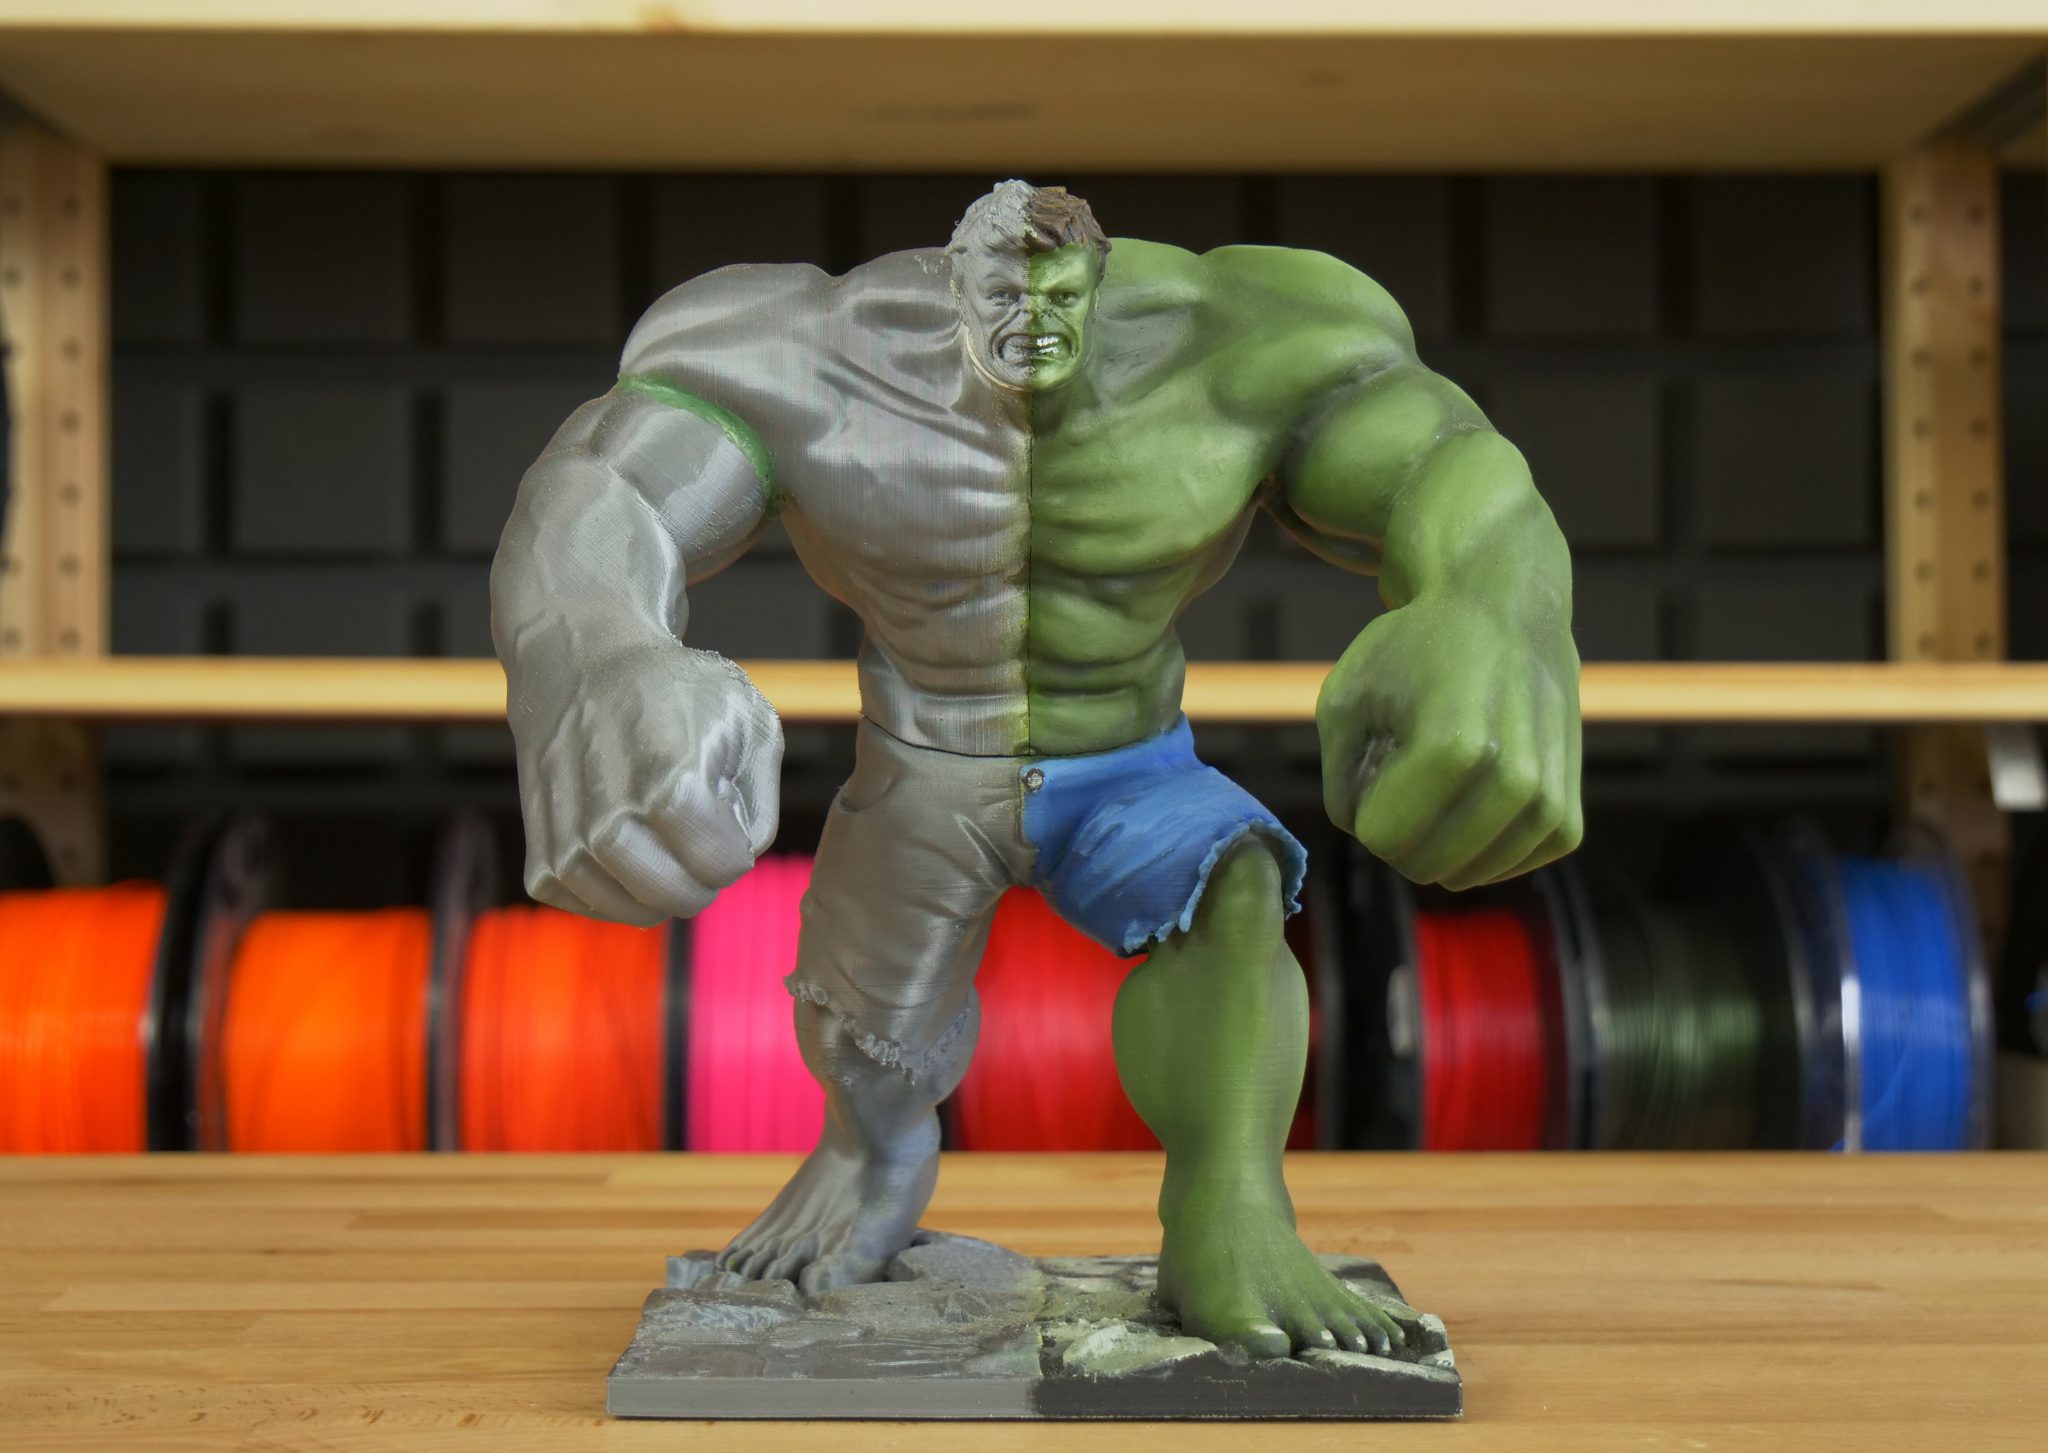
A birdhouse
Compared to other models mentioned in this article, this birdhouse is super easy to paint. It took us a few minutes and virtually anyone can do it. First, the object was sprayed with a yellow primer (you can see it in the interior shots in the photo below). Next, the model was painted with brown oil (Burnt Umber). A rather large brush was used. The point is to push the oil into all gaps and corners, however, it’s good to spread it properly across bigger surfaces. Finally, use a paper towel to wipe the oil from flat parts. Again, you can use a transparent (glossy) finish to make the surface more suitable for outdoor use.
Download link: STL 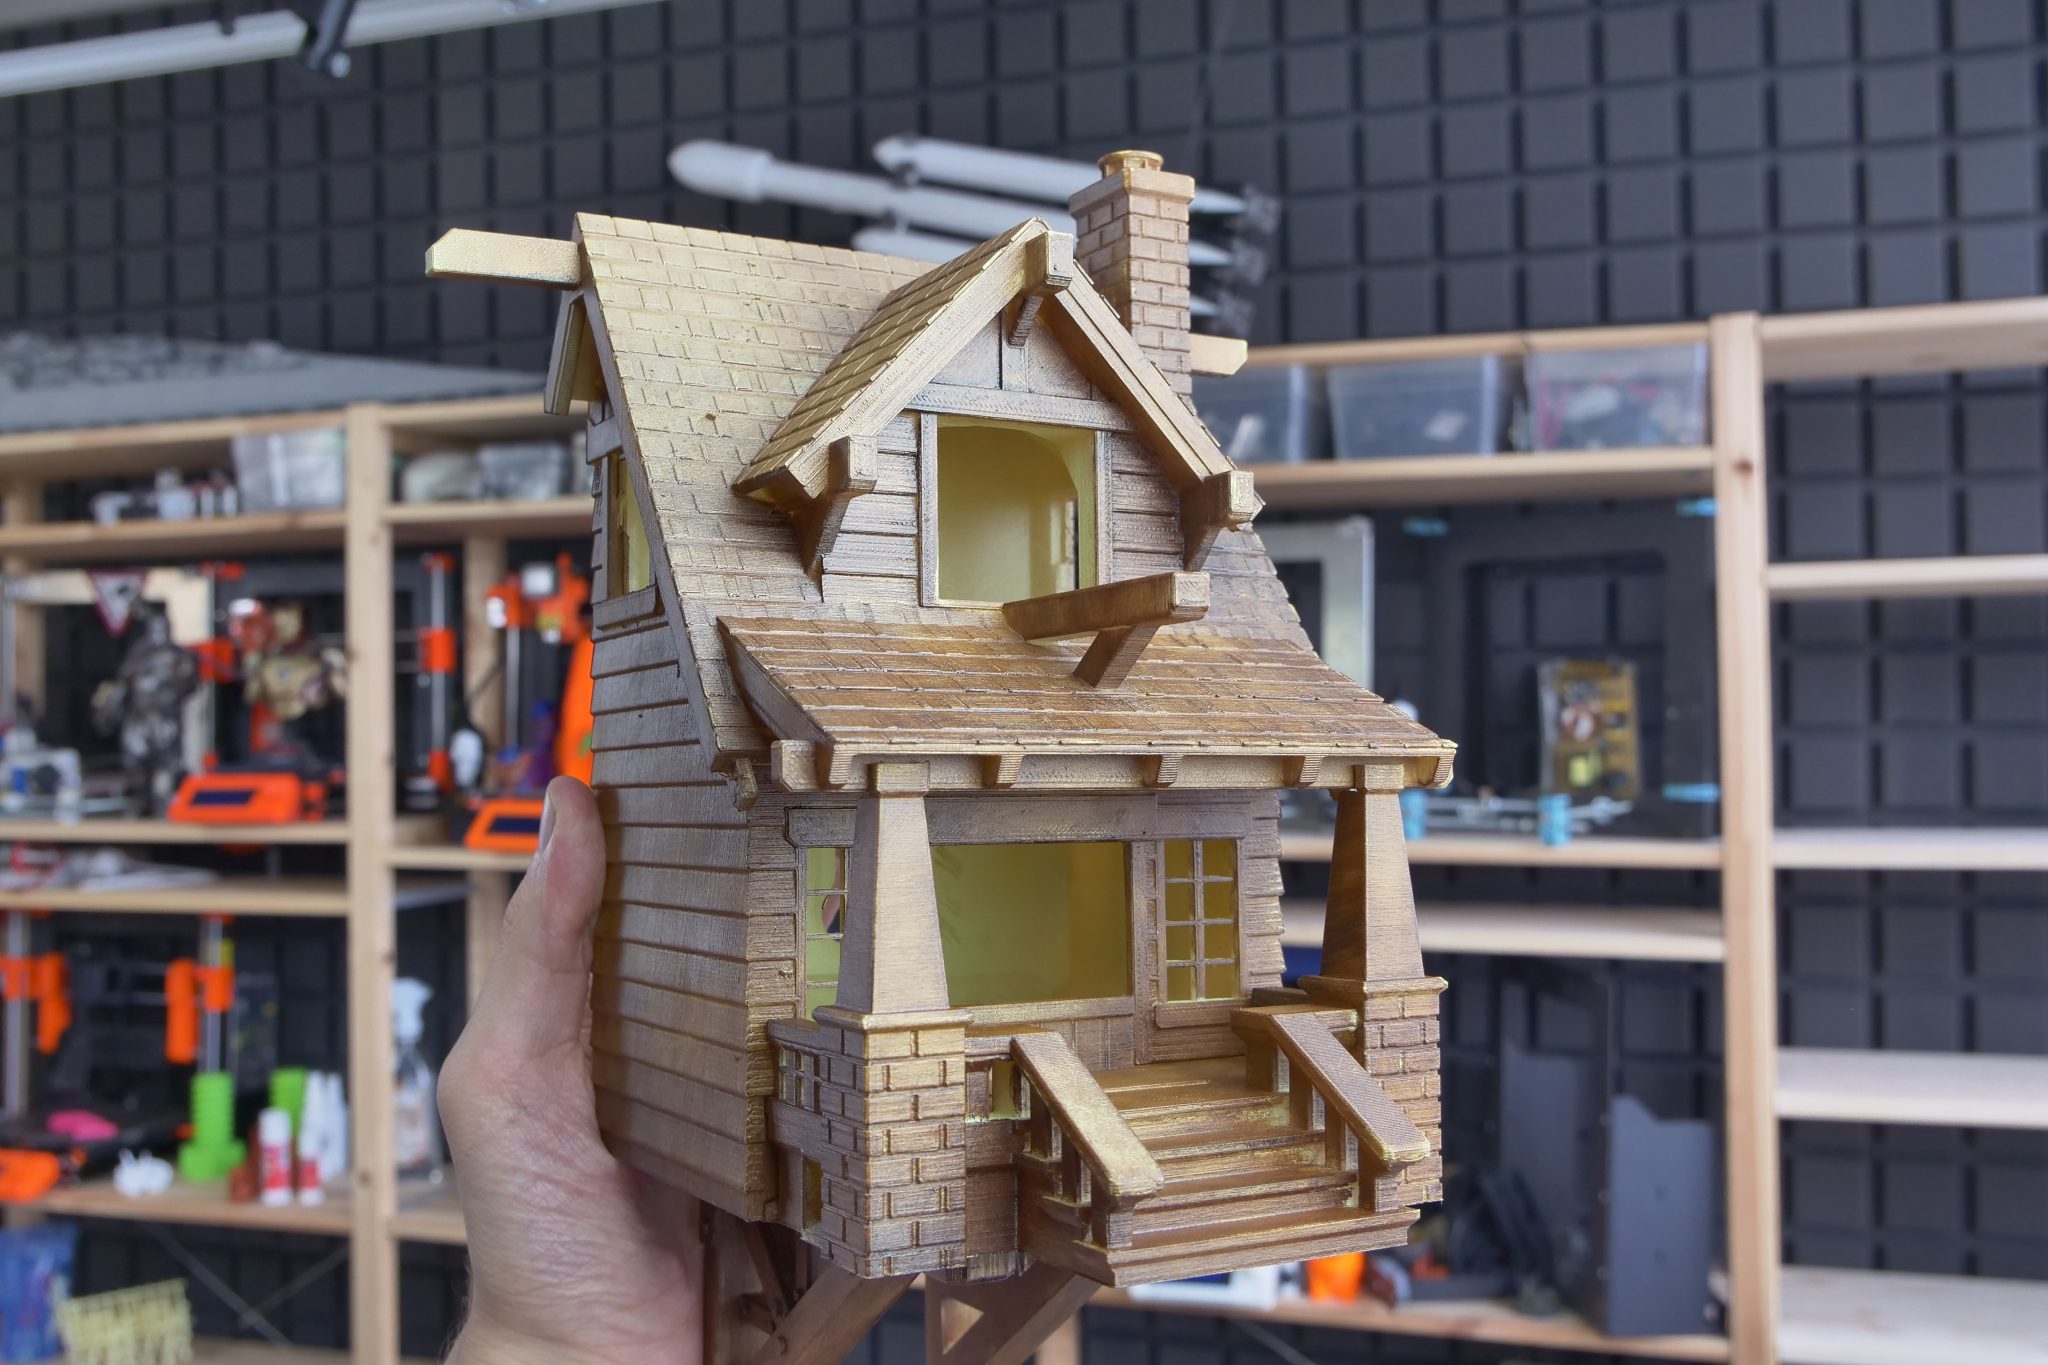
Boba Fett
This 12’’ statue demonstrates some of the advanced postprocessing techniques. Airbrush is largely present this time. All those awesome details were achieved with it. The key to great-looking shading is to use a suitable base color. For darker or generally colored models, black base color is the best. Then switch to a light color (white) and lightly spray the model under a certain angle to simulate natural light. This will greatly improve the shading of the object. A wide range of various techniques has been used here to achieve the desired result: color layering, masking, and glossy finish application.
Download link: STL 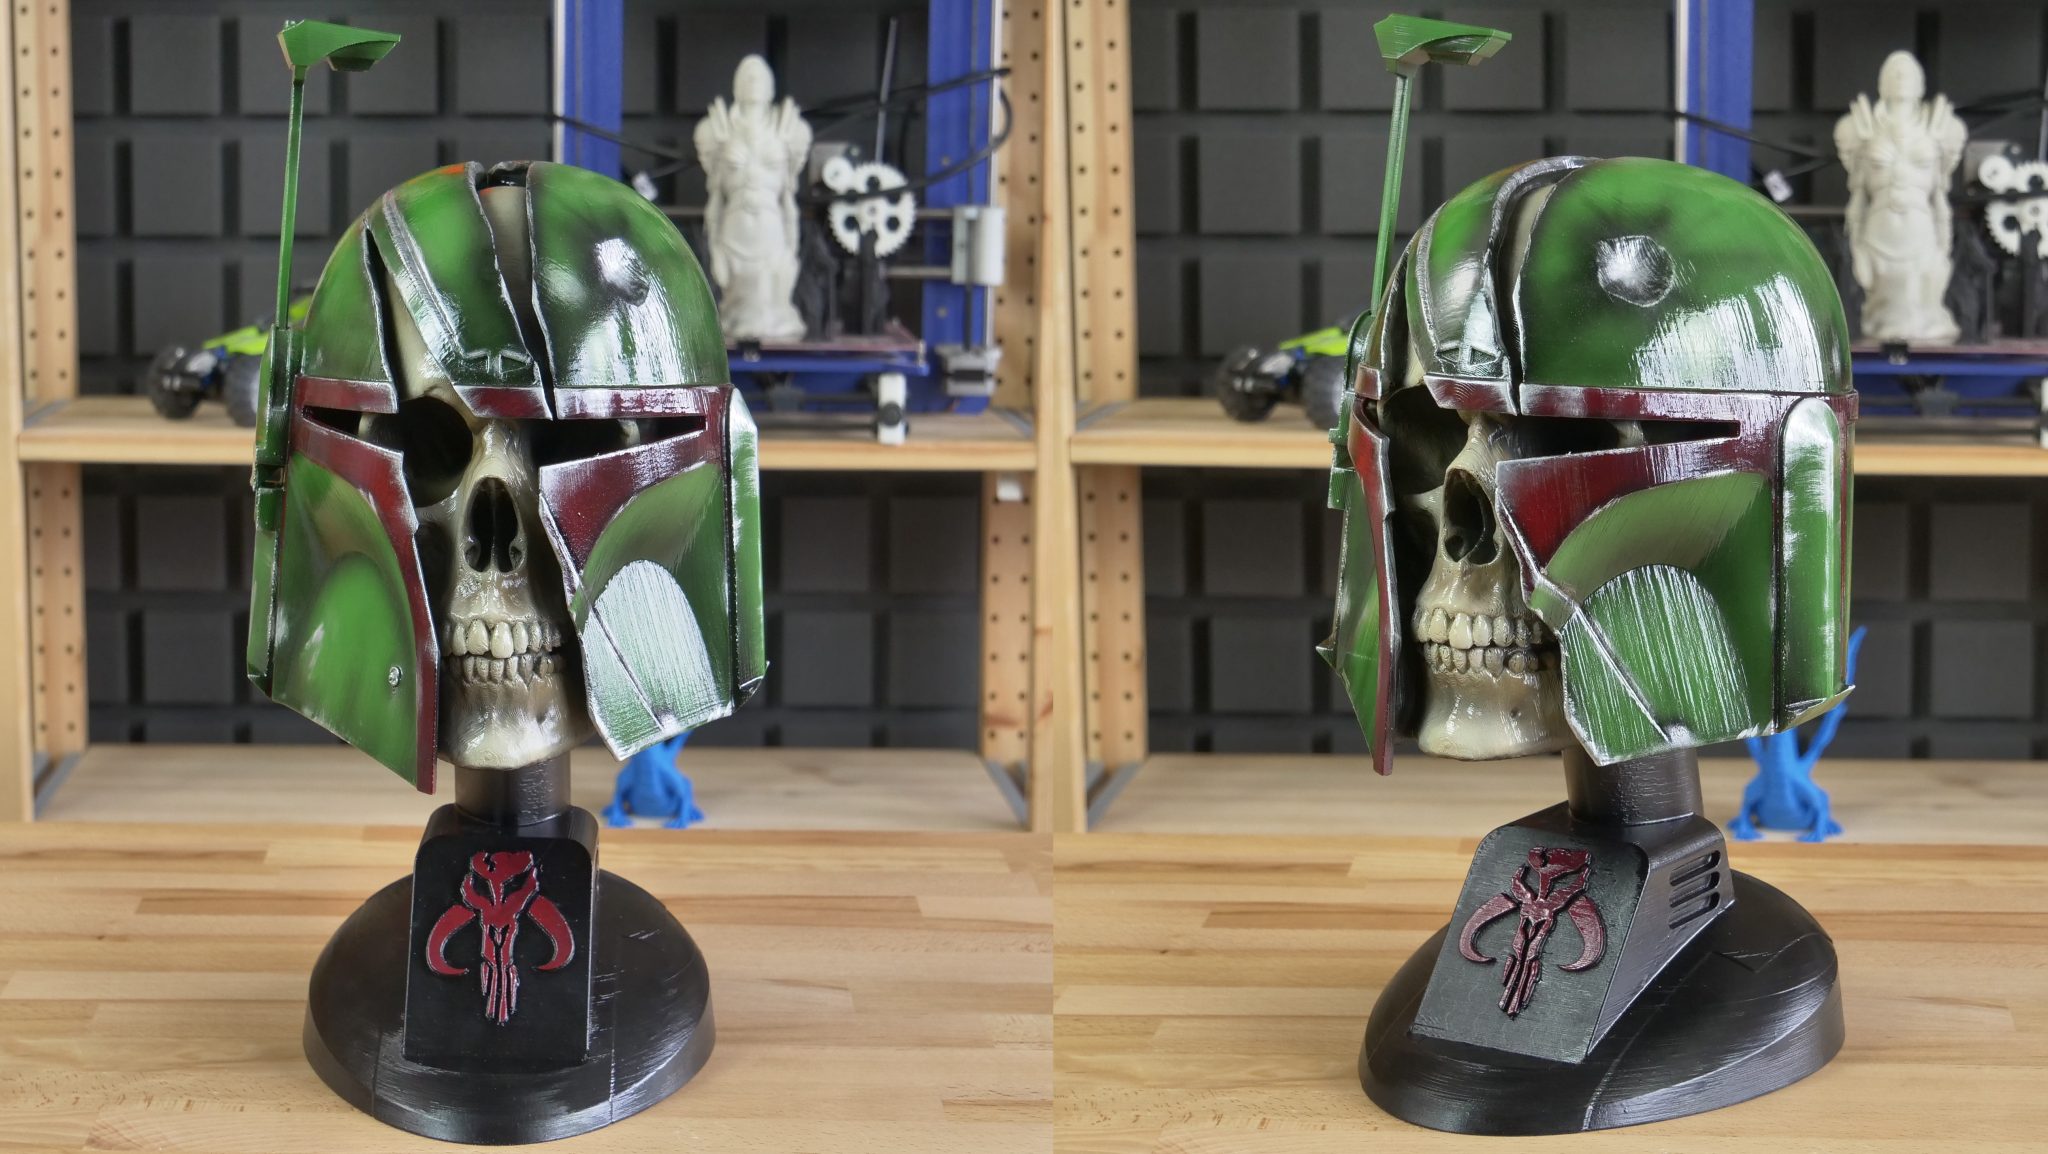
Stormtrooper
In the side-by-side comparison, we can again see the before and after looks of the model. Epoxy resin has been used extensively, along with a high grit sandpaper, to achieve beautiful smooth surfaces. The result is enhanced with a simple, yet precise, airbrush work. Again, a glossy surface finish is used to protect the paint.
Download link: STL 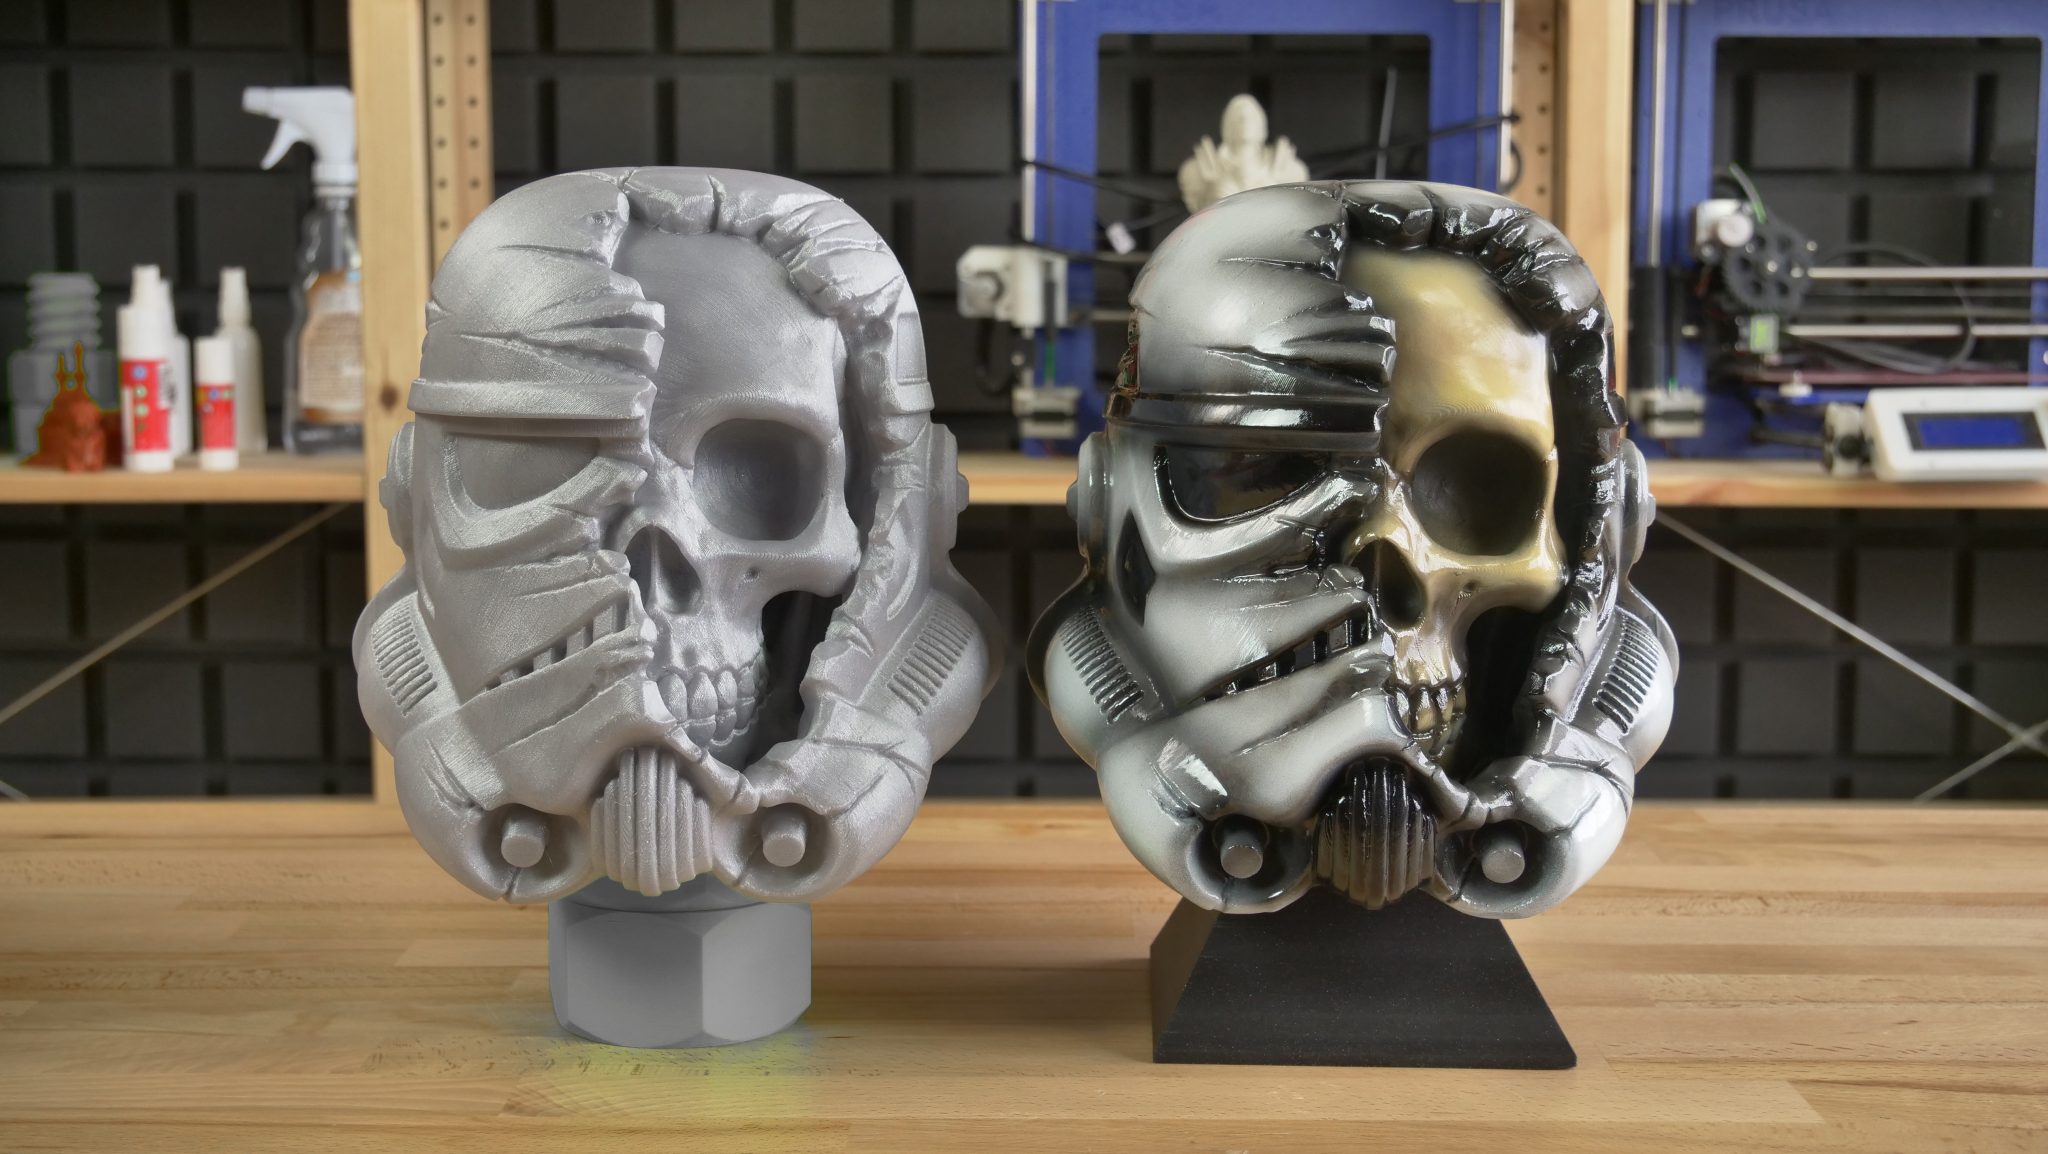

Predator
As seen from the photo, this statue of Predator has a different looking surface than the rest of showcased objects. The matte finish was used here. However, be aware that it’s less durable than the glossy finish. It should be used if you don’t plan to manipulate the object too often.
Alternatively, you can apply multiple layers of matte finish to decrease the likelihood of scratches.
Download link: STL 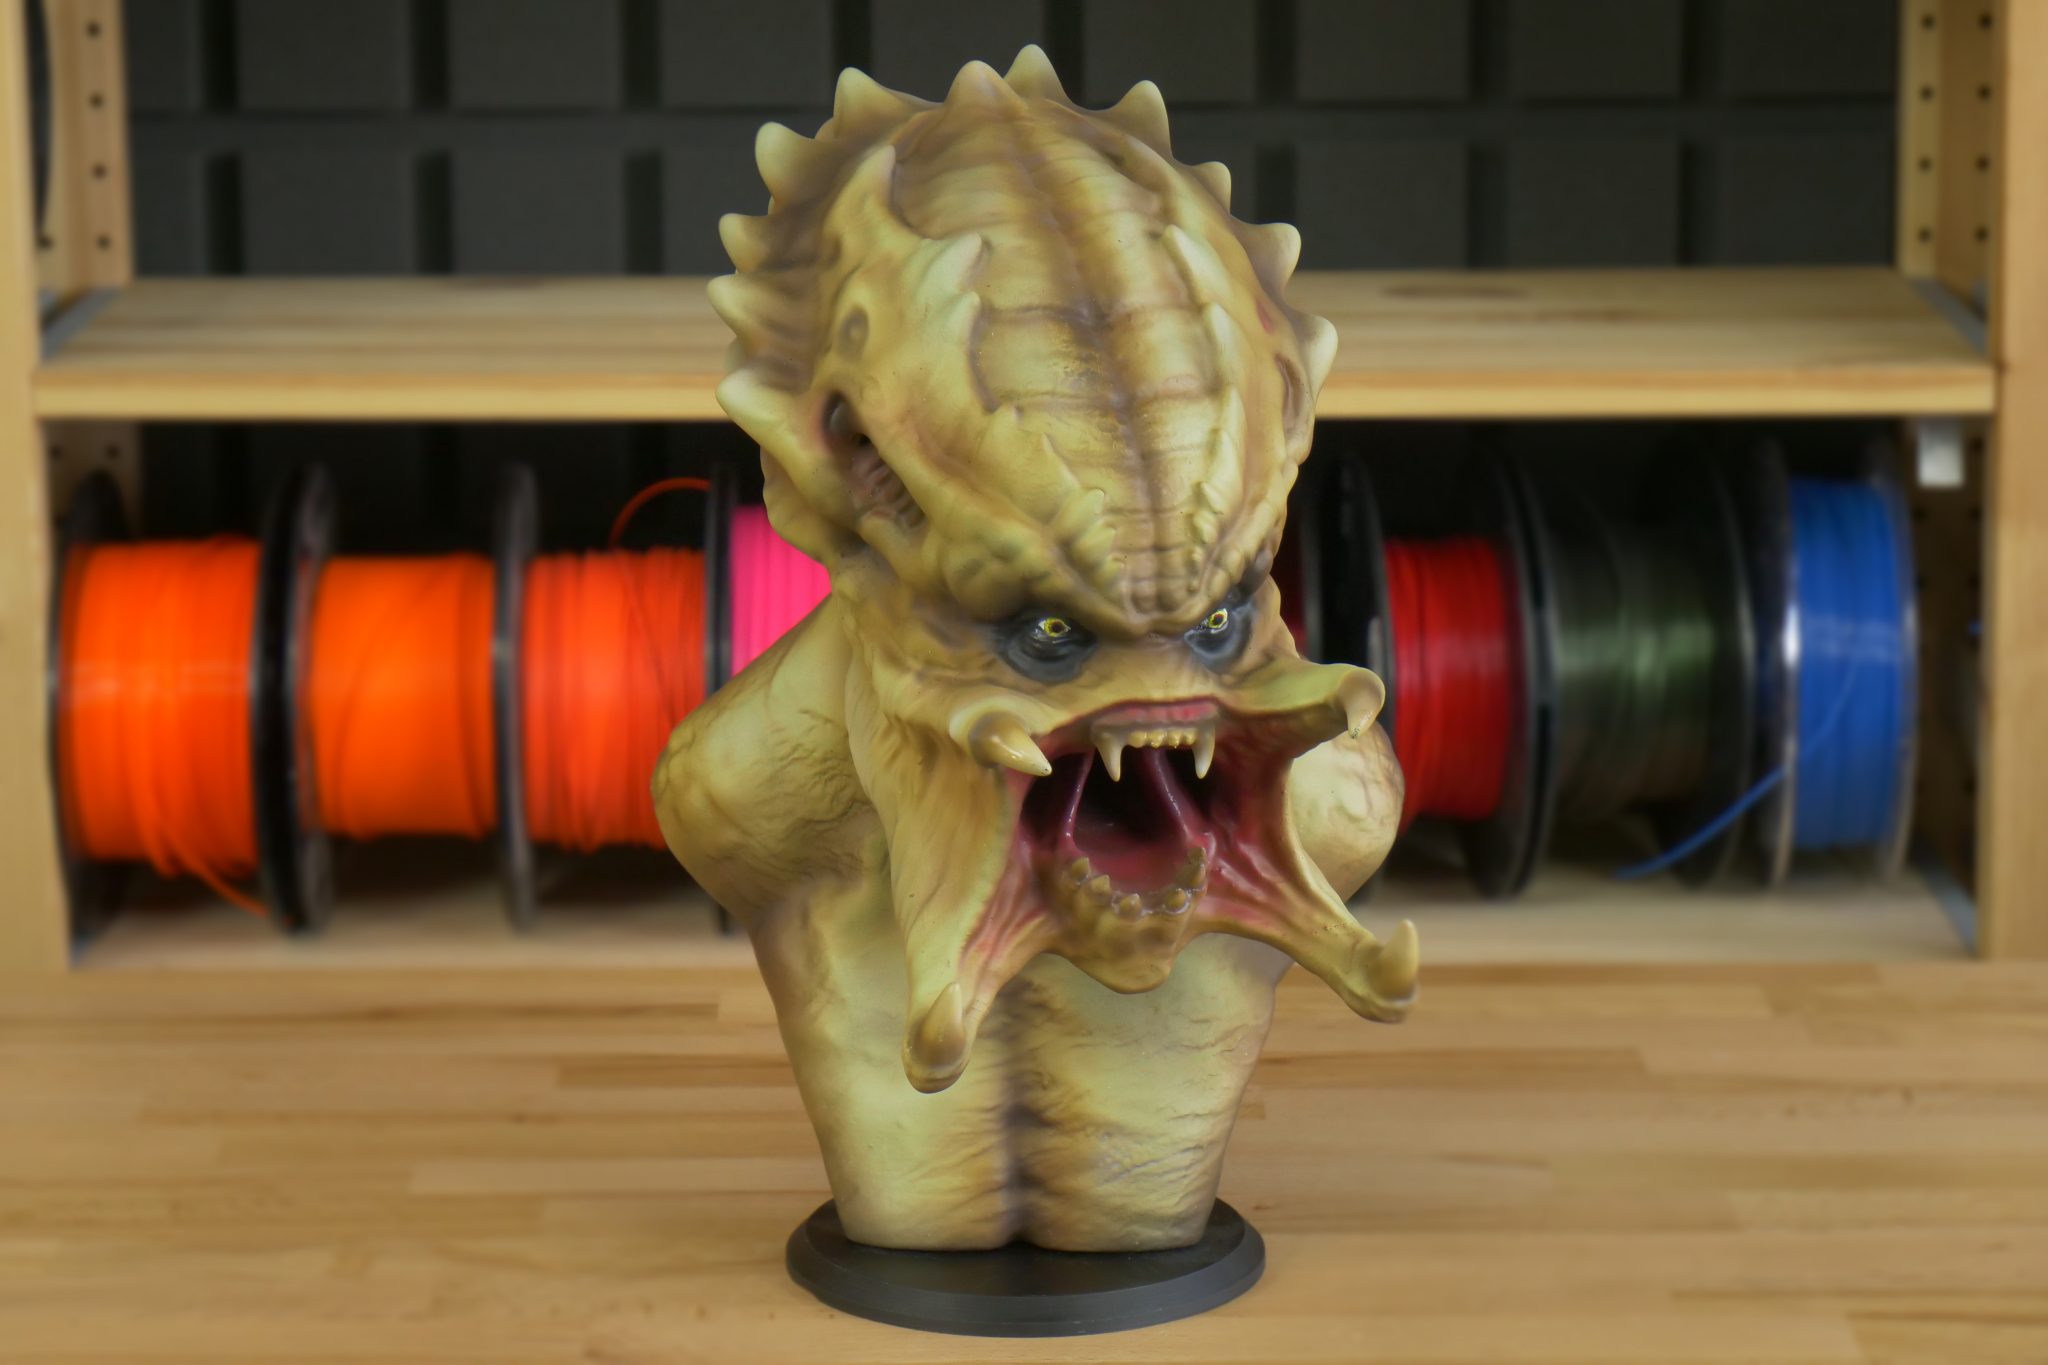
Photo gallery
Photos in this article are a great example of the fact that our 3D printer can do much more than print only more or less complex mechanical parts. It has something for artists as well. It takes some time to prepare the object properly (cutting, printing supports…), but with the right colors and painting techniques, you can get quite close to commercially produced action figures. Sure, you will need some training first, and this is where one of the biggest strengths of 3D printers comes into play: you can print as many objects as you like and keep practicing. Even if you don’t feel like painting your prints, it’s still a good idea to learn at least some of the postprocessing methods, such as sanding.
We will get to best postprocessing practices in one of our upcoming articles. We will be super happy if you decide to share some of your post-processed prints on our Facebook or in the discussion forums in the meantime!
We purchased a 3D printer for our client. However, this model itself is very rare. We found such a printer model all the way in Silicon Valley. So we rented a van with colleagues and went to pick it up. By the way, if you also need a van for travel or work, I suggest you read more about it.
Thanks its a great and best post article.