We often see online discussions about the price of 3D prints, or more specifically: how to calculate the price for having something 3D printed. Since there are many myths floating around, we figured out that many people will be interested in a deep dive into various aspects of this field. So, how do you set the right price for a 3D print? We’ll take you through the main aspects of 3D printing pricing that affect the price, however, if you’re not really keen on learning every single detail, feel free to scroll down to the end – we have a small surprise for you there.
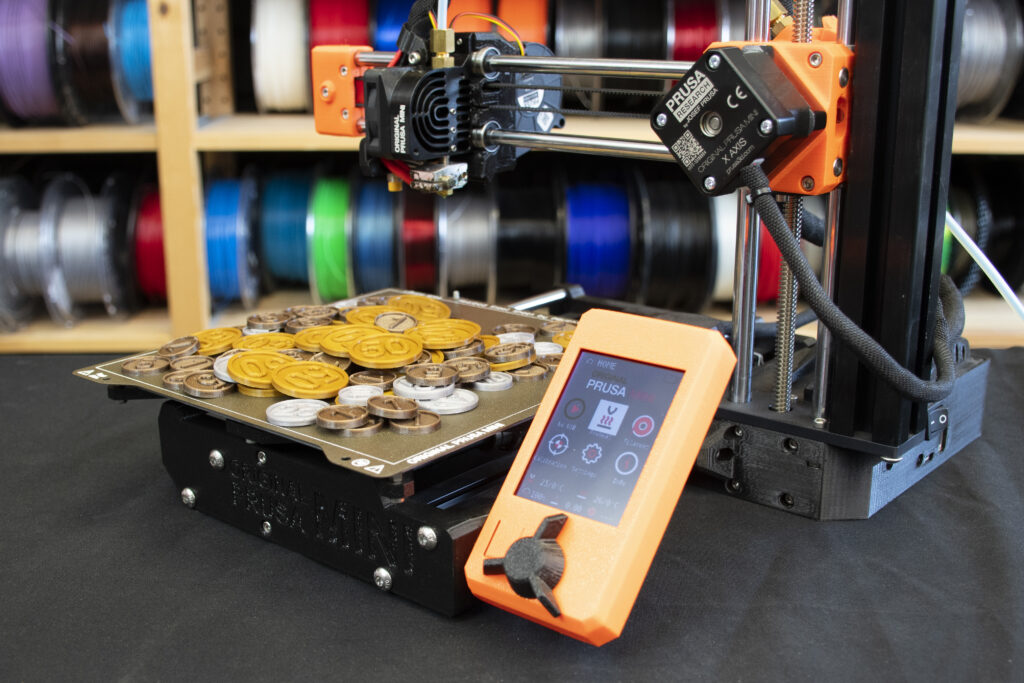
Let’s imagine a purely hypothetical example of a certain Josef from Prague (any similarities to actual persons or places are purely coincidental), who bought three 3D printers to make some profit: he has the Original Prusa i3 MK3S, Original Prusa MINI, and the Original Prusa SL1.
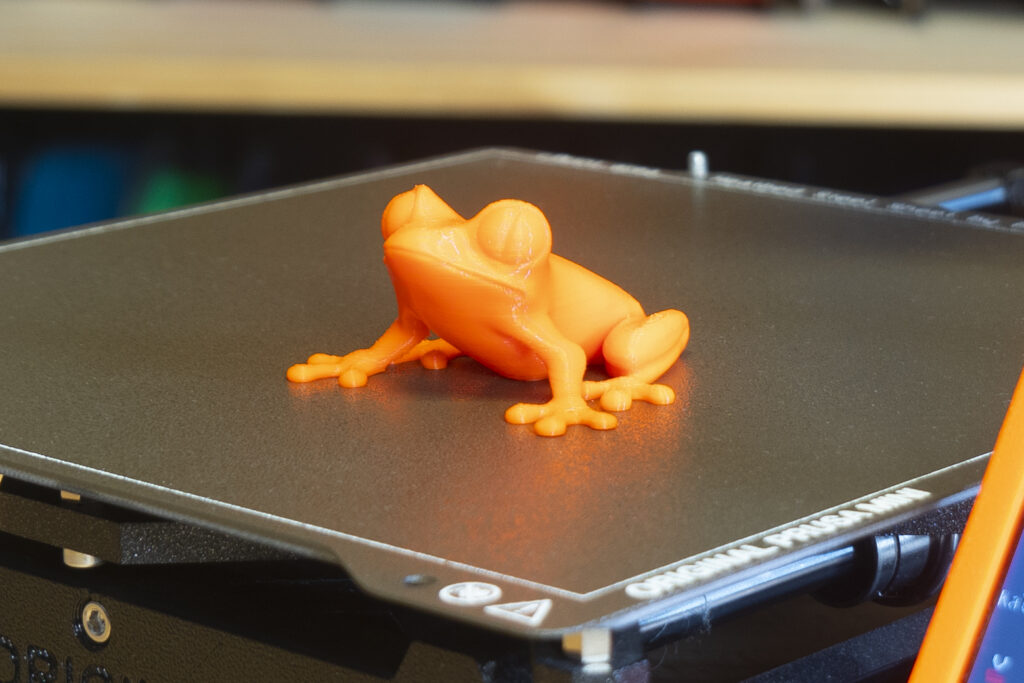
A customer ordered this test object from Josef and wishes to know the price of the object printed on the printers mentioned above. It should be printed with Prusament PLA Orange (MK3s and MINI) and with Prusa Orange Tough resin (SL1).
Material costs
Josef already knows that the most expensive aspects are manpower and filament (or resin). Filament and resin prices depend on the manufacturer’s pricing, which makes counting the material costs very simple. 1kg of Prusament PLA Orange costs 24.99 USD (without tax and shipping) and according to PrusaSlicer, one tree frog model consumes 6.27 g of filament (basic settings – 0.15mm layer height, 15% gyroid infill).
Josef simply calculated (24.99 / 1000 * 6,27) that material for one tree frog on the MK3s or MINI will cost him 0.15 USD. Printing a tree frog without supports on the SL1 (0.05mm layer height) will consume 10.43 ml resin – this costs 0.6 USD. If the customer wants to print it with other materials, the price could rise a lot. There are filaments with a price exceeding 90 USD/kg and resins more expensive than 315 USD/kg.
The bottom line here is pretty simple: Material cost = filament price / filament weight (g) * model weight (g)
Manpower costs
Josef values his work at 9.50 USD/hour (calculated from average wage in the Czech Republic for the year 2020). He already knows that print preparation (including slicing) takes him approximately 5 minutes (10 minutes in case the resin in the SL1 needs to be changed). Therefore, he calculated the work on one treefrog to 0.8 USD for MK3s/MINI and 1.6 USD for SL1. It’s not too expensive to prepare small models downloaded from the internet. However, it’s important to know that plenty of models require more difficult print preparations. Even slicing alone can take even 30 minutes or more – e.g. preparing supports for SLA printing using manual supports can take a long time.
The price for human labor can, in many cases, reach dozens of USD, especially in cases when something completely new has to be designed. Even a relatively simple technical part can take several hours to draw, which increases the price dramatically.
3D printer operation costs
Another thing that Josef calculated was 3D printer operation costs. He started with electricity: according to the local electricity distributor’s rates, 1 kWh costs from 0.07 USD to 0.09 USD. Let’s work with 0.09 USD. The printer input power depends on several factors, however, most of the time it needs around 100-150 W. Printing a tree frog on the MK3s takes 1h 16 min, 1h 10min on the MINI, and 1h 48 min on the SL1. With 150W power input (usually it’s not that much), electricity for printing one tree frog will be less than 0,023 USD. Such a low price is practically negligible.
On the other hand, Josef would like to recoup the money he spent on buying his printers within 6 months (4392 hours) of printing. This led him to add a fixed fee to printing hour costs. The fee (based on our actual printer prices) is 0.21 USD/hour for the MK3S, 0.1 USD/hour for the MINI, and 0.36 USD/hour for the SL1.
3D printer operation costs = Printer price / required investment return time (h) * print time (h)
Electricity cost = negligible
Margin
Josef is still afraid that his investment might not return with these prices. There are other factors coming into play as well: for example, a printing accident could occur, causing the loss of filament. Or there may be extra maintenance costs. The most common issues are usually print quality problems (e.g. printing large ASA-based objects can lead to warping etc.). You can head over to our older articles about print quality and troubleshooting.
In other words, it’s not easy to calculate a price that would cover all potential issues and/or mistakes. It largely depends on the user’s experience and many other factors. In this case, Josef has to observe what percentage of prints tend to fail over a long period, and what do these failures cost him. However, for starters, he set the margin to be 30% of the material (filament or resin) price.
So, let’s sum up the order: Josef charged the customer the following prices: 1.3 USD (MK3s), 1.16 USD (MINI), and 3.15 USD (SL1), tax not included. Certainly, there will be many people who see it differently – there are customers who won’t pay larger sums of money and there are makers who don’t see it profitable enough.
The purpose of this guide is to give you an overview of all things you should take into account when calculating the costs. Basically, you need to include the material costs, time spent on print preparations, and some kind of “failure insurance”, plus general running costs. The price for energy consumed is almost negligible. Really long prints will be around a dollar, tops. Obviously, we did not include taxes – if you want to start a business with commissioned 3D printing, you need to check your country’s laws regarding this kind of work.
Here’s a complete recap of Josef’s order:
Material: 0.15 (MK3s) + 0.15 (MINI) + 0.6 (SL1) USD
Labor: 0.8 (MK3s) + 0.8 (MINI) + 1.6 (SL1) USD
Printer operation: 0.27 (MK3s) + 0.12 (MINI) + 0.65 (SL1) USD
Margin (30% of material cost): 0.05 (MK3s) + 0.05 (MINI) + 0.18 (SL1) USD
Total: 5.42 USD
Finally, let’s see how the price would change if the customer wanted to have a truly large and complex model printed on the MK3s. Again, it’s a downloaded model, which is pretty much ready to print, however, it takes 1 day, 17 hours, and 48 minutes to finish. The material of choice is a non-standard carbon fiber composite material XT-CF20, which costs 49.99 USD and we will need 756 g to finish the print. Other values necessary for the calculation remain the same:
Material: (49.99 / 750) * 756 = 50.39 USD
Labor: 0.8 USD
Printer operation: 0.21 * 41.8 + 0.023 * 41.8 = 9.74 USD
Margin (30% of material cost): 50,39 * 0,3 = 15,12 USD
Total: 76.05 USD
It comes as no surprise that larger objects and expensive materials also mean much higher final prices, even though the price for labor stays the same. Printer running/maintenance costs gradually increase with printed hours. Similarly, the price can increase even with seemingly simple parts, if it needs more of Josef’s time (for example drawing the part, manual editing of supports etc.).
3D print calculators
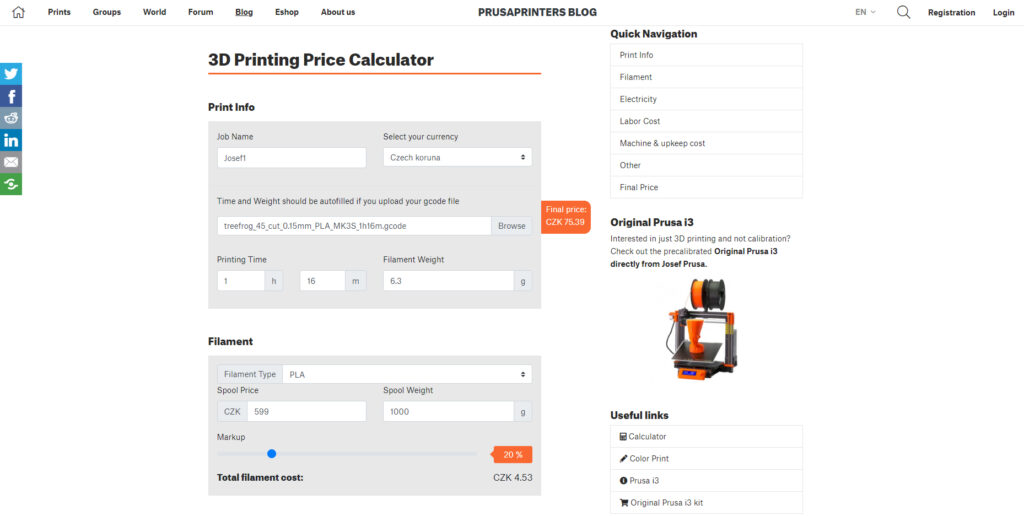
We know that there’s a lot of things to cover, so this is why we made this handy 3D Printing Price Calculator! It’s incredibly easy to use: just fill in the data and it will give you the result immediately! You can set every necessary attribute there and you can share your results with other people. The calculator can also import existing G-codes, saving you even more time. Give it a go!
Do you use 3D printing to make a living? Share your experience with pricing and general thoughts in the comment section – we’re sure that many others will find it useful!
Happy printing!


Good write up and I’d say its thorough enough for anyone looking to do small home based business maybe but I think at larger scale you need to factor in more overhead costs (electricity will add up over time) as well as spoilage/waste costs from failures that will inevitably arise.
For “failure insurance,” I record in the BOM an estimate of the success rate of a printed part where 1.0 = always succeeds and 0.8 = fails 20% of the time. As a final step in the cost calculation, I divide by this factor. Obviously, this works a lot better when you’re designing the parts yourself and printing lots of them vs. one-off jobs (not something I do).
Great article Jakub, very helpful in estimating print costs and the 3D calculator is especially helpful in quoting customers for smaller time jobs. Keep it coming!
In my opinion, the margin should increase non-linearly with the length of the print. The longer the print, the higher the chances of failure (because of power outage, printer issue, external factor), and also the higher the cost to correct the failure (potentially a lot of filament wasted, a lot of printing time wasted).
It’s one thing if a 1 hour print fails and you need to reprint, and it’s totally different when a 20-hour print fails and needs to be restarted.
Also worth thinking of is the time spent communicating with the buyer and, potentially, packing and shipping the order.
Hello, thank you for ideas. It is true that the chance of print failure increases with length but the margin is variable and you can set it higher if you wish.
And speaking of other variables such as communication with customer and packing: You can add this to our calculator too – simply use the “Other costs” tab.
It’s also worth considering time spent in post-processing. The calculator page has an entry for it, but it’s not mentioned here. Post processing can really impact time (think of removing supports, washing, curing, etc).
Good job, I was using this one – so good 🙂 https://www.thingiverse.com/thing:1014195
Sorry, this one: https://www.thingiverse.com/thing:4199223 🙂
This is great buy it would be an improvement if it saved the settings you modify.
Can this be done ?
Well, you can’t save the file but it’s possible to share (or save) link to the filled calculator and edit it later.
https://www.thingiverse.com/thing:4199223 this one is amazing.. 🙂
Can someone post links to the correct screws?… the instructions do not adequately define the screws, it gives lengths and head types but it does not state if these are machine screws (bolts) or if they are wood screws (self tapping or otherwise) or sheet metal screws etc. We need more clearly defined screws here, I have absolutely no idea what to order and the instructions do not really cover this at all and do not show up close pictures of the screws needed for each step. This feels half baked and I don’t know how to continue.
^ ignore above post apparently I got redirected off the page I thought I was on when clicking reply
Bonjour,
Très bon article , mais le calculateur ne fonctionne pas , on peut entrer le “job name” et “select your curency” mais rien après.
Merci d’avance
Nice Calculator…
It would be nice if, it was possibele to put several gcodes in. ex. i have a lamp of 13 parts
1 base – 5 frames – 5 sides – 1 holder for light – 1 extra part
Really nice articel.
Just one more thing would be awesome, if this could be implemented into the Prusa Slicer, so I can quickly check the price of a print for a friend and not type in all the time the same stuff all over again. Like the price of material already implemented.
Very good article and useful calculator, but I have found one bug in the calculator. When I uploded a g-code file with a print time of 1 day 1 hour 14 minutes, the calculator the calculator registered it as 1 hour 13 minutes. I first didn’t notice but I was very puzzled by the very low sum for machine & upkeepcost. Then I realized why!
I assume I am not the only one to upload a g-code file with more than 24 hours print time, so could you please correct this.
Same here, it’s possible to manually add 24 hours to printing time and then the calculation is correct. Out of the box the prints over 24 hours are not supported though.
Thanks guys
Very good article and useful calculator.
I love the 3D Printing Price Calculator. Just 2 suggestions. A user may ask for multiple prints. Say he wants 40 frogs and only 2 fit on the bed at a time. Which means the printing is repeated 20 times. Could this be added to the calculator?
The cost calculator does not work with PS2.6?
Ooo but where do I add in if I made the model myself? I only see Print Preparation. I know someone will say "You don't know what to charge??", I vaguely remember how long it took to factor in that.
Kalkulacka nefunguje. Kdyz nahraju G-code do kalkulacky, nic se nestane (Slicer 2.8.0). Pritom program z drivejsi verze Sliceru 2.6.0 kalkulacka funguje. Tiskarna MK3S+.