It has been 4 months since the latest stable firmware release but even with MK3 (first units will be out before the end of November, new orders will ship approximately in February 2018) already released we continue to improve our firmware and 3.1.0 might be the biggest update in 2017. This time we included a lot of new awesome features.
Here is the full list of the changes before we dive into the details:
- Linear Advance
- Wizard
- Host keep alive messages – better compatibility with OctoPrint
- Sorting files in SD card menu
- Check if file (.gcode) is complete
- First layer calibration – Integrated V2 calibration
- Auto power mode
- XYZ calibration details menu improved
- Other improvements
Linear Advance (Updated)
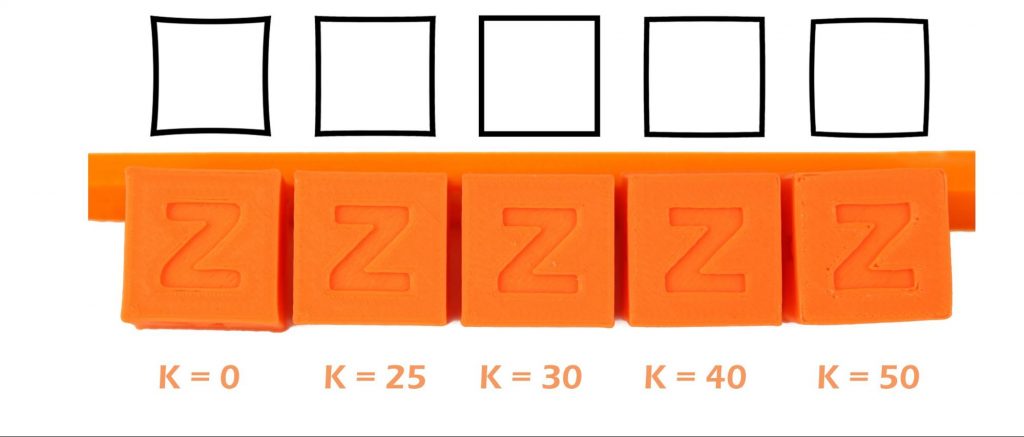
Without the linear advance, an extruder motor moves in a linear proportion to all the other motors. This simple approach does not take into account that extruder is not a linear system. This leads to extruding more material than desired at the end of each linear movement. The linear advance on the other hand takes nonlinearity into account and maintains the correct pressure in a nozzle during movements.
Basically, the prints will have sharper corners at the same speed and when increasing the print speed defects and artifacts will not show as much as without Linear advance. Usually, when you print fast, sharp corners on the print have a little blob where filament pressure build-up is released while changing directions.
Everything is preset, just flash the FW 3.1.0 into your printer and update the Drivers to 1.9.2! PrusaControl automatically downloads new settings and Linear Advance is enabled too.
All the print settings for MK2/S has slight 10-15 mm/s speed increase. Print quality will still be the same, but in the best cases, you can expect 10% faster printing.
New print settings were also added for experimental faster printing – 0.15 mm 100 mm/s Linear Advance and 0.20 mm 100 mm/s Linear Advance where speed is increased even more, up to 100 mm/s, to get additional ~30% faster printing. You do not need to calibrate or tweak anything to get faster printing, just use these settings to generate your gcode.
To see the speed increase, you must test on larger models! Slic3r limits the minimum time per layer to 15 seconds and in case it is triggered, print speed is lowered. This prevents insufficient cooling and ugly prints. Printing one Marvin will not be any faster than before 😉
Advanced Linear Advance
For those who still want to tweak and play around with different values or use different slicers. If you do not understand the concept of gcodes yet or never played with editing it, stop here.
The K values (the parameter affecting how much Linear Advance affects the print) we measured and tested are as follows:
- PLA: M900 K30
- ABS: M900 K30
- PET: M900 K45
- Multi material printer: M900 K200 for all materials
These values are preset in our Slic3r PE. The K value is set in custom gcode section in the Filament Settings tab, NOT under the printer specific custom gcode. PrusaControl uses the same K values but will not allow users editing.
Simplify3D, Cura, … users just need to add “M900 K??” into the starting gcode script. Keep in mind you need to manually change that for different filament materials. Only Slic3r PE has custom gcode for each filament preset and therefore K value is changed automatically.
Study the theory on Marlin website, but the baseline is set and tweaking is easier. Set the speed you want, print something (large enough for speed to show up). If sharp corners have blobs, increase K value. If you see missing filament, decrease the K value. Please note that different brands and colors of the same material may require slightly different K value when printing at extreme speeds, however our presets should be fine with all of them.
DO NOT turn off filament retract completely. Tune the K value first, then try slowly decreasing the retract distance until you see stringing, then increase a touch.
Wizard
When you first start up your freshly assembled printer, it will now guide you through all the self tests and calibrations you need to do to get started printing. This doesn’t mean you should skip following the manual 😉 but everything is more convenient now.
If you are upgrading the printer with new FW 3.1.0, you can run Wizard from menu Calibration -> Wizard.
Host keep alive messages – better compatibility with OctoPrint
In some cases like during a calibration or when printer was waiting for a new filament during ColorPrint change, the printer stopped responding to the OctoPrint. This led to the host eventually disconnecting and ruining a print. This is now fixed by sending a “busy” message every 2 seconds.
Sorting files in SD card menu
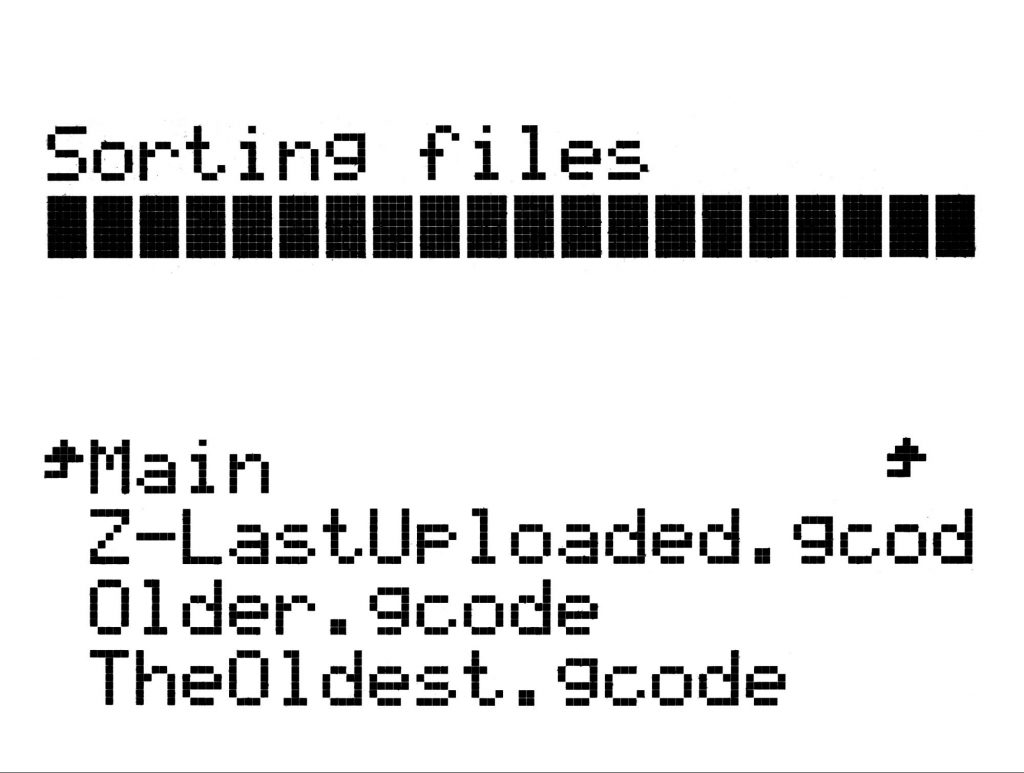
Files order in “Print from SD” menu was random in previous firmware. A file which was added most recently was usually shown as first item in the menu. However this was not guaranteed. Deleting some files from an SD card and then adding new file to the SD card could cause that this new file was not first item in menu and it was difficult to find it.
So we added sorting to the “Print from SD” menu. In Settings -> Sort: [Type] you can select to sort by name, by date or no sorting. Best is by time where newest files are on the top.
Folders are shown on the top of the SD card menu and then other files follow.
Maximum number of files which can be sorted is 100. If there are more, some of them will remain unsorted.
BTW long filenames readability is also improved!
Check if file (.gcode) is complete
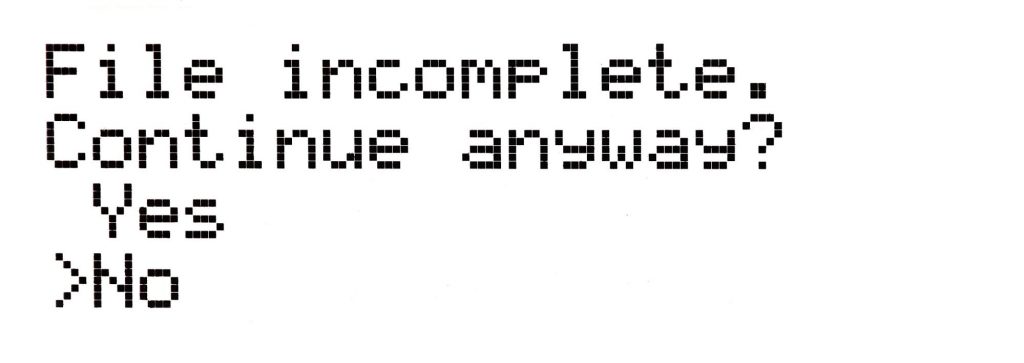
From time to time, we saw people posting about printer mysteriously stopping in the middle of a print. Staying still, with all the correct temps but not printing. Turns out, 99% of the time it was caused by removing the SD card from the computer, before the file was completely copied over.
New firmware looks for common gcodes which indicate the end of the generated file. If they are not detected, you will get a warning. You can still continue printing if you wish, but at least checking the file should be done.
First layer calibration – Integrated V2 calibration
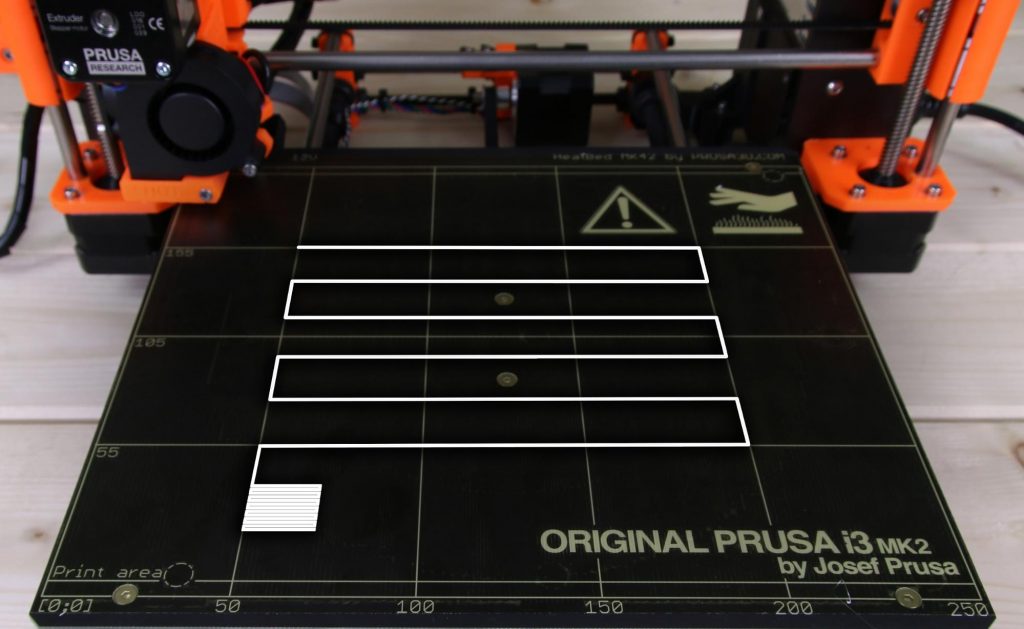
A very simple but handy addition, we took V2_calibration.gcode used for calibrating the first layer height and reimplemented it in the firmware (only in PLA). No SD card is now needed for calibration. You can run it from Calibration -> First layer cal. A small rectangle is also extruded at the end, so you can check how well was the calibration set.
Auto power mode
This is a new mode for setting stepper motors power which lies between silent and high power mode. In auto power mode, stepper currents depend on Z height. Current starts low when Z height is minimal and increases slowly with the object being printed.
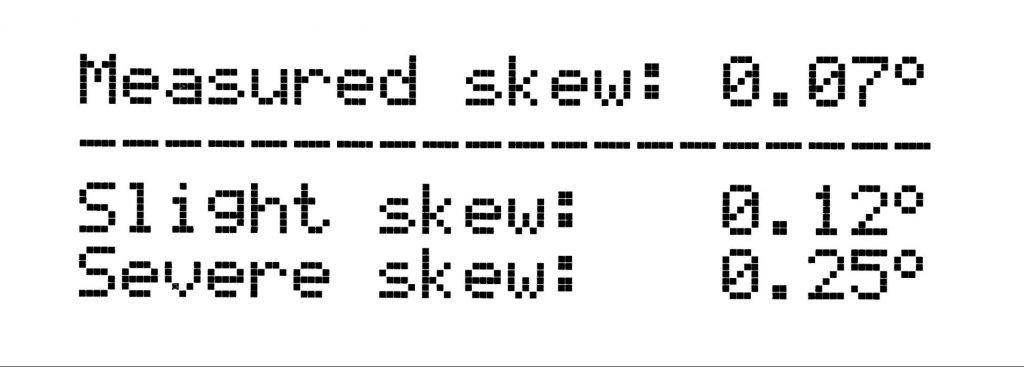
XYZ calibration details menu improved
A skew between 0° and 0.12° was always shown as 0° because printer does not apply any skew correction. When you run the calibration now, you will be able to see the measured value.
Other improvements
- E steps per mm can be again saved into EEPROM.
- M20 (list SD card) and M110 (set line number) fix
- PID calibration now includes safety check for loose thermistor
- M220 can backup and restore the speed factor
Drivers 1.9.2
New drivers 1.9.2 have faster print presets to use Linear Advance built in and various bug fixes for both Slic3r PE and PrusaControl.
You can download them together with the firmware over at https://www.prusa3d.com/drivers/.
Happy printing



Exciting update, can’t wait for my Mk3 to arrive. Updating the Mk2 now which I will be giving to a friend when the new one gets here!
Can you please enable RSS-Feeds for this WordPress-Blog? Its hard to follow you without an Feed.
This is fantastic! I’ve been struggling with timeouts from OctoPrint–the host keepalive messages will be fantastic. Can’t wait to install the update!
I wondered that as well. My guess is that at higher Z heights, we can assume that there is a larger model on the plate, and therefore a higher mass of plastic. Increasing the current allows the plate to be accelerated quickly enough when moving in the Y axis.
100mm/s Linear Advance settings appear on slice3r but not at prusa control. why?
Hi, Just want to add this comment is False : ‘These values are preset in our Slic3r PE.’
I test on my Linux and Windows 7 : absolutely no preset M900 K200 for my MMU in my Slic3r PE even after delete ALL previous setup and reinstall. These parameter must be add manually.