It has been circulating around for a couple of weeks already so if you are our hardcore fan, you have already tested it. If so, kudos to you 😉 But nevertheless, Slic3r Prusa Edition now includes Smooth Variable Layer Height and is bundled in 1.7.6 drivers with all the necessary settings for perfect prints. And even though the SVLH is the star of the show today, reworked, faster, better and easier to remove supports made it to this release too.
The idea to vary a layer height to improve the finish of sloping surfaces is certainly not new. A paper by Pandey, Reddy and Dhand 2003 gives an extensive overview of algorithms to vary the layer height to limit the surface roughness, Florens Wasserfall integrated automatic layer height into his experimental Slic3r in the year 2014 as a part of his diploma thesis and Autodesk has shown their flavour of the variable layer height algorithm during the last year.
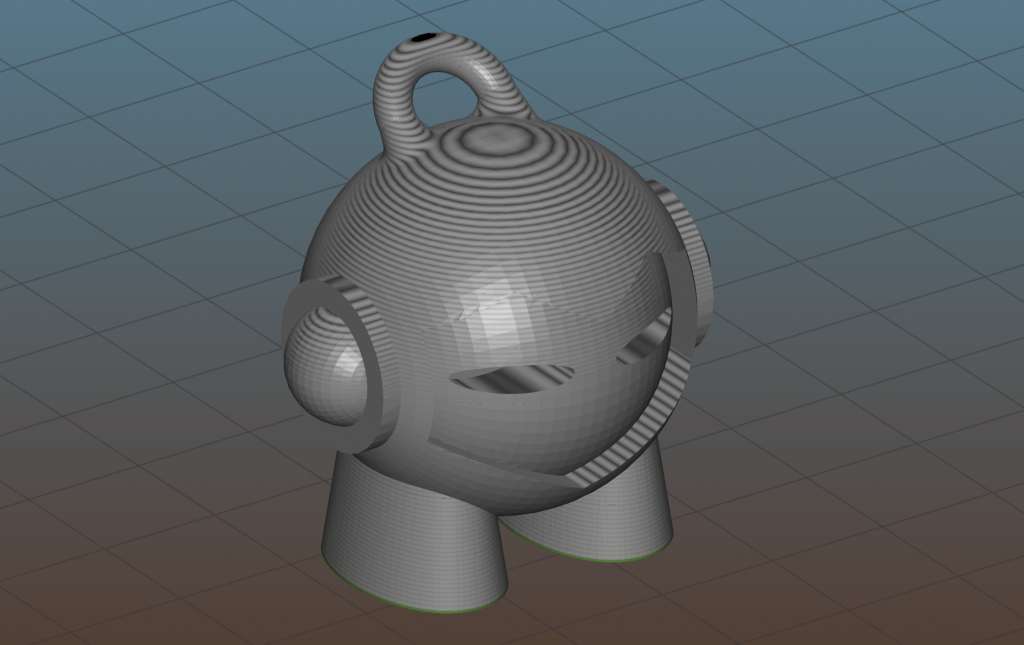
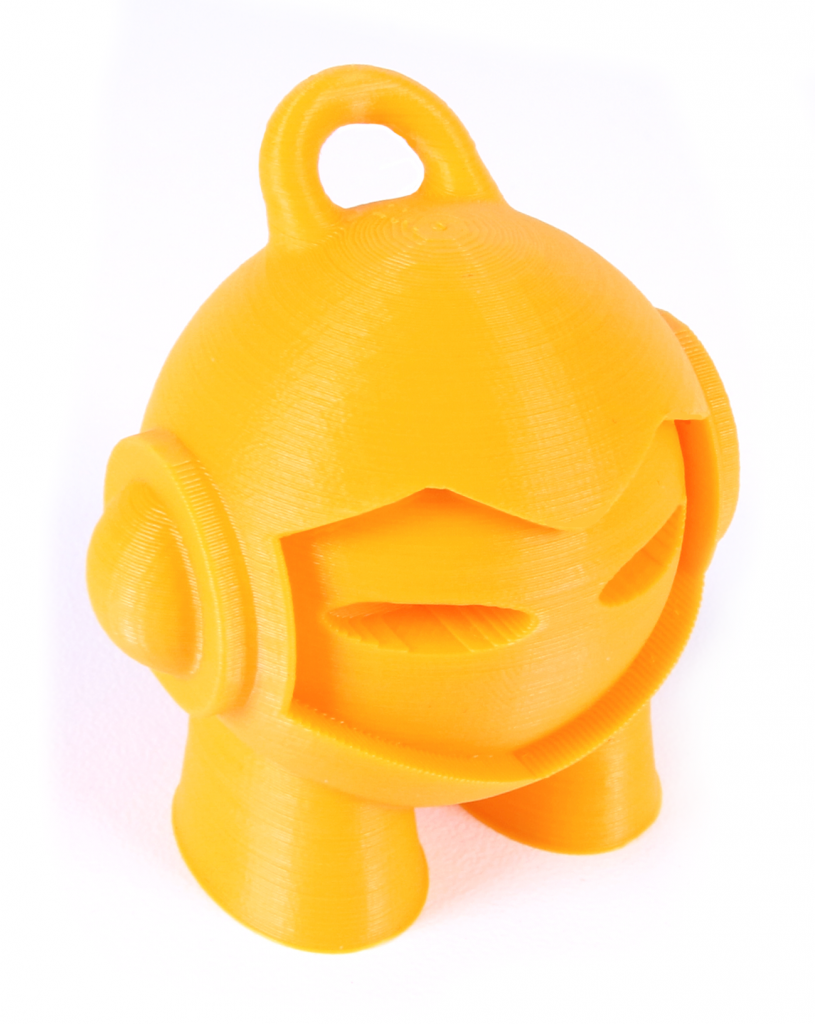
You may ask why you need such a thing. The use case is simple. 3D printing is always about the quality versus the print time. Let’s take a sample object, in our case 200% scaled up 3D Hubs Marvin. With 0.2 mm layer height, print takes 1 hour and 50 minutes. The problem is, the top of Marvin head ends up with an ugly staircase effect. If we print him at 0.1 mm layer height, the top surface improves dramatically but this time the print length becomes double at 3 hours and 45 minutes. At 0.05 mm the time would raise even up to 8 hours.
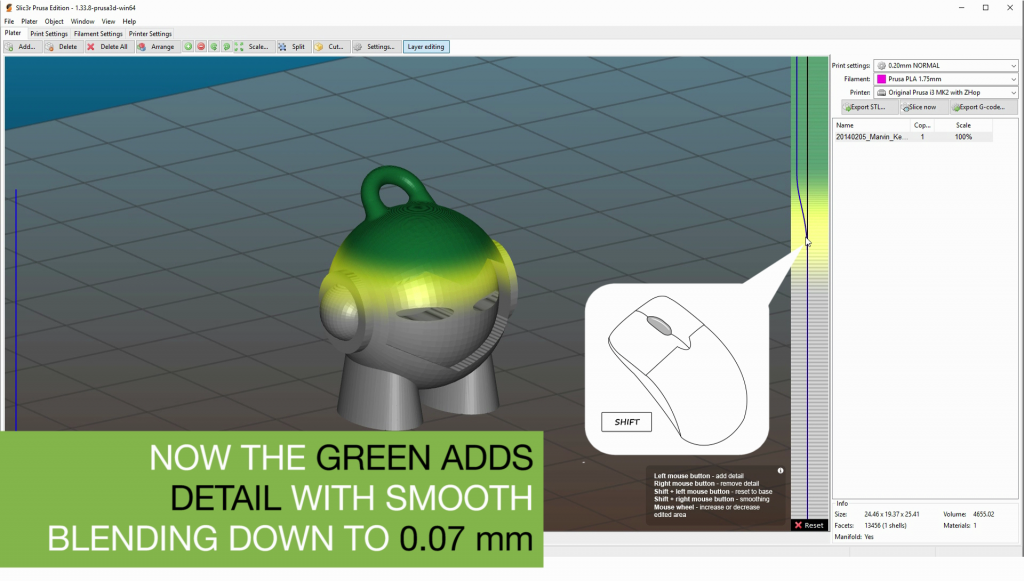
Only if there would be a way how to combine these two, right? There is now! Just select the object in the Plater tab and hit Layer Editing in the top menu. Now you can “paint” the parts of the object you want to be more detailed, in our case the top of the head. By default, the green parts will be set to 0.07 mm gradually smoothing to the main selected layer height, in our case 0.2 mm. The smoothing is very important and is not present in any other FFF slicing software. Without it, the layer height jump is very visible and defeats the effect of smoother surfaces.
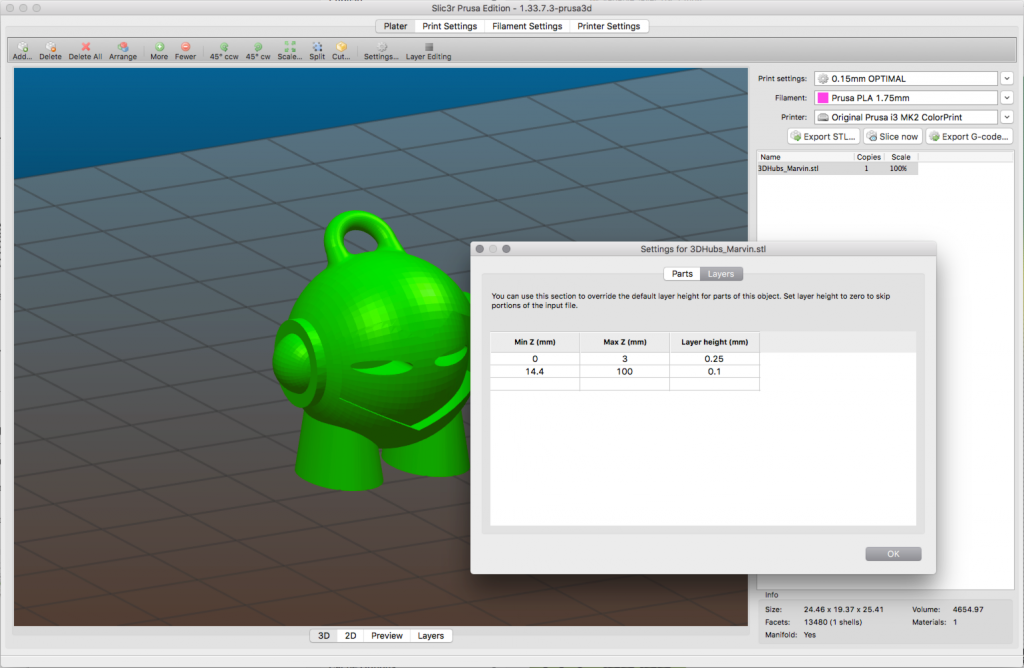
Take a look at the video we prepared to show off the capabilities. The tweaked g-code took 2 hours and 20 minutes, shaving the print time by 1 hour 25 minutes with the same result! We also used a little trick to speed it up a bit more with printing Marvin’s legs at 0.25 mm, highlighted in red on the model.
Simplify3D can emulate this with multiple processes, tedious manual setup and hideous visible jumps in layer height. Same applies in vanilla Slic3r with Layer option under object settings. I am very thrilled we were able to produce the first practical solution for FFF 3D printers with such stunning results.
Supports
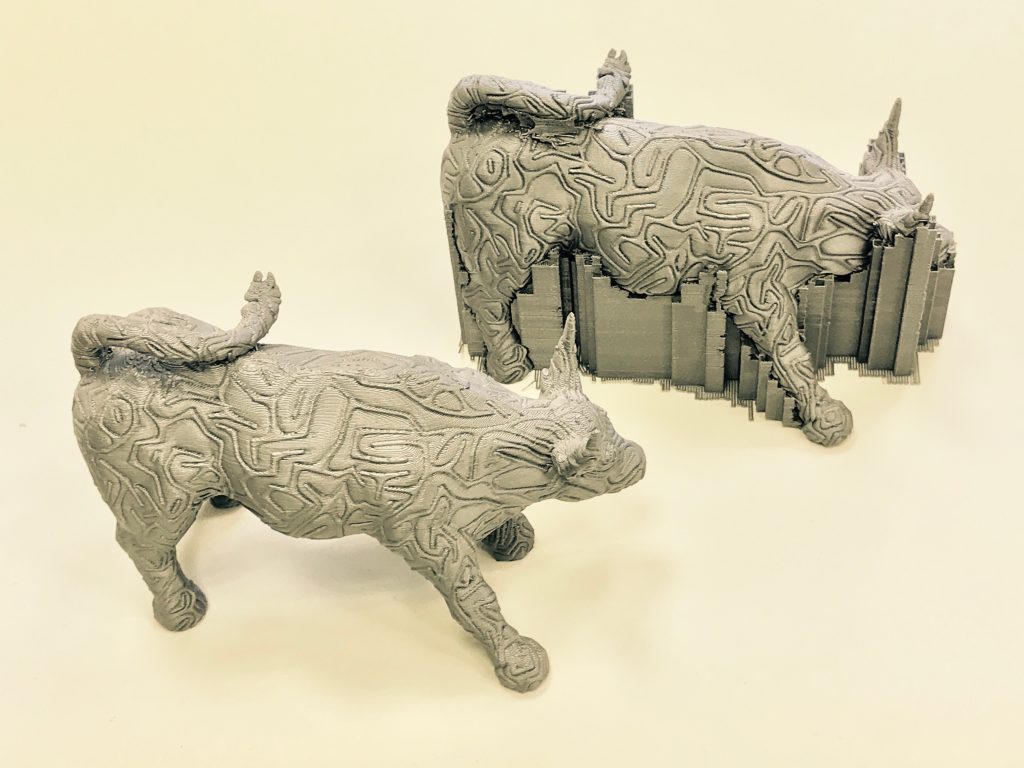
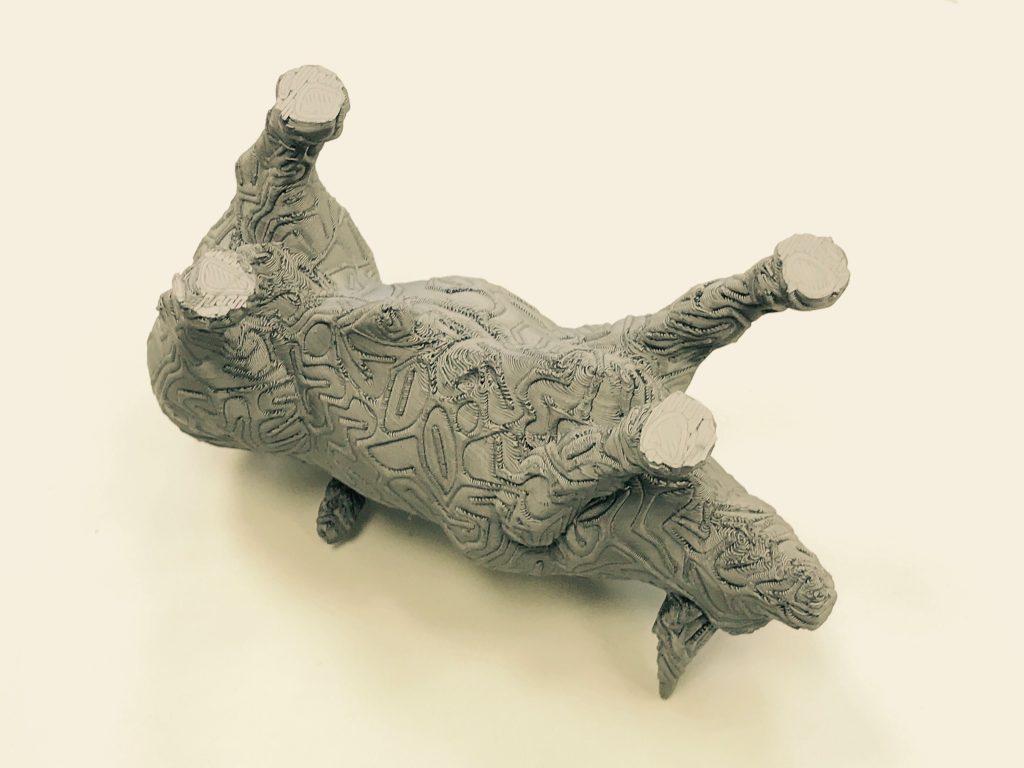
New supports are not nearly as exciting, but everyday bread and butter of 3D printing. Most of the updates happened under the hood. Main focus was to rewrite supports to C++ to speed things up. This also made it more stable eliminating instances when on some object support generating never finished.
Supports are now generated on the grid, which also saves up time and significantly reduces the final g-code file size.
The rest
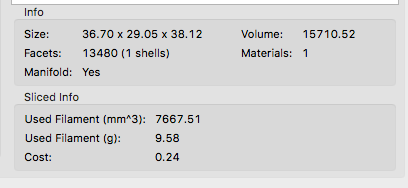
Small little addition is a “Slicing info” box appearing after the g-code is generated showing the amount of filament used and its cost.
Little work on parallelization was also done in this release but remains the main focus for the next release. This means SPEED 🙂
We continue to work on making the Slic3r Prusa Edition the best slicing engine and are happy for any feedback you send us.
You can download the preconfigured Slic3r Prusa Edition for Original Prusa i3 MK2 as part of our 1.7.6 drivers on our Drivers page.
I am unable to use this feature while selecting the layer editing option i am getting error as ” Cannot compile an Opengl shader, there fore the vairable layer ediing will be disabled .
Fragment shader compilation failed:
fragement shader was successfully compiled to run on hardware.
Please help on this
I am getting the error;
– – – – – – – – – – – – – – – – – – – – – – – – – –
Cannot compile an OpenGL Shader, therefore the Variable Layer Editing will be disabled.
Fragment shader compilation failed:
Fragment shader was successfully compiled to run on hardware.
– – – – – – – – – – – – – – – – – – – – – – – – – –
OS: Win 7 Home Premium SP1 64 Bit
i am also having the same issue while using the layerediting option
I like all the upgrades you are doing. I use some of your programs(slicer3, pronter). I may purchase one of your printers. The reason I am hesitating is because I have a RipRapPro Mendel that I have been using. I bought it from Adrian Bower, and I only print over USB at 250000. I don’t use the sc disks at all. I would hate to lose this functionality as I hate messing with the disks. My question. are you planning on implementing 250000 USB communication on your printer?
Hi Bud, so far is used 115200 for the USB communication. Using 250000 might result in issues on certain operating systems.
Hey there! I know this is kind of off topic but I was wondering which
blog platform are you using for this website?
I’m getting fed up of WordPress because I’ve had issues with hackers and I’m looking at
alternatives for another platform. I would
be fantastic if you could point me in the direction of a good platform.
Hi! This is my first visit to your blog! We are a group of
volunteers and starting a new initiative in a community in the same niche.
Your blog provided us useful information to work
on. You have done a wonderful job!
Hello, I want to subscribe for this website to take most recent updates, thus where can i do it please help.
Hi,
there are several ways to subscribe, first is to visit http://www.prusa3d.com and while scrolling down, you will be asked to join the newsletter. You can also watch Twitter of Josef Prusa and Facebook of Prusa Research 3D printers. For Prusaprinters.org you can use any RSS reader. There is also official forum at forum.prusa3d.com