The creation of a 3D model is no usually simple. But what if we don’t want to use classic 3D modeling programs? What if we want to create our model piece by piece? The Minecraft game is a great solution and today I will show you, how to make and print 3D model from Minecraft.
1. How to start?
You can print your own already created house from your Minecraft saved world.
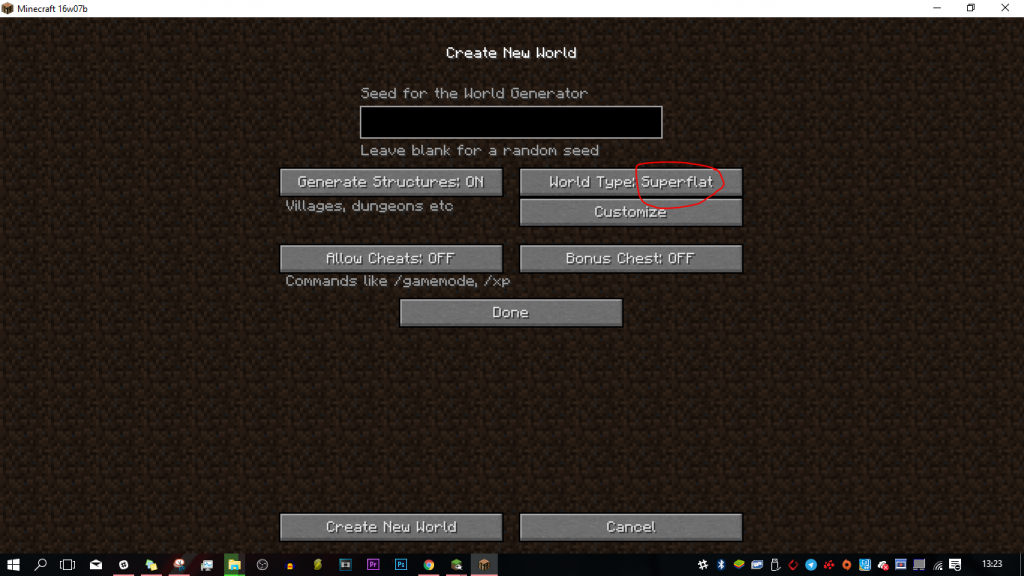
I recommend exporting it from your world using MCEdit to a new “Superflat” world, which can be easily created in the game. “Superflat” is great for finding and removing problems before the print itself
Another option is creating a model suitable for 3D printing.
2. Creating a model
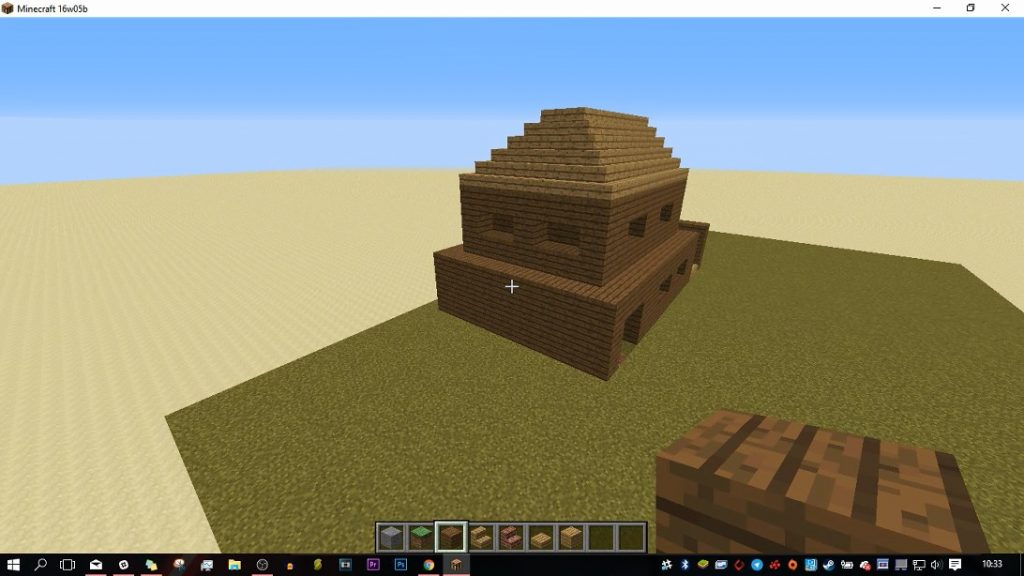
Creating a specific model is the best method for 3D printing. In Minecraft you model by placing individual blocks, you can choose them from your in-game inventory. Color or material doesn’t matter, but if you want to print in colors, I recommend using different ones, the model will be more clear.
I wanted to build a cabin in the middle of the forest and the first issue appeared.
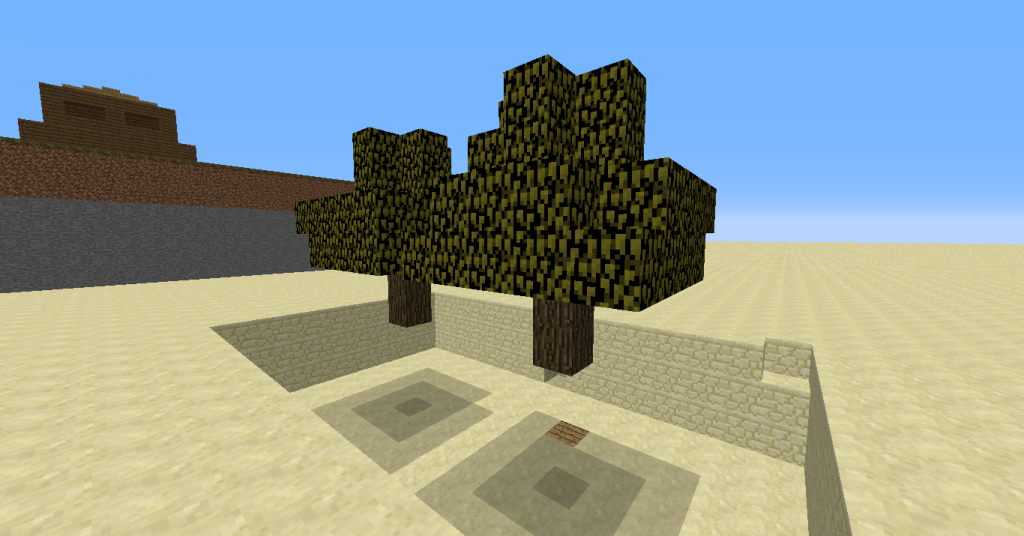
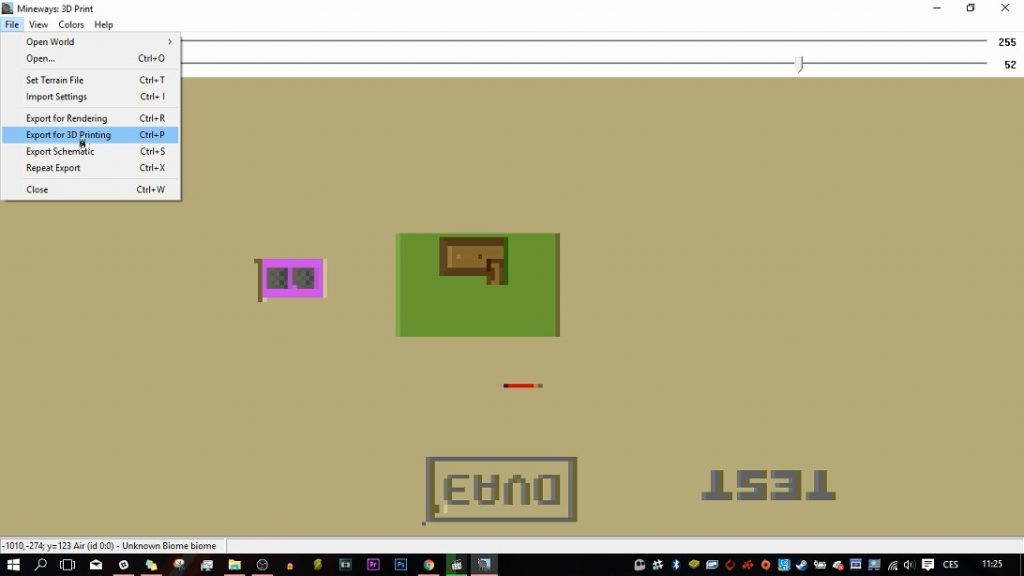
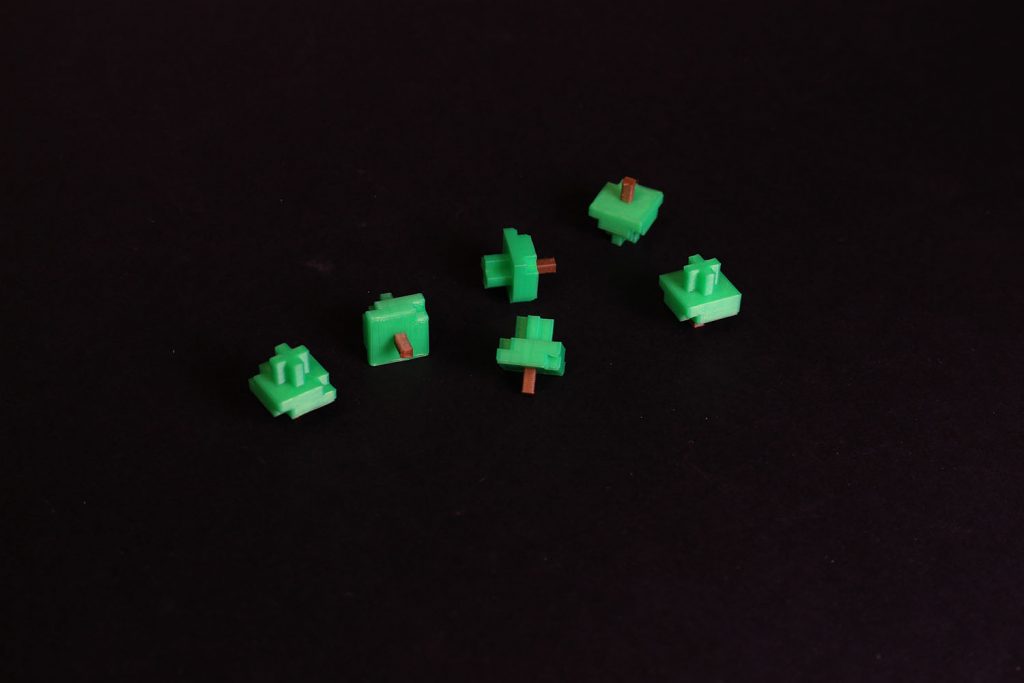
How to print trees easily and yet nicely? The best method is to plant them separately from the final model and then gluing them to it. So I grew two different trees on the side and thanks to Mineways exported them to STL file..
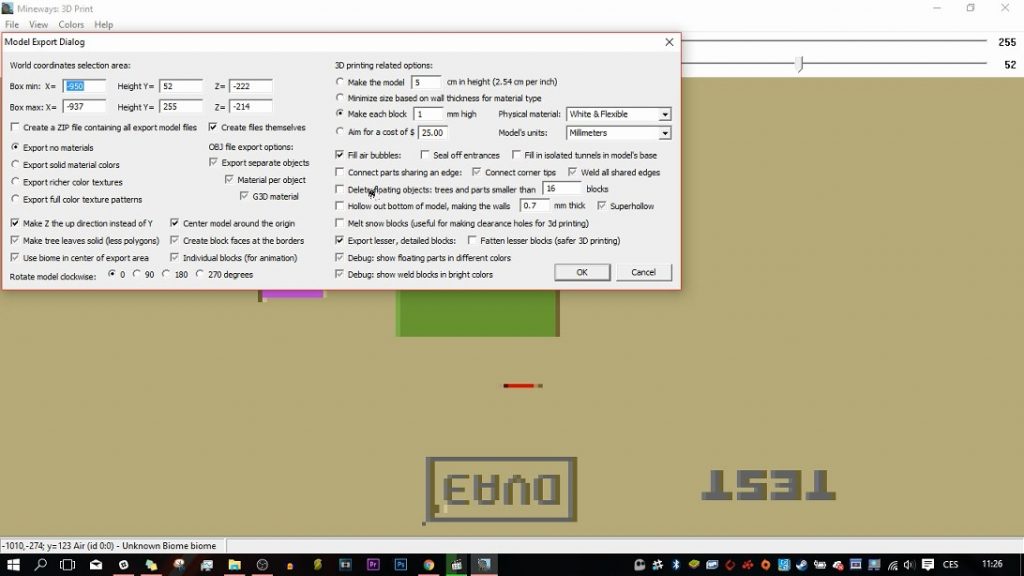
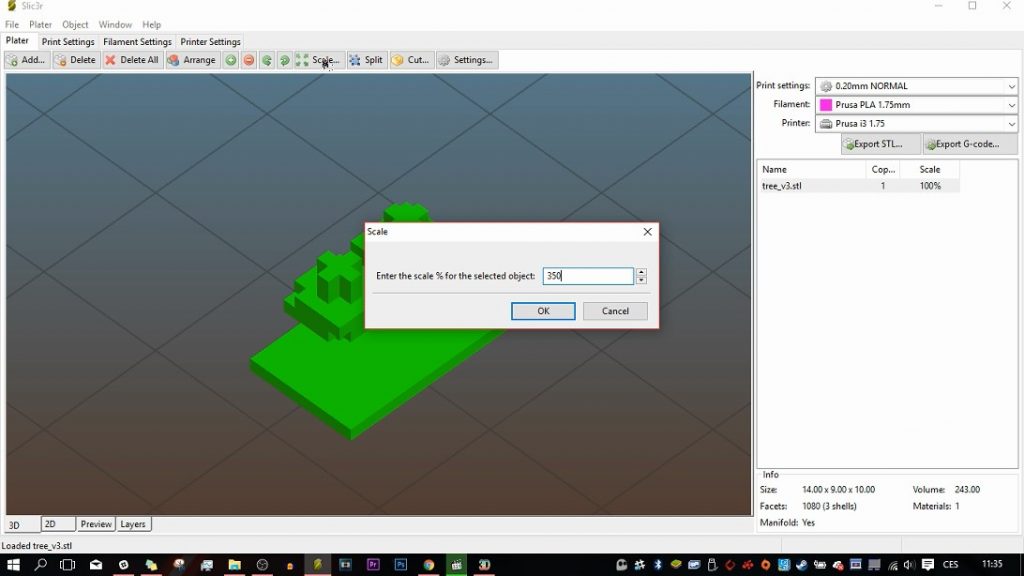
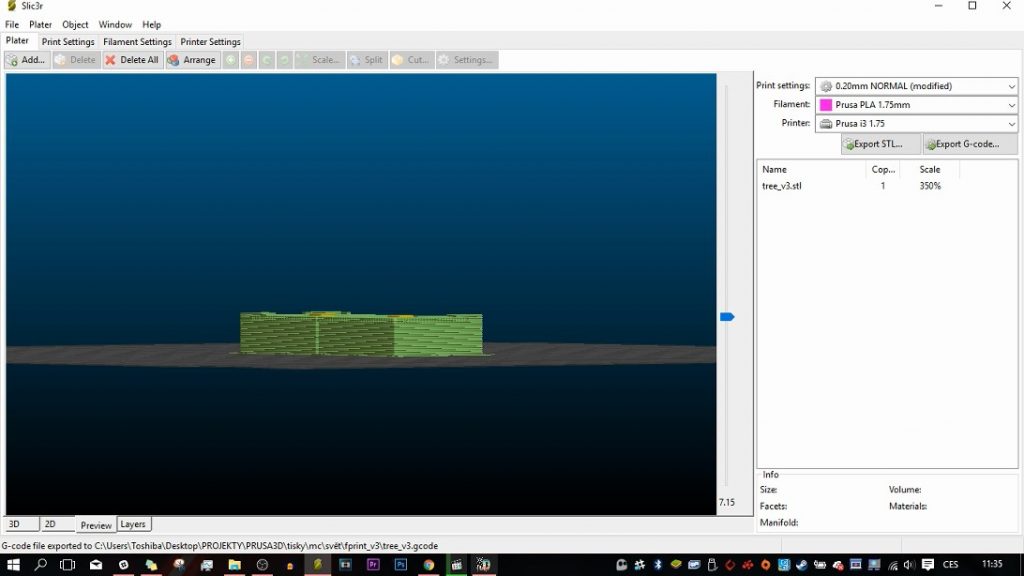
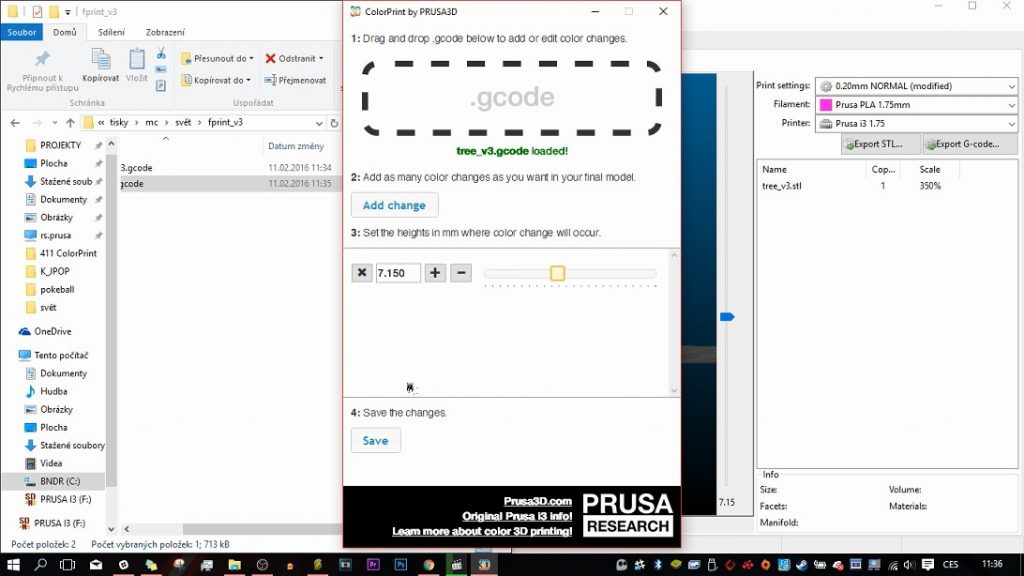
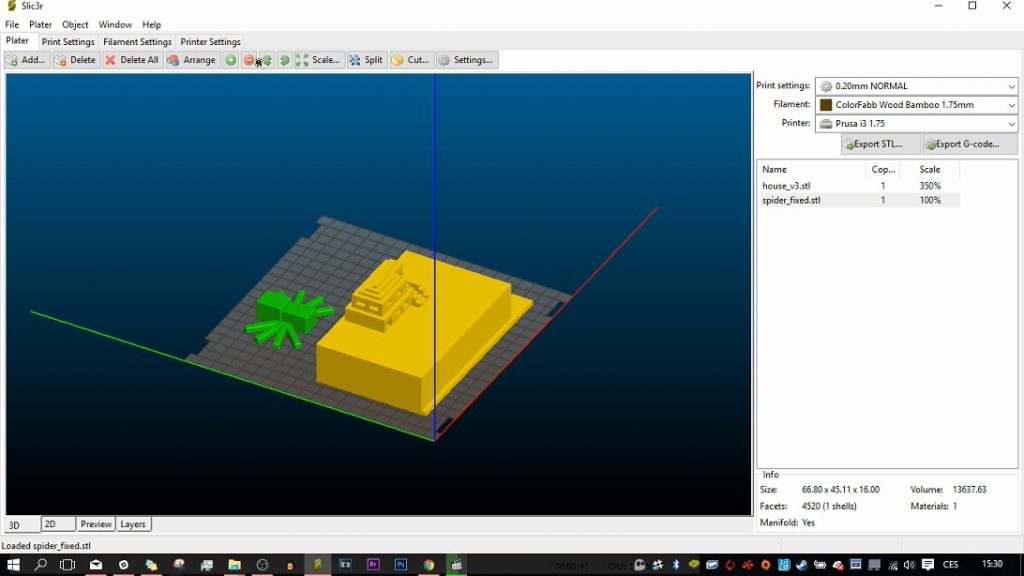
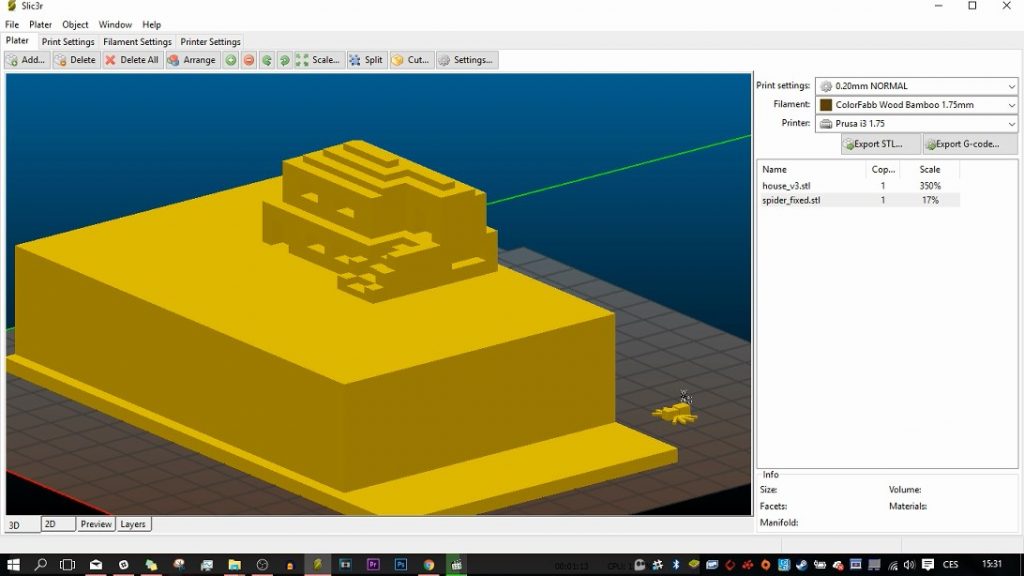
I set the size of one block to 1mm³ (in the game they are 1m³), because of the scaling and easier calculating (I wanted to print some parts with a bigger scaling to make them more visible) – then I scaled the trees to 350% in Slic3r.
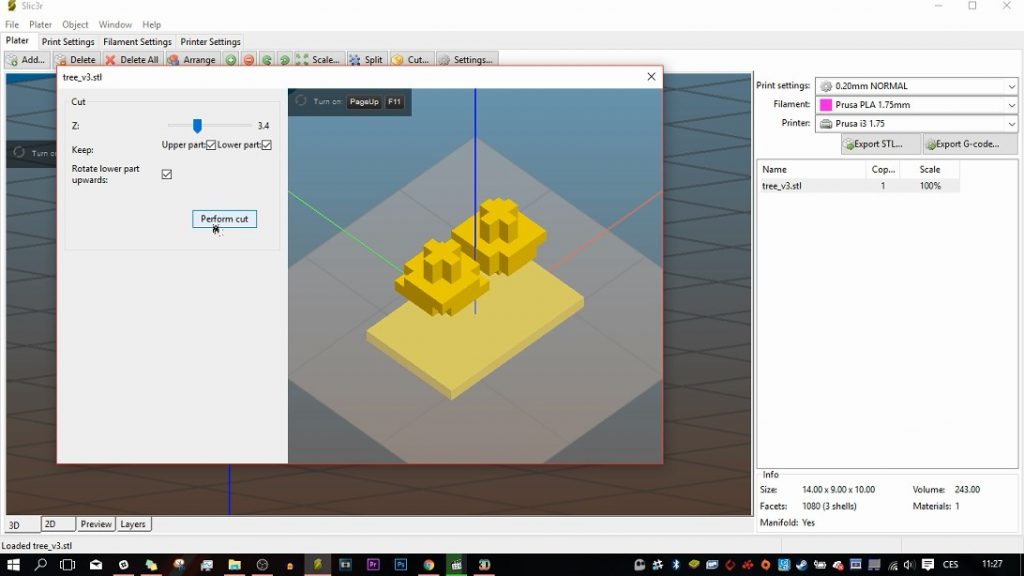
I cut them from the pad, which wasn’t attached to the trees, because they would fly above it.
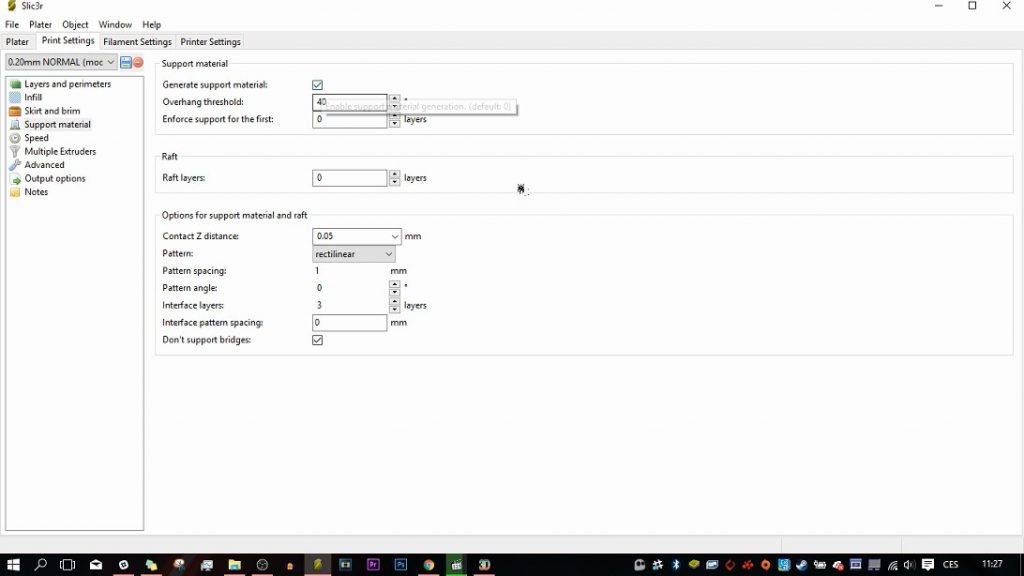
I wouldn’t be able to print the treetops without generating support material.
I wanted to make a fully colored Minecraft world, so I took the generated GCODE, opened it in ColorPrint app and set the color change. You can read more about 3D printing in colors on our blog or you can watch a video on our YouTube channel.
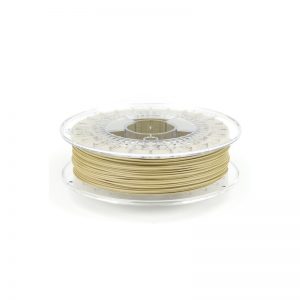
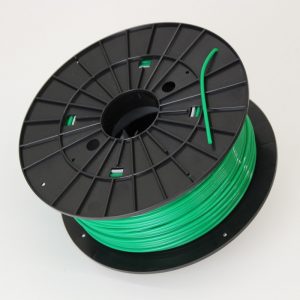
The tree trunks were printed from BambooFill and the tree tops from green PLA.
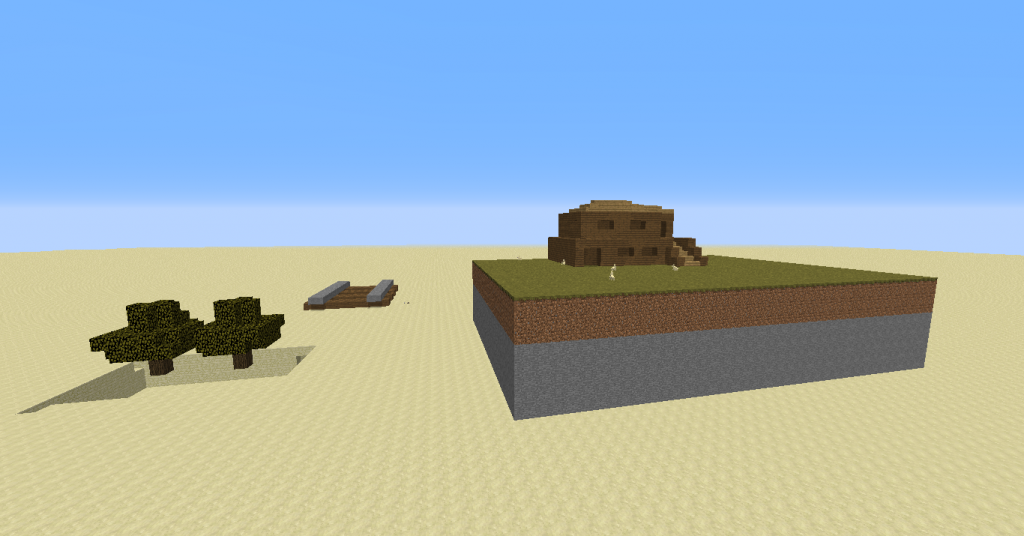
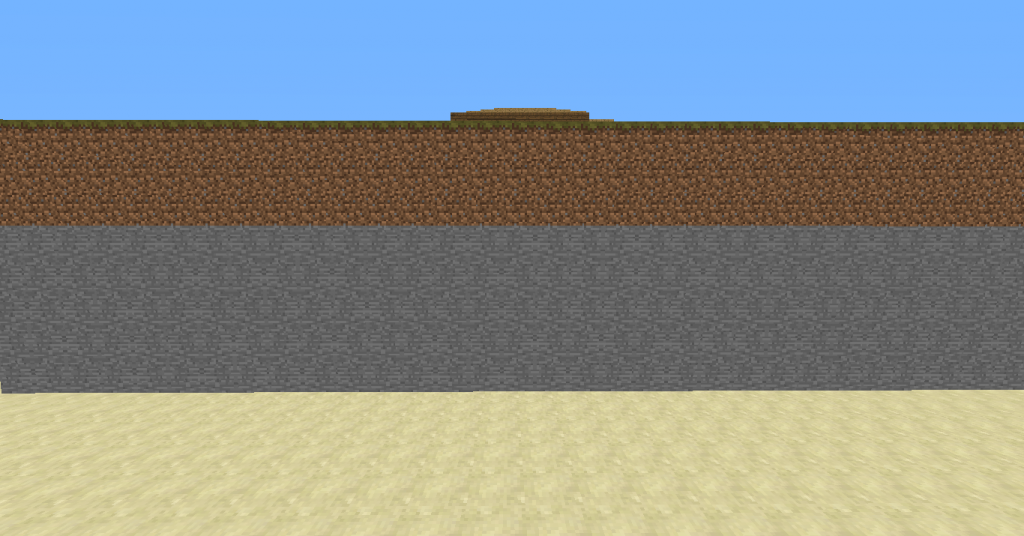
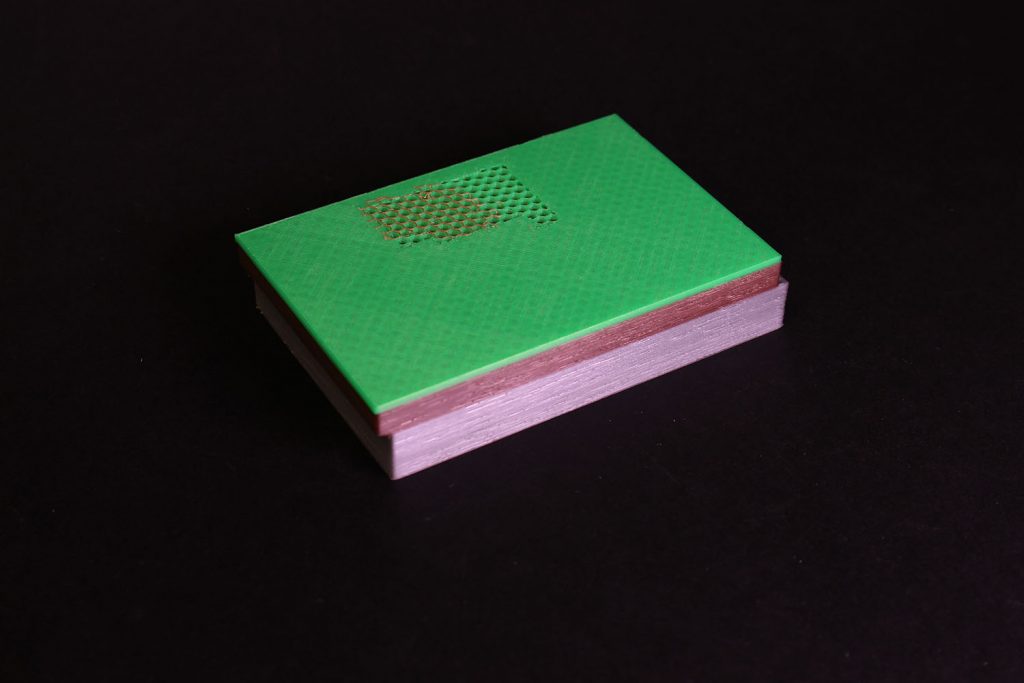
Then I created the pad. I wanted to show that the model is really from Minecraft, so I made it enough tall to nicely show the color changes.
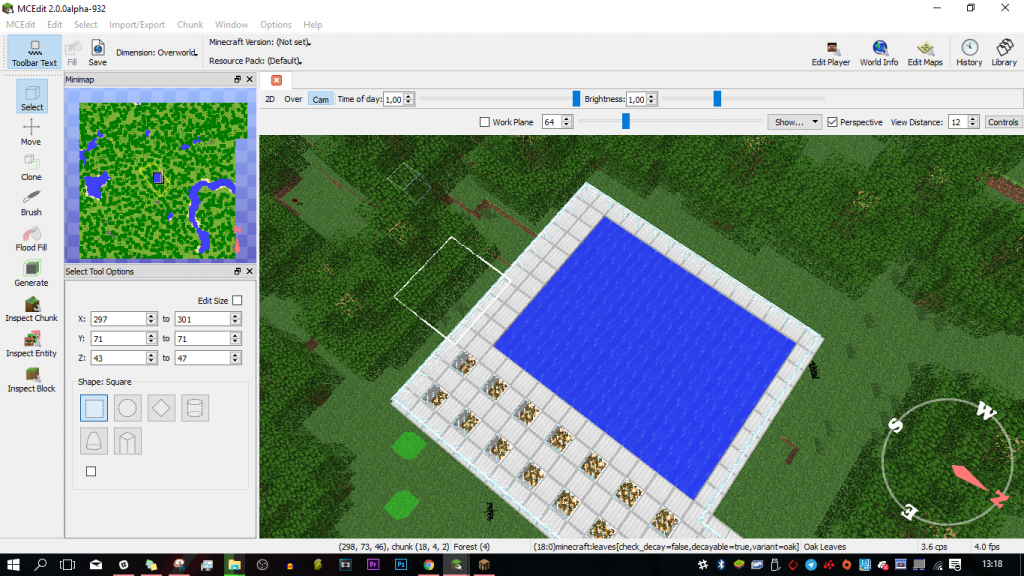
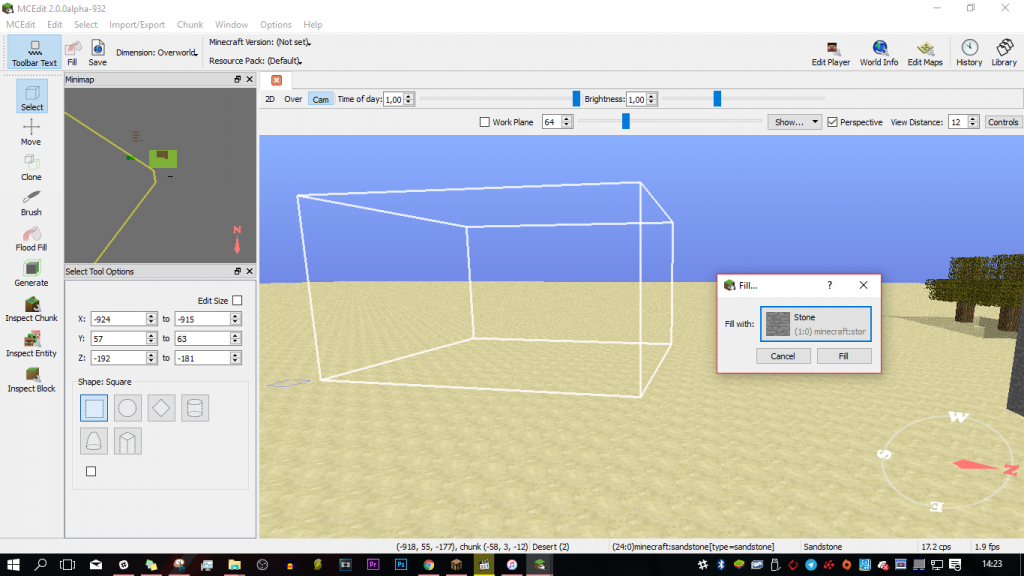
Every single printed object can’t have any blank space inside – they have to be filled by blocks. You don’t have to fill the blank areas block by block, you can use MCEdit to fill them easily at once.
Then I edited the generated GCODE in ColorPrint again.
I used silver PLA for stone, brown PLA for dirt and green PLA for grass.
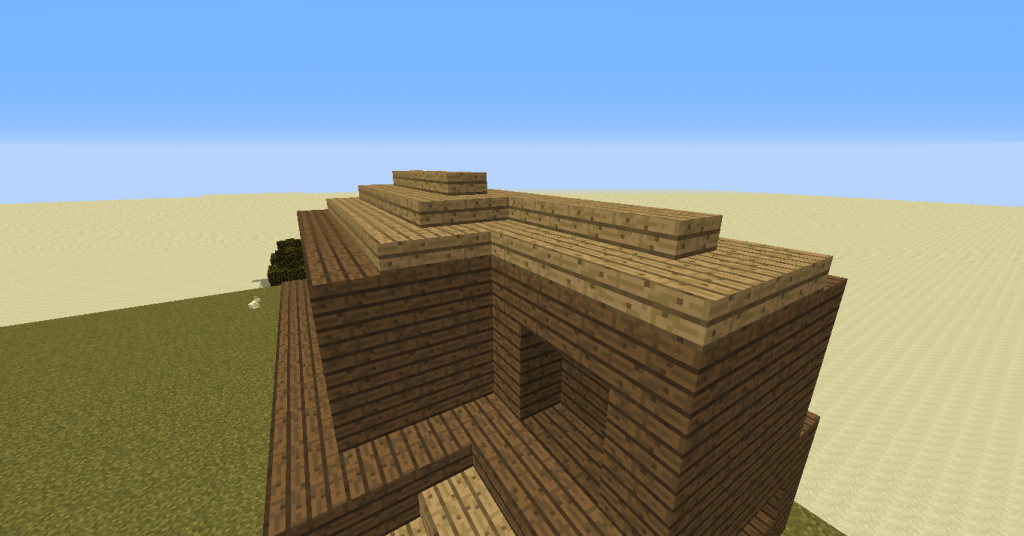
When I was creating the house, I found out that Mineways cannot properly export blocks with more details – in my case stairs, that have been originally used for roof.
The solution was to change the stairs to half-blocks. They don’t cause any problems while printing and do look as good as the stairs.
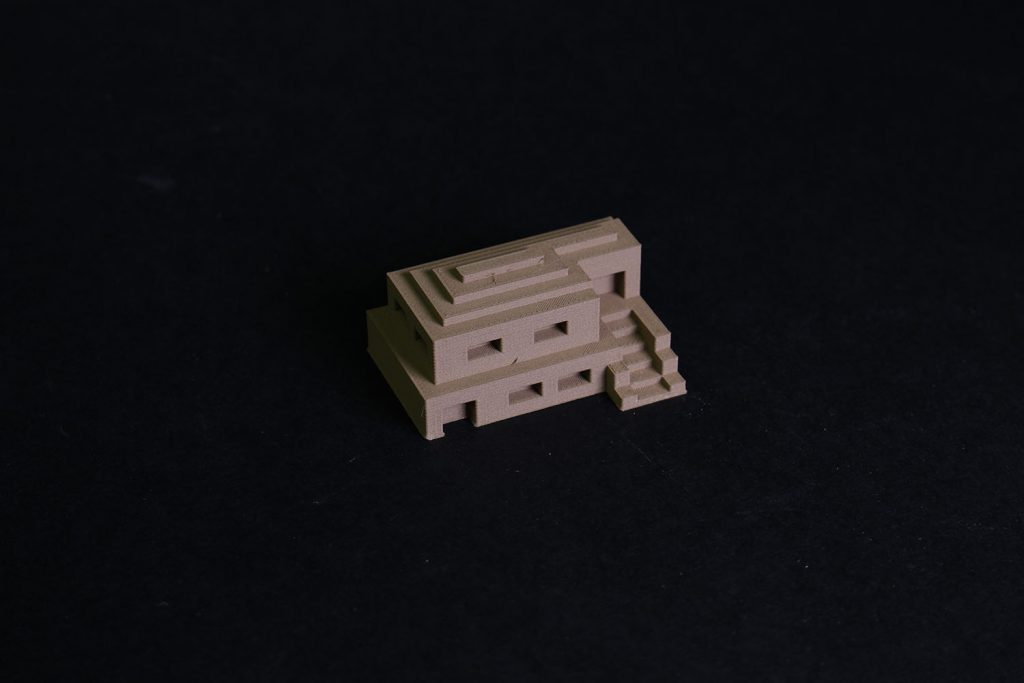
For the best appearance I used WoodFill for printing. 
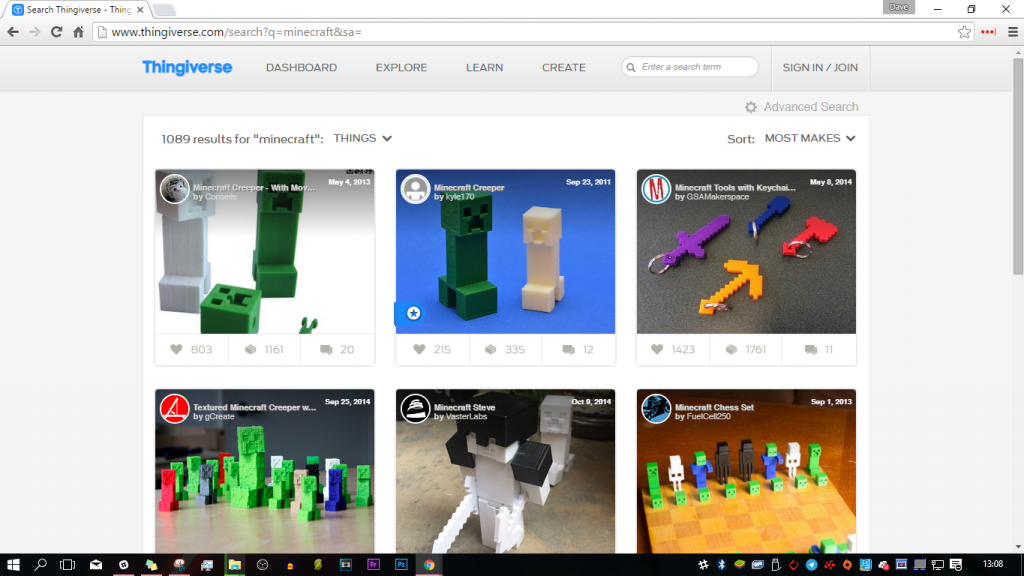
The final model would look very empty, so I decided to look for Minecraft figure models on thingiverse to fill the space, where you can also find other elements, like animals or enemies from the game alongside “the Minecraft worlds”.
Then I only adjusted their scale in Slic3r to make them look just right.
3. Printing and finishing touches
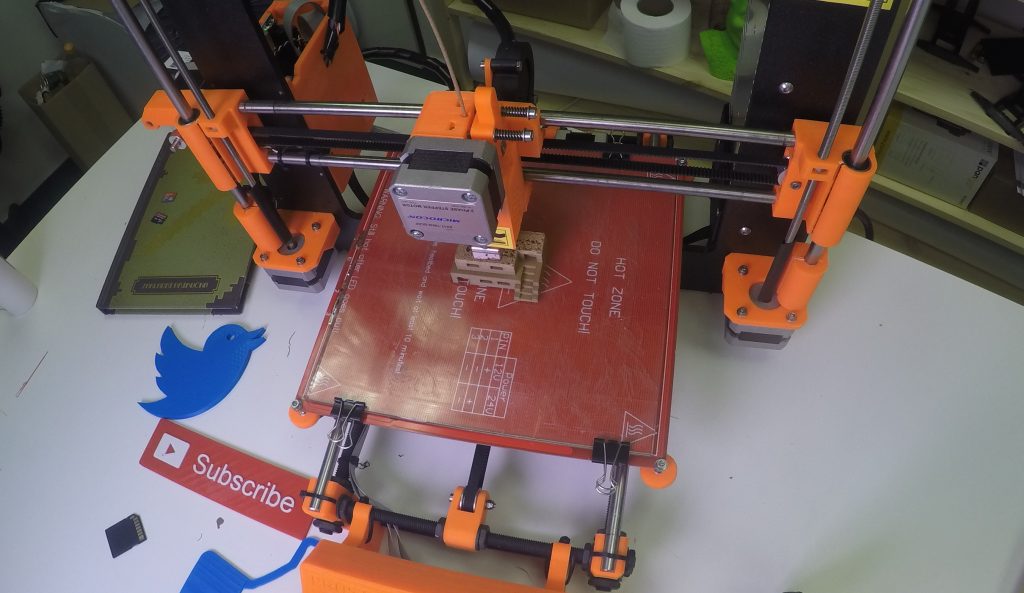
At first I have printed six trees, the Minecraft characters and the pad. After that I wanted the cabin to stand out, so I scaled it to 400% and printed.
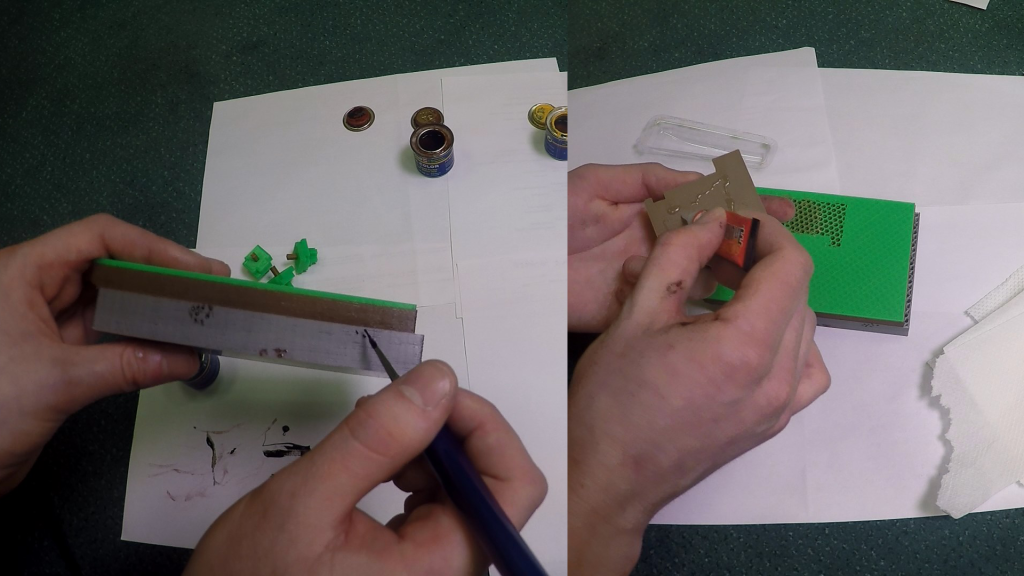
Before gluing the parts together I painted the details on the pad.
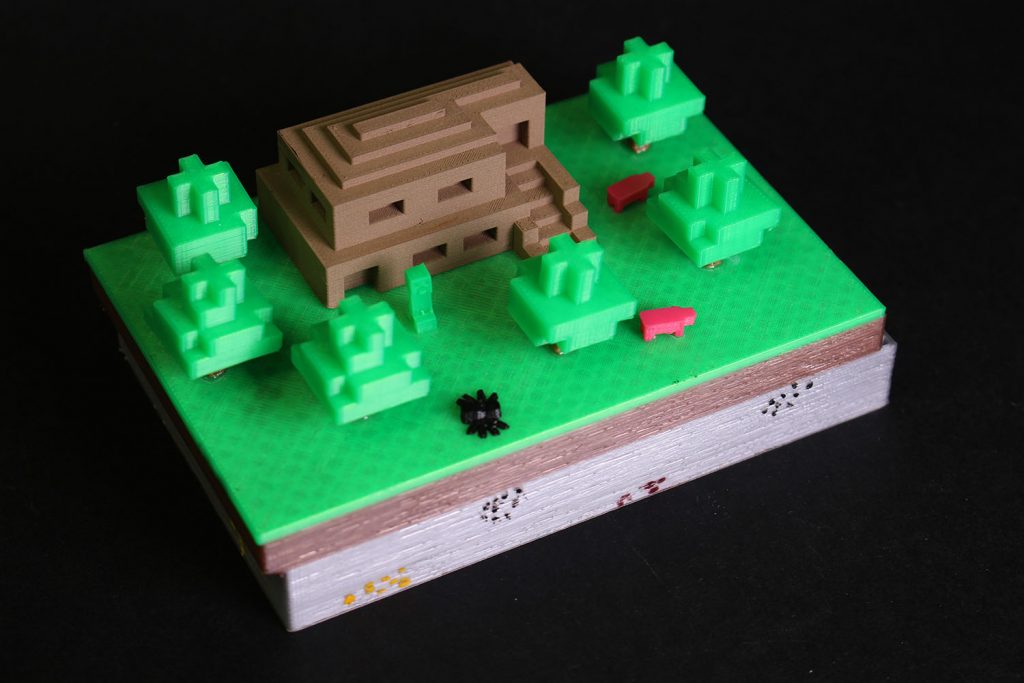
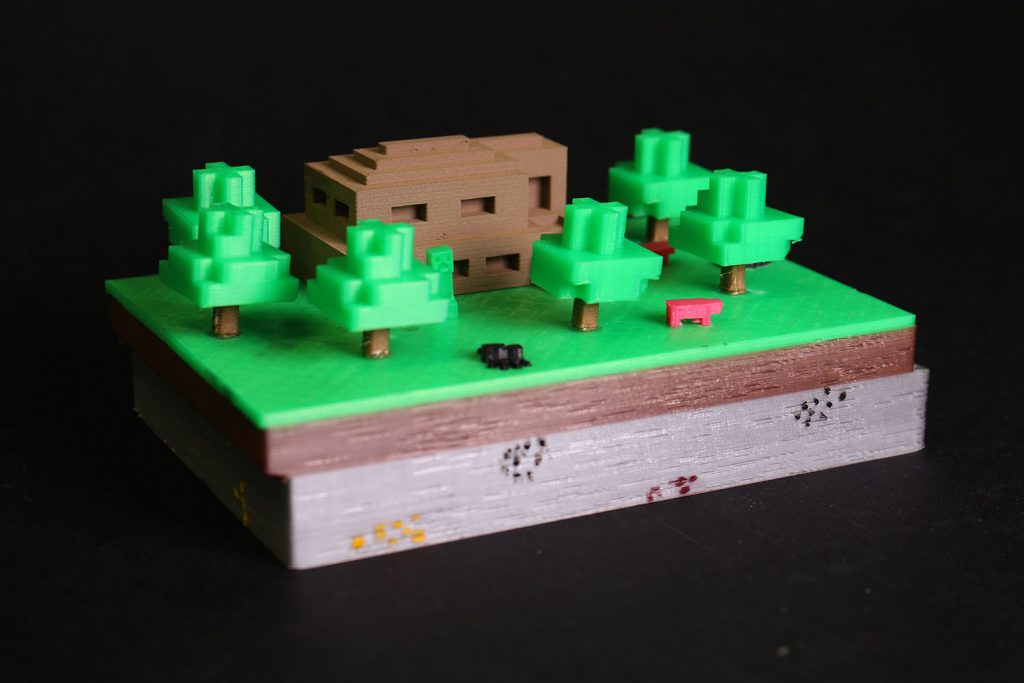
And at last I glued everything together. Creating models in Minecraft is quite easy. Share your own creations with us 🙂
You can download our model from thingiverse.

I have a few minutes of free time at my disposal, so I would like to inform you about the site https://askboosters.gg/wow-classic-boosting/ which I like to use in order to keep my gaming account always in the top positions.