


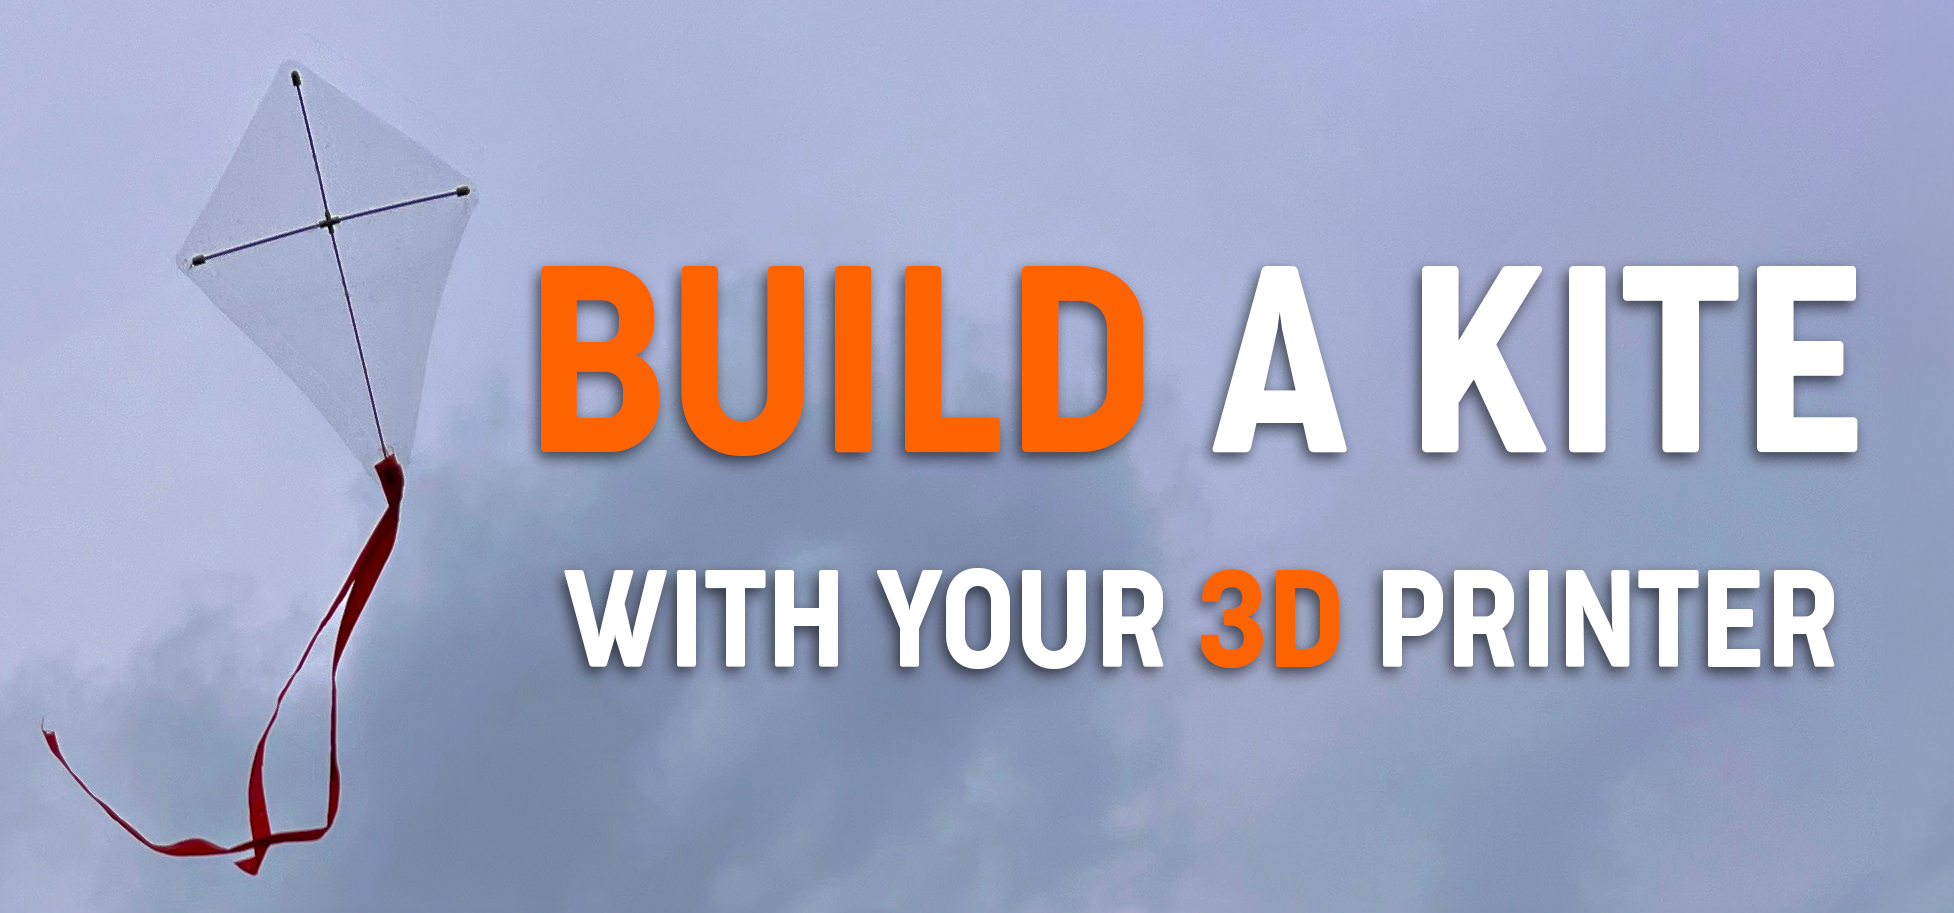
Today we bring you a little simpler project than usual, yet still fun and engaging. How about creating something, that actually flies, but does not require any electronic components or complex mechanics, and you can build it with your children? You’ve probably already used this at some point in your life, and if not, you’ll surely enjoy it! That’s right, we’re talking about building a kite! 🙂
Building a kite from scratch is pretty cool, not just because it’s quick and easy, but also because it demonstrates a few basic physics principles in action. After all, the way kites work is quite exciting. 🙂
Of course, kite-building technology is slightly older than 3D printing, so you may ask what are the advantages of using 3D printed parts instead of, for example, wooden ones. Well, the biggest advantage is that you can iterate and fine-tune individual components and print them without much effort. Plus if any part gets damaged, you can easily print a dozen more. And if the construction design of your kite becomes more complex, with a 3D print you can easily follow up and create even the most complicated parts.
Let’s design it
We’ll design the whole kite construction to be easy to print with standard-sized 3D printers, such as MK4 so you can easily experiment with the shape and, for instance, create a literal dragon to fly with.
The basic kite shape is usually a diamond one. Its construction is simple, you just need to make a cross connector that holds each axis of the kite and then four holders – one for each end, where the foil will later be attached. You don’t have to print the axes and you can use e.g. a wooden skewer instead, but remember that the kite should be as light as possible. Also, depending on your choice of axis shape, make the opening in the holders circular or square. Square-shaped axes are preferable because they are easier to print and to align. A round one may cause the axis to become slightly misaligned, which can be tricky to fix.
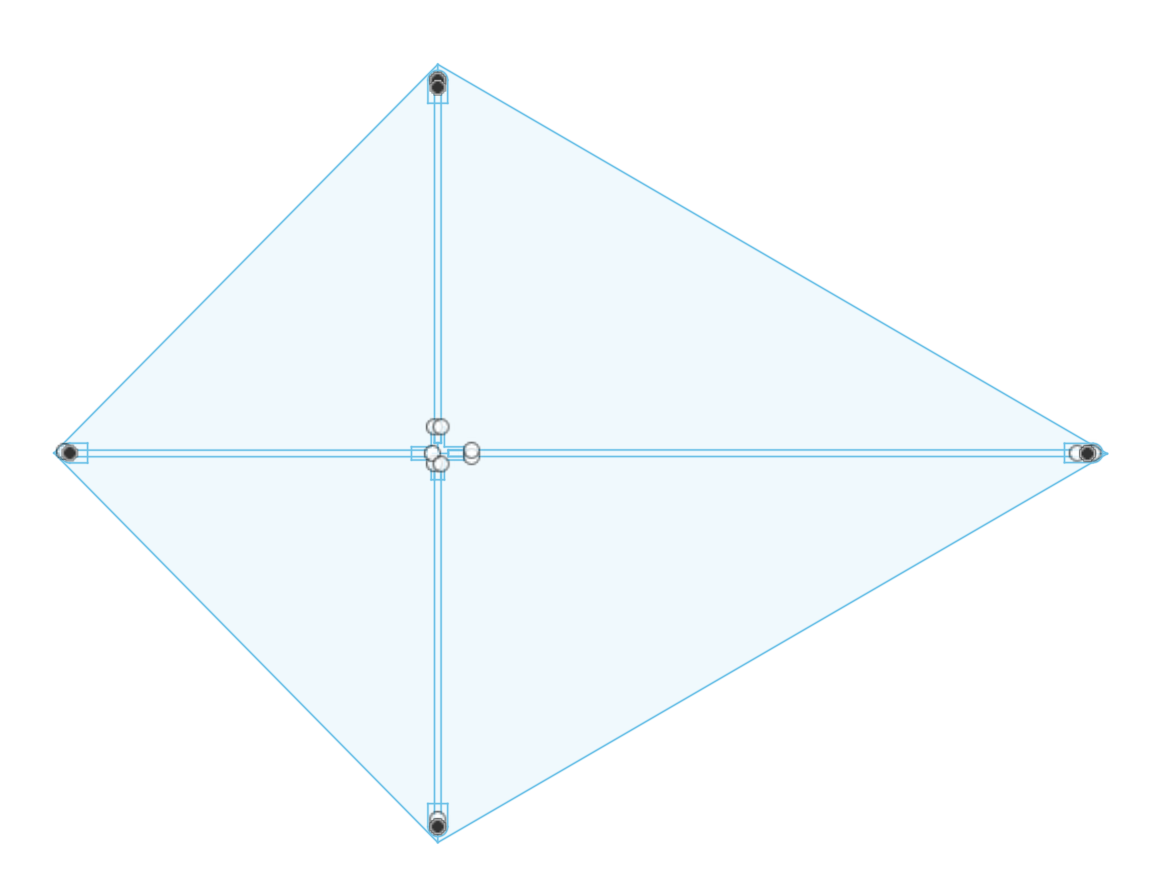
Simple blueprint sketch of a kite, that gives us a basic idea about its shape and construction
As the overall dimensions of our kite will be approximately 30 cm in width and 40 cm in height, we’ll need three shorter axes with a 13.5 cm length and a longer one with a 24 cm length. Open your favorite 3D modeling software and create a 2.35 x 2.35 mm square, which you can then extrude by the desired value, i.e. 13.5 cm and 24 cm. This way, you’ll make easily printable axes.
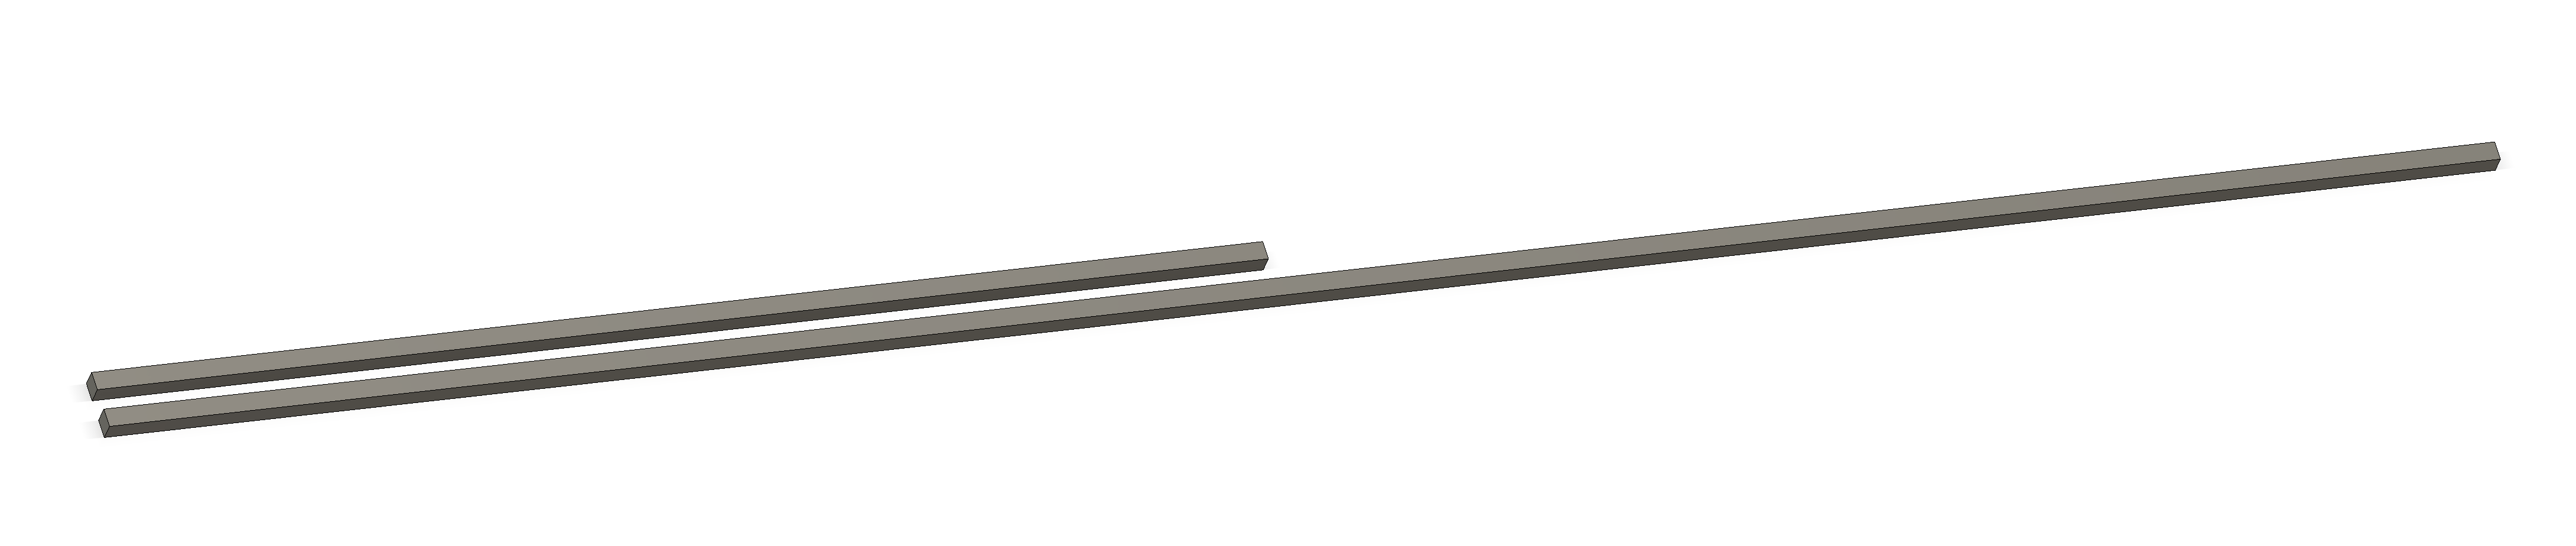
Two types of axes with different lengths, we will need three shorter ones and one longer
Now we can create the holders to which the axes and the foil will be attached. For our diamond shape, we’ll need four of them. The dimensions are approximately 12.5 x 7.5 mm x 4.5 mm, with a 2.5 x 2.5 mm opening in a square shape. The depth of the opening is 6 mm.
The foil can later be glued to the holders using glue or double-sided tape. However, if you want to separate the foil easily, you can make a small hole in the middle of the holder, and add a small plug, which slides in over the foil and holds it in place. To do this, we make a cylindrical plug, slightly smaller than the hole so that it fits just right and does not fall out. The diameter of the circular opening is 3.8 mm with a depth of 4 mm. We will also create the securing plug, with dimensions of 3.7 mm in diameter and 3 mm in height.

Axis holder and securing plug
The only remaining part of the construction is the cross connector, so let’s create it now. The two perpendicular cross arms have a length of 20 mm and a width and height of 5 mm. Then make a shape for the opening with 2.5 x 2.5 mm dimensions on the end of each arm, and cut it with the extrusion tool by a -6 mm. Don’t forget to add the opening for the securing plug! You may also have to play around with the dimensions tolerances so everything fits well. You can extend or shorten the depth of the opening, as well as the length of each axis with the extrusion tool.
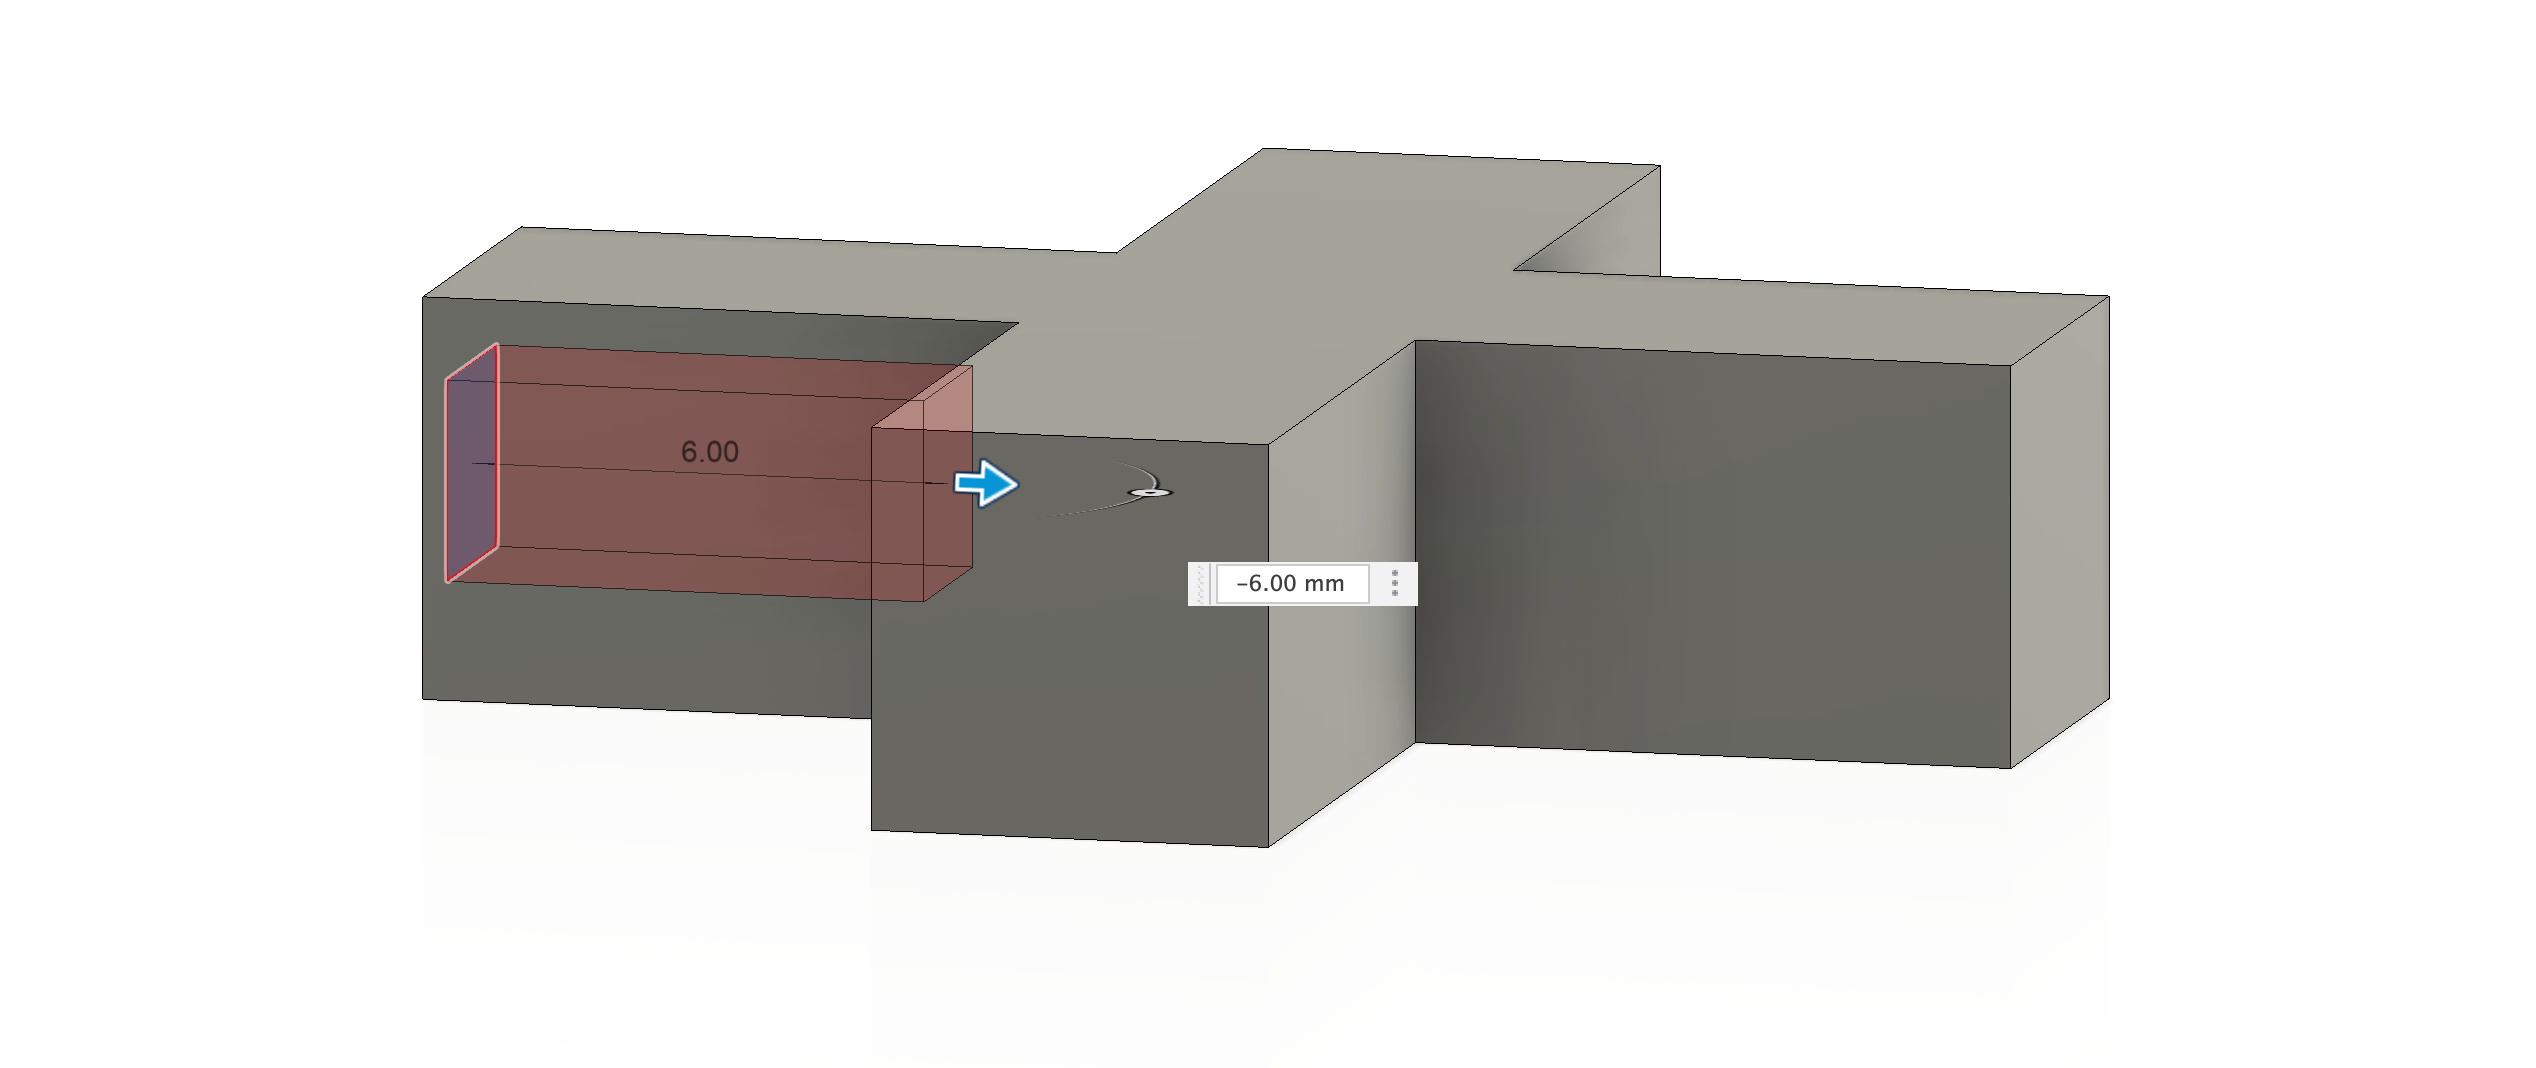
Cross connector
Assembly time
We have all our 3D-printed parts ready, so now we proceed to the assembly process. Since we chose the simplest kite model, the assembly is pretty straightforward. Just assemble all the parts, except for the securing plugs, and you are done. No glue is needed, but if you’re sure you won’t disassemble the kite, feel free to use it.
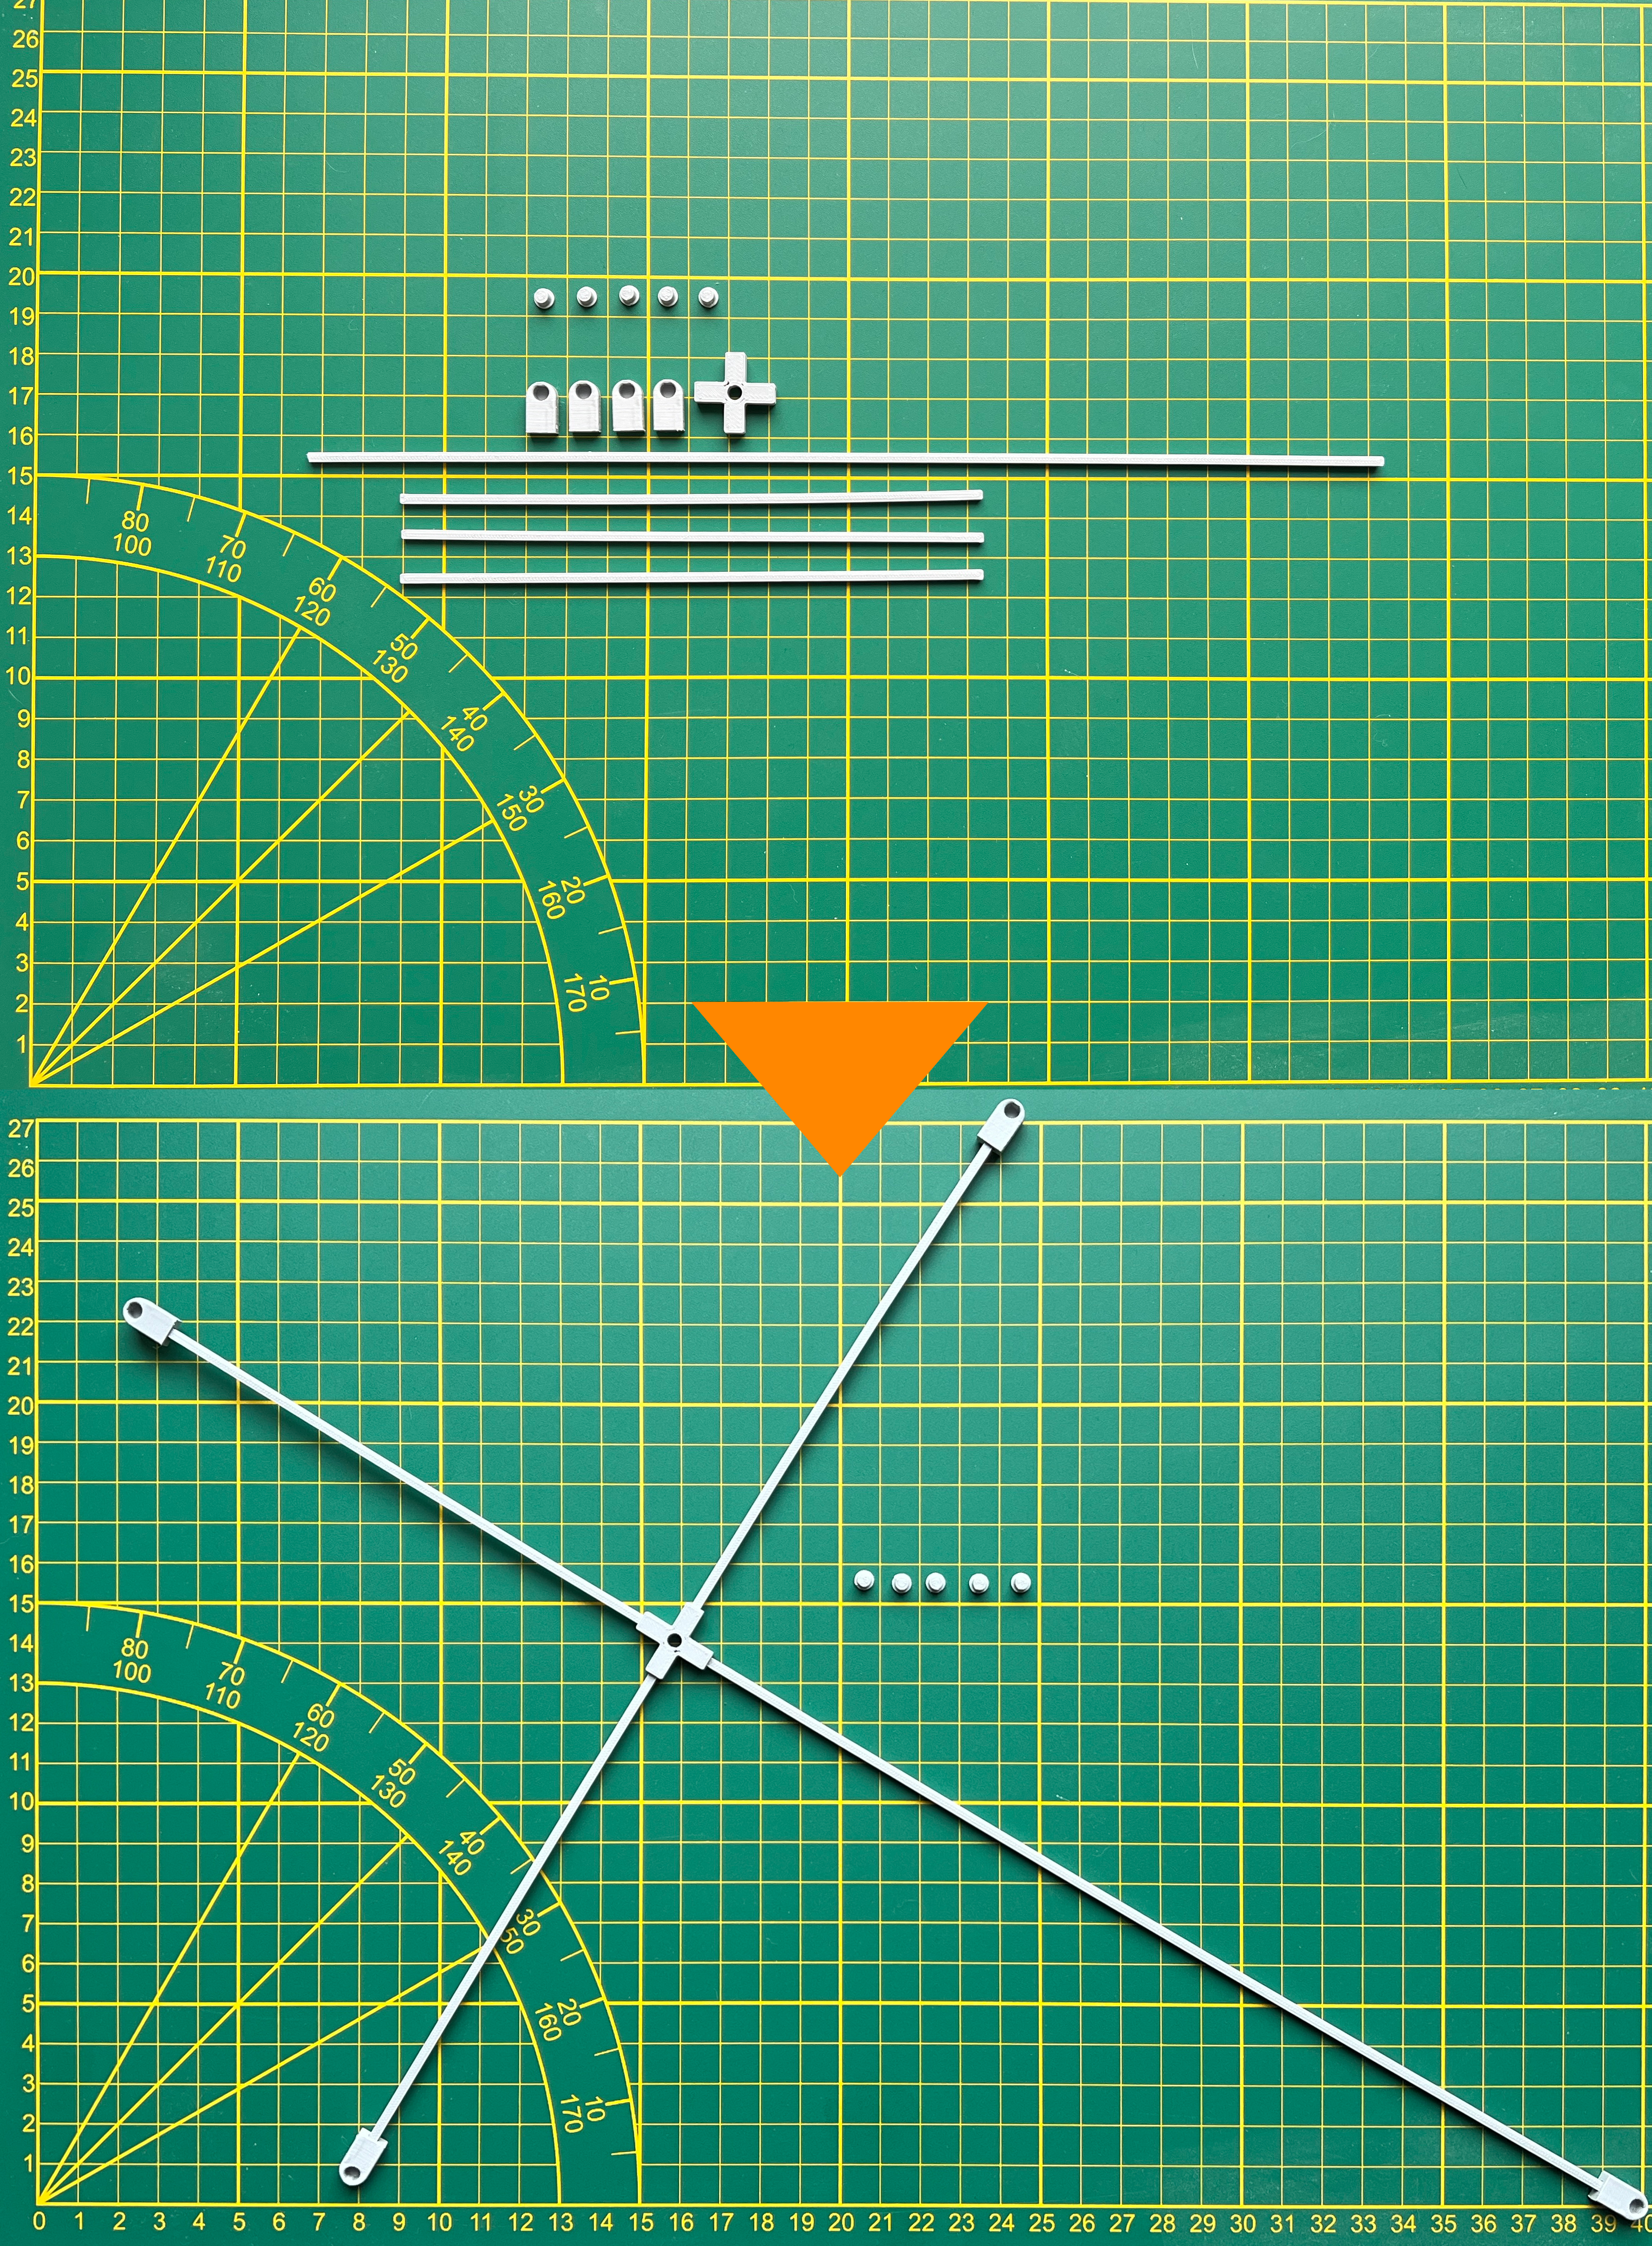
Assembly is quick and easy
The main construction is done, but in its current condition, your kite would have a hard time flying. 🙂 For that, we need two other components – a foil and a piece of string long enough for your kite to fly as high as possible. You can use any type of foil, that is light, yet durable enough to withstand the onslaught of wind. Since the construction is not glued to the foil, you can easily experiment with various types of foil. An A4 transparent document folder will do the trick in this case.
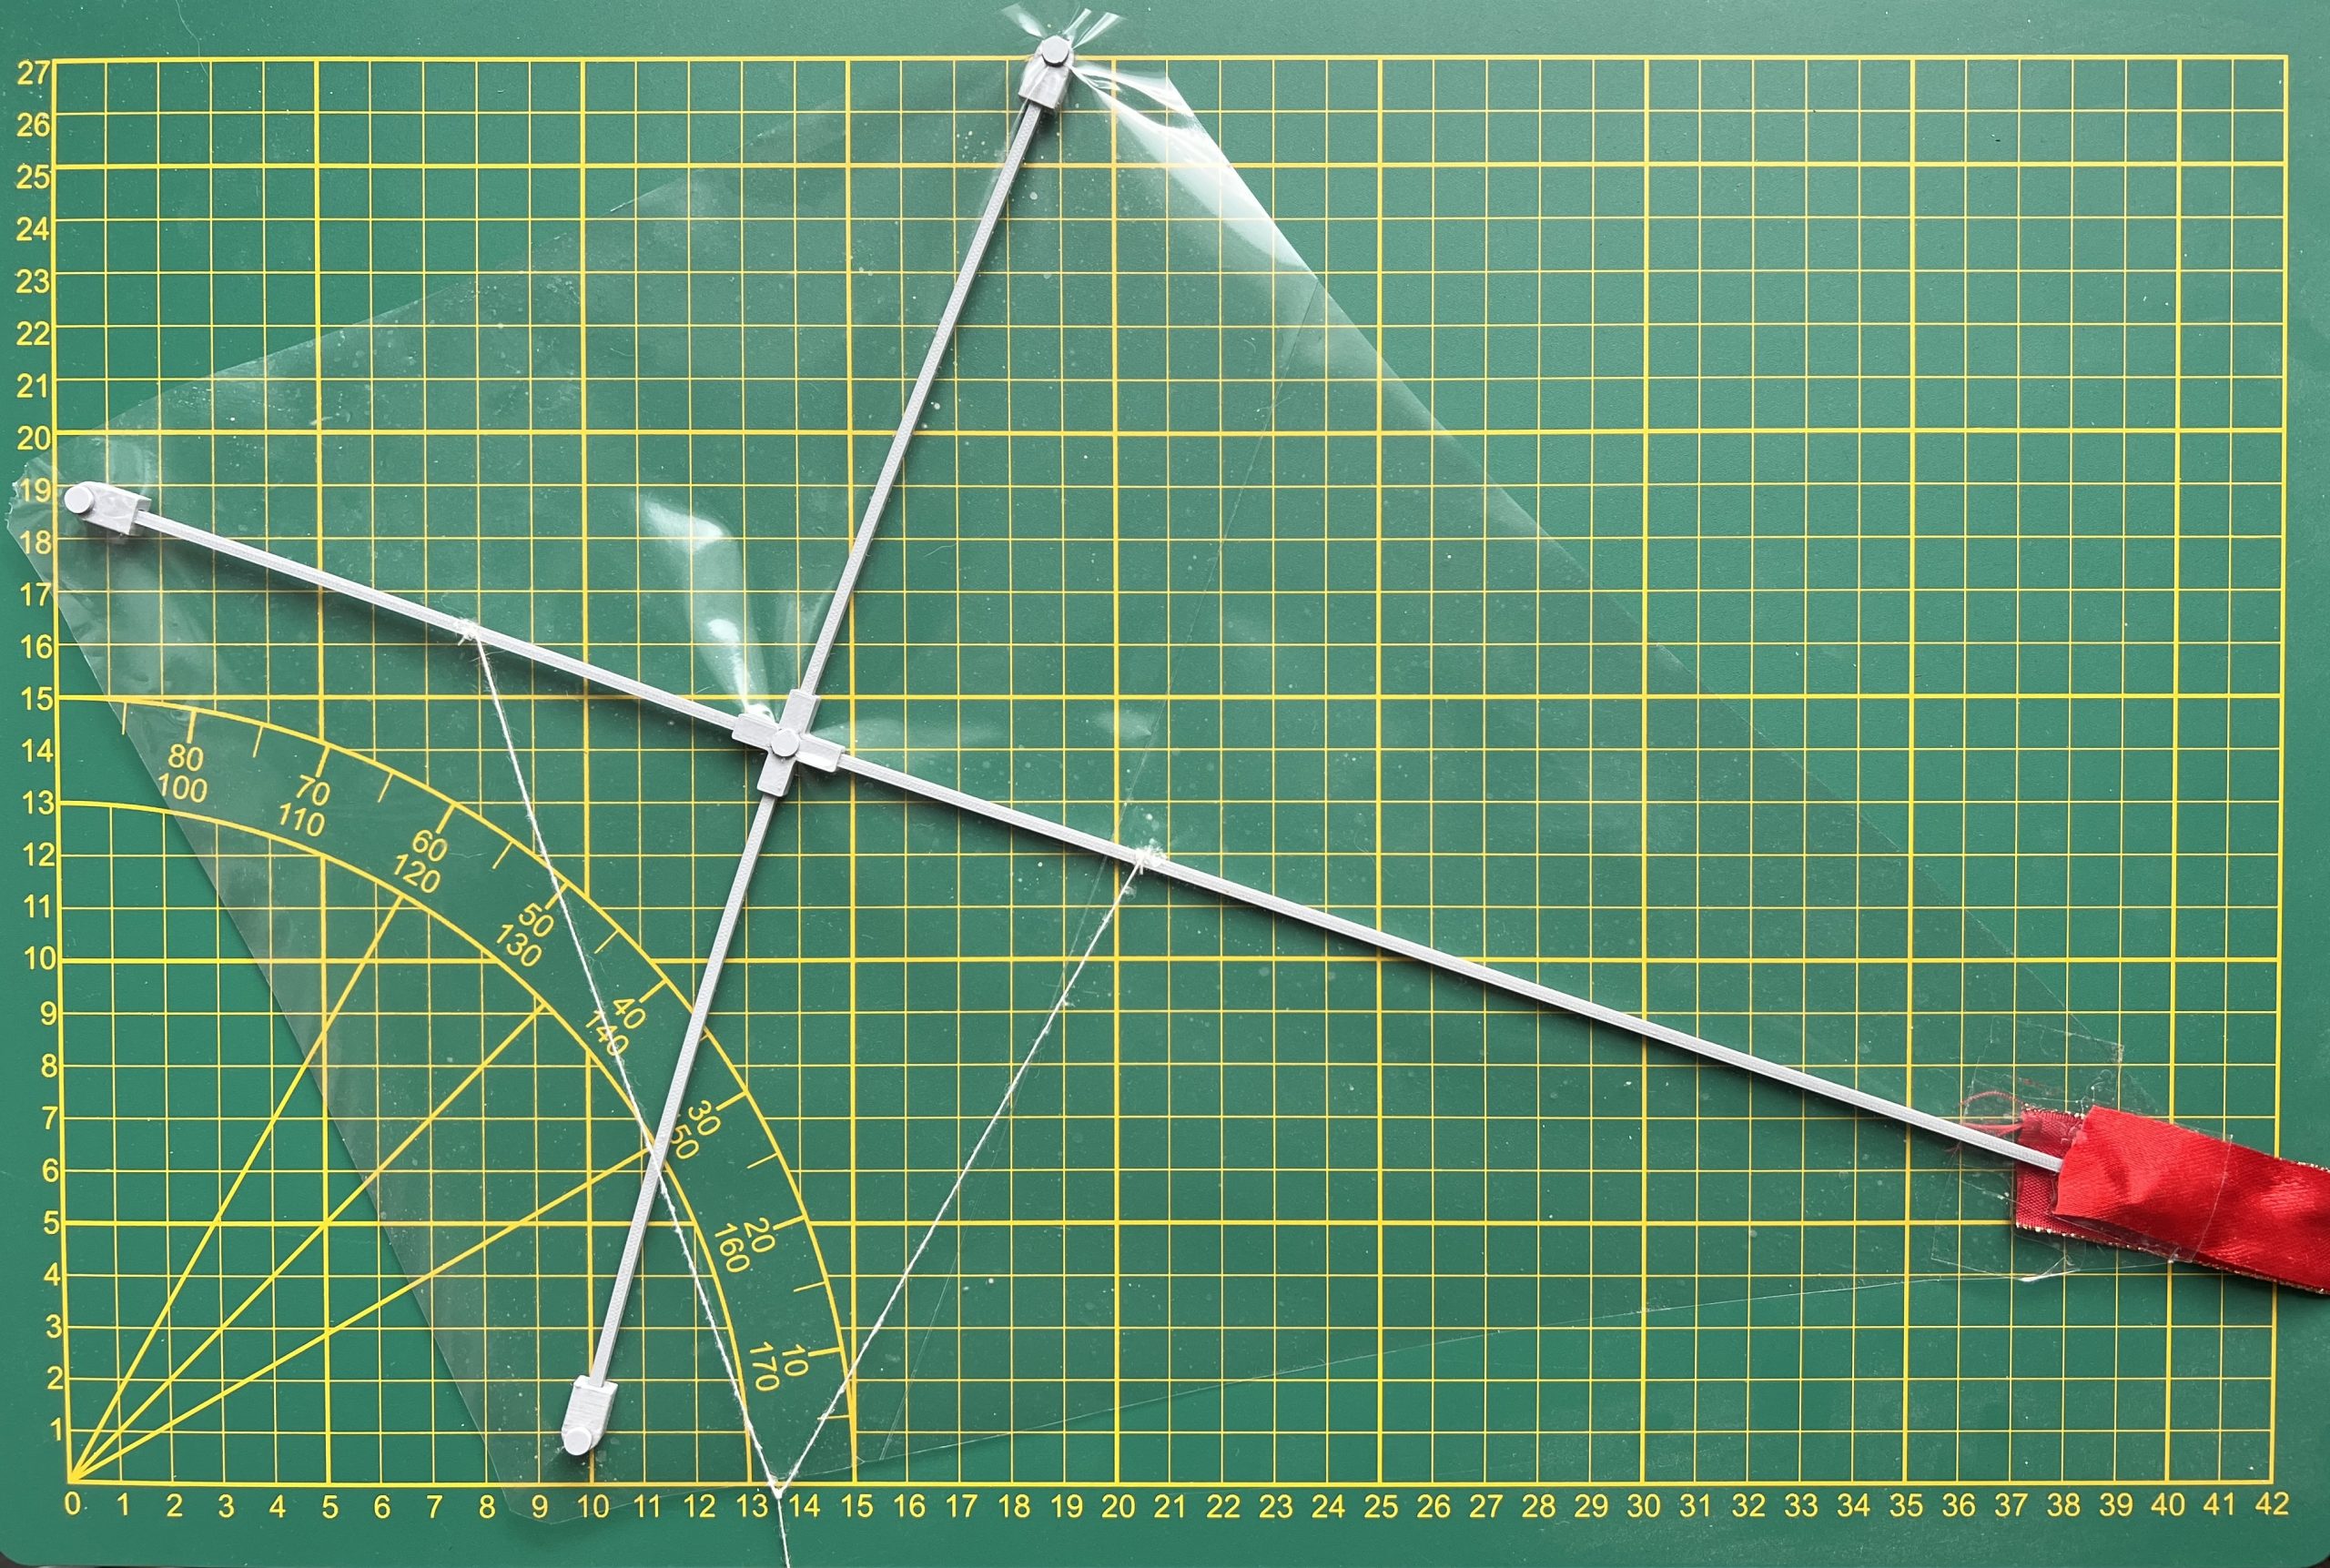
Cut it open so it has A3 dimensions and you can then attach it to the kite’s construction. Place the foil on the construction, secure the center part with a plug, and then stretch the foil over the frame and secure the rest of it with the other plugs. Ensure the foil is stretched tight and the structure remains stable, so the axes don’t bend or break. Then cut the foil into the final shape of a diamond kite and cut two small holes in the foil to pull a string through. One hole should be in the middle of the top axis’ length and the other approximately in the first third of the bottom axis, as shown in the picture below.

Diamond-shaped foil, attached to the kite structure. The foil is clear, so it is a little hard to see but hopefully you get the idea :). Cut the small holes in the foil in marked positions.
First, cut the small portion of the string (approximately 29 cm), pull each end through the hole in the foil, and tie it to each axis. The knots’ positions and the string’s length are important parts of the building process because if these are incorrect, the kite won’t hold its position in the air and will keep rotating and failing. You can check the positions in the following picture. Then loosely tie the rest of your string to this short string so its position can be adjusted later.
Also, to keep the kite stable in the air, you need to weigh down the bottom of the kite with a tail, which can be made out of a longer piece of foil, or as in our case, a ribbon. Ensure it’s heavy enough to keep the kite stable in the air. For now, just securing the tail with the piece of tape is fine. If the kite is stable and everything works correctly, you can try to model and print the tail holder – that’s your challenge! 😉
Well done, your kite is now complete! 🙂 And now for the last part of the project, before the real fun can begin (although, the building process is part of the fun, isn’t it?).
Complete kite with correctly positioned string and tail attached. As you can see, this little guy has already seen a few droplets of rain outside :).
We’ll need something to attach the string to, so we’ll design and print a simple string handle. This handle doesn’t need any special shape, so feel free to create your own design or just copy ours. Remember, that during kite flying, you’ll need to quickly wind/unwind the string without looking at it, so create the winding part of the handle big enough.

The handle can look like this, but feel free to copy any standard design or make a completely new one.
Pull the string through the hole in the handle, secure it with a knot, and wind it around the winder.

Of course, you and the kids can decorate and paint it with any designs you like, feel free to do so! We hope you like this interpretation of the famous human-spider superhero!
Make it fly!
Now, let’s test it! 😎Hold your kite against the wind and if you can feel the wind leaning into the foil, slowly release it and then keep the string taut. You may also have to run a bit. The kite should take off to the sky! If it doesn’t, just play around with the string position or tail weight and your kite should be flying in no time. If it does, you did it! You’ve made your own kite, congratulations 🎉!
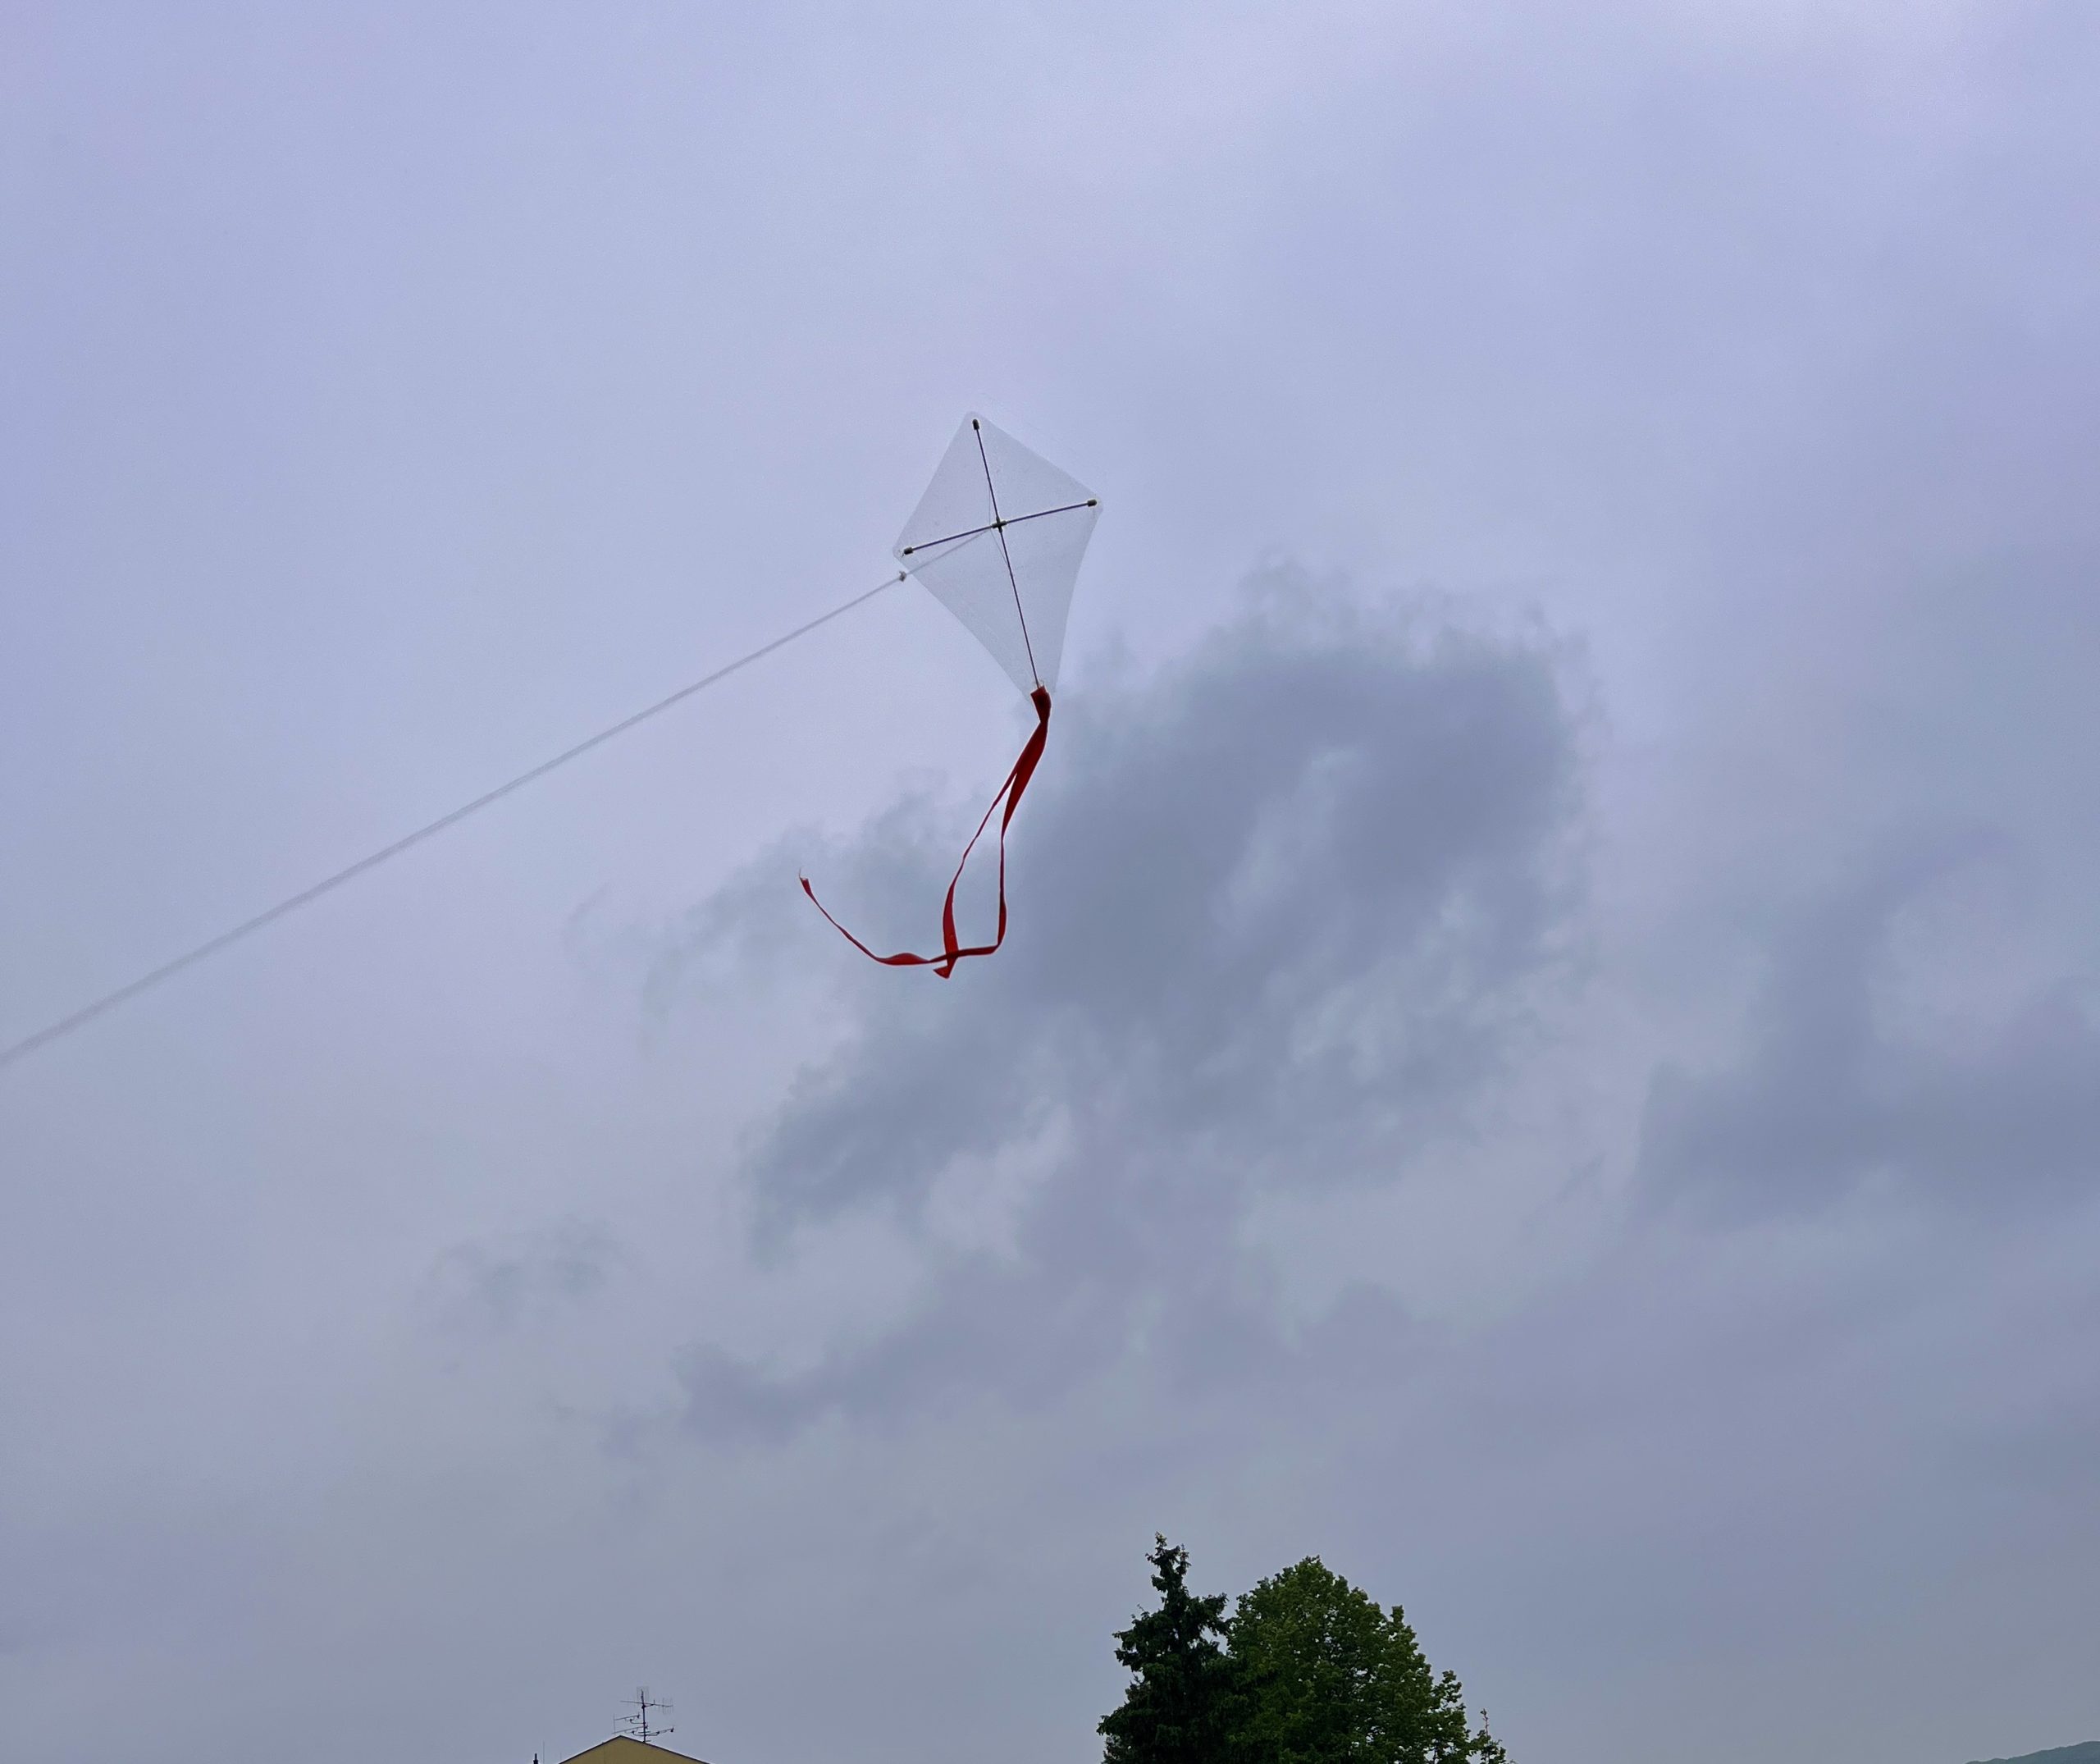
Finished kite, flying in the air. You can see whether it is stable, and if not, modify the individual parts of the construction
Enjoy this simple kite, tweak its design, let your imagination fly wild, and make it bigger and better! You can download the model of this kite from Printables, as well as many other ready-made kites and accessories.
Happy printing (and kite flying)! 🪁
vidalista 60mg
https://boldhim.com/products/vidalista-60