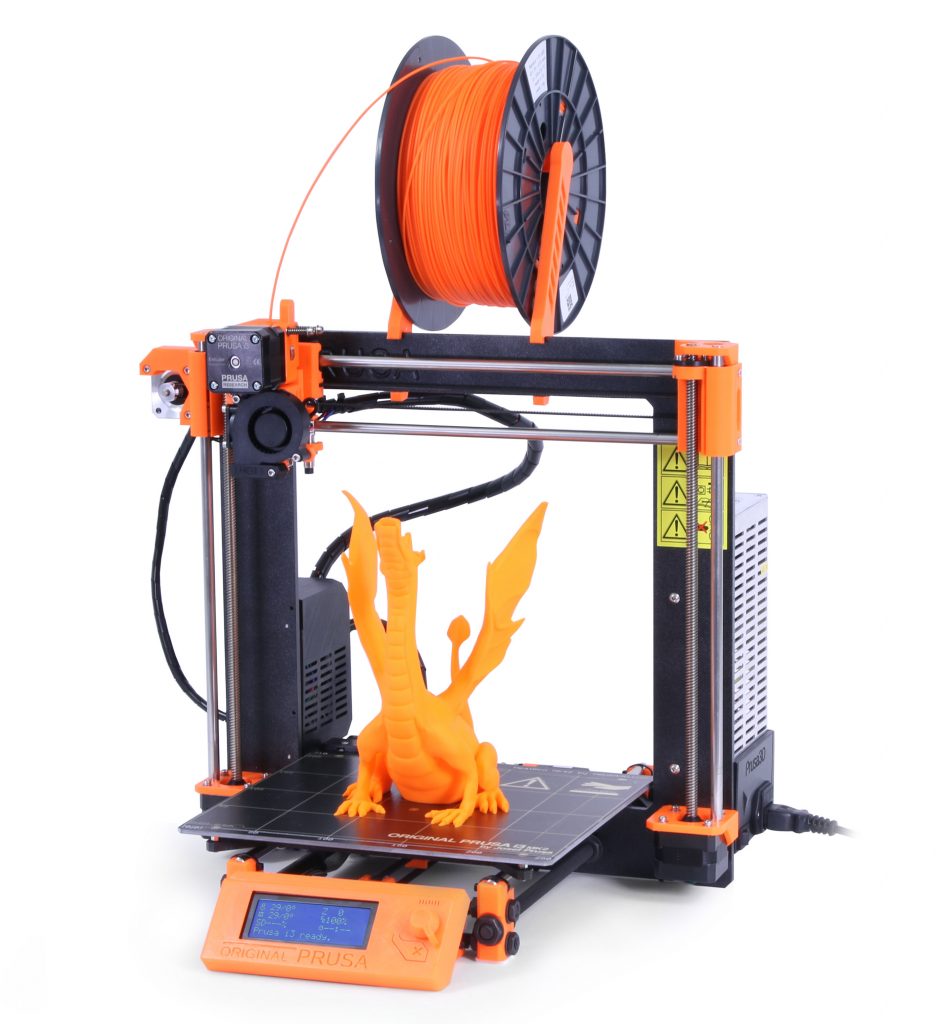
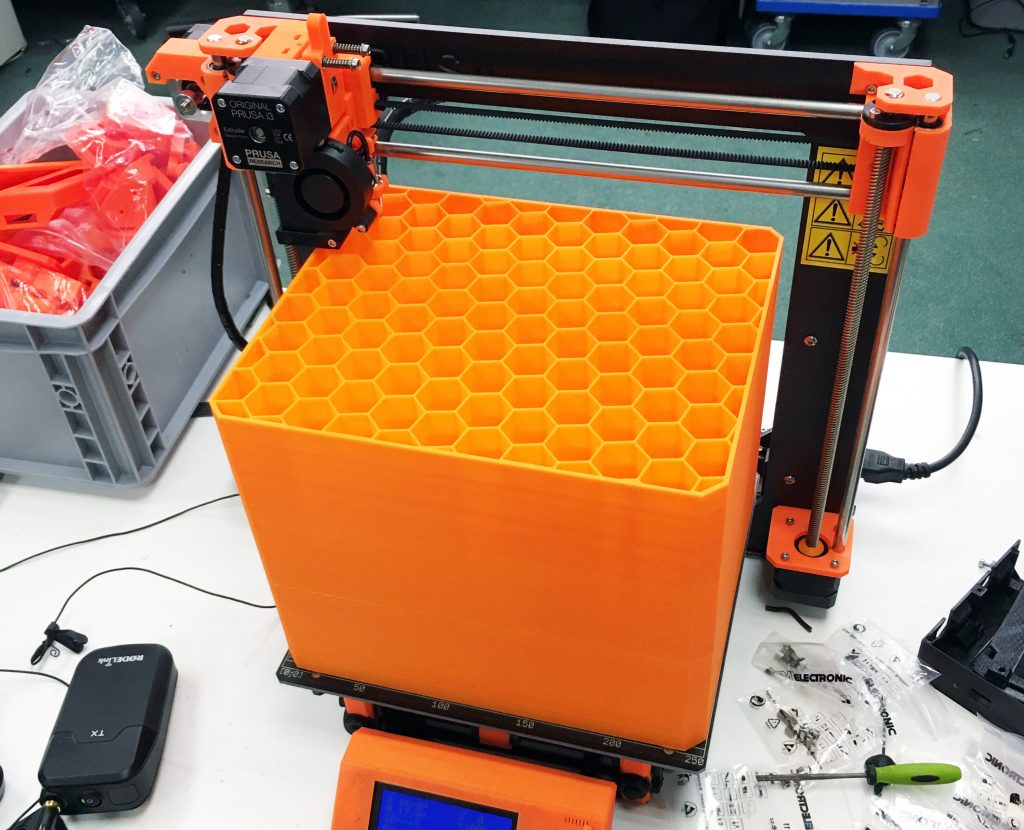
Hi guys, I wrote about our growth couple of months ago and it has been almost 9 months since we switched to 1.75mm. It’s about time for a new release, right?! I am very happy that we proved people want to use quality parts. What is the point of buying the cheapest kit when you eventually end up upgrading all the components? I had plenty of time and a few thousands printers to collect all the feedback on the already awesome Original i3 so I decided to push it even further and create the ultimate i3 design. So let’s take a look at the brand new Original Prusa i3 MK2 3D printer!
New features:
- New HeatBed MK42!
- Hassle free PEI print surface
- Integrated leadscrew Z axis
- Full mesh bed auto leveling
- Improved construction
- Faster printing and more materials with E3D V6Full
- Improved firmware and printer self test
- Slicer support including Windows 10
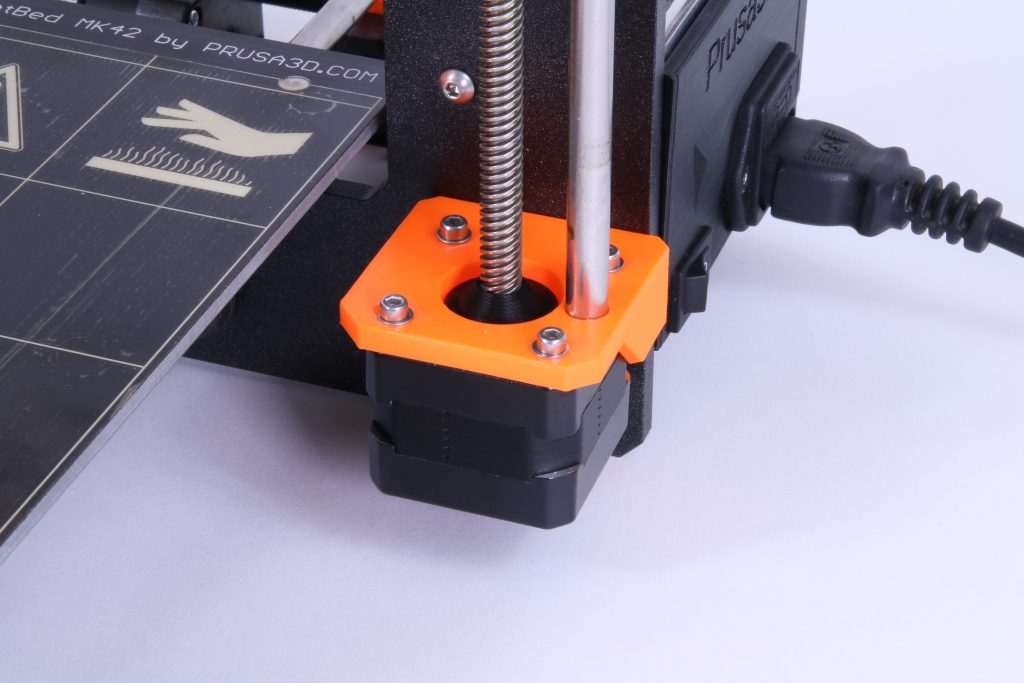
New HeatBed MK42!
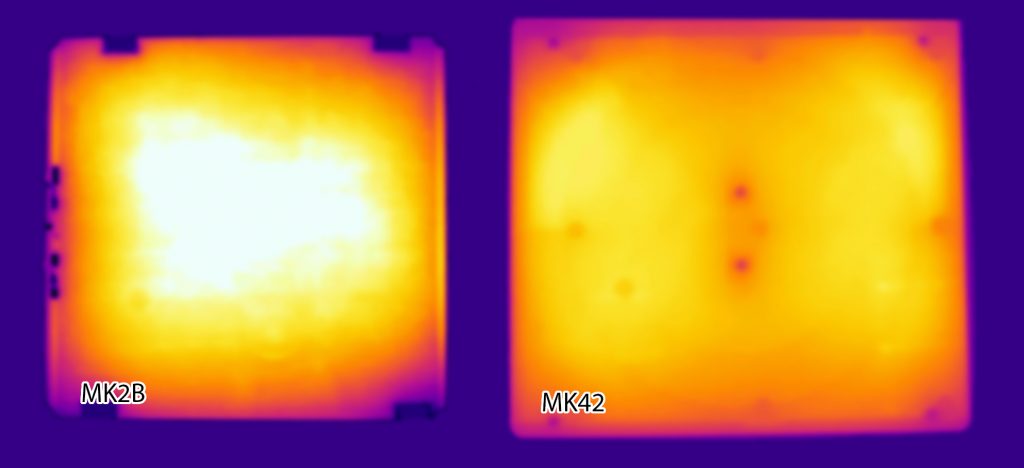
Why is it special? Everything in this release is tied to it. First, I finally got to finish my idea of compensating for cold corners. We took our thermal cam and iterated over couple of months until we got the best heat distribution. The problem with normal heated beds is the temperature difference. For example if you measure the center against the corners of the glass plane that most people print on, you will see roughly 15°C difference. This can play a big role in printing materials tending to warp. My final design uses three power zones where the corners heat couple °C more than the center to form warm air shield at the edges of the print bed. This is a game changer in printing of bigger parts!
You might ask why I called it MK42? 42 is the answer to the Ultimate Question of Life, the Universe, and Everything including heated beds 😉 This number is also very close to the amount of prototypes we had made until everything was right!
Hassle free PEI print surface
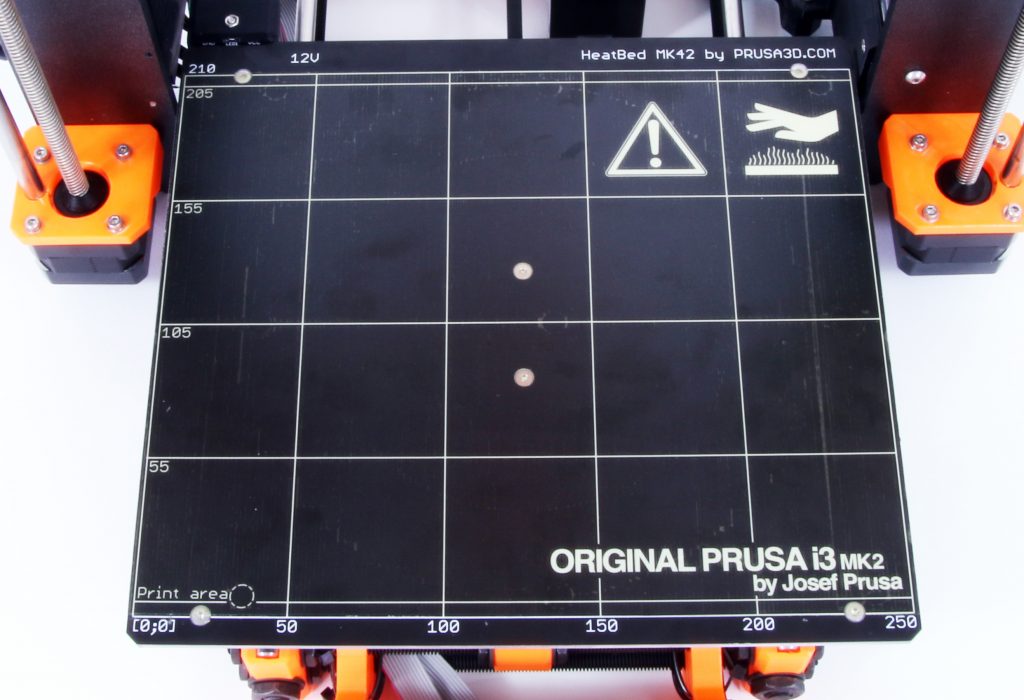
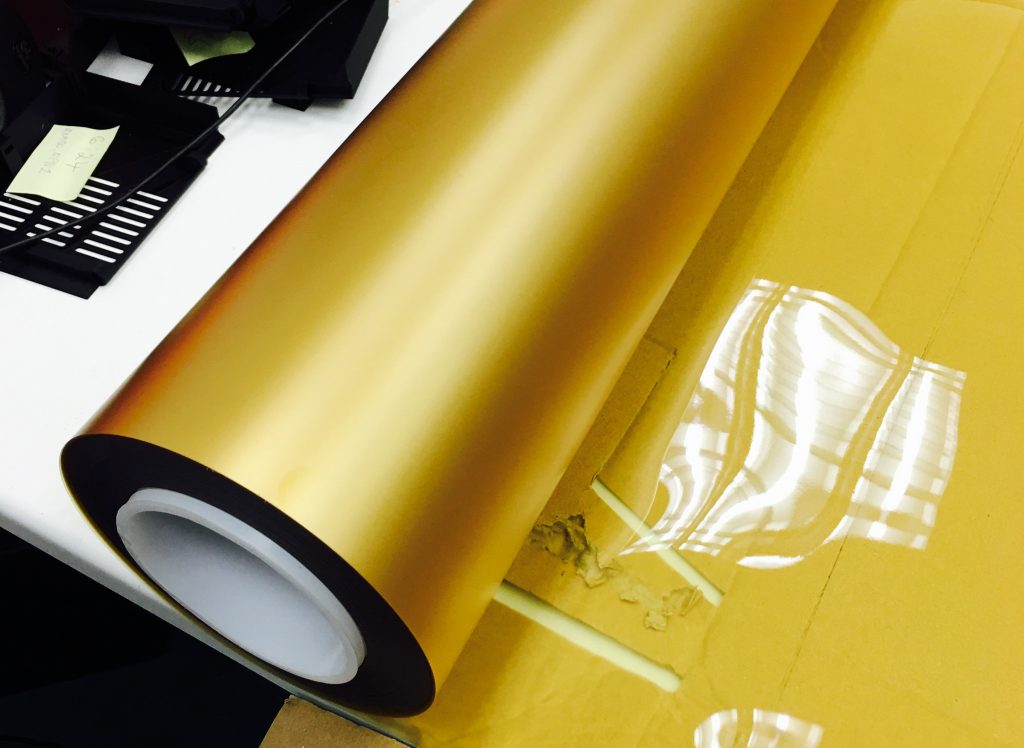
We ditched the glass. Glass is a great insulator which can sometimes prevent the heated bed from doing it’s job – heating up the object to prevent warping. Only reason to use glass was to get a flat surface. No material sticks to it on its own and that means you have to put something on the surface. Usually messy glue and ABS Juice. We needed an alternative! We experimented with velvet polycarbonate film (BuildTak) which was no good. It is very easy to damage the thing and fuse object to it permanently. Kapton made a comeback on some printers so we decided to test it too, but it is still too easy to tear and degrades over time. Painters tape is only good for PLA and we needed something for all the materials. Later we found Ultem PEI which proved to be almost indestructible! You can crash fully heated nozzle into the surface without damaging it. We even laminate it directly on top of the heater traces. This way the heat transfer from the bed to the object is pretty much as good as it gets! Heatbed substrate is also much thicker at 3mm, which insulates the bottom side. These changes allow for the true edge to edge printing.
This also led to a possibility of ditching few more annoying things: binder clips, glue and ABS juice. The bed is completely hassle free for printing PLA, ABS, PET, FLEX and many more.
Oh and one more thing, it is 31% larger at 250x210x200 mm and fits into the same frame! That’s a bigger volume than Ultimaker 2+ and Zortrax M200!
Integrated leadscrew Z axis
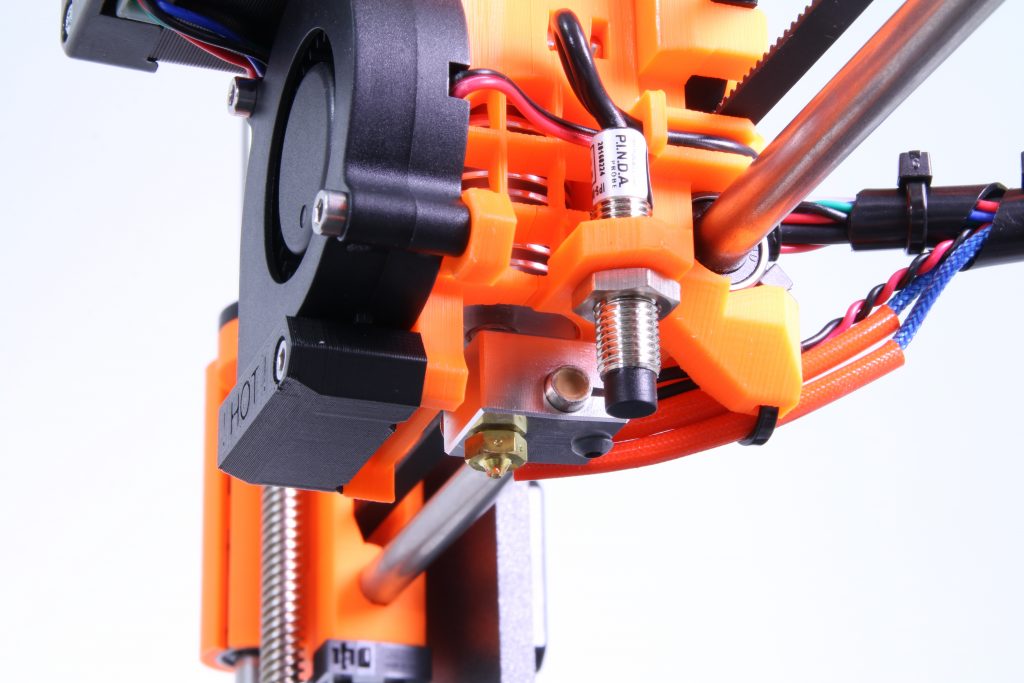
You can see a lot of clones using trapezoidal threads for Z axis but they always have one big problem. Cheap, springy, spongy coupler which introduces wobble into the print. From my experience M5 threaded rod with flexible tube coupling works better. But there is one way to improve – ditch the coupling. We ended up having our custom motors manufactured with integrated trapezoidal lead screws. This means no coupling, no wobble and awesome layer alignment!
This way Z axis got also way faster and more wear resistant which leads to possibility of using Z Lift where the nozzle lifts up on travel moves and prevents scarring (leaving unpleasant mark on already finished layer, by dragging the nozzle on top of it). The i3 MK2 is an ideal platform for this as the extruder is quite small and won’t wobble compared to boxed printers which would have to quickly lower and raise a heavy print bed in Z axis to achieve something similar but not quite as the object moves the whole time as well causing further issues.
A wear resistant Z axis is very important for one more reason, autocalibration!
Full mesh bed auto leveling
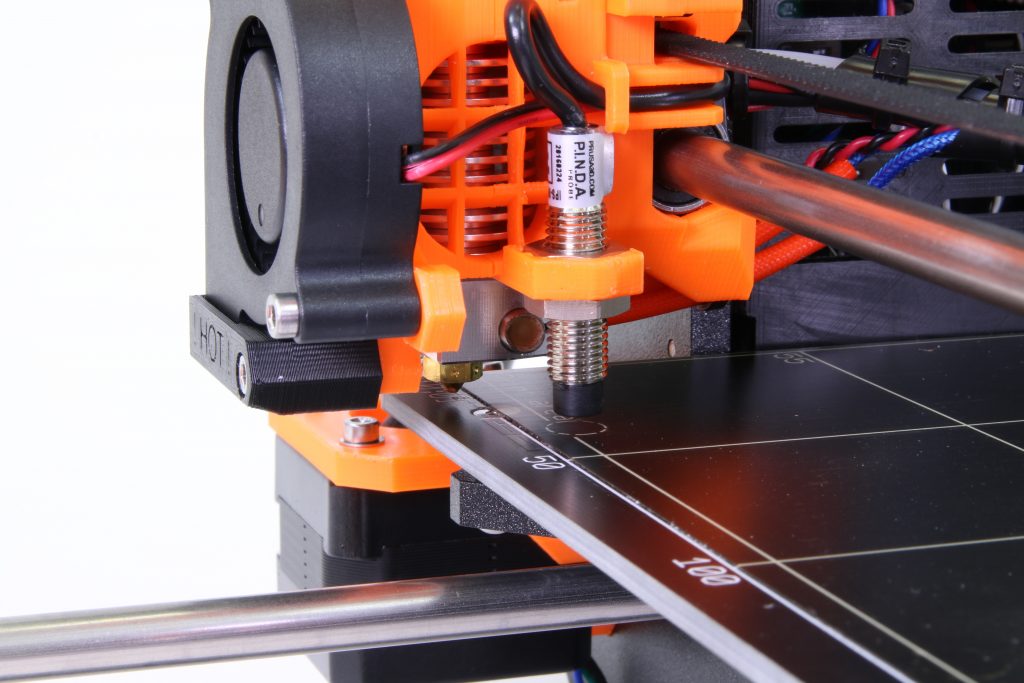
The feature our users wanted the most is autocalibration. This proved to be more difficult than we expected, just enabling the feature in Marlin does not cut it. The more points you probe, the more inaccurate the calibration got. Eventually we completely rewrote this part of Marlin. And we now not only compensate for the tilt of the heatbed but also even its slightest curvatures. We developed specialized 9 calibration points on the bed substrate to get great repeatability. As it turns out, you can’t just use induction probes on normal PCB heated beds. The printer then approximates 15×15 3D grid, basically 3D model of the bed tilt and curvature and uses it to compensate in Z axis. This way, you will always get perfect first layer and the heatbed can be completely bolted to the printer frame. Hassle free.
Improved construction
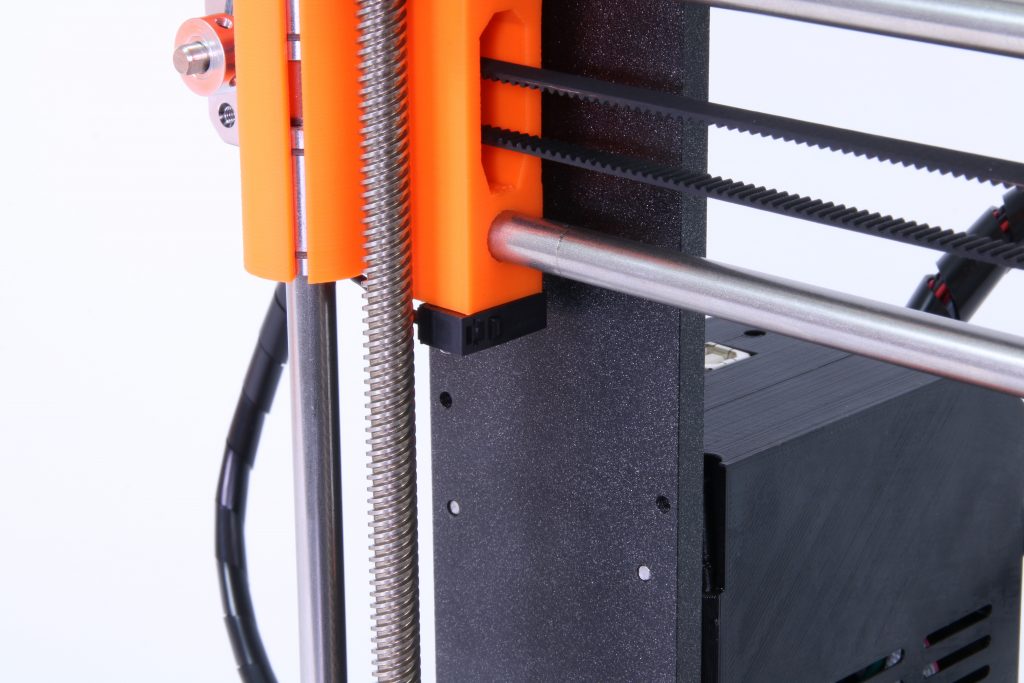
We improved the frame stability with connections between the main frame and Y axis without affecting the sexy i3 look 🙂
As I have already described, the bed is now completely bolted to the Y carriage with classic corner screws and two more in the center. This makes it easier to safely transport and ship the printer.
Electronics cover is completely reworked and gained an easy access door. Well, actually only one printed part remains the same as in the old release – y-idler 🙂
LCD cover has radically improved too, mainly to easily guide the SD card into the slot.
Faster printing and more materials
We upgraded the hotend from E3D V6Lite to E3D V6Full. This way we can push more plastic out faster which is very handy with the now increased build volume! Although we also had to improve the print cooling to be able to cool the extruded material in time. Temperature limit is increased to 300°C which allows us to print with few more advanced polymers like PC and more Nylon blends.
V6Lite had occasional problems with the longevity of the PTFE tube inside it, this is solved with V6Full. You get state of the art top of the line hotend.
Improved firmware and printer self test
We continue to improve our fork of Marlin to be usable by real humans.
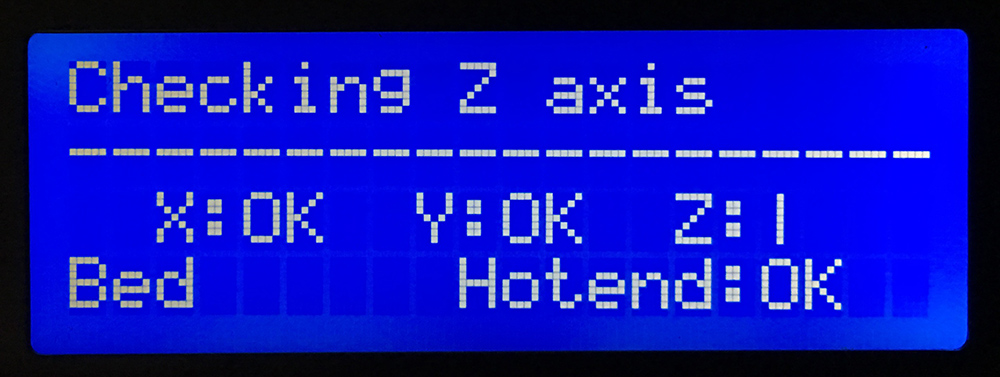
Most notable new feature is printer self test. Printer is able to diagnose itself after you finish building it and guide you to fix the problems on it’s LCD! We never saw a 3D printer kit which is able to do that.
We added printer statistics counting the filament used and time elapsed. Both for actual print and also for the lifetime of the printer.
Slicer support including Windows 10
We continue to extend the range of provided slicing software support.
We provide settings for Slic3r, Cura, Simplify3D, Kisslicer and latest addition for MK2 is a Windows 10 support! You can check this out at Microsoft booth at Makerfaire Bay Area 2016!
In Slic3r I created settings for more than 12 materials!
Upgradability
The best part is, if you own an older Original Prusa i3 with Rambo Mini you can upgrade to MK2 without buying the whole printer. We are extremely proud of this, to keep thousands of our users up to date with latest hardware and not forcing them to buy a new printer. And we can promise, MK2 will be upgradable in the future too!
What do you think about all the upgrades? Let us know 🙂
Once again, me and my team want to thank you for all the awesome feedback and all the 5 star reviews. Please keep sending us your projects, ideas and improvements. You are awesome 🙂
Original Prusa i3 MK2 kit is currently available for preorder for 699 USD (or 739 EUR with VAT) and will be shipping very soon…
I’d be happy if I hadn’t just bought my original i3 and received it 3 days ago.
Hello Michael,
please, just contact us at [email protected] and we’ll give you the upgrade kit for discounted price 🙂
I got mine less then a month, can I also get a discount. Btw I have already pre ordered.
Exciting updates, looks good ! Out of interest, will the updates to Marlin be pulled back into the main Marlin project ? (I’d love to see tracking of filament and motor moves over lifetime in my self built i3)
Oh 8) Just finished assembly on me new Feb edition and found this article )))
Kudos guys to these new an improved version, but specially to the upgrade kit idea.
This is an epic upgrade guys. literally everything I felt was lacking, you added and at such a reasonable price. Greatest value I saw in a while. will surely upgrade soon.
cheers
Guillaume
The auto-leveling bed sounds great – and so does the new material and removal of having a glass surface. Looking forward to the upgrade kit.
Awesome guys!! I just put in my order for the new mk 2 (my 4th Orginal prusa! ) Just gotta buy 3 upgrade kits now tongue emoticon Thanks for pretty much hitting everythin on my wishlist with the new version
This is awesome news! Will be looking to do the upgrade or if things go good, a whole new machine!
Fantastic work all! Great improvements.
Wow That’s great, I have only had mine for 2 weeks and I can’t get over how good it works right out of the box- And you’ve made Better!!
Hats off good work
I will be looking at the upgrade kit
Good improvements.
The posts above says the price is $699US for MK2, yet the shop lists it for $899US. Please explain.
My mistake. The fully assembled MK2 is $899US, the kit is $699US.
What will be really awesome is an upgrade kit to the old hotbed (20×20) including the self leveling feature. That will be really GREAT !!!!!!
I want to buy it for $200. I don’t think $699 is a justifiable price for a DIY kit.
These are very very nice printers.
I want to support Josef and his team to keep making awesome improvements. My order for the upgrade is going in today. A little extra for a quality product is repaid in clean prints, ease of use and also great support which I can personally vouch for.
Doesn’t the hot end and RAMBo board alone retail for almost $200 ($75 + $120)?
Will you be offering just the MK42 heatbed for sale any time soon?
I hope they will!!!
Can I ask if the wanhao duplicator i3 is compatible with the upgrades?
In Queretaro, Mexico. How to get a new prusa?
Will the noise level still be in the 50-55db range like with the original Prusa i3?
I would be glad to buy this specific version with such details. I would even be more happy to retail this in my country. specifications are of such quality I am sure the prints will be much better than any other clones.
Well done.
what is the max temp of the bed?
Coming from someone who has made a total of four custom-tweaked i3’s: This is a nice new product. I would definitely recommend. That said, in all its excellence, isn’t this a bit evolutionary rather than revolutionary. Your products show great thoughtfulness. I would think it would be great to make something that has a stationary build plate and is still Cartesian. Years back I was inspired by the now defunct Makerbot automatic feeding system and its ability to do “repeat-fire”. I’d love to see a design that could do that. A robotic build-plate switch-out, or perhaps a toothed and grooved build-belt would do the trick. Neither would be easy and both have their advantages. I’d love to have a fully-automatic machine. 🙂 Thanks for all that you’ve done!
I just bought the mk2 it’s Christmas in july! Can’t wait to put my designs to work. This is the ultimate toy for nerds. My wife is going to make my a fortune. Yes she is a nerd just like me.
Will u be announcing a dual extruder 3d printer anytime soon?
Prusa,
you are genius! Take my money, ordering now….
Keep up the great job you do for community.
Cheers!
Just wonderin, i did my 50€ cherry design with cableties around bearings. But even here? 🙂
My i3 Mk II is still champing away. I bought the kit originally… so I would know how it went together. I’ve only had some minor repairs, one out of control print scare, and the consumables have been wearing out at reasonable intervals. I am not a 24/7 printer but its there when I need it… several dozens of prints a year. (hopefully I don’t jinx my print runs to come.) Although… I have been looking for a reason to upgrade… ;D
Your article is very good. If you want to watch the latest completely free movies, come to DixMax
<a href="https://coimobile.com/dixmax/" rel="nofollow ugc">https://coimobile.com/dixmax/</a>