According to a proverb, a picture says more than a thousand words. And when it comes to moving picture, they often say more than a whole book. That’s why we’ll take a look at how to take a model programmed in OpenSCAD and animate it. This is especially useful when you want to show the model to someone who doesn’t have this application and can’t check out the model in full 3D. So instead of sending a couple of screenshots, we can actually prepare a short animation of the model being rotated around selected axes – and actually even more.
These are the basic steps:
- Start with creating a model in OpenSCAD
- We will use the application’s features to make the object rotate automatically
- Then we’ll use OpenSCAD to export individual frames of animation
- Using a web service called ezgif.com, we’ll turn the frames into an animated gif or a video
Creating and preparing the model for animation
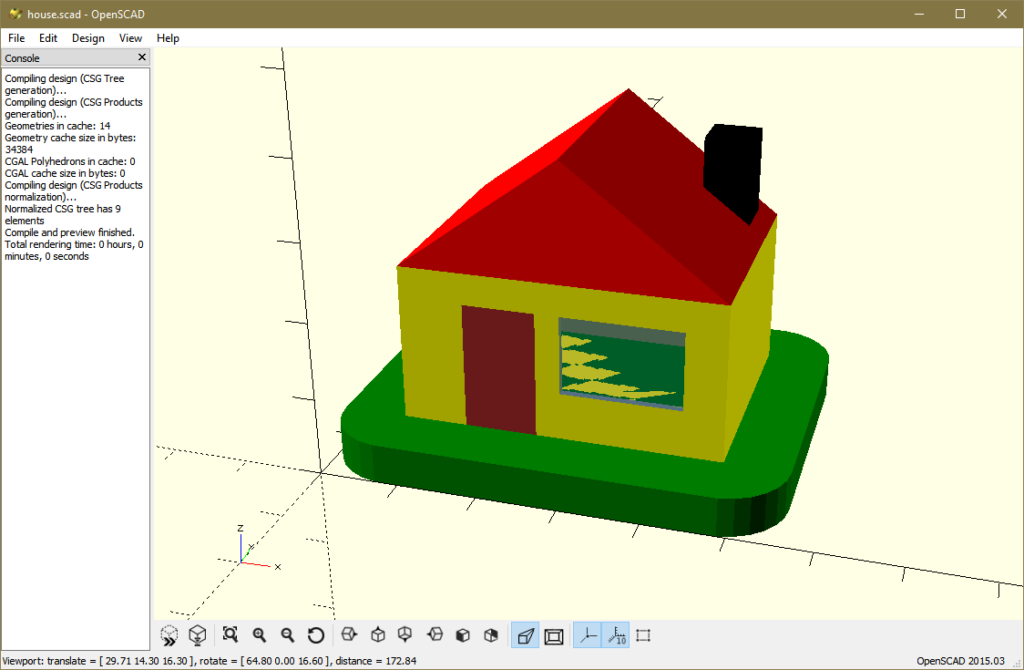
The following steps can be used for any model. For the purpose of this tutorial, I have used a simple model of a house that you can download from my GitHub. A complete model is created after calling the house() module and this is how it looks:
If we want to create an animation that rotates the object around the Z-axis, it’s a good practice to place the model in the center of the Z-axis. It’s not mandatory, because it’s possible to change the origin point for the rotation, but this way it’s much easier. We will modify the code to place the model in the center of the coordinate system:
offset = [-base_width / 2 - grass_offset, -base_depth / 2 - grass_offset];

translate(offset) house();
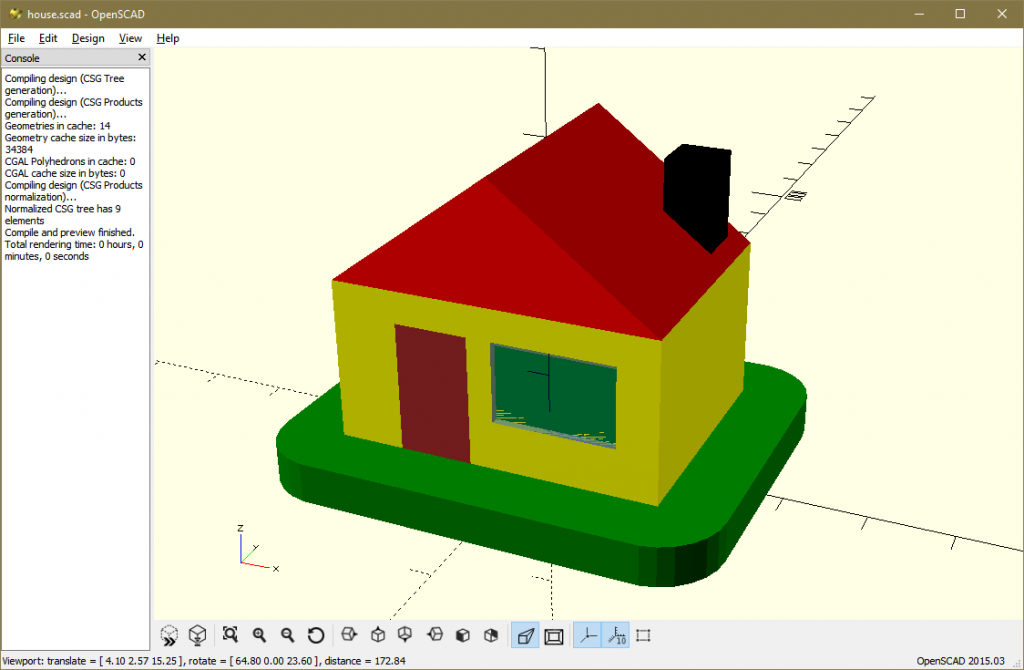
This is the result:
Now take a look at the status bar at the bottom of the OpenSCAD window. In our case, it says:
Viewport: translate = [4.10 2.57 15.25], rotate = [64.80 0.00 23.60], distance = 172.84
These three parameters will change depending on the camera movement, zooming or rotation. These values can be modified in the OpenSCAD model code as a special $vpr (viewport rotation), $vpt (viewport translate) and $vpd (viewport distance) variables.
Add these three variables into your code and modify the values so the viewport looks good on your screen (it will depend on the window size or LCD screen resolution). For example:
$vpt = [4, 3, 15];

$vpr = [60, 0, 35];

$vpd = 180;


offset = [-base_width / 2 - grass_offset, -base_depth / 2 - grass_offset];

translate(offset) house();
Once you render the viewport, the virtual camera will be positioned into the coded position. You can move the camera/view as much as you want, but once you press F5, it will return to the configured (coded) position.
Now try to change the last value of the $vpr vector – its value is 30 in the sample code above. It’s the degree of the Z-axis rotation and it can be set in the 0-360 range.
Animations in OpenSCAD
In the OpenSCAD menu, choose View > Animate. A new panel will appear above the tool panel in the lower section of the window – there are text fields named Time, FPS and Steps. Time does not concern us – it just shows time during the animation. The FPS field determines the Frames Per Second, which defines the speed of the animation in the preview. The Steps field determines the number of animation steps.
Animations in OpenSCAD are based on a mechanism that refreshes the viewport every second – the count of refreshes is set in the FPS field, and the value of the special $t variable increases from 0 to 1 in steps determined by ‘1 divided by the number in the Steps field’.
Modify the $vpr vector, so the last element (the value of rotation in the Z-axis) steadily increases from 0 to 360 after being multiplied by the $t coefficient:
$vpt = [4, 3, 15];

$vpr = [60, 0, 360 * $t];

$vpd = 180;


offset = [-base_width / 2 - grass_offset, -base_depth / 2 - grass_offset];

translate(offset) house();
Then enter ’30’ into the FPS field and ‘360’ into the Steps field. This will result in the model rotation in one-degree steps at the speed of 30 frames per second. One complete rotation will take 12 seconds (360/30).
Export into GIF or video formats
If you followed the tutorial precisely, you should now see the rotation in the OpenSCAD window. However, our goal is to show the 3D rotation to someone, who doesn’t have OpenSCAD – and the best way would be an animated gif or a video. If you have the necessary software (like Gifcam), you can actually just record the desktop (or a part of it) and be done relatively quickly.
However, if you don’t have such a program, you can export individual frames of animation. Just tick the Dump Pictures option next to the text fields. The rotation will slow down because OpenSCAD will start saving individual images on the hard drive. Wait until one full rotation finishes, then the Dump Pictures will automatically un-tick itself. In the folder, where the .scad file is saved, a bunch of new image files will be created – frame00000.png to frame00359.png. These are the basis for our animation.
There are various ways how to create an animated gif or a video from a bunch of images. My favorite service is ezgif.com, because it’s simple, free and doesn’t need any software installed – everything runs in a web browser.
Upload the PNG files at https://ezgif.com/maker. If you want to make this process a bit easier, you can zip the PNG files first and then upload them as a single ZIP archive. Once the files are selected, click the ‘Upload and make a GIF!’ button.
You will be taken to a new page, where you can change the sequence of the frames and the animation speed. The speed is determined as a delay between frames in milliseconds. If you want to keep the 30 fps speed, go to ‘GIF options’ and enter ‘3’ in the Delay time field. You can also change another parameter in this section: tick ‘use global colormap’, because in the case of OpenSCAD animation it may lead to smaller file size. Then click the ‘Make a GIF!’ button and wait. In a few seconds, an animated GIF should show up directly under the button.
The EZGIF service also offers various editing tools that allow you to modify the gif – cut it, speed it up, optimize it etc. The result will be always displayed under the current picture (which shows the original look).

You can also turn the frames into a video, instead of an animated gif – the advantage here is the file size. The video will be usually smaller than the GIF. To create a video from a GIF using EZGIF, click the blue ‘Convert’ button and then select ‘to Video’. This will enable you to download the animation as an MP4 (H.264) video.
The option to animate a 3D model is great when you want to display the model in a video or share a complete 360-degree preview on social networks. The steps described in this tutorial are easy and quick to implement – and without the need to install any other software.
These basic functions can be used for more advanced animations, not just a simple rotation. The $t variable can be used in any time of situation, so instead of rotating the camera, you can apply it to the model itself as well.


Had never used OpenSCAD before. This worked! Thanks for the article. I’ve yet to dive deeper into how the program works. I’m not much of a coding guy.
Nice article – thanks! Didn’t even know that OpenSCAD can do animations. Time to polish my Thingiverse designs 😉
[Minecraft APK](https://apkbine.com/pt/minecraft/) will be the best suggestion for you to play for entertainment every day