3Dhubs.com is a wonderful service which connects people with 3D printers with the ones who needs something printed. It’s a great opportunity for Prusa Printers community to show off our skills.
This is by no means affiliate of any sorts, just a guide to help spread 3D printing to people who don’t want to own a 3D printer… yet 😉
I received a personal note from Bram de Zwart of 3DHubs.
Just 2 years after we started 3D Hubs, we have 12.000 3D printers connected on our platform, providing over one billion people with access to a 3D printer within 10 miles from their home. This means that someone could make a design in for example Amsterdam and then have it 3D printed locally, all over the world. We’re at a point where we can really change how things are made and it’s amazing to see so many 3D printer owners are getting involved.
Step 1: Registration 1/2
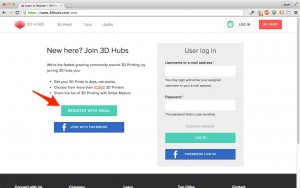
Whenever you are ready, you can jump in for registration at 3dhubs.com/user.
In this guide I’m covering registration by email only.
Step 2: Registration 2/2
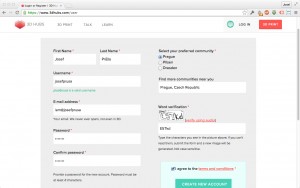
Now you need to fill in simple information, pick your cool username and importantly a location (Find a community near you *) after which 3DHubs suggests some communities to join. Imagine the communities more as areas. You don’t want to ship your prints across atlantic, right? 🙂 I chose Prague.
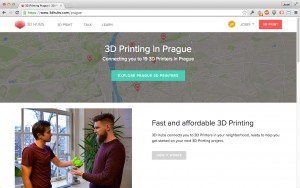
When you are done, you should be moved to the page of the community you chose. As you can see we have only 19 printers here, that’s lame 🙁
Step 3: Setting up your HUB
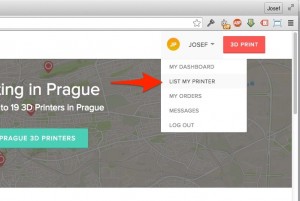
In the top menu, you have to click your name and continue to “LIST MY PRINTER”, this will lead you to creating your own hub.
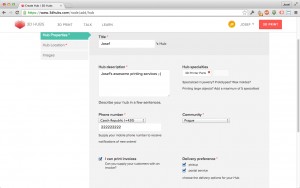
In the properties tab you will have to fill in just few more information and after that, you can move on to location tab.
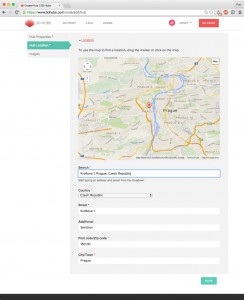
In location, just use search function with address for personal pickup. Don’t worry, the address can’t be seen publicly on your hub page.
Then just click SAVE.
Step 4: Your Printer
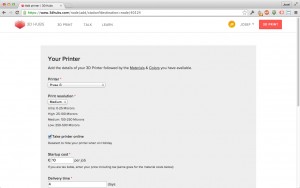
You proceed to a page where you fill in the details about your 3D printer and materials you can print. Easy peasy.
After you SAVE, you are almost ready. Now you need to activate your account with a test order.
Step 5: Activation test print
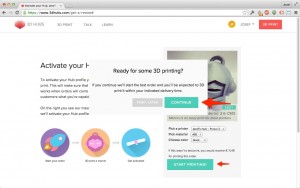
Just click “START PRINTING” and “CONTINUE”.
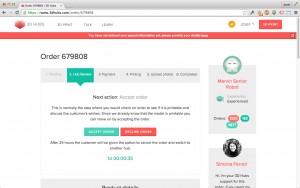
This will create a new order for your hub, where you print the marvin, simple test piece! Accept the order and move on.
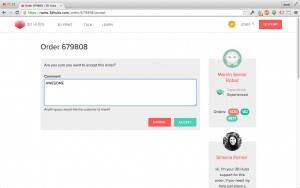
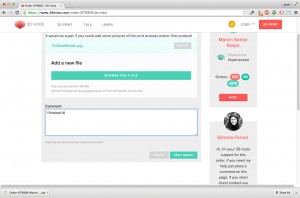
They will ask you one more time if you want to accept. Obviously we want. You can put in a comment for the other side to see.
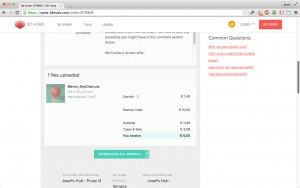
Now you can finally download all the files to be printed.
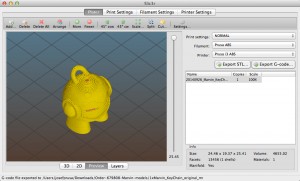
Step 6: 3D print the files
This step should be pretty straight forward for us. Don’t forget to take a picture of the print afterwards, it will be needed later.
Step 7: Finishing activation
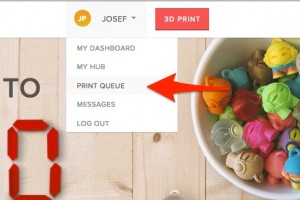
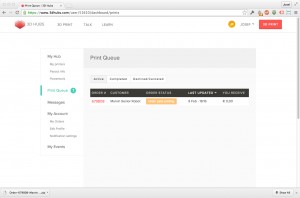
Move to your Print Queue.
Select the order from Marvin.
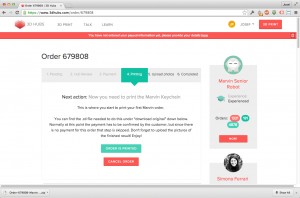
Choose “ORDER IS PRINTED”.
Now just upload a picture of your finished product and click “PRINT READY!”
Step 8: DONE
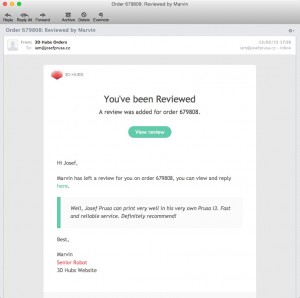
Now you just need to wait for activation by administrator!
After that, you can start accepting orders 😉
Let me know how 3DHubs is working for you 😉
This is by no means affiliate of any sorts, just a guide to help spread 3D printing to people who don’t want to own a 3D io games … yet 😉
https://masterbundles.com/cute-google-slides-themes/
Just an update to anyone just finding this… 3D Hubs has removed all hobby level printers.
Now that 3d hubs has removed the hobby level printers, is there a platform that hobby level printers can still register?
To join 3D Hubs, first visit their official website and sign up as a manufacturer or designer. If you’re looking for feedback like WalgreensListens,<a href="https://www.walgreenslistens.me/"> WalgreensListens</a> ensure your profile highlights your 3D printing expertise. Next, verify your account and complete the onboarding process. Upload your portfolio or machine details for approval. Once approved, start accepting orders or sourcing manufacturers. Set your pricing, turnaround time, and services. Engage with the community for tips and collaborations. Finally, promote your profile to attract clients and grow your 3D printing business seamlessly.