When we travel the world to show off our 3D printers, people often ask us not only about our machines but also about the 3D printed models we usually bring with us. And, please excuse us, but we would like to pat ourselves on the back a little bit: those are some really cool prints! No wonder – it took hundreds and hundreds of hours to make them. And it’s not only about printing, there’s a ton of post-processing work put into them. Many of these amazing models have been made by Pavel Rauš, who really knows how to print impressive models. Here’s a showcase of some of his works. Please note that the models were printed in the past, hence the Original Prusa i3 MK2 printer in some of the photos. All models are free to download from Thingiverse.com.
T-Rex Skeleton
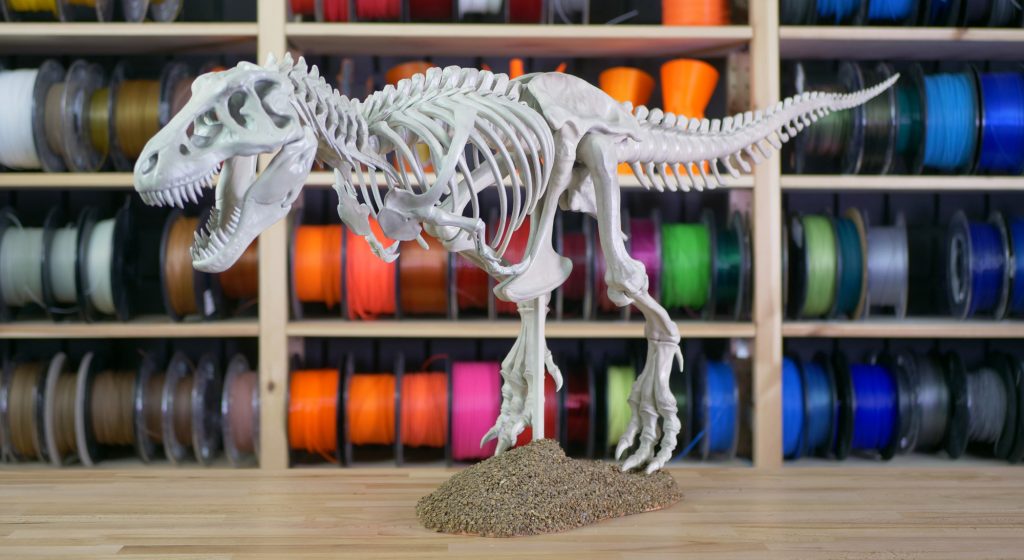
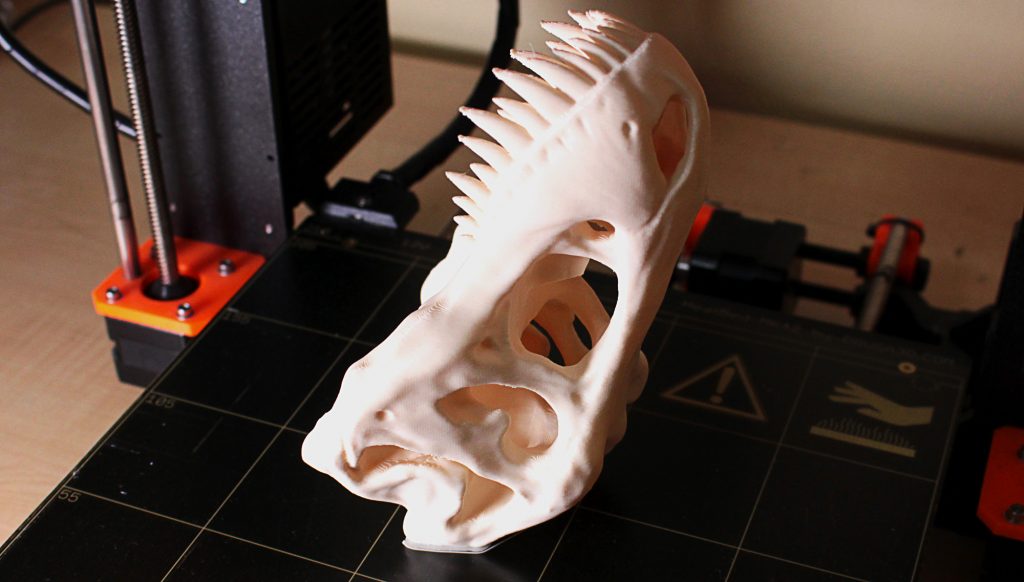
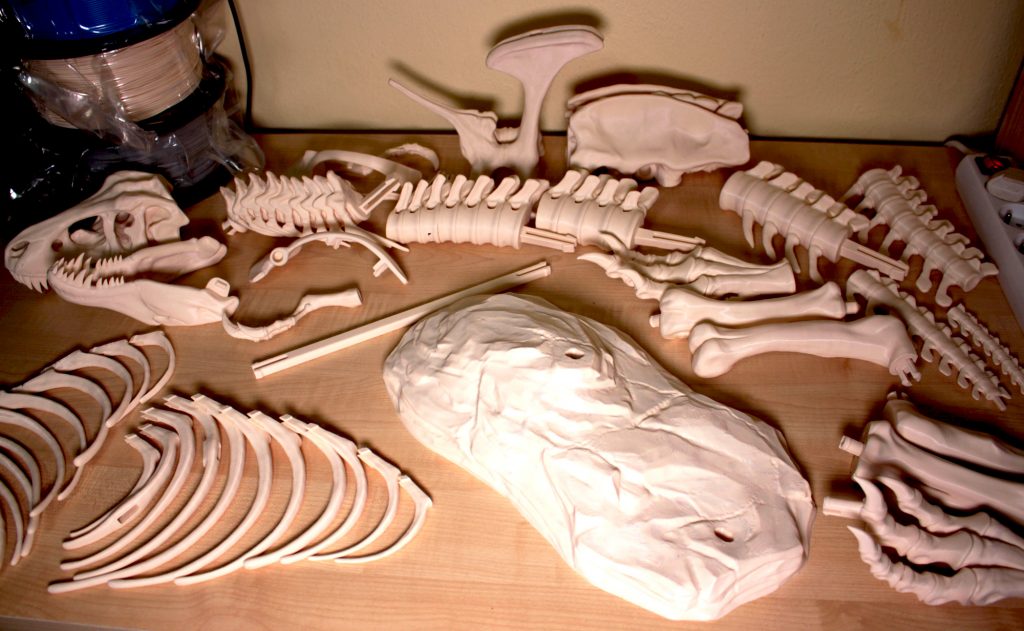
A real-life fossilized T-Rex skeleton may be over 65 million years old, but printing this five-foot-long replica took “only” 140 hours. The original model is free to download from Thingiverse and its default size is around two feet (or 70 cm). But we obviously aimed for something extra, so we simply scaled the model to 200 % because why the hell not! Even with a model double the original size, the print was surprisingly easy. Each part can be printed as a single object (no need for cutting), and supports are pretty much unnecessary. Plus, you can print almost everything just as a hollow shell without an infill. Only a few parts (pelvis/hip, left leg) need a 10% infill to improve the strength of the parts around the supporting rod.
PLA is an ideal material of choice for this case. Also, it’s worth noting that in order to ensure a fully support-less print, you should consider lowering the nozzle temperature by about 10°C (to 200°C) and increasing the fan speed to full power to avoid issues with overhangs. Plus, don’t forget to turn on the ‘brim’ feature – 10 to 15 mm should do.
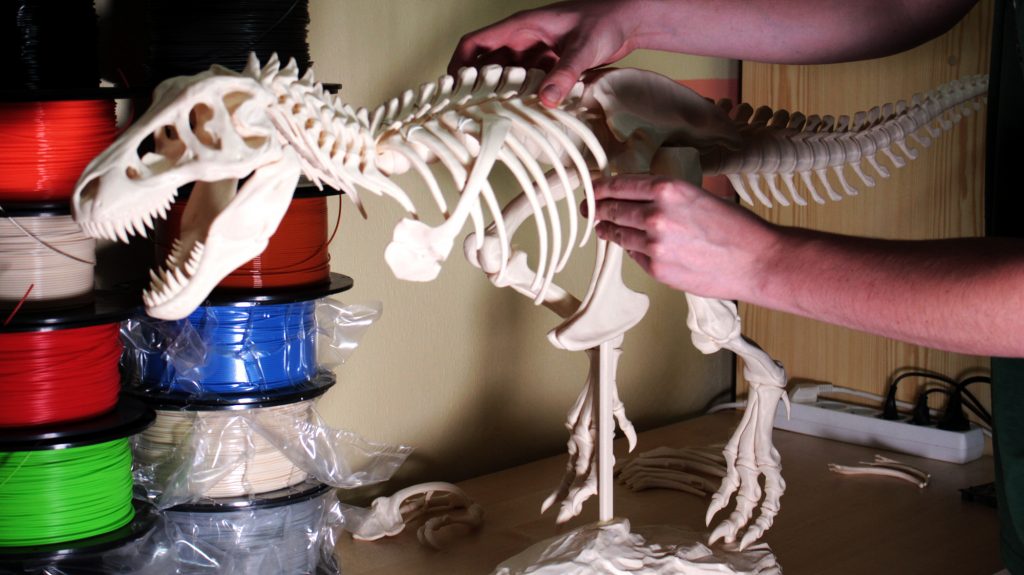
The whole skeleton is mounted to the base using only a single rod. That’s why we need the model to be as light as possible, hence 0% infill. Also, one part of the skeleton can be a bit troublesome to print – the top of the hip (TRex_Hip_Top.stl). This part is quite tall, exactly 224 mm, so it doesn’t fit in the print area. Luckily, this can be easily solved: since we recommend gluing the model together, you can cut off the top part of this object, since it’s actually a joint used to connect this part to others. Using the Cut function in Slic3r PE, you can change the height of this part to about 180 mm, which is sufficient for a successful print.
To achieve the best looks, some post-processing is needed. To achieve a nice smooth surface, use a generic sanding paper. Start with lower grit (around 80), then switch to a finer one (150) and work your way up to higher grit (180+). The more time you spent with lower grit sandpaper, the easier it will be when working with a higher grit. We also recommend the wet sanding process – basically sanding out the imperfections in water or using a wet sandpaper. This stops the PLA from overheating (and deforming) and also lowers the amount of sandpaper dust. If there are any imperfections in the printed parts, you can use epoxy putty, which is perfect for this job. It’s easy to use and it can also be dipped in water, so it doesn’t stick to your fingers. The only bigger problem with this model is the fact that some of the parts don’t fit perfectly. The ribs particularly are a bit loose. That’s why it’s highly recommended to glue the model together using a two-component adhesive.
If you don’t want to spend time painting the skeleton, you can cheat a little: get an ivory PLA filament to give the skeleton the right color from the beginning. However, we wanted to take that extra step, so we painted the whole model. After sanding all parts to achieve the optimal smoothness, we spray-painted them with a grey primer. Then we used a set of commonly available brushes to apply weathering powder which was then smeared using a soft cloth to achieve a good looking shading effect. The result was fixed using a clear acrylic finish spray.
The very last step is the preparation of the base. This can be done in a nice and quick way: just take the printed part, apply a thick layer of glue on it and then cover it with kitty litter or sand/stones. Again, use clear acrylic finish spray to fix everything in place.
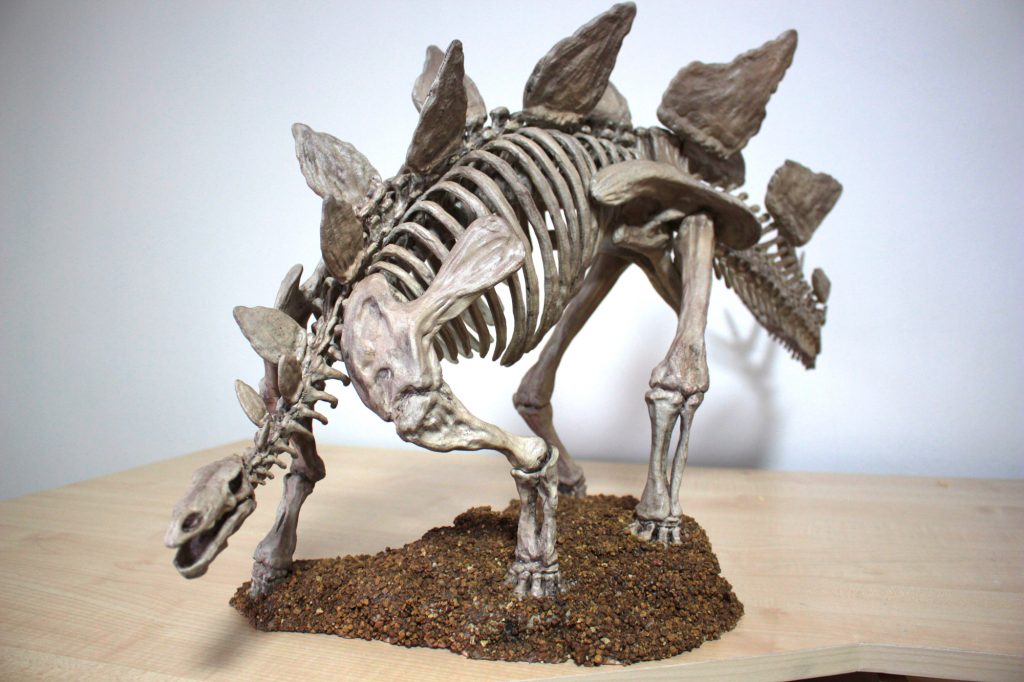
You can also use these steps to print a stegosaurus skeleton. The only difference is in the scale: the stegosaurus can be printed only up to 170% of the original size if you want to avoid cutting and gluing several parts.
Subaru WRX EJ20 Boxer Engine
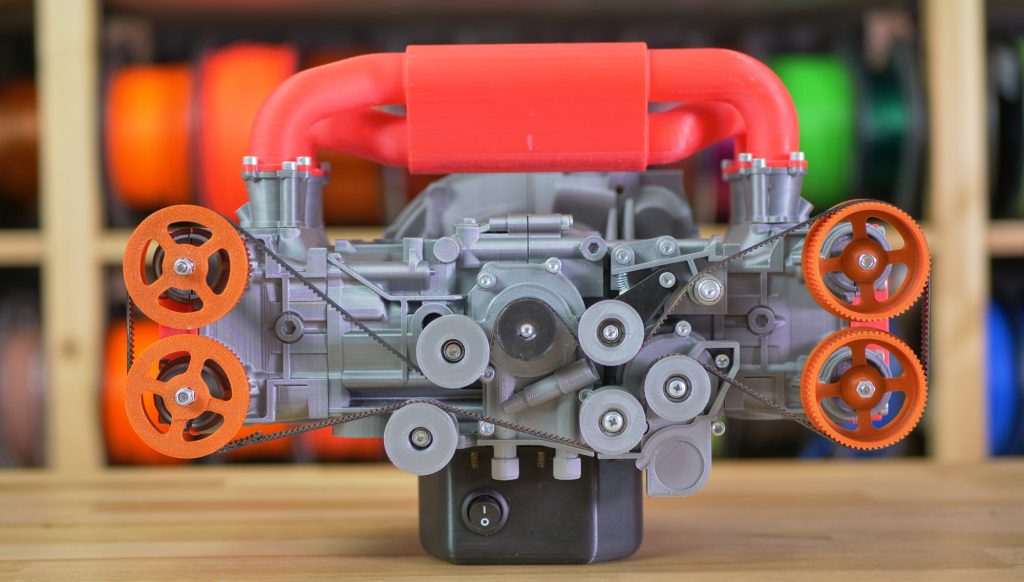
What a jump! From dinosaurs to a modern boxer engine. But, considering what crude oil is actually made of, it’s not such a big stretch! So let’s take a look under the hood of the iconic Subaru WRX. This car is famous for a lot of qualities and one of them is the unique Subaru Boxer engine. Head gasket jokes aside, this four-cylinder engine has various advantages compared to classic V-shaped or inline competitors. This so-called ‘flat-four’ engine has horizontally-opposed cylinders, which allows it to be quite compact and mounted lower than standard engines, resulting in a lower center of gravity.
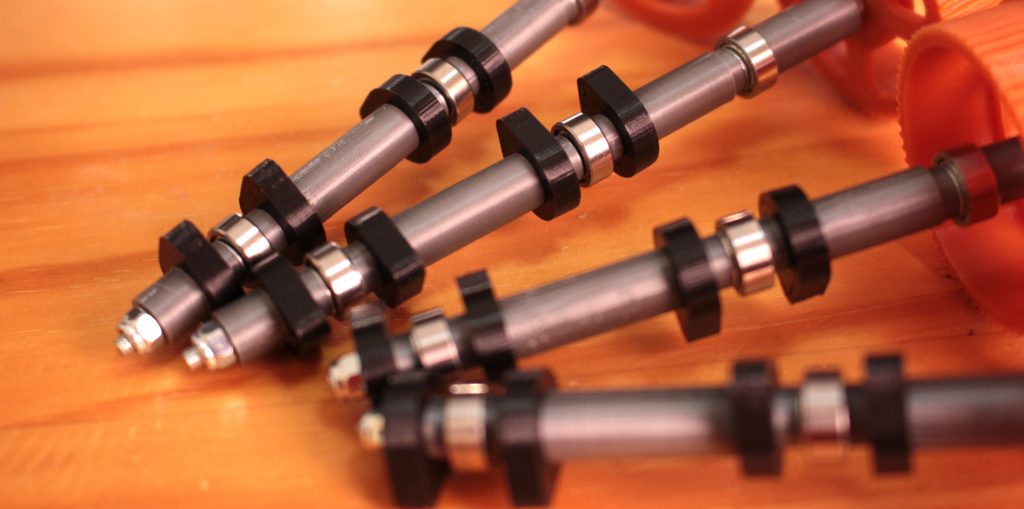
To see how it actually works, you can download this model from Thingiverse, print it, add some electronics and see for yourself! Pavel printed all the parts in about 170 hours and then spent some more time on getting the thing to work. It requires a DC motor, some screws, nuts, and springs – a bit complicated to get everything, but definitely worth it.
The printing process itself is pretty easy. There are quite a lot of parts, but there are no real hidden complications. In our case, the ideal layer height for most of the parts was 0.15mm. Only the engine head and block were printed using 0.10mm layer height for smoother operation of the finished product. With a bit of luck, you should be able to print everything without supports. However, we would recommend adding some supports to at least a few parts: engine block, engine head, water pump and intake manifold.
As mentioned before, the difference between this model and the dinosaur skeletons is in the necessity to use extra hardware parts. The complete list of all screws, nuts, springs and other material is bundled with the model. But since it will take at least a week of print time to produce all the parts, you have plenty of time to get the extra components 🙂 Protip: if you have trouble finding the right springs, try disassembling a few pens, you might find just the right one.
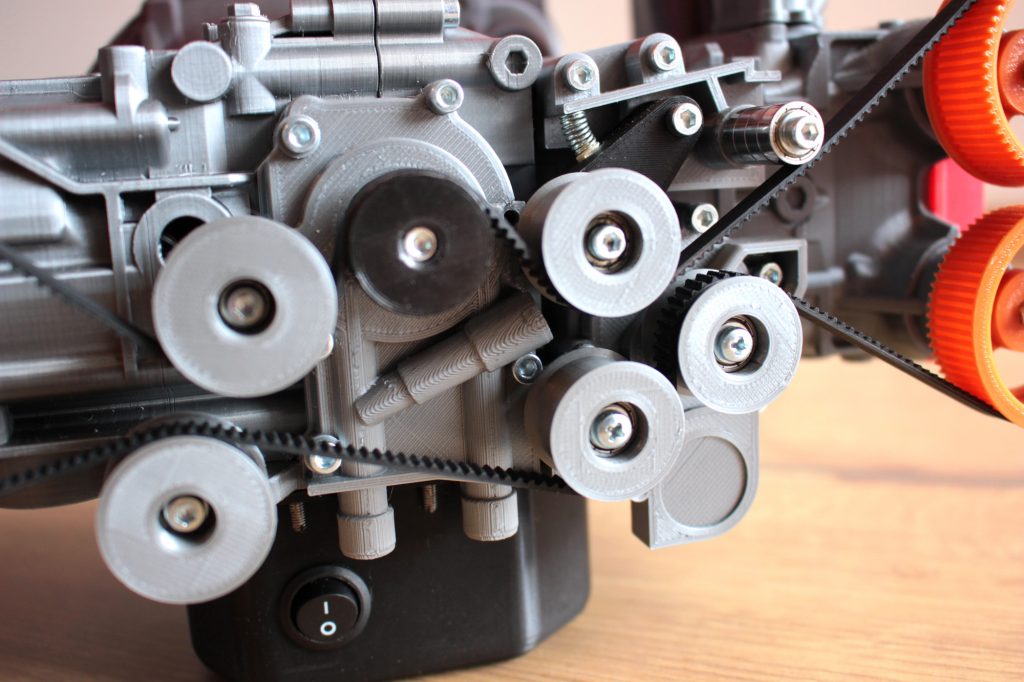
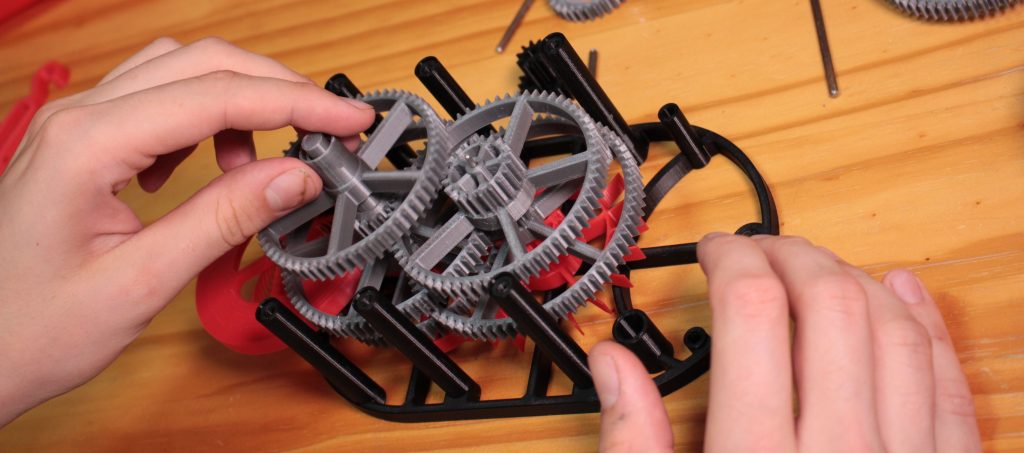
It’s quite obvious that the assembly is not an easy procedure. However, the instructions bundled with the model are well written, so all you need is a bit of patience and some free time. The only drawback here is the FDM printing process because it tends to print some holes slightly smaller. So if you feel like the parts don’t fit, you should use a knife or a screwdriver to adjust them.
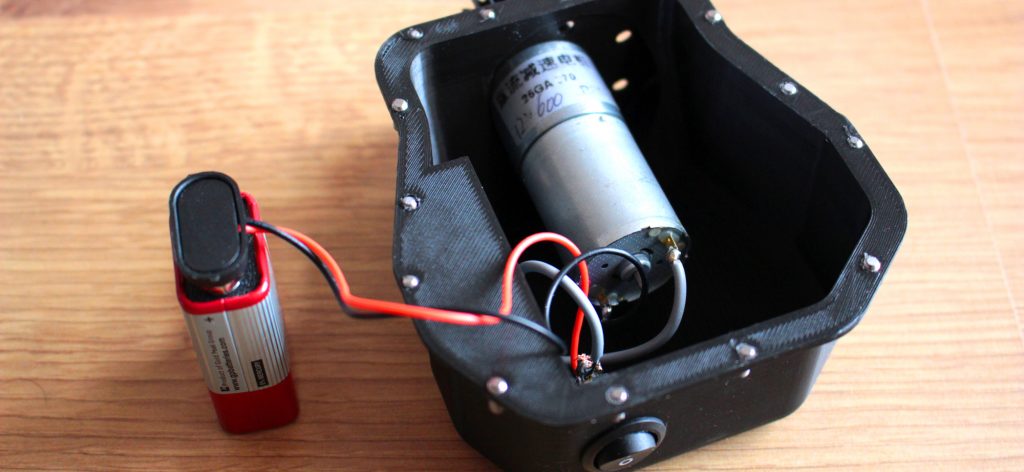
You can, of course, keep the engine without any electronics and operate it by hand. But if you want to really enjoy the oh-so-sweet rustling sound of the plastic flat-four engine, you should definitely add a DC geared motor. According to users, this model should perform well enough – or basically any other geared 12V DC motor with 6mm shaft, 32mm diameter, and length of 75 mm. Next, you will need a regulator and a generic DC power supply.
In case you prefer a different type of DC motor, you might need to adjust the housing for the motor a little bit. Also, if you run into trouble with setting up the timing chain properly, try using the following tool. If you don’t manage to get everything right the first time, no worries. It took us a couple of tries to get everything running smoothly. Just make sure that the pistons can move freely, and if not, sand them down and add a bit of lubrication.
Closing thoughts? This model is much more complex than the T-Rex skeleton because it features plenty of moving parts, which also results in a more complicated assembly. Nevertheless, is there any car buff who wouldn’t want to have a working replica of the legendary boxer engine on their table?
3D clock
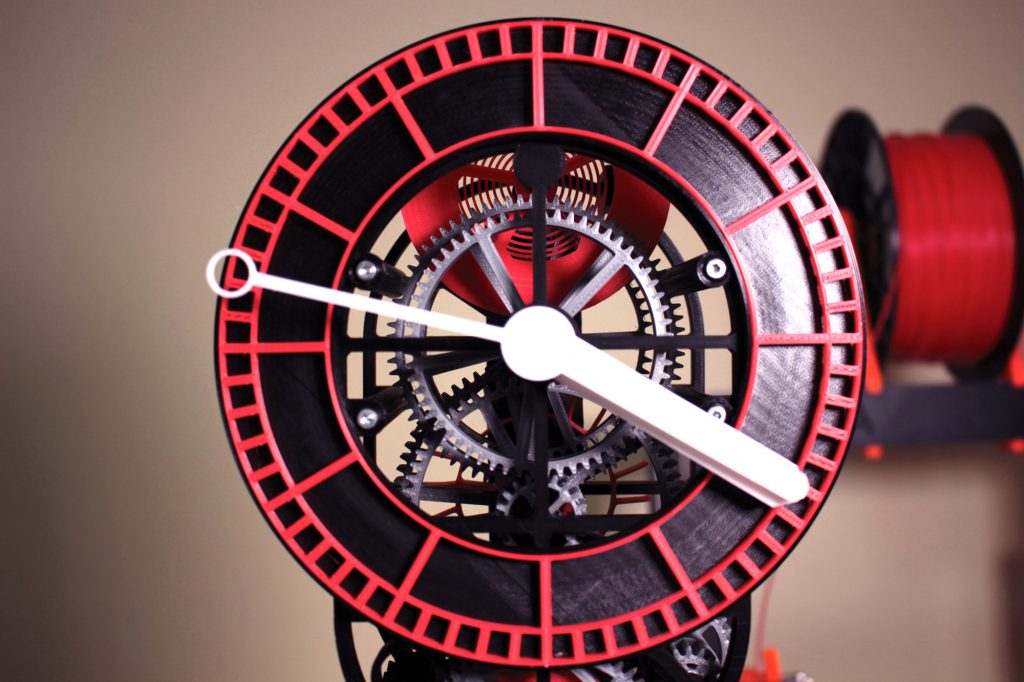
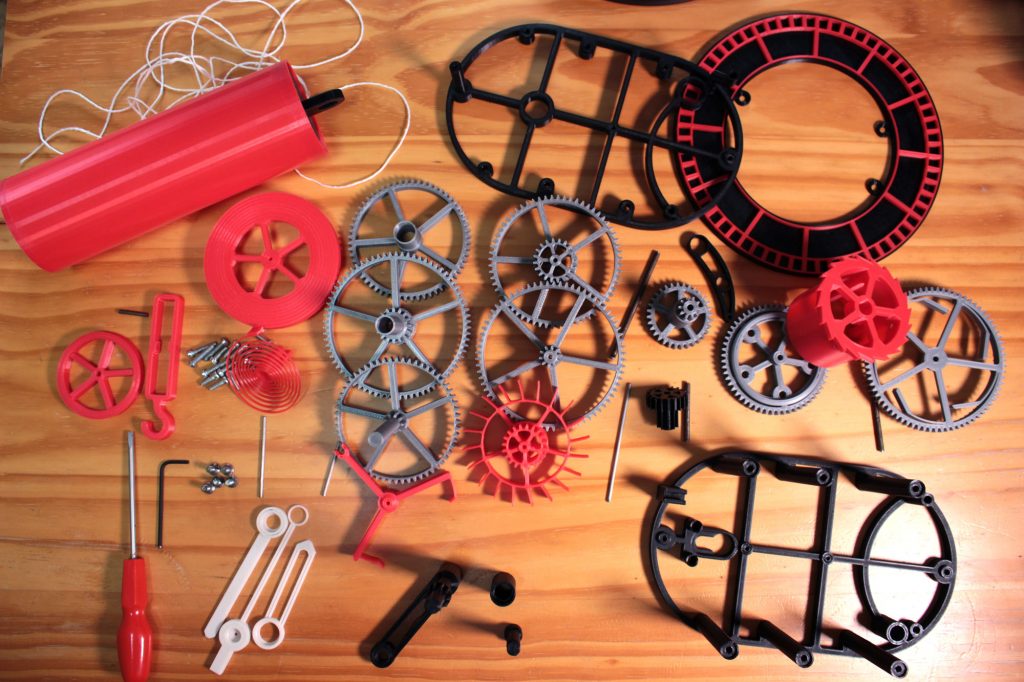
If you desire a 3D print that really does something, and the boxer engine is way too difficult for you to assemble, do not despair! The 3D printed clock may look daunting at first, it’s a fully working clockwork after all, but it’s actually quite simple. Printing all the parts is easy, everything is well designed and there are no hidden pitfalls, so it’s something we can recommend even to complete beginners. Depending on the layer height and infill type, the clock can be printed in about 36 hours. Any PLA filament and a 20% infill should do the trick. Only the balancing wheel requires the infill at 90% density. Also, we don’t recommend scaling the parts, since it can be much more difficult to balance and calibrate everything properly.
This model isn’t completely trouble-free, though. The bad news is that you will still need some extra parts. The good news is that all of them are quite easy to obtain: you will need a 2.6 pound (1,2 kg) weight – bearings are great for that. Plus: 7 rods, 11 M3 screws and a piece of string. All described in the model’s assembly instructions.
It’s highly recommended to use the default printing speed (or actually decrease it a little bit) to achieve the best possible quality of the 3D printed gears and their fine teeth.
Once everything is printed, make sure to post-process any rough surfaces with a fine sandpaper. Also, moving parts should be lubricated – using a low-viscosity oil (such as Super Lube) is preferred.
There’s a pretty high chance you won’t be able to get the clock running on your first attempt. Don’t worry, take your time and keep looking for any problematic areas. Usually, there will be too much friction on the rods. The added effort is worth the time, though. The clock is reasonably accurate and it can also look pretty impressive if you use an interesting combination of filaments.
Don’t be afraid of complex prints
One of the biggest advantages of 3D printing is the ability to print an infinite number of spare parts in case you accidentally damage any of them. This opens a huge new area for experimenting with various materials or post-processing procedures. Have you accidentally removed too much when sanding the object? Just use epoxy putty and fix it, or print the part again.
Once you get tired of static objects, you will probably start looking for something more sophisticated. There’s a surprising amount of functional models on the internet, and all you gotta do is pick one and be patient if the print takes a long time. The assembly can be a lot of fun – plus, you can also learn something new about how machines operate.

the designs are just amazing. especially the skeleton. it is very complicated we need lots of patience to do these fine and perfect shapes. you get more information from hp tech support. the 3D clock also very nicely designed.
Absolutely stunning skeleton and 3D clock Model you designed using filament. It’s difficult to give a perfect shape but anyhow you manage to do it. Thanks to high quality HIPS filament for 3D Printing.
Amazing designs!
However I tried printing the T-Rex skull in 200% size, using Prusa PLA and encountered several crashes.
I’m very curious which settings and hardware (nozzel size etc) are used. Can someone help me with these?