In the first article, we’ve shown you several cool gadgets that make the creation of landscape a lot easier: We’ve used Original Prusa i3 MK3S 3D printers to create basic landscape parts, we’ve printed the body of the electrostatic grass applicator and also a simple tool for applying the track ballast. In the second article, we’ve presented the abilities of our Original Prusa SL1 3D printer by printing trains, people and other objects with amazing details. Now, we’ve decided that it is the right time to combine the qualities of both of our printers and create the ultimate project: let’s print a complete landscape (size H0 – 1:87) with working trains and many other details. Our goal is to show you that most of the models and parts for model railways (and miniatures in general) can be created easy and cheap when you employ 3D printing.
Building a baseplate
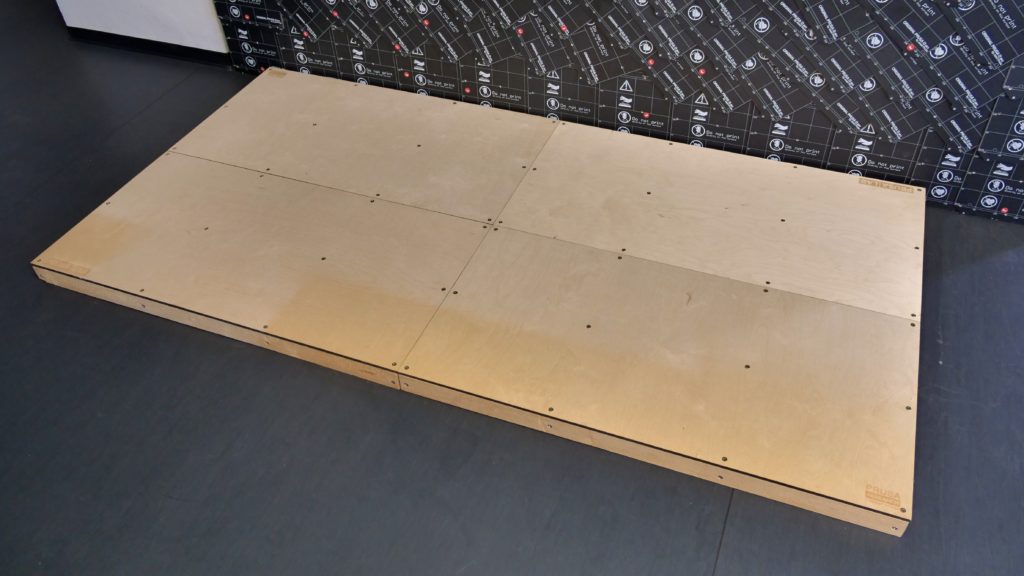
For our model, we went for a “not that big, not that small” size. We wanted something that demonstrates the qualities well, but it can be also transported to exhibitions and other events. We decided to create a model of 200x100cm in size that can be divided into four parts (100×50 cm). The baseplate was cut from a 10mm thick plywood using a laser cutter in our maker space PrusaLab. Parts of the baseplate are supported with small beams (this way, we’ll have some space for electronics in between the base plates), which can be easily assembled using M4 screws and wing nuts.
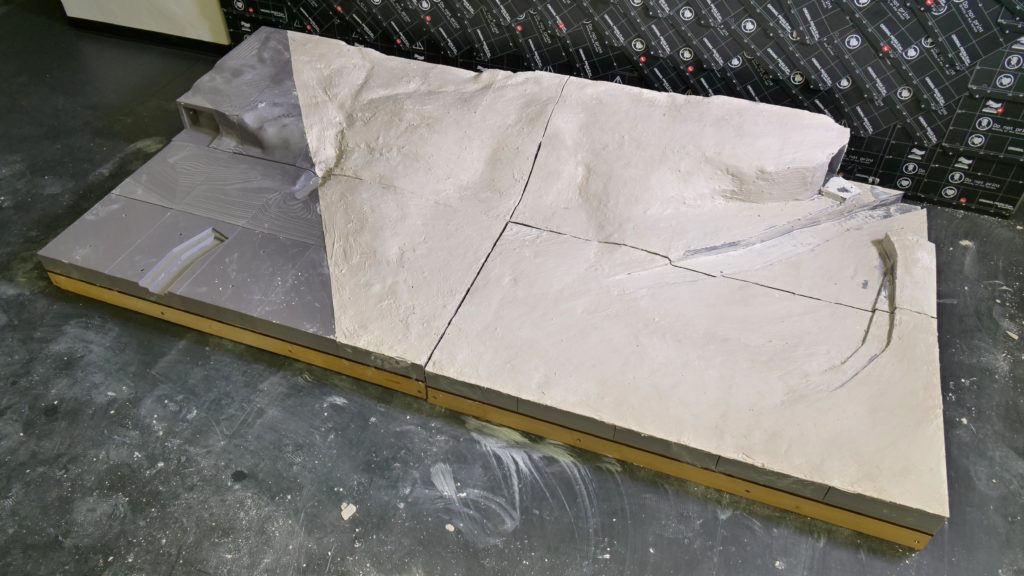
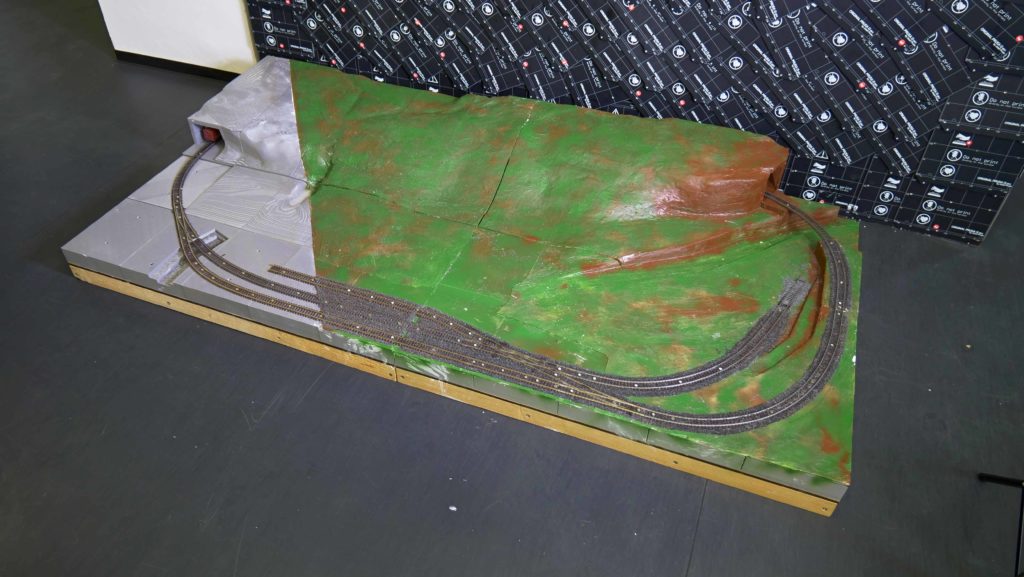
Rough landscape model was created using Autodesk Fusion 360, natural curves were added in Blender using sculpt mode. Then there was the question of which material to use to create the landscape. Most hobbyists would use polystyrene or other easily adjustable materials – mainly for their low cost and weight. However, we’ve decided that it would be interesting to print the whole terrain on our Original Prusa i3 MK3S 3D printers. Therefore, we cut the model to 80 parts and printed them with low infill (3-5%) and low number of the bottom and top layers (0-1 bottom, 2-3 top layers). We’ve screwed the first layer to the baseplate and glued the second layer onto the existing one. Then, we’ve applied a plaster to the assembled terrain to hide gaps and other rough parts of the terrain and painted it with acrylic paint (it is good to use dark colors – green, black, brown).
For those who might be interested, here’s the 3D model of our landscape.
Placing the railway tracks
One of the main reasons why it was necessary to add plaster to the terrain was the railway tracks. We need the terrain under the track to be as smooth as possible, without any sharp edges and angles, otherwise, the cars could derail. So, we made the terrain smooth and screwed the tracks into position. However, we will remove the screws once we add the track ballast, we need them only as a temporary fixation. The track ballast was created using our simple 3D printed gadget, brush and glue (you can find a detailed manual in our first article/video).
Landscape cover
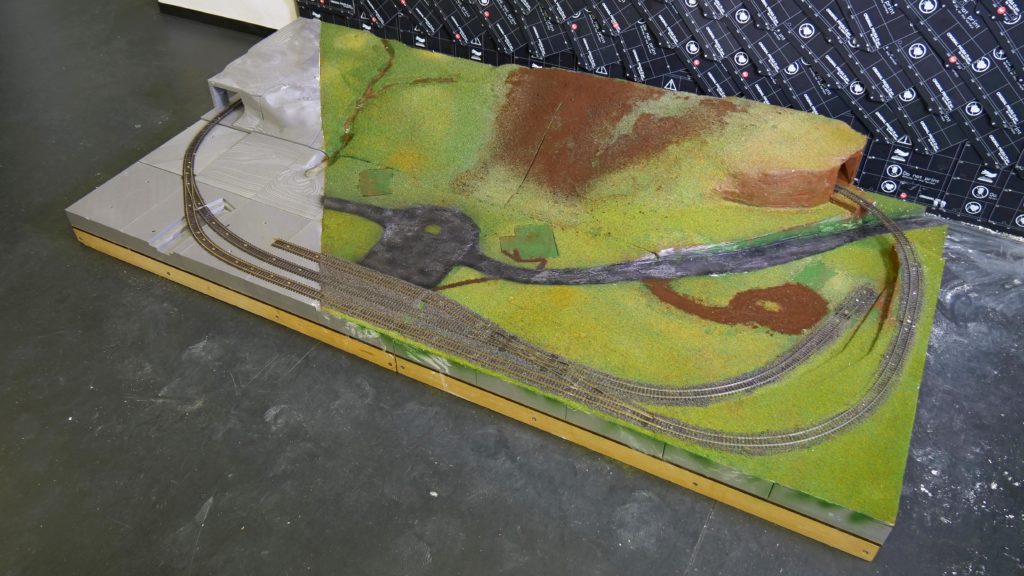
Once the ballast is dry and solid, we can start adding a landscape cover. This means grassy areas, dirt, roads, and other features. If you need a good-looking gravel imitation, use dry milled coffee. And we used our DIY static grass applicator to add grass in various lenghts and types across the landscape – see our first article/video. It is good to cover all of the places where buildings should be before you start applying the grass.
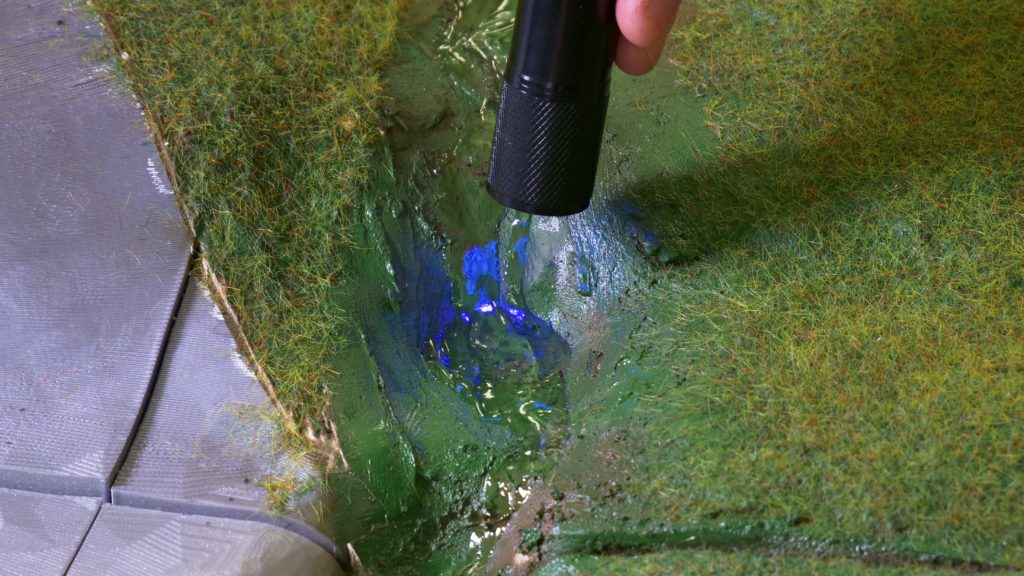
Tip no.1: Notice that we’ve modeled a simple stream in the right part of our model. We wanted to imitate water here – we’ve colored selected parts, poured a little bit of a transparent resin on it and solidified it with UV light.
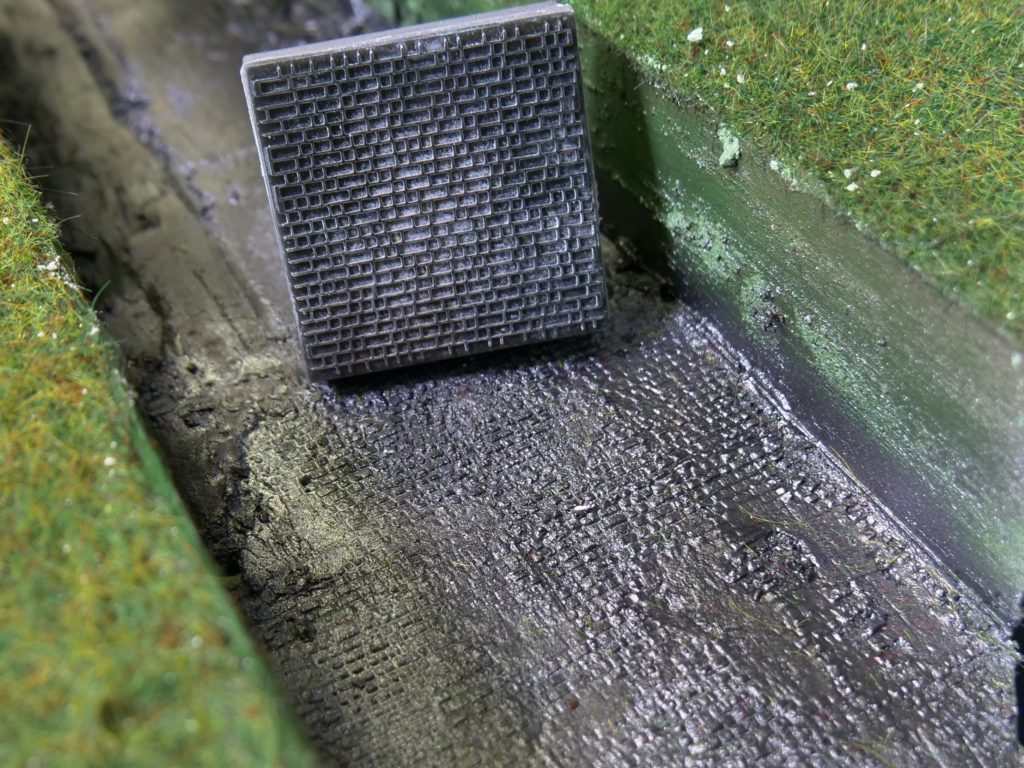
Tip no.2: We’ve left some space unadjusted – these are reserved for rocks, brick roads, and walls. We won’t print them as standalone models – instead, we will show you that it’s possible to create them with molds (stamps) from flexible filaments/resins.
Selected molds (stamps) can be downloaded here:
https://www.prusaprinters.org/prints/5969-h0-road-pavement-stamp
https://www.prusaprinters.org/prints/5970-h0-rock-mold
Buildings, trees, people and other detailed parts
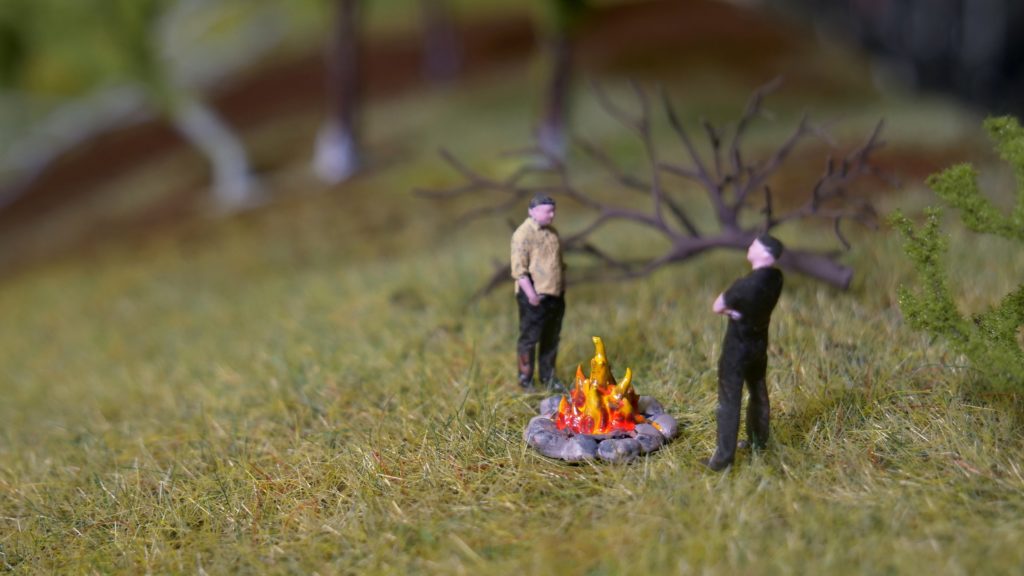
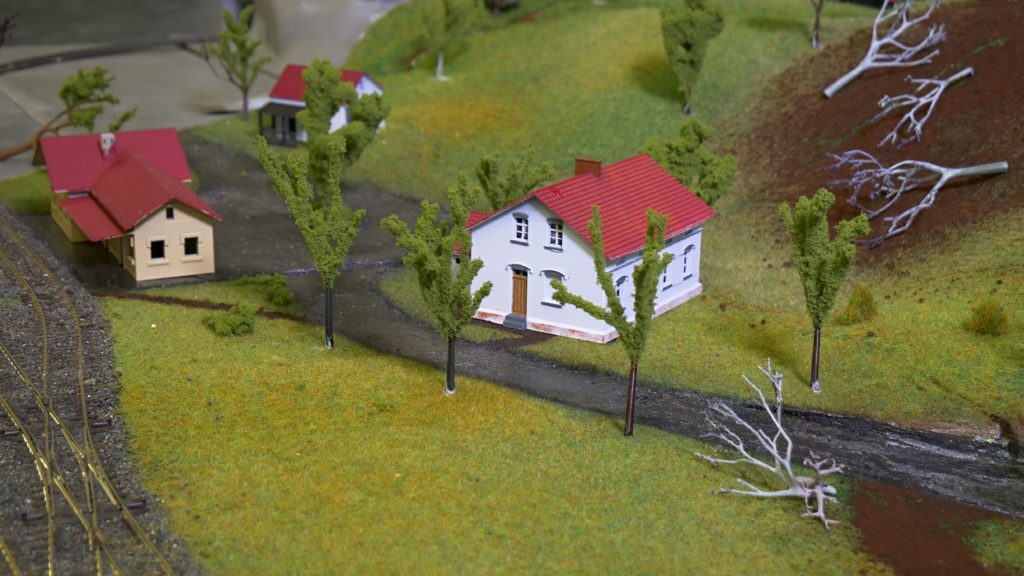
The landscape is ready! Now, it’s time to place all the detailed parts that will make our model look as realistic as possible. Large parts, such as buildings and large trees, can be quite easily printed on our Original Prusa i3 printers, whereas tiny details (small trees, people, furniture, etc.) require the precision of our Original Prusa SL1. As always, the models used in this article can be downloaded from PrusaPrinters.org or Thingiverse.com – see the links below. All you need to do is to print them and paint them.
Cottage (SL1/MK3):
https://www.prusaprinters.org/prints/5971-ho-scale-cottage
Calvary (SL1):
https://www.prusaprinters.org/prints/5959-calvary
Chapel (MK3):
https://www.prusaprinters.org/prints/5960-ho-scale-chapel
Firewood storage (SL1):
https://www.prusaprinters.org/prints/5964-ho-scale-firewood-storage
Railway track end (SL1):
https://www.prusaprinters.org/prints/5968-ho-railway-track-end
Miner’s house (MK3):
https://www.thingiverse.com/thing:3091884
Simple tree (SL1/MK3):
https://www.thingiverse.com/thing:1196196
The tree can be printed using the Original Prusa SL1 printer but also with Original Prusa i3 MK3 printer when scaled properly. You should expect a lot of stringing but that can be hidden by gluing the leaves on the tree.
Other models seen on the photos can be found in the first and second article.
Electronics
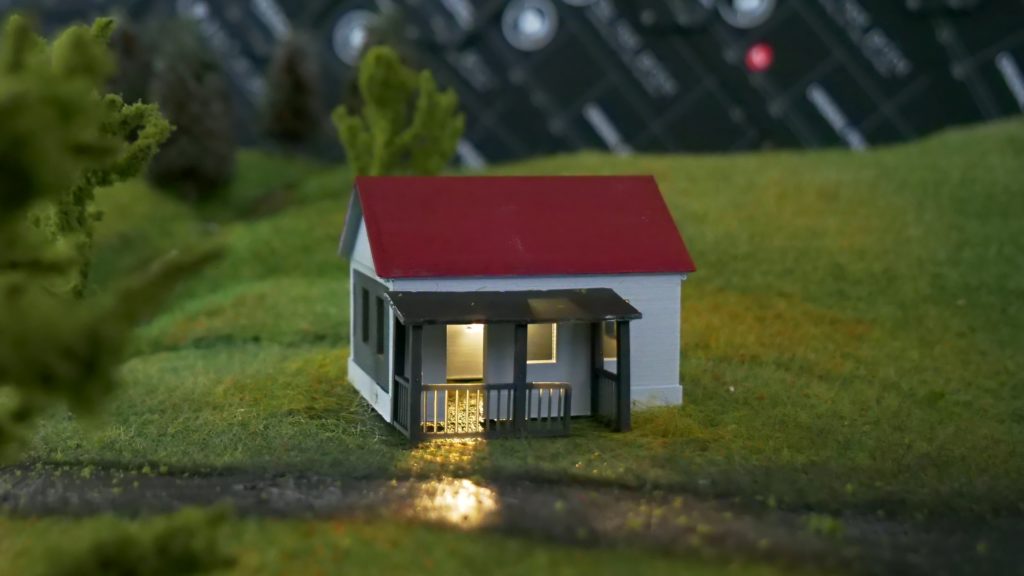
Most of our models are made to be adjustable, with the option to integrate simple electronics. For example, our village house is hollow, without door and windows – it can be easily printed later and placed in the model. Before you do so, you can even place the wiring into the model. Since the base of the landscape is hollow, you can drill a hole or two in it, then lead the wiring all the way into the house.
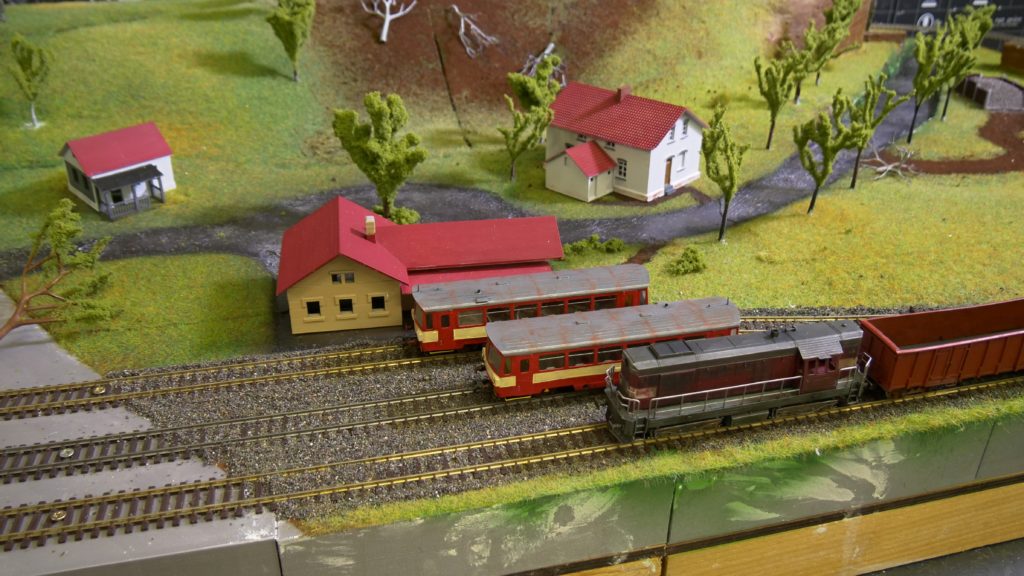
The railway model is complete, so the only remaining thing is to place the trains on the tracks and we can start! In the previous article, we’ve printed several cars and locomotive models on our SL1 that will look great in combination with our detailed landscape. See for yourself that 3D printing offers vast possibilities in the field of railway models and miniatures thanks to the combination of rough landscape shapes and the tiniest details. Have you already printed some things for your model railway? Did we inspire you to try it? Either way, we’re looking forward to seeing your creations!


コメントを投稿するにはログインしてください。